
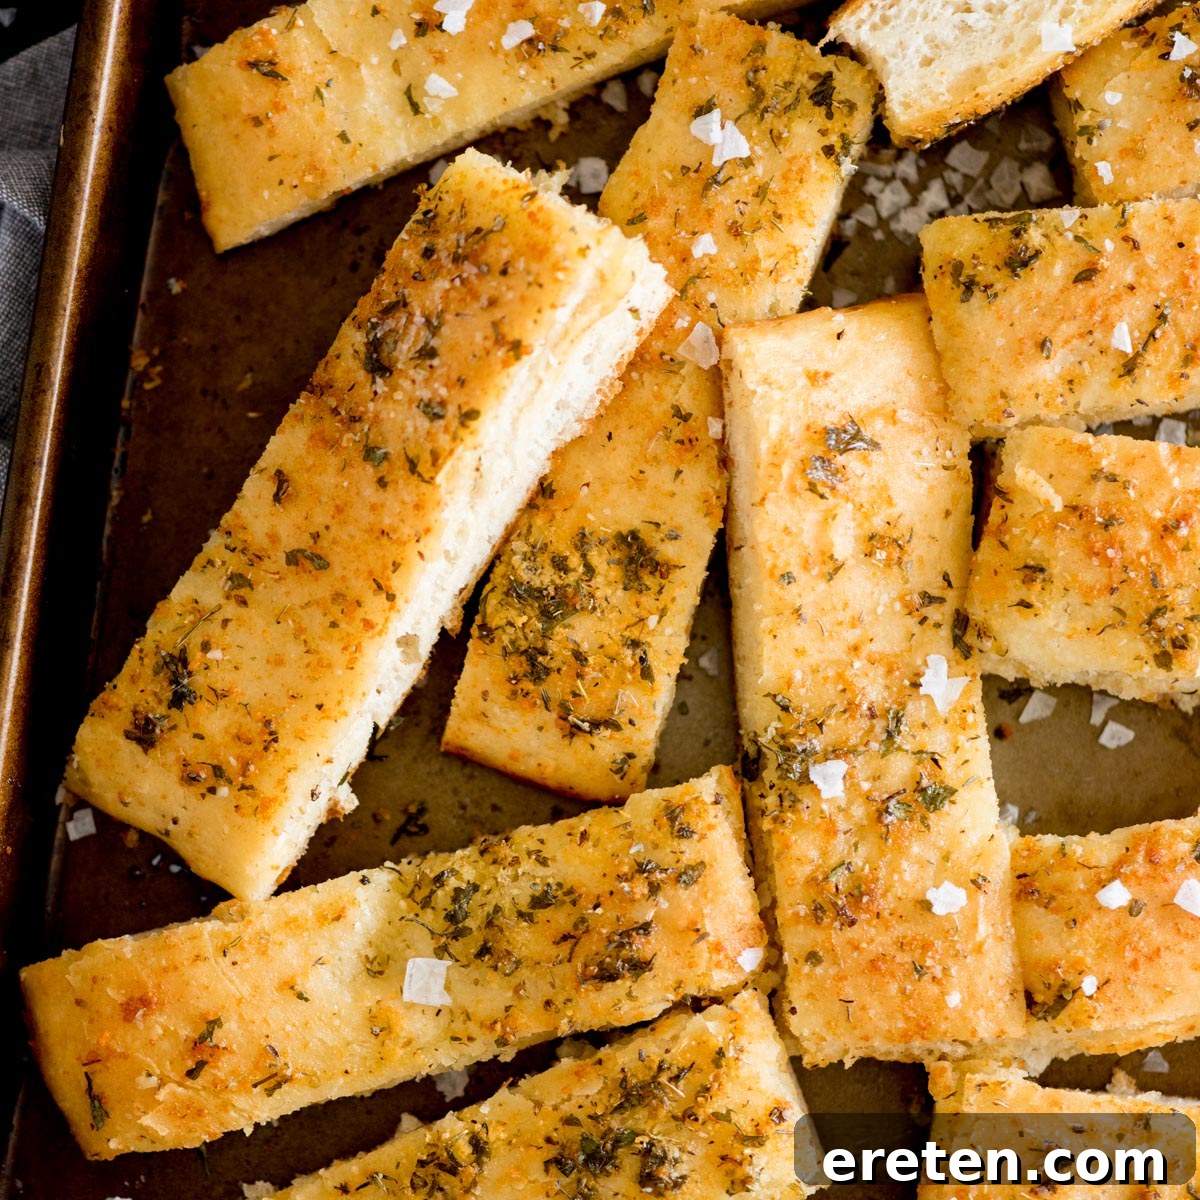
Craving the ultimate side dish that’s both comforting and packed with flavor? Look no further than these incredibly buttery, impossibly fluffy, and utterly delicious homemade Parmesan Garlic Breadsticks. Forget store-bought or even restaurant versions – this scratch-made recipe is surprisingly easy to whip up and promises to be the perfect companion to nearly any meal. Prepare yourself for a delightful aroma to fill your kitchen as these golden-brown masterpieces bake to perfection, promising a taste that will have everyone reaching for more of these irresistible garlic herb breadsticks.
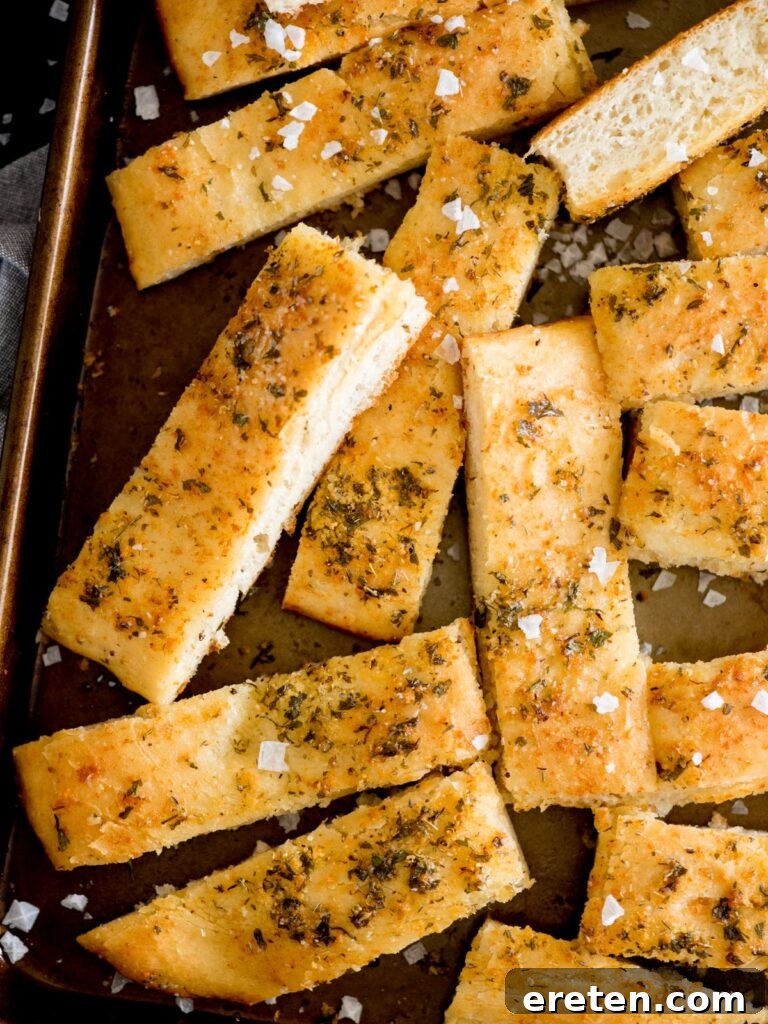
Why You’ll Absolutely Love This Homemade Garlic Breadsticks Recipe
There’s a reason these homemade garlic breadsticks quickly become a family favorite and a staple in many kitchens. While countless copycat recipes aim to replicate popular restaurant breadsticks, I genuinely believe this recipe surpasses them all, including any Olive Garden breadstick recipe I’ve ever encountered. What truly sets these easy homemade breadsticks apart and makes them an absolute must-try? It’s a combination of irresistible factors:
- Unbeatable Fluffiness: Achieving that light, airy texture is paramount for a truly satisfying breadstick. Our recipe guides you through a simple yeast dough process that yields breadsticks with an incredibly soft interior and a delightful chew. Each bite offers a cloud-like experience that melts in your mouth, a testament to properly proofed and kneaded dough.
- Explosive, Rich Flavor: Beyond just garlic, we infuse these breadsticks with a harmonious blend of fragrant dried herbs and sharp, savory Parmesan cheese. The magic truly happens when they’re generously brushed with a melted butter and herb mixture *before* baking. This step allows the rich, aromatic flavors to deeply penetrate the dough, creating a “next level” taste experience that’s both aromatic and deeply satisfying with every bite. The Parmesan creates a wonderfully crisp, cheesy crust that complements the soft interior.
- Remarkably Easy to Make: Don’t be intimidated by the thought of working with yeast! This recipe for easy garlic breadsticks is designed with simplicity in mind. With clear, step-by-step instructions and practical tips, even novice bakers can achieve bakery-quality results. The process is straightforward, requiring minimal fuss for maximum deliciousness, making it perfect for weeknight meals or special gatherings.
- Incredible Versatility: These Parmesan garlic breadsticks aren’t just a side dish; they’re a versatile culinary delight that can enhance almost any meal. They pair beautifully with classic Italian pasta dishes, hearty soups and stews, fresh crisp salads, or even as a standalone snack. Their ability to soak up sauces and broths makes them an ideal accompaniment for any saucy main course, ensuring no delicious drop goes to waste.
Once you experience the superior taste, texture, and ease of these homemade Parmesan garlic breadsticks, you’ll understand why they’re destined to become a staple in your recipe rotation. They’re more than just breadsticks; they’re a warm, garlicky hug for your taste buds, promising pure comfort and joy.
Essential Ingredients for Perfect Parmesan Garlic Breadsticks
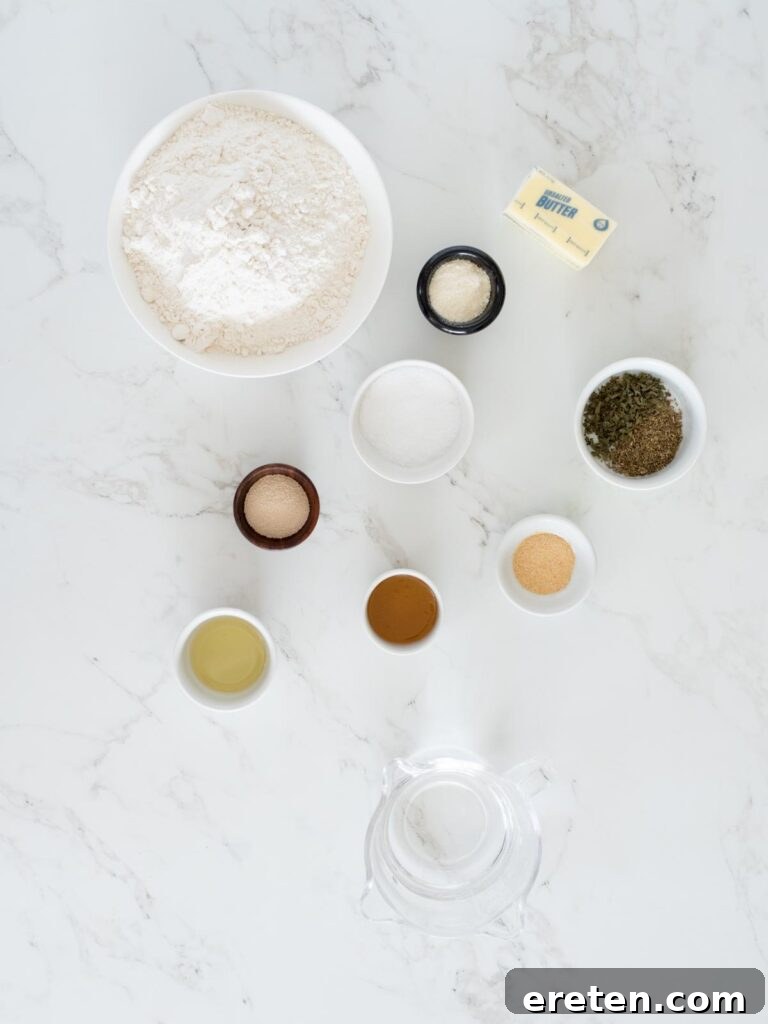
Crafting these delectable homemade breadsticks requires a handful of common pantry staples. While the magic truly happens in the method, starting with fresh, quality ingredients ensures the best possible outcome for your fluffy garlic breadsticks. Here’s a comprehensive list of what you’ll need to gather before you begin:
- Water: Lukewarm water is absolutely crucial for activating the active dry yeast. Ensure it’s not too hot, which can kill the yeast, or too cold, which won’t allow it to bloom.
- Active Dry Yeast: This is the leavening agent responsible for giving our breadsticks their signature light and fluffy texture. Always check the expiration date and ensure it’s fresh to guarantee a good rise.
- Honey: A small amount of honey not only adds a subtle hint of sweetness to the dough but, more importantly, acts as food for the yeast, helping to promote a vigorous rise and enhance the bread’s flavor.
- Oil: A neutral-flavored oil, such as vegetable or canola oil, contributes to the dough’s tenderness and softness. It also prevents the dough from sticking during mixing and shaping.
- Salt: Essential for balancing the flavors in the dough and enhancing the overall taste of the breadsticks. We use a pinch of kosher salt for a clean, mineral flavor.
- All-Purpose Flour: The foundational ingredient for our dough, providing the necessary structure and body for the breadsticks. Have a little extra on hand for dusting as you knead.
- Butter: Melted butter forms the rich, glossy, and incredibly flavorful topping for our breadsticks. Unsalted butter is preferred to control the sodium content, but salted can be used if adjusted.
- Garlic Powder: For that irresistible, classic garlic punch in the butter mixture. Garlic powder distributes evenly and provides consistent flavor.
- Dried Parsley: Adds a fresh, herbaceous note and a vibrant touch of color to the butter topping, enhancing both flavor and visual appeal.
- Dried Oregano: Provides an earthy, aromatic depth to the flavor profile of the breadsticks, complementing the garlic and Parmesan beautifully.
- Shredded Parmesan Cheese: The star of the topping! Parmesan delivers a salty, umami kick and creates a delicious, slightly crispy crust. For the best flavor, opt for freshly grated Parmesan over pre-shredded varieties.
Having all your ingredients measured and ready before you begin, often referred to as “mise en place,” will make the breadstick-making process even smoother and more enjoyable, ensuring a stress-free baking experience.
Step-by-Step Guide: How to Make Easy Garlic Breadsticks
Creating these delightful Parmesan garlic breadsticks from scratch is a wonderfully rewarding experience. Follow these detailed, easy-to-understand instructions to ensure a perfect batch of fluffy, flavorful homemade breadsticks every single time. For precise measurements, please refer to the comprehensive recipe card located at the bottom of this page.
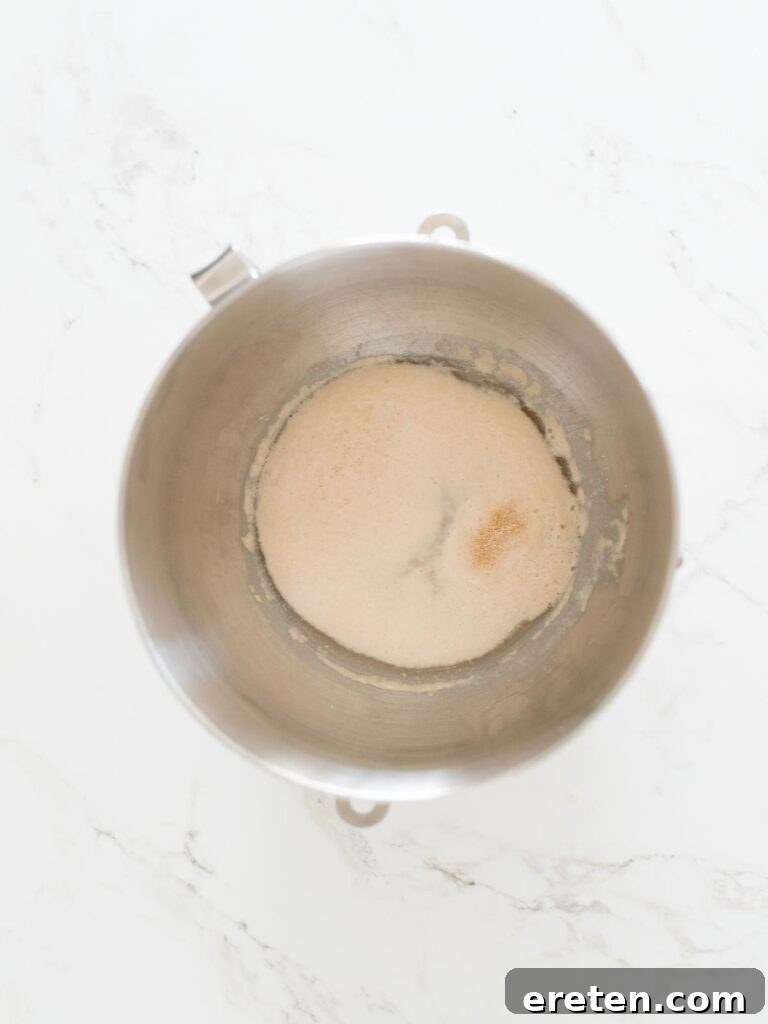
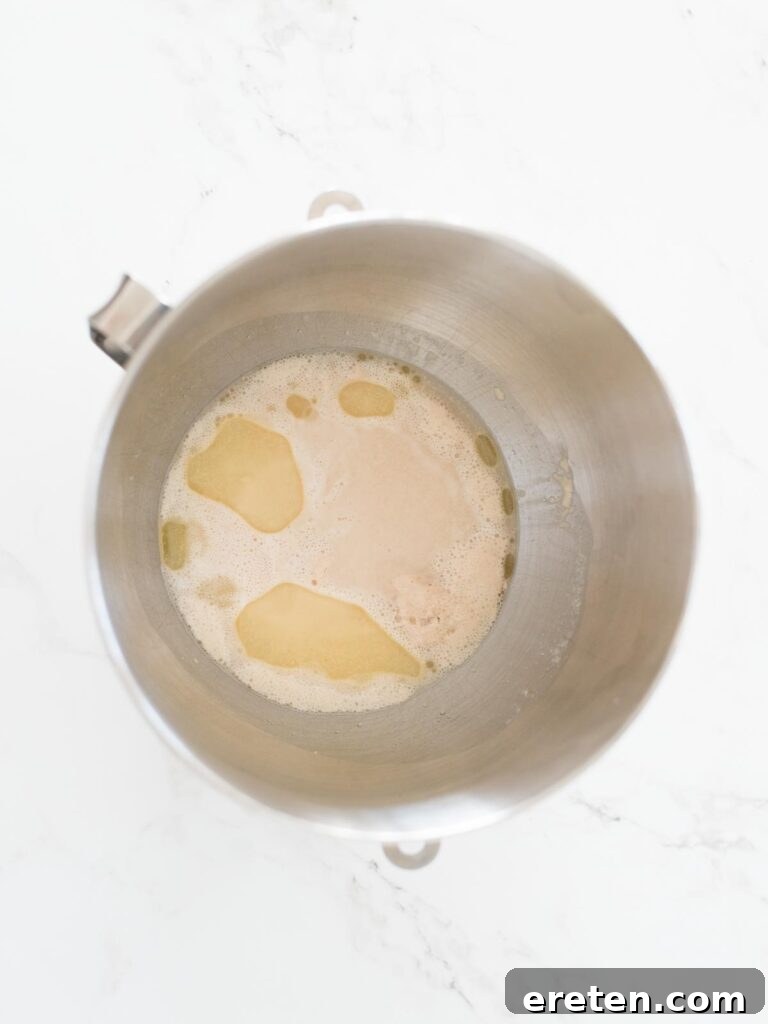
- Activate the Yeast (Proofing): Begin by adding the warm water (ideally maintained between 105°F and 115°F, or 40°C-46°C), active dry yeast, and honey into the bowl of your stand mixer. Give these ingredients a gentle stir to combine them thoroughly. Allow this mixture to sit undisturbed for approximately 5-7 minutes. You’ll know your yeast is active and healthy when the mixture becomes visibly foamy and bubbly on the surface, indicating that the yeast is alive and ready to work its magic. This “proofing” step is absolutely crucial for achieving light and airy breadsticks.
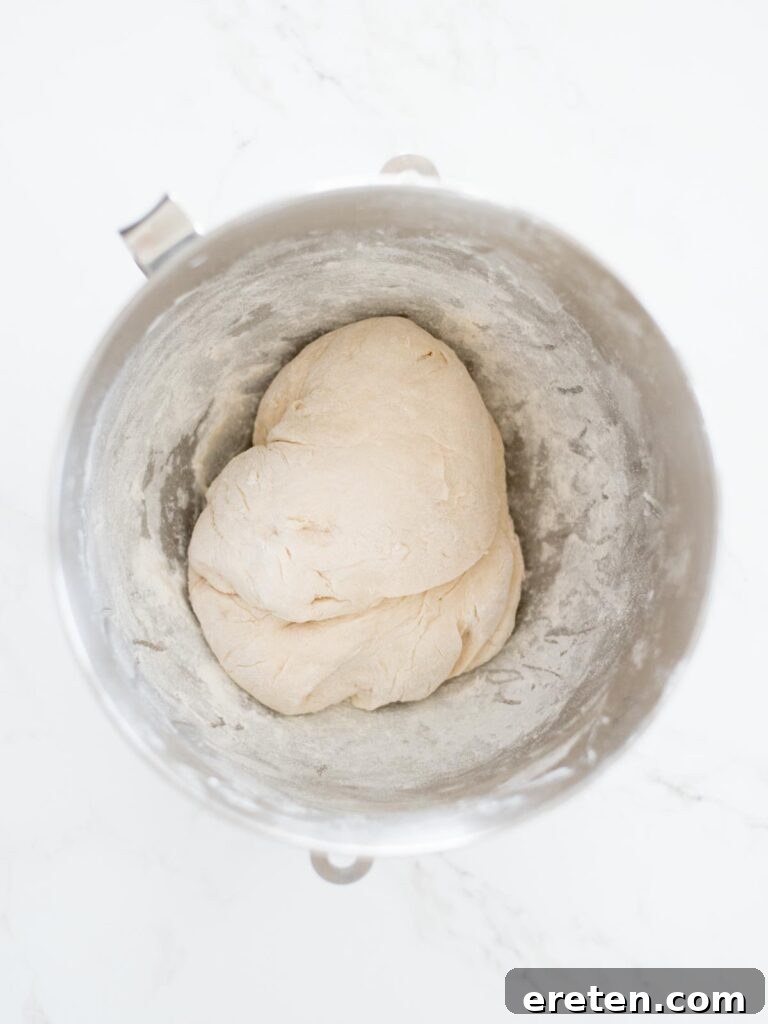
- Form the Initial Dough: Once your yeast mixture is beautifully foamy, proceed to add the neutral oil and a pinch of kosher salt to the bowl. Mix these ingredients briefly with the dough hook attachment on low speed to ensure they are well combined. Next, add 2 cups of the all-purpose flour. Continue mixing with the dough hook until the flour is fully incorporated into the wet ingredients. Then, add another cup of flour and mix until absorbed. Finally, add the remaining flour gradually, one tablespoon at a time, allowing each addition to fully incorporate before adding more, until the dough is no longer sticky to the touch. It’s important not to add too much flour; typically, you won’t need more than an additional 1/2 cup beyond the initial 3 cups. The goal is to achieve a soft, pliable, and slightly tacky dough.
- Knead for Smoothness and Elasticity: With the dough hook still attached to your stand mixer, continue to knead the dough on medium-low speed for approximately 3 minutes. This essential step develops the gluten in the flour, resulting in a smooth, elastic dough that will rise beautifully and yield a wonderfully tender crumb in your finished breadsticks. The dough should pull cleanly away from the sides of the bowl and feel soft and supple.
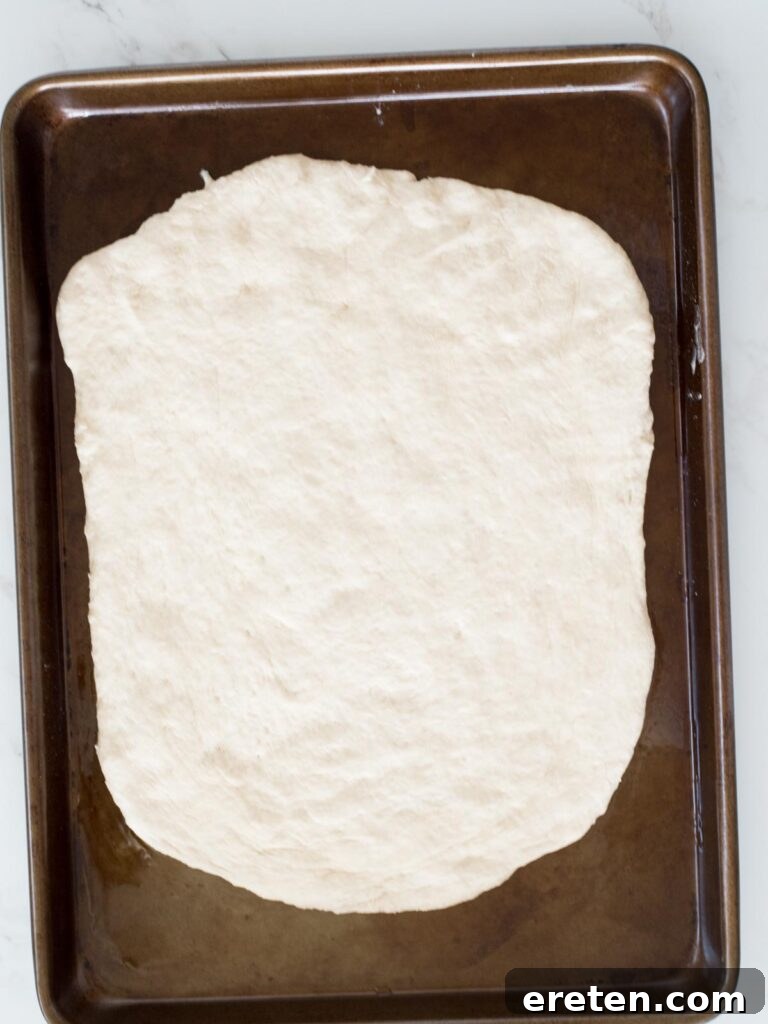
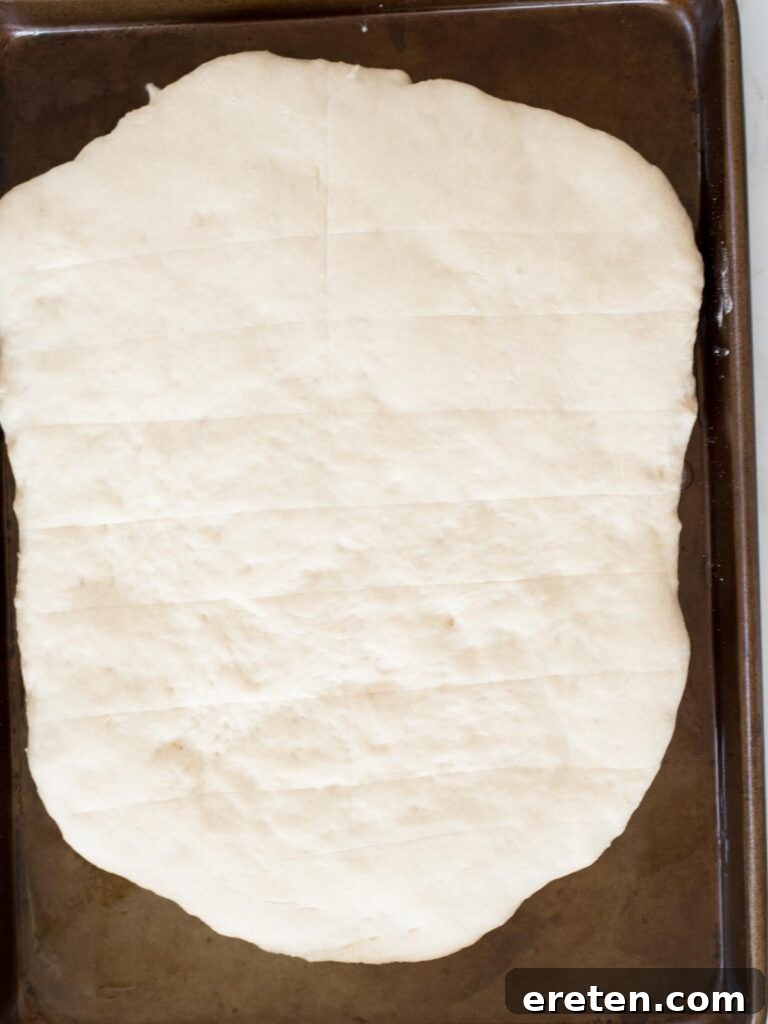
- Prepare and Shape for Rising: Lightly oil a large baking sheet, ensuring even coverage to prevent sticking. Carefully transfer the freshly kneaded dough onto the oiled baking sheet. Gently shape the dough into a rough rectangle. Don’t stress about achieving perfect precision here; a general rectangular shape will suffice as it will be cut into individual breadsticks later.
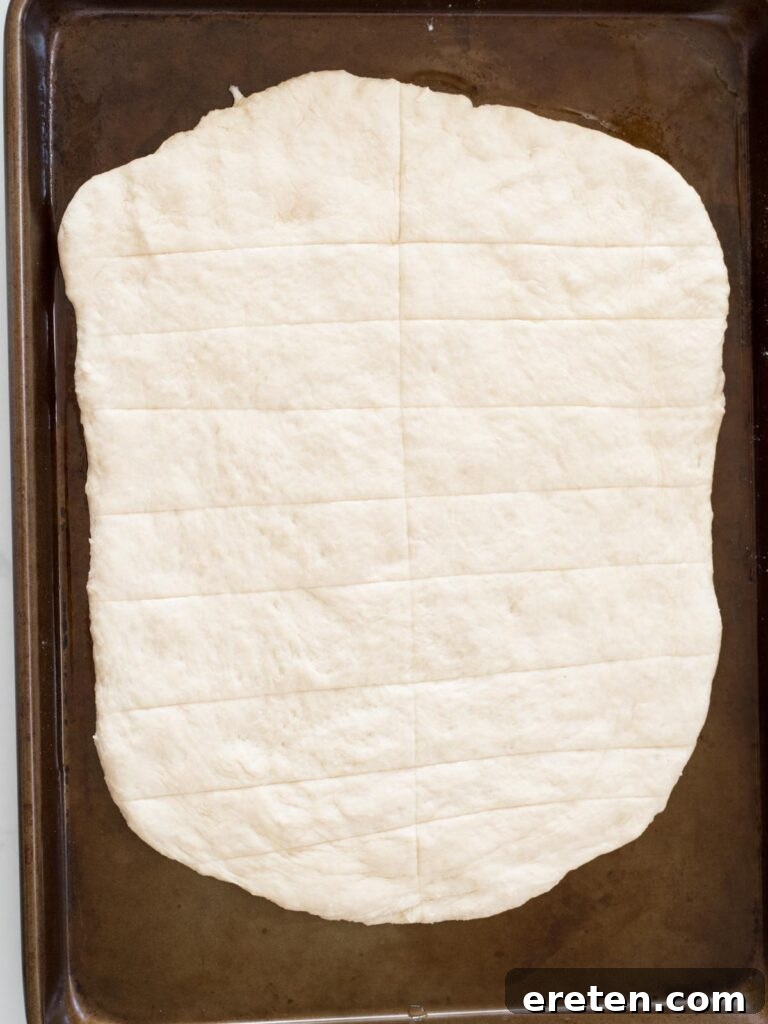
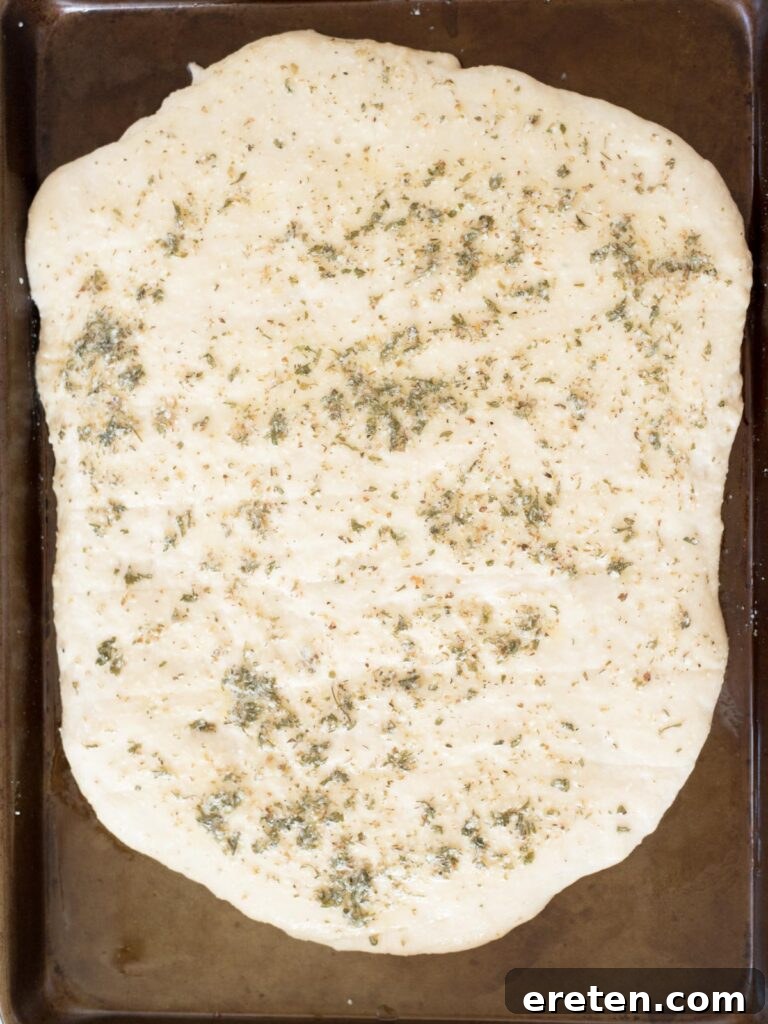
- Score the Breadsticks: Using a pizza cutter or a sharp knife, gently score the dough into your desired breadstick shapes. You don’t need to cut all the way through the dough to the baking sheet, but you’ll want to aim to go most of the way through the dough. This scoring makes it incredibly easy to break apart the individual breadsticks after baking, and it also encourages a more even rise and consistent shape during baking.
- First Rise (Proofing): Cover the scored dough on the baking sheet with a clean kitchen towel. Place the baking sheet in a warm, draft-free spot in your kitchen. Allow the dough to rise for about 30 minutes, or until it has noticeably puffed up and appears airy and slightly larger. This vital step allows the yeast to continue working its magic, developing the bread’s internal structure and enhancing its flavor.
- Preheat Your Oven: While the dough is completing its final proof, preheat your oven to a hot 450°F (230°C). Getting the oven to the correct temperature is crucial for a quick burst of rise (oven spring) and for achieving that coveted golden, crispy crust on your breadsticks.
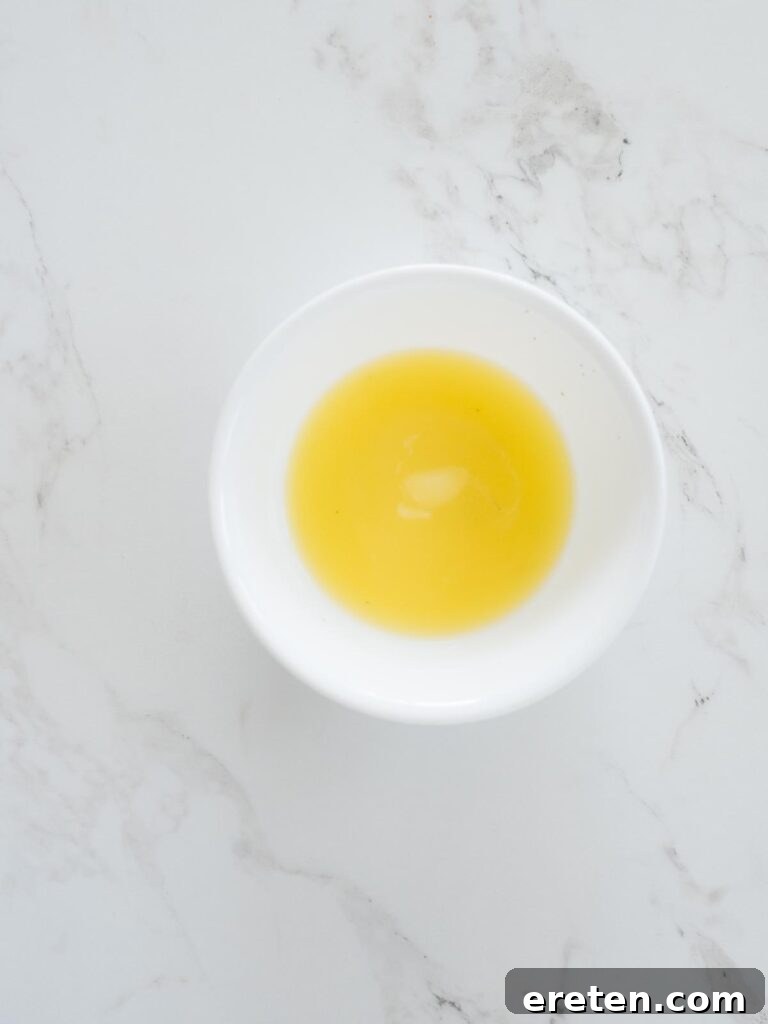
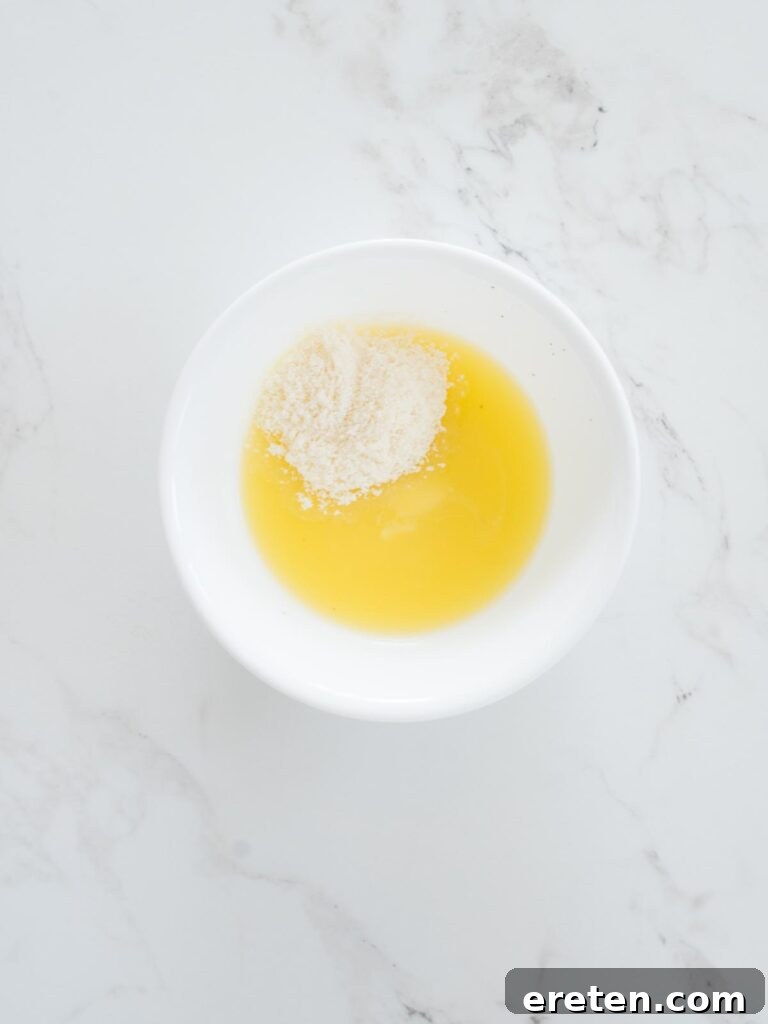
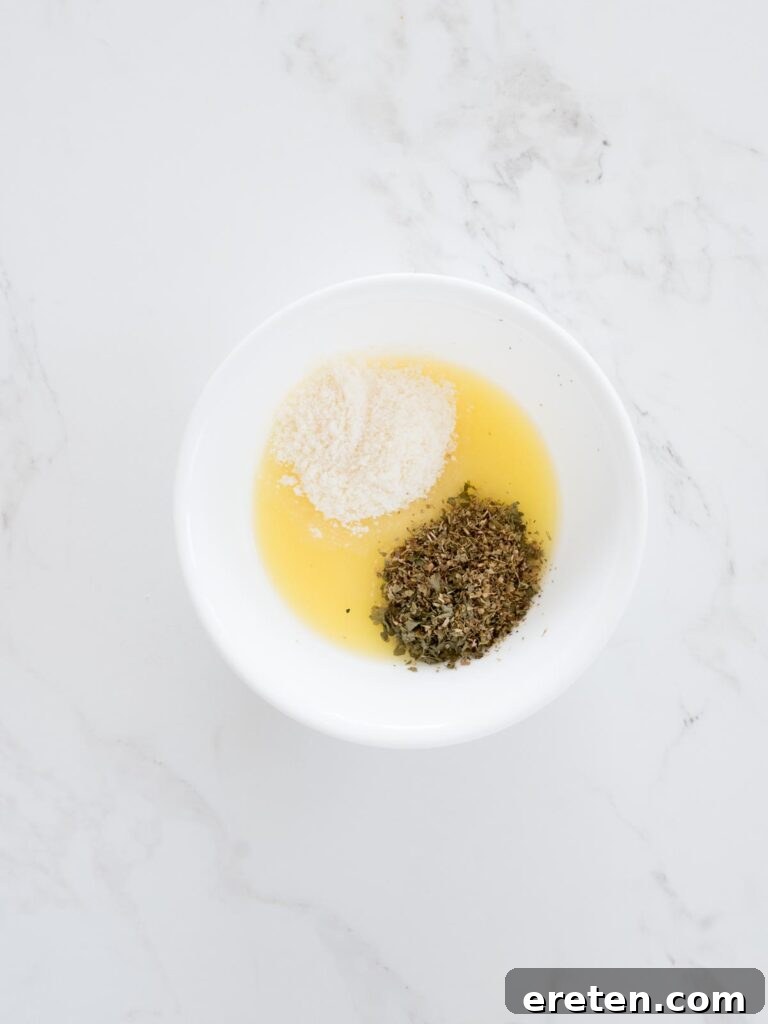
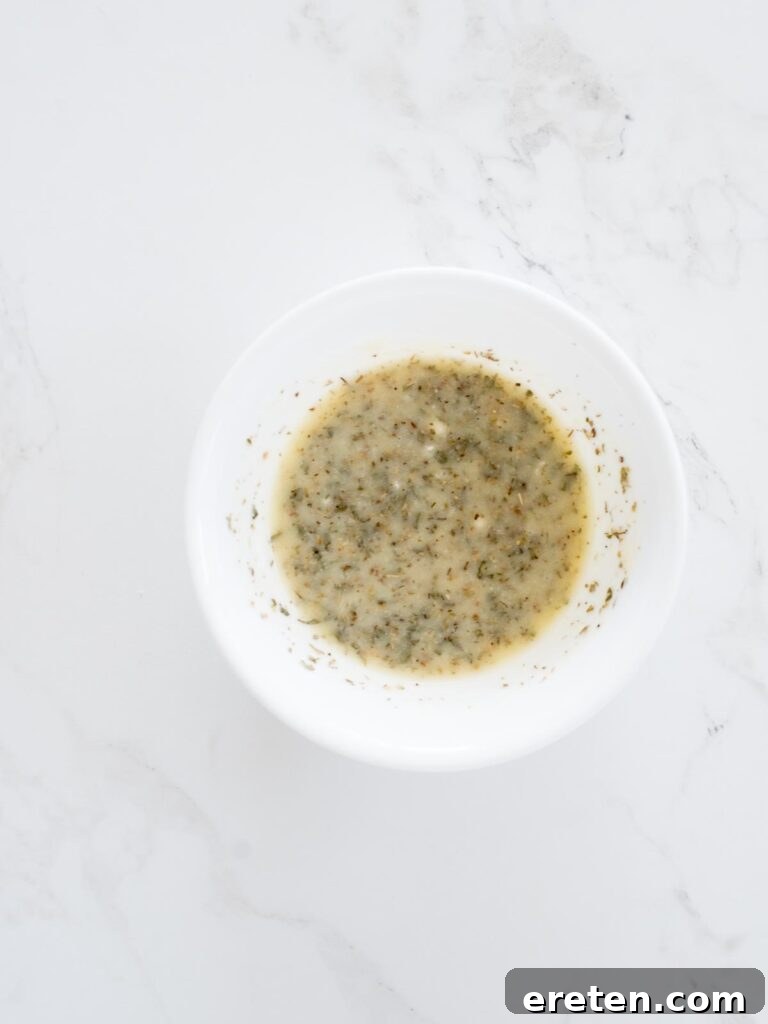
- Prepare the Flavorful Garlic Butter Topping: In a small, microwave-safe bowl, combine the melted butter, garlic powder, shredded Parmesan cheese, dried oregano, and dried parsley. Stir all these ingredients thoroughly until they are well combined, creating a fragrant, herby butter mixture. This is where a significant part of the breadsticks’ signature irresistible flavor comes from.
- Brush and Bake: Once the dough has successfully risen, generously brush the entire surface of the scored dough with about half of the prepared garlic butter mixture. This step ensures the herbs and cheese bake directly into the crust, significantly enhancing the flavor and contributing to a beautiful golden-brown finish. Carefully place the baking sheet into the preheated oven.
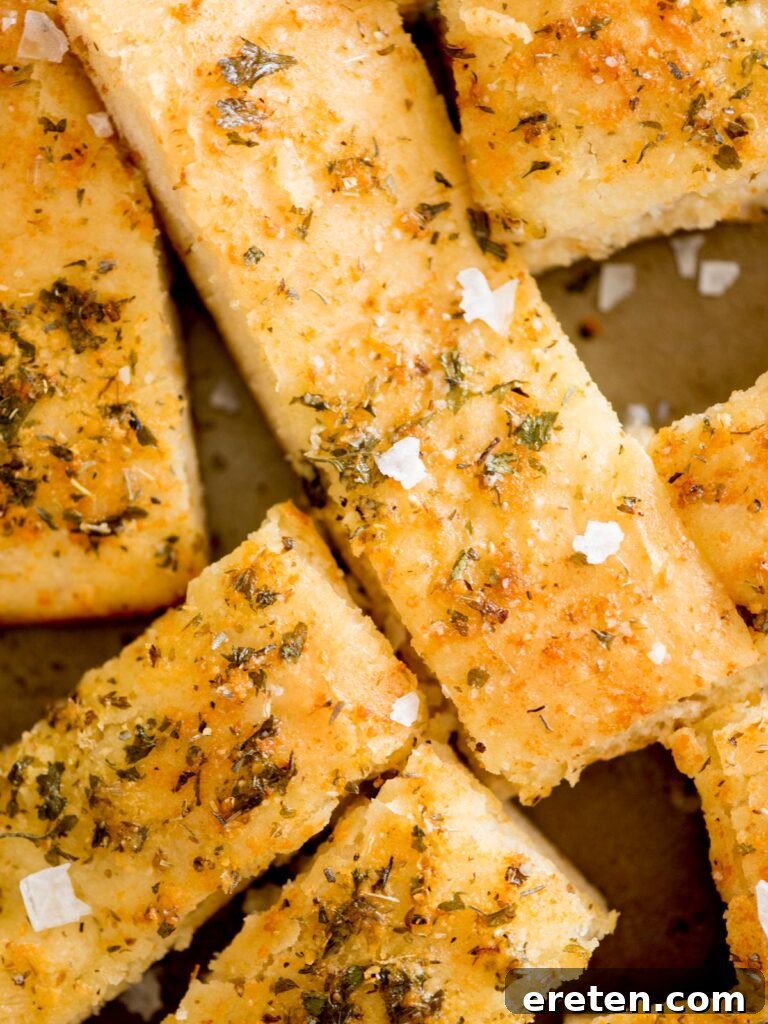
- Bake to Golden Perfection: Bake the breadsticks in the preheated oven for 8-10 minutes. It’s essential to keep a close eye on them during this stage, as breadsticks bake relatively quickly due to their shape and size. They should emerge cooked through, lightly golden brown on top, and incredibly fragrant. The exact baking time may vary slightly depending on the calibration of your individual oven.
- Final Flourish and Serve: As soon as you remove the hot, baked breadsticks from the oven, immediately brush them generously with the remaining melted garlic butter mixture. For an extra pop of flavor, texture, and visual appeal, you can sprinkle them with additional coarse kosher salt if desired. Separate the scored breadsticks and serve them warm for the ultimate indulgent experience. Enjoy!
Expert Tips and Tricks for Flawless Garlic Breadsticks
While this recipe for homemade Parmesan garlic breadsticks is designed to be straightforward and easy, a few key tips and tricks can truly elevate your baking game and ensure consistent, flawless results every time:
- Always Check Your Yeast: This is arguably the most critical step for any yeast-based recipe. When you combine warm water (between 105°F and 115°F), active dry yeast, and a little sugar (like honey), the mixture should become visibly foamy and bubbly within 5-7 minutes. This foam is a clear indicator that your yeast is alive and active. If it doesn’t foam, your yeast is no longer viable, and you’ll need to start over with a fresh batch. Using expired or inactive yeast is the most common reason for dough failing to rise.
- Precision in Water Temperature: The temperature of your water is absolutely crucial for yeast activation. It needs to be warm, but never hot – think of it as lukewarm bathwater. Water that is too cold won’t activate the yeast, leading to a slow or non-existent rise, while water that is too hot will kill the yeast entirely. Using a kitchen thermometer for accuracy (aiming for 105°F-115°F or 40°C-46°C) can make a significant difference.
- Avoid Over-Flouring Your Dough: While you need enough flour for the dough to be manageable and to prevent it from being excessively sticky, adding too much flour can result in tough, dry, and dense breadsticks. Always add flour gradually, allowing the dough to incorporate each addition, until it just pulls away from the sides of the bowl and feels soft and elastic. A slightly tacky dough is generally preferable to a stiff, dry one.
- Kneading is Essential: Do not skip or rush the kneading step! Kneading develops the gluten in the flour, which is what gives the breadsticks their structure, elasticity, and that wonderful chewy yet fluffy texture. Three minutes in a stand mixer with a dough hook is usually sufficient. If kneading by hand, aim for 5-7 minutes until the dough is smooth, elastic, and passes the “windowpane test” (where a small piece can be stretched thinly enough to see light through it without tearing).
- Provide a Warm Environment for Rising: Yeast thrives in warmth. For the best rise, place your covered dough in a warm, draft-free spot in your kitchen. This could be a slightly warmed oven (turned off after warming), near a sunny window, or on top of a warm appliance like a refrigerator.
- Scoring is Optional, but Recommended: Scoring the dough into individual breadstick shapes before the final rise isn’t strictly necessary for the cooking process itself, but it certainly makes separating the baked breadsticks much easier and provides a more uniform, appealing aesthetic. It also aids in even baking and ensures each breadstick has a consistent rise.
- Proper Baking Sheet Preparation: Thoroughly oiling your baking sheet is crucial to prevent the breadsticks from sticking. Alternatively, for even easier cleanup and consistently reliable non-stick performance, you can opt to use a silicone baking mat or parchment paper.
- Avoid Overbaking: Breadsticks bake relatively quickly due to their slender shape! Keep a very close eye on them during the last few minutes in the oven to prevent them from becoming too dry, hard, or overly crispy. They should be just lightly golden brown on top and cooked through, not dark or excessively crunchy.
- Brush While Hot: Brushing the baked breadsticks generously with the remaining melted garlic butter mixture immediately after they come out of the oven is a vital step. The heat of the breadsticks allows the butter and herbs to be absorbed optimally, maximizing the flavor penetration and helping to keep them wonderfully moist and tender.
Delicious Serving Suggestions for Your Garlic Breadsticks
These versatile Parmesan garlic breadsticks are the perfect accompaniment to a wide array of dishes, instantly upgrading any meal. Their fluffy texture and rich, savory garlic-herb flavor make them an ideal choice for soaking up delicious sauces or complementing hearty main courses. Here are some of our favorite ways to enjoy them:
- Classic Italian Pairings: Naturally, these homemade breadsticks truly shine alongside any Italian pasta dish. Whether it’s a rich spaghetti bolognese, a creamy fettuccine alfredo, a hearty lasagna, or a vibrant primavera, they are perfect for mopping up every last drop of that delectable sauce.
- Hearty Soups and Stews: Serve them with a comforting bowl of minestrone, a robust tomato soup, a classic French onion soup, or a flavorful beef stew. The breadsticks add a delightful texture and beautifully soak up the savory broth, making each spoonful even more satisfying.
- Fresh Salads: Elevate a simple crisp green salad or a classic Caesar salad with a warm, buttery garlic breadstick on the side. The contrast between the fresh greens and the savory bread is simply divine.
- As an Appetizer: Offer these irresistible breadsticks with a warm marinara dipping sauce, a creamy alfredo sauce, or a simple yet elegant olive oil and balsamic vinegar dip for a crowd-pleasing appetizer that will disappear quickly.
- Complement Main Dishes: They serve as an excellent side to roasted chicken, pan-seared steak, grilled fish, or even alongside a gourmet grilled cheese sandwich for a more substantial and satisfying meal.
- Breakfast/Brunch Twist: While unconventional, a leftover breadstick can be surprisingly delicious when lightly toasted and served with scrambled eggs or a savory breakfast casserole, offering a unique morning treat.
No matter how you choose to serve them, these homemade Parmesan garlic breadsticks are guaranteed to be a universally loved hit at your dining table, bringing joy and comfort with every buttery bite!
Creative Variations for Your Homemade Breadsticks
While the classic Parmesan garlic breadstick recipe is fantastic on its own and a proven winner, don’t hesitate to get creative and experiment with different flavor profiles to customize them to your liking. Here are some delightful variations to try:
- Extra Cheesy Deluxe: For an ultimate cheese experience, in addition to Parmesan, sprinkle some shredded mozzarella, sharp cheddar, provolone, or a delicious blend of Italian cheeses over the dough before baking. This will result in an extra gooey, cheesy breadstick that’s simply divine.
- Spicy Kick: If you enjoy a bit of heat, add a pinch of red pepper flakes to the garlic butter mixture for a subtle warmth. For a bolder, more fiery flavor, finely mince some fresh jalapeño or serrano peppers and incorporate them into the butter.
- Fresh Herb Medley: If you have fresh herbs readily available, finely chop them and mix them into the melted butter instead of using dried ones. Fresh rosemary, thyme, chives, or a combination of these can add a delightful aromatic twist and a brighter flavor profile.
- Everything Bagel Seasoning: For a trendy and incredibly savory crunch, generously sprinkle some everything bagel seasoning over the buttered dough before baking. The blend of sesame seeds, poppy seeds, dried garlic, and onion will add an amazing texture and flavor.
- Sweet Breadstick Surprise: Believe it or not, these breadsticks can also take a delightful sweet turn! Simply omit the garlic powder and Parmesan cheese from the butter topping. Instead, brush the risen dough with melted butter mixed with cinnamon sugar for a wonderful dessert or a unique breakfast treat.
- Garlic Confit Infusion: For a deeper, sweeter, and more mellow garlic flavor, mash some homemade garlic confit (garlic cloves slow-cooked in olive oil until tender) into the melted butter mixture. This imparts an incredibly rich and nuanced garlic essence.
These variations allow you to personalize your homemade breadsticks, making them a unique addition to any meal or occasion.
Common Questions About Garlic Breadsticks (FAQ)
Homemade breadsticks are incredibly versatile and can complement a vast array of dishes! They are particularly fantastic with any meal that features a delicious sauce, gravy, or broth, as their fluffy texture makes them perfect for soaking up every last bit of flavor. Classic pairings include rich pasta dishes like lasagna, spaghetti with meatballs, or chicken alfredo. They also shine alongside hearty stews, creamy soups such as tomato bisque or minestrone, and even simple green salads to add a satisfying carbohydrate component. For appetizers, serve them with warm marinara sauce, a homemade pesto, or a classic olive oil and balsamic vinegar dip.
If your breadsticks didn’t rise, it’s almost certainly due to an issue with your yeast. There are two primary culprits: expired or inactive yeast or incorrect water temperature. Yeast is a living organism, and if it’s old or hasn’t been stored properly (e.g., in an airtight container in the fridge or freezer), it will lose its potency and simply won’t activate. Always test your yeast by proofing it in warm water with a touch of honey; if it doesn’t get foamy and bubbly within 5-7 minutes, it’s no good, and you’ll need a fresh packet. Secondly, the water temperature is vital: it needs to be comfortably lukewarm, roughly between 105°F and 115°F (40°C-46°C). Water that’s too hot will kill the delicate yeast, rendering it ineffective, while water that’s too cold won’t activate it sufficiently, leading to dense, flat breadsticks. Using a kitchen thermometer for precision can help avoid this common pitfall.
Storage and Reheating Your Homemade Breadsticks
These Parmesan garlic breadsticks are undeniably at their absolute best when enjoyed fresh and warm straight from the oven. However, if you happen to have any delicious leftovers, proper storage and reheating techniques can keep them wonderfully palatable for another meal:
- Short-Term Storage: Allow the baked breadsticks to cool completely to room temperature before storing. Place them in an airtight container or a high-quality resealable plastic bag. They will keep well at room temperature for up to 2-3 days, though they may lose a bit of their initial crispiness.
- Long-Term Storage (Freezing): For longer preservation, you can freeze your homemade breadsticks for up to 1-2 months. To do so, wrap each breadstick individually in plastic wrap, then place them all into a large freezer-safe bag or airtight container. This helps prevent freezer burn and maintains their quality.
- Reheating from Room Temperature: To bring them back to life, simply preheat your oven to 350°F (175°C). Arrange the breadsticks on a baking sheet and heat for 5-7 minutes, or until they are warmed through and the exterior is slightly crispy again. An air fryer can also work wonders; reheat at 325°F (160°C) for 3-5 minutes for excellent results.
- Reheating from Frozen: If reheating from frozen, you can place them directly into a preheated oven at 350°F (175°C) for 10-15 minutes, or until they are thoroughly heated through. Alternatively, you can let them thaw at room temperature for an hour before reheating using the room temperature method described above. We recommend avoiding the microwave for reheating, as it tends to make bread products chewy and lose their desirable texture.
With these simple storage and reheating tips, you can enjoy the comforting taste of homemade Parmesan garlic breadsticks even days after baking.
Other Delicious Recipes You Might Like
If you thoroughly enjoyed making these buttery and fluffy Parmesan Garlic Breadsticks, we’re confident you’ll love exploring these other fantastic homemade bread and savory side dish recipes:
- Easy Garlic Bread
- Super Simple Garlic Knots
- Honey Dinner Rolls
Parmesan Garlic Breadsticks Recipe Card
Parmesan Garlic Breadsticks
A buttery, fluffy, flavorful garlic breadsticks recipe that is easy to make and goes perfectly with your favorite meal.
Equipment
- Sheet Pan
- Measuring Cups
- Measuring Spoons
- Stand Mixer (optional, for kneading)
- Pizza Cutter or Sharp Knife
- Kitchen Towel
Ingredients
For the Dough:
- 1 cup warm water (105-115°F) (find here)
- 1 tablespoon active dry yeast (find here)
- 1 tablespoon honey (find here)
- 2 tablespoons oil (vegetable or canola)
- 1 pinch of kosher salt (find here)
- 3½ cups all-purpose flour, plus up to ½ cup extra for dusting (find here)
For the Garlic Butter Topping:
- 6 tablespoons butter, melted (find here)
- ¾ teaspoon garlic powder (find here)
- 1 teaspoon dried parsley (find here)
- 1 teaspoon dried oregano (find here)
- 1½ tablespoons shredded Parmesan cheese (freshly grated is best)
- Optional: Additional coarse kosher salt for sprinkling
Instructions
- Activate Yeast: In a stand mixer bowl, combine warm water, active dry yeast, and honey. Let sit for 5-7 minutes until foamy.
- Combine Dough Ingredients: Add oil and a pinch of salt to the foamy yeast mixture. Mix. Add 2 cups flour and mix with the dough hook. Once combined, add another cup flour. Continue adding flour 1 tablespoon at a time until the dough is no longer sticky (do not exceed ½ cup additional flour).
- Knead Dough: Continue kneading the dough in the mixer with the dough hook for about 3 minutes, or until the dough is smooth and elastic.
- Shape Dough: Lightly oil a baking sheet. Place the dough onto the sheet and shape it into a rectangle.
- Score Breadsticks: Using a pizza cutter or knife, score the dough into desired breadstick shapes, cutting most of the way through but not completely to the baking sheet.
- First Rise: Cover the dough with a clean kitchen towel and place the baking sheet in a warm place to rise for about 30 minutes, or until puffed.
- Preheat Oven: Preheat your oven to 450°F (230°C).
- Prepare Garlic Butter: In a small bowl, combine half (3 tablespoons) of the melted butter, garlic powder, Parmesan, oregano, and parsley.
- Brush and Bake: Generously brush the risen dough with the garlic butter mixture. Bake in the preheated oven for 8-10 minutes, until golden brown and cooked through.
- Final Butter Brush: Remove the breadsticks from the oven. Immediately brush with the remaining melted butter and sprinkle with additional coarse kosher salt if desired. Serve warm.
Notes
- Ensure your yeast is active by checking for foam after mixing with warm water and honey. If no foam, get new yeast.
- Scoring the breadsticks makes them easier to pull apart after baking. It’s not strictly required, but recommended.
- A silicone baking mat or parchment paper can be used on the baking sheet instead of oil.
Nutrition Information
Nutrition information is automatically calculated and should be used as an approximation.
- Serving: 1 breadstick
- Calories: 137kcal
- Carbohydrates: 19g
- Protein: 2g
- Fat: 5g
- Saturated Fat: 3g
- Polyunsaturated Fat: 2g
- Trans Fat: 0g
- Cholesterol: 10mg
- Sodium: 9mg
- Fiber: 1g
- Sugar: 2g
Additional Info
Course: Appetizer, Side Dish
Cuisine: Italian
Loved this recipe? We’d love to hear from you! Share your thoughts and leave a comment below.