
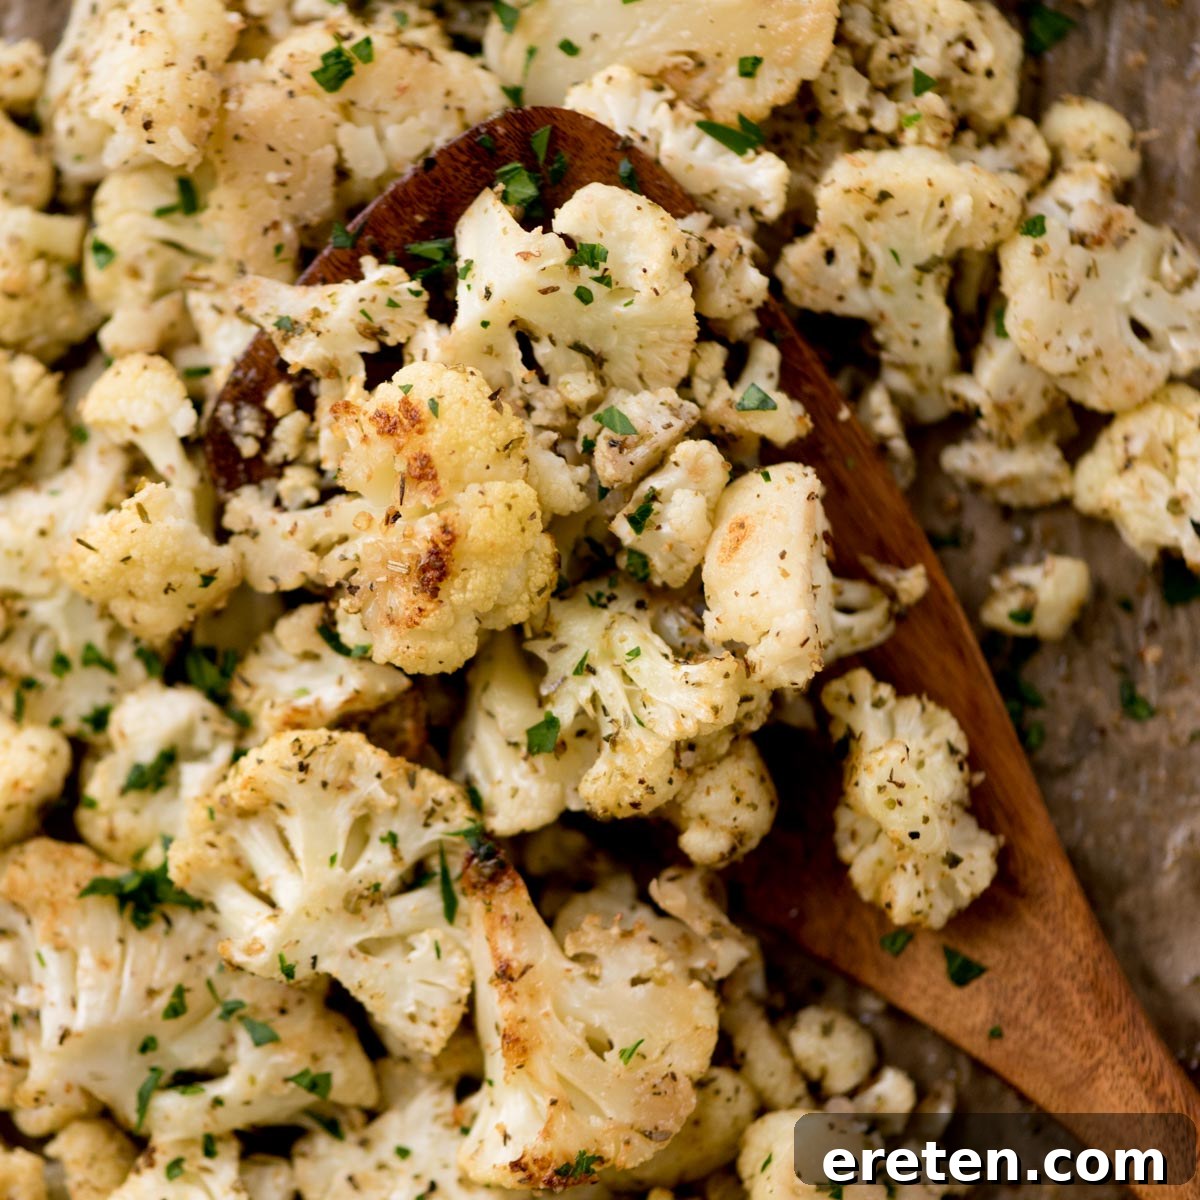
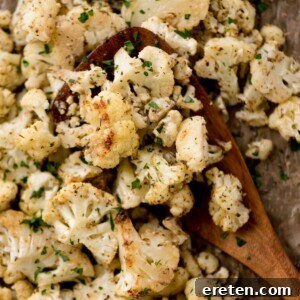
Unlock the secret to truly irresistible roasted cauliflower with this game-changing recipe. Forget soggy, bland, or unevenly cooked florets. We’re talking perfectly crisp edges, tender interiors, and a flavor profile that truly sticks, making this healthy side dish a family favorite. With one simple cutting technique and a blend of readily available pantry staples, you’ll transform a humble head of cauliflower into a golden, seasoned culinary delight that everyone will clamor for seconds of.
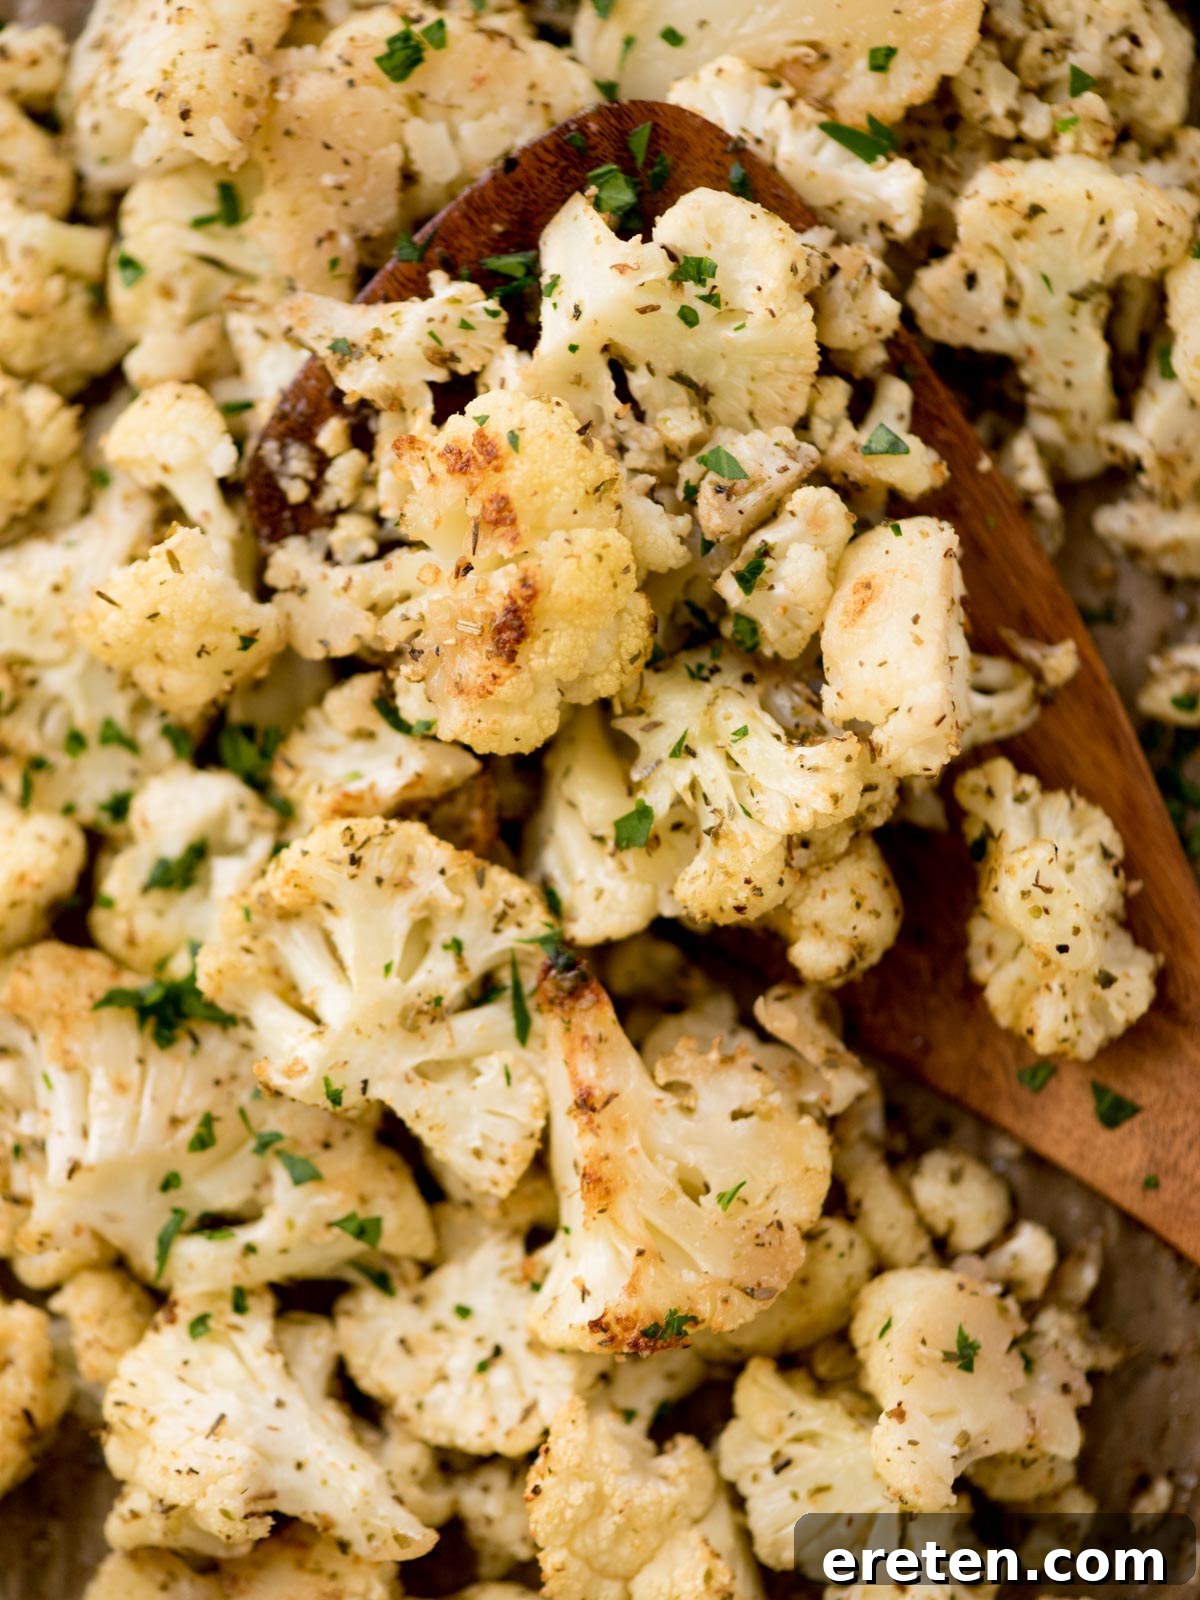
For years, roasting cauliflower felt like a culinary gamble. I tried countless methods, each promising golden perfection, but often yielding results that were either steamed and mushy, inconsistently cooked, or simply failed to hold onto their seasoning. It was a frustrating cycle, especially when the goal was a simple, delicious vegetable side. The quest for that ideal crispy, flavorful roasted cauliflower seemed elusive, leading to more “sad batches” than I care to recall.
Through extensive testing and a dedicated pursuit of perfection, I finally discovered the key – and it’s surprisingly straightforward. The magic lies not in how you season the cauliflower, but in how you prepare it. Instead of blindly breaking the cauliflower into traditional florets, as most recipes suggest, the trick is to slice it into ½-inch “steaks” first. This unique approach creates more flat surfaces, which are crucial for achieving that coveted golden-brown crispiness in the oven, preventing the cauliflower from simply steaming. These uniform pieces then easily transform into perfectly bite-sized chunks, ready to absorb a rich butter-and-oil base and a robust blend of seasonings. The result is consistently golden, perfectly seasoned, and wonderfully crisp roasted cauliflower that elevates any meal.
Why This Oven Roasted Cauliflower Recipe is a Must-Try
This isn’t just another roasted cauliflower recipe; it’s the one that delivers consistent, delicious results every time. Here’s why it will quickly become a staple in your kitchen:
- Effortlessly Simple: The preparation couldn’t be easier. Just a few quick slices, a simple toss with oil and seasonings, and it’s ready for the oven. This recipe proves that exceptional flavor doesn’t require complicated steps.
- Remarkably Quick: Perfect for busy weeknights or when you need a delicious side in a hurry. From start to finish, you can have a full, satisfying meal on the table in under 30 minutes, making it an ideal companion for quick proteins.
- Picky-Eater Approved: Seriously! It might sound unbelievable for cauliflower, but the rich, savory flavor and irresistible crispy texture of this dish make it appealing even to those typically resistant to vegetables. It’s a fantastic way to introduce more healthy options to your family’s diet.
- Incredibly Versatile: This roasted cauliflower pairs beautifully with almost any main course, from grilled chicken to baked fish. It also serves as an excellent base for various flavor additions and can be repurposed in countless ways.
- Healthy & Nutritious: Cauliflower is packed with vitamins, minerals, and fiber. Roasting it brings out its natural sweetness and makes it a delightful way to boost your daily vegetable intake.
- Budget-Friendly: Cauliflower is an affordable vegetable, and this recipe uses common pantry ingredients, making it a cost-effective choice for a healthy and delicious meal.
Essential Ingredients for the Best Crispy Roasted Cauliflower
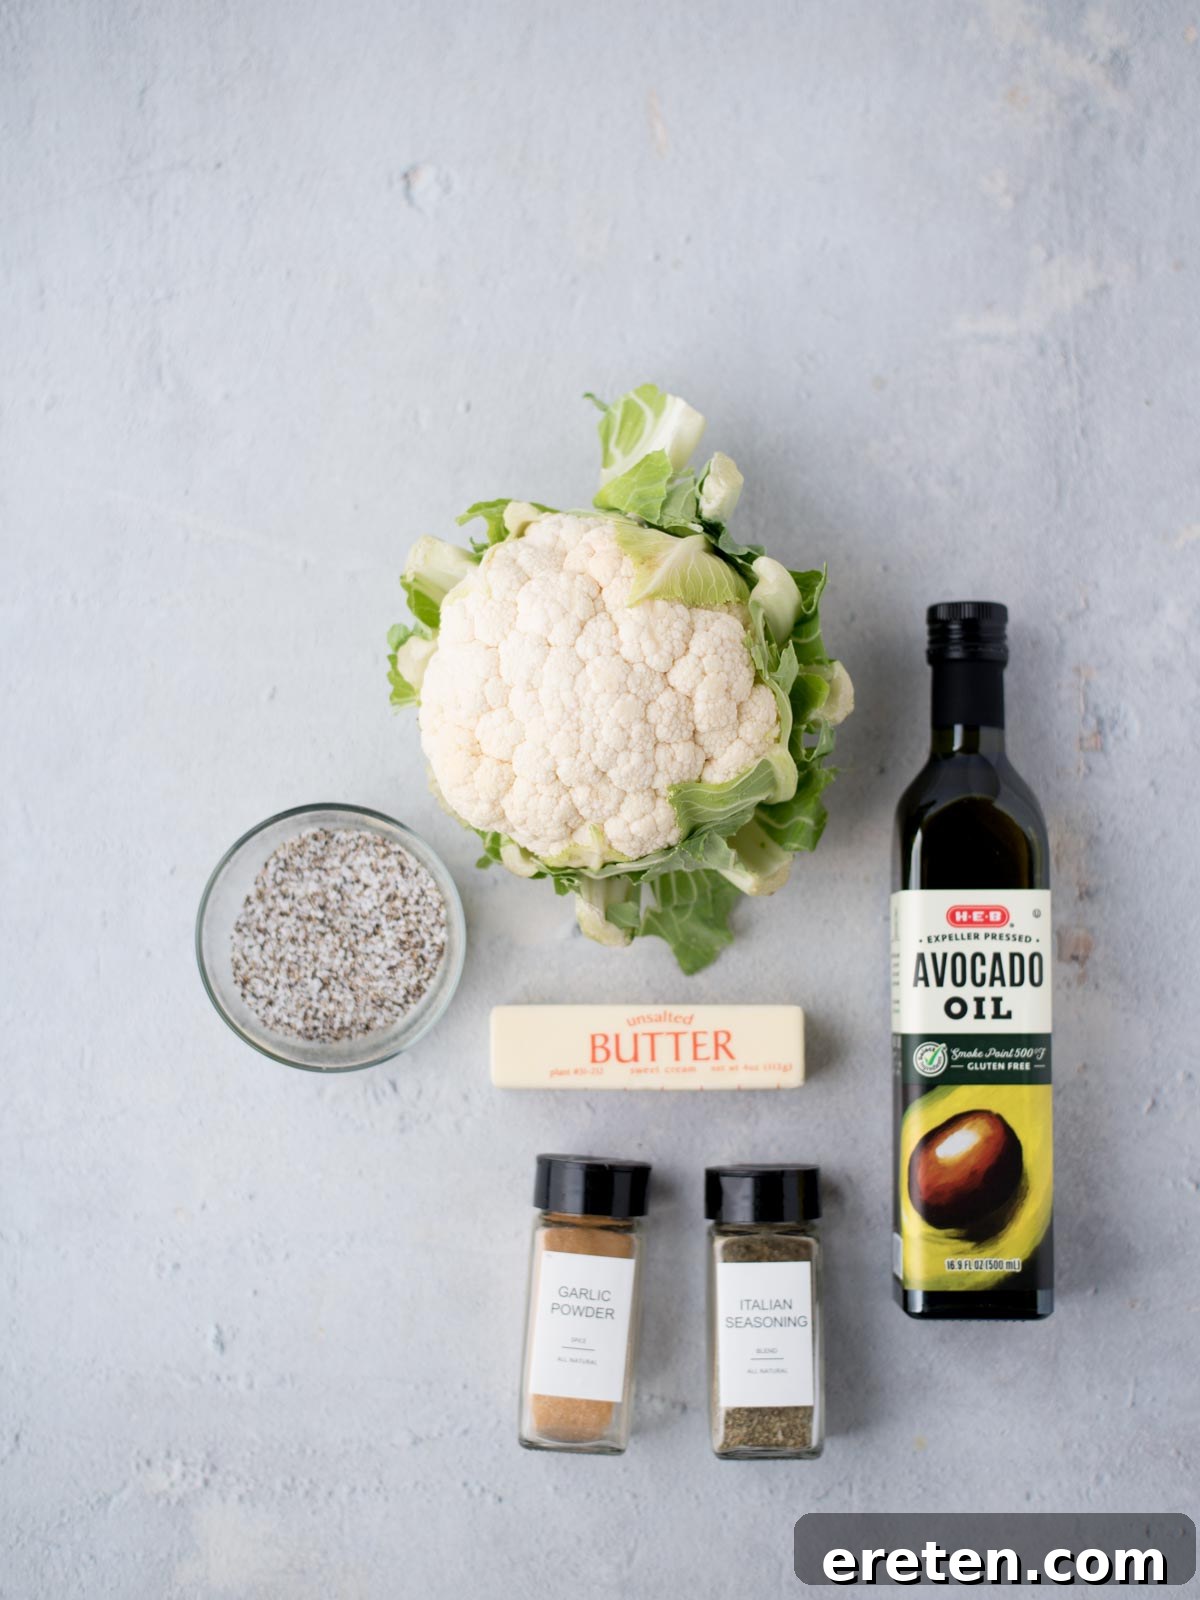
Achieving perfectly roasted cauliflower comes down to a few key ingredients, each playing a vital role in texture and flavor:
- Cauliflower: You’ll need one medium-sized head. The secret to its crispiness lies in the cutting method: slice it into ½-inch “steaks” first, then chop those steaks into uniform bite-sized pieces. This technique maximizes flat surfaces, allowing for optimal browning and crisping, rather than the steaming that often occurs with rounded florets. Look for a firm, white head with tightly packed florets and fresh, green leaves.
- Avocado Oil: Chosen for its high smoke point (around 520°F/270°C), avocado oil is perfect for high-heat roasting without burning. It provides a neutral base that allows the other flavors to shine through and helps achieve that desired golden crust.
- Melted Butter: Butter introduces a luxurious richness and aids significantly in browning, giving the cauliflower a beautiful golden hue and enhancing its savory depth. The combination of oil and butter creates a superior texture and flavor profile that neither ingredient could achieve alone. For a dairy-free option, plant-based butter alternatives work wonderfully.
- Garlic Powder: A staple for adding savory aromatic notes without the risk of fresh garlic burning in a hot oven. Garlic powder adheres evenly to each piece of cauliflower, ensuring a consistent burst of flavor in every bite.
- Italian Seasoning: This blend of dried herbs like oregano, basil, thyme, and rosemary is a quick way to infuse complex, aromatic layers into the dish. It harmonizes with the garlic and butter, complementing the cauliflower without overpowering its delicate flavor.
- Kosher Salt: An absolute essential! Salt not only enhances the natural flavors of the cauliflower and other ingredients but also helps draw out moisture, contributing to crispiness. Adjust to taste, but don’t underestimate its importance.
- Black Pepper: Freshly ground black pepper adds a subtle, earthy kick and balances the savory elements, providing a well-rounded flavor.
Smart Substitutions & Flavor Alterations
This roasted cauliflower recipe is incredibly adaptable, allowing you to tailor it to your dietary needs or flavor preferences:
- Oil Alternatives: If avocado oil isn’t on hand, good quality extra virgin olive oil can be used, though its lower smoke point means watching it closely at high temperatures. Grapeseed oil or refined coconut oil are also excellent neutral alternatives with high smoke points.
- Butter Variations: For a dairy-free or plant-based option, substitute regular butter with an equal amount of your favorite dairy-free butter alternative. You can also opt for all oil (increasing avocado oil to 4 tablespoons) for a simpler, lighter profile, though you’ll miss some of the richness and enhanced browning that butter provides. Clarified butter (ghee) is another fantastic option, offering a rich, nutty flavor with an even higher smoke point than regular butter.
- Seasoning Swaps:
- Italian Seasoning: If you don’t have a pre-made blend, you can create your own by combining dried basil, oregano, thyme, and a pinch of marjoram and rosemary. Experiment with other spice blends like smoked paprika, cumin, chili powder, or even a dash of curry powder for a different flavor profile.
- Spicy Kick: Add a pinch of red pepper flakes or a dash of cayenne pepper for a subtle heat.
- Cheesy Flavor: Sprinkle with a tablespoon or two of nutritional yeast for a savory, umami-rich, cheese-like flavor that’s perfect for a vegan option.
- Citrus Brightness: A squeeze of fresh lemon juice or a sprinkle of lemon zest after roasting can add a vibrant, fresh finish.
- Herbal Freshness: Fresh herbs like chopped parsley, chives, or cilantro can be tossed in after roasting for an extra layer of flavor and color.
- Garlic Salt: If you only have garlic salt, adjust the amount of kosher salt accordingly or omit it entirely to prevent over-salting.
How to Oven Roast Cauliflower to Perfection
Follow these simple steps to achieve perfectly crispy, flavorful roasted cauliflower every time:
- Preheat Your Oven: Start by preheating your oven to 425˚F (220°C). A thoroughly hot oven is crucial for achieving crisp edges and even cooking.
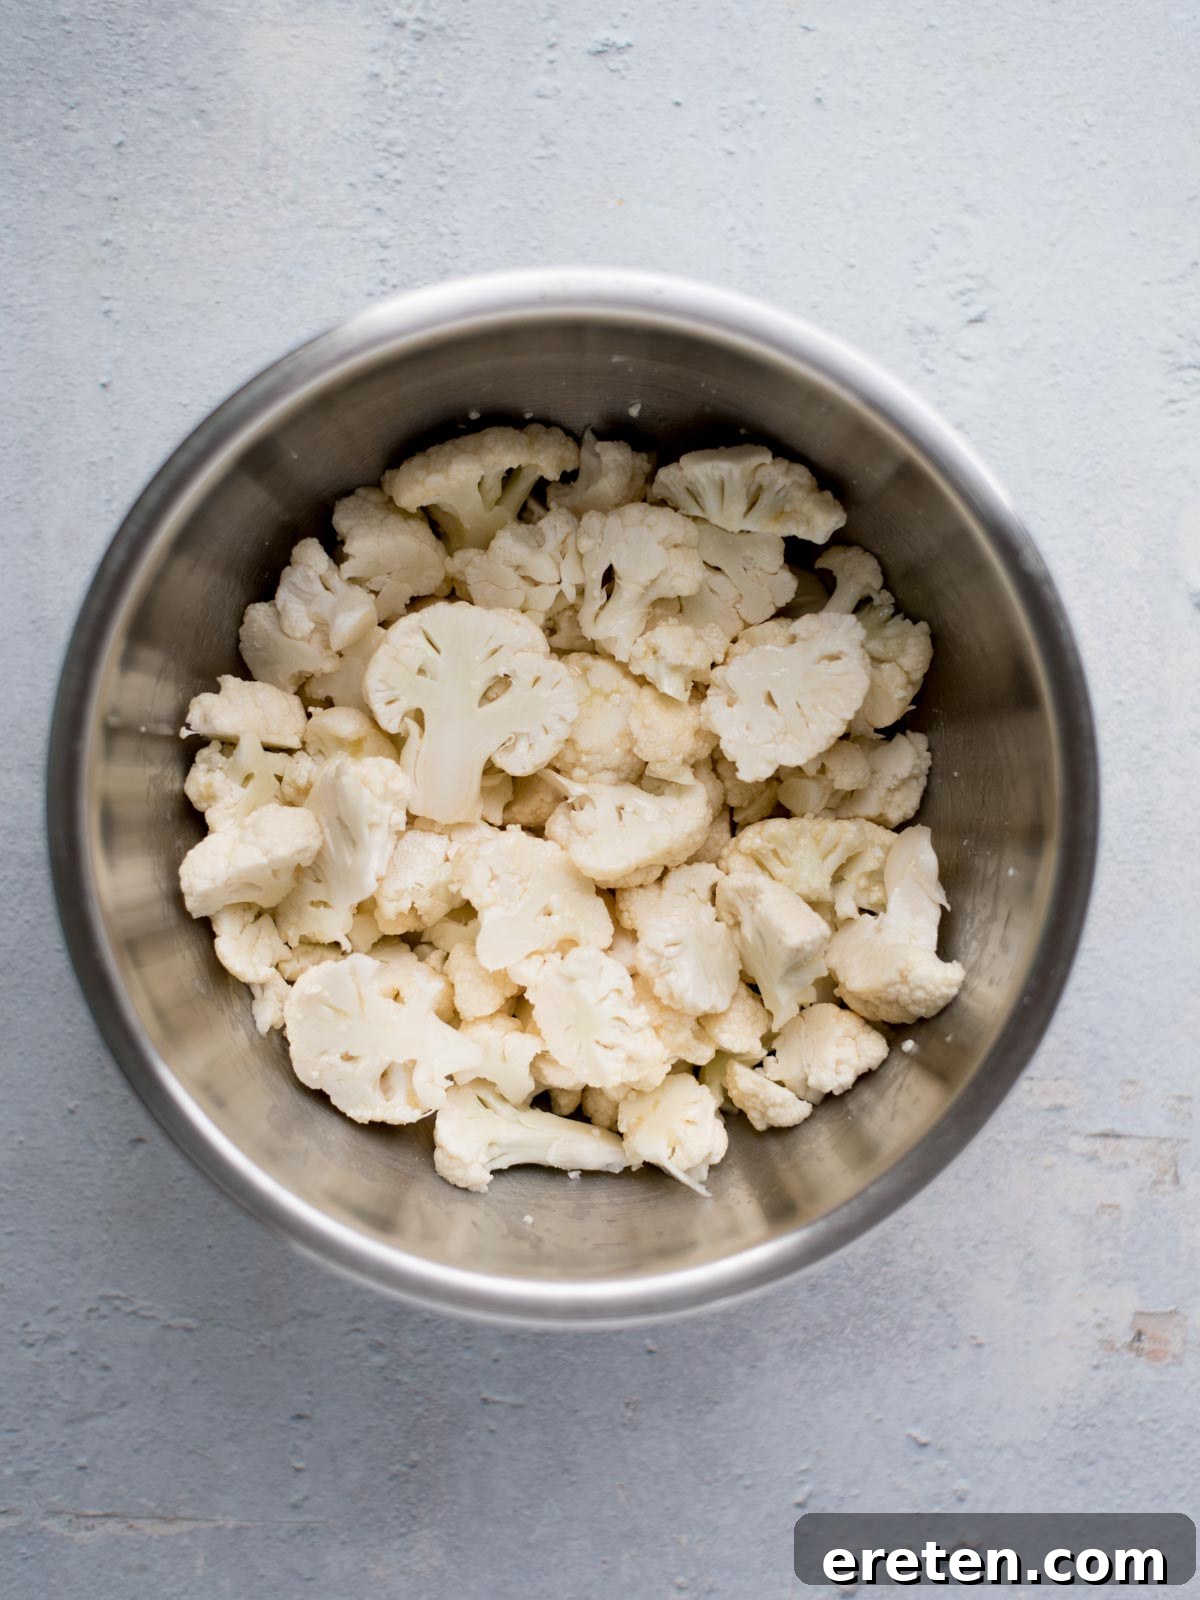
- Prepare the Cauliflower: Core the cauliflower and rinse it under cold water. Pat it thoroughly dry with paper towels to remove excess moisture; this is a key step to prevent steaming and encourage browning. Then, slice the entire head of cauliflower into ½-inch thick “steaks.” Once sliced, cut these steaks into uniform, bite-sized pieces. Aim for pieces roughly the same size to ensure even cooking.
- Melt the Butter: Melt your butter using either the stovetop in a small saucepan over low heat or in the microwave in a microwave-safe bowl.
- Combine with Oil: In a large mixing bowl, combine the prepared cauliflower pieces with the avocado oil and melted butter.
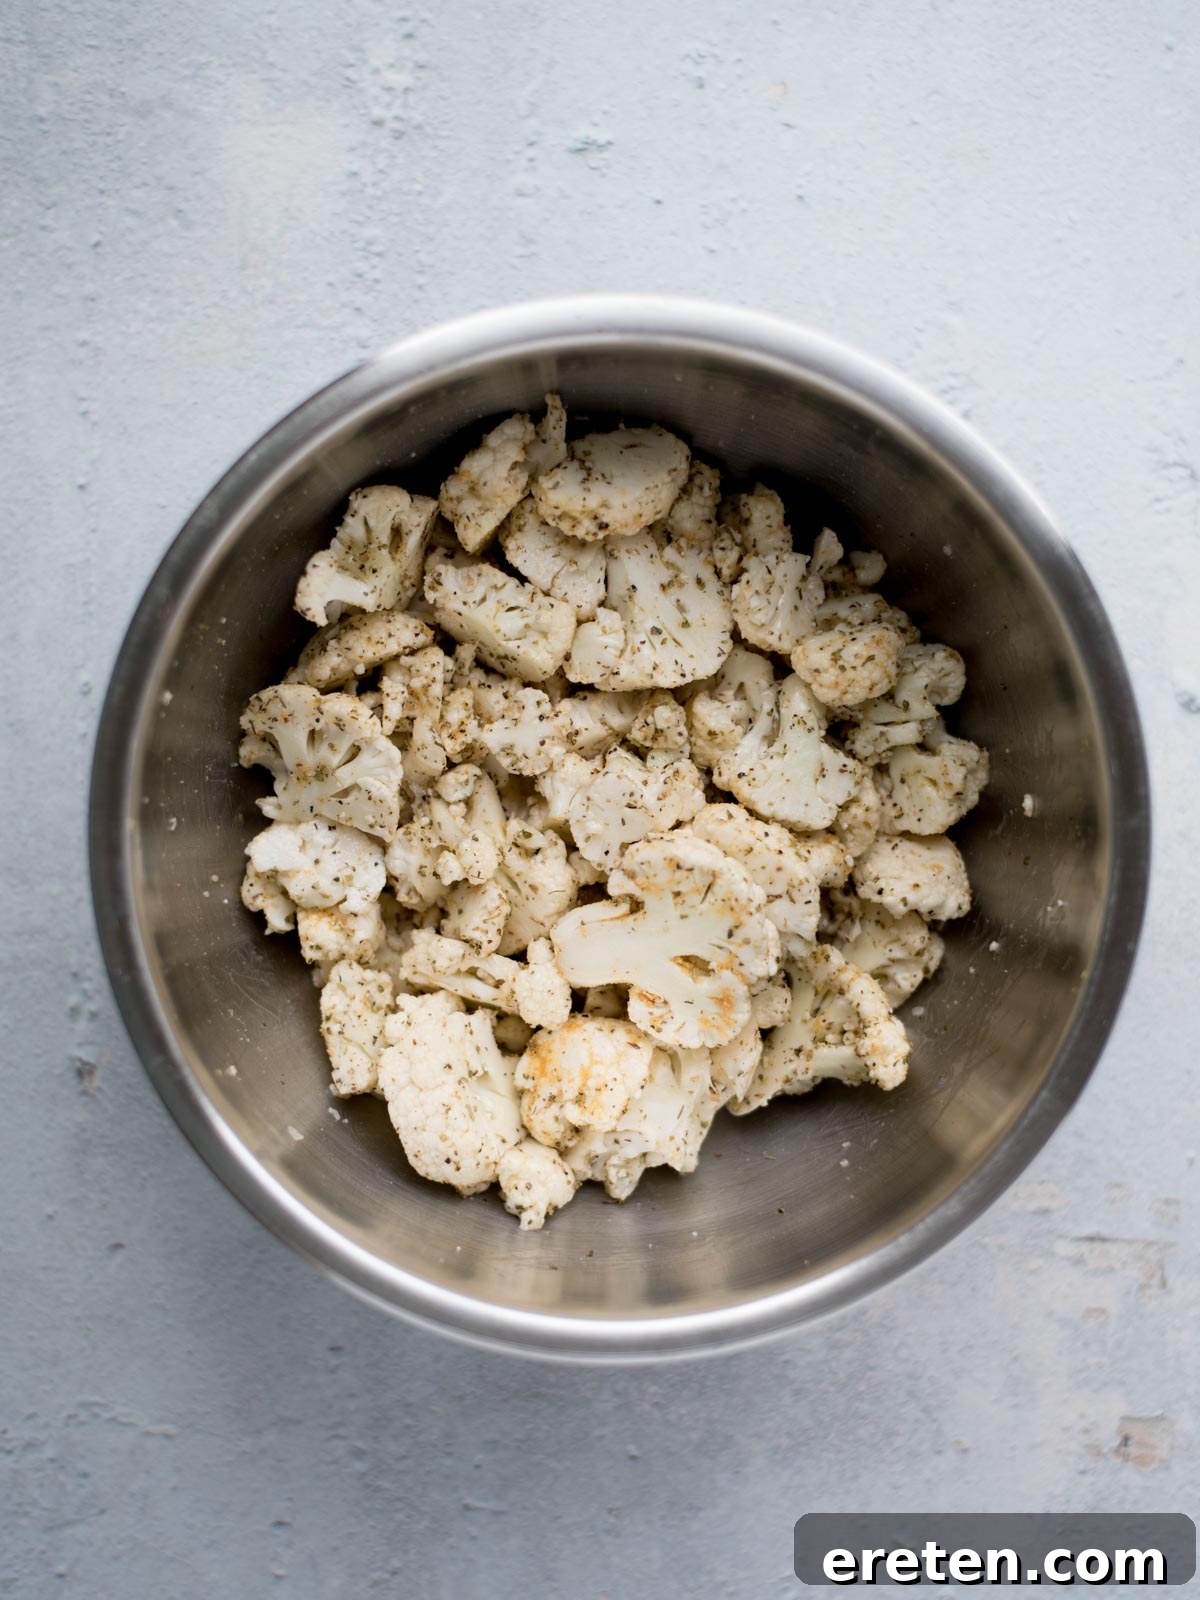
- Toss to Coat Evenly: Use your hands or a large spoon to toss the cauliflower until every piece is completely coated with the oil and butter mixture. This ensures maximum flavor and browning.
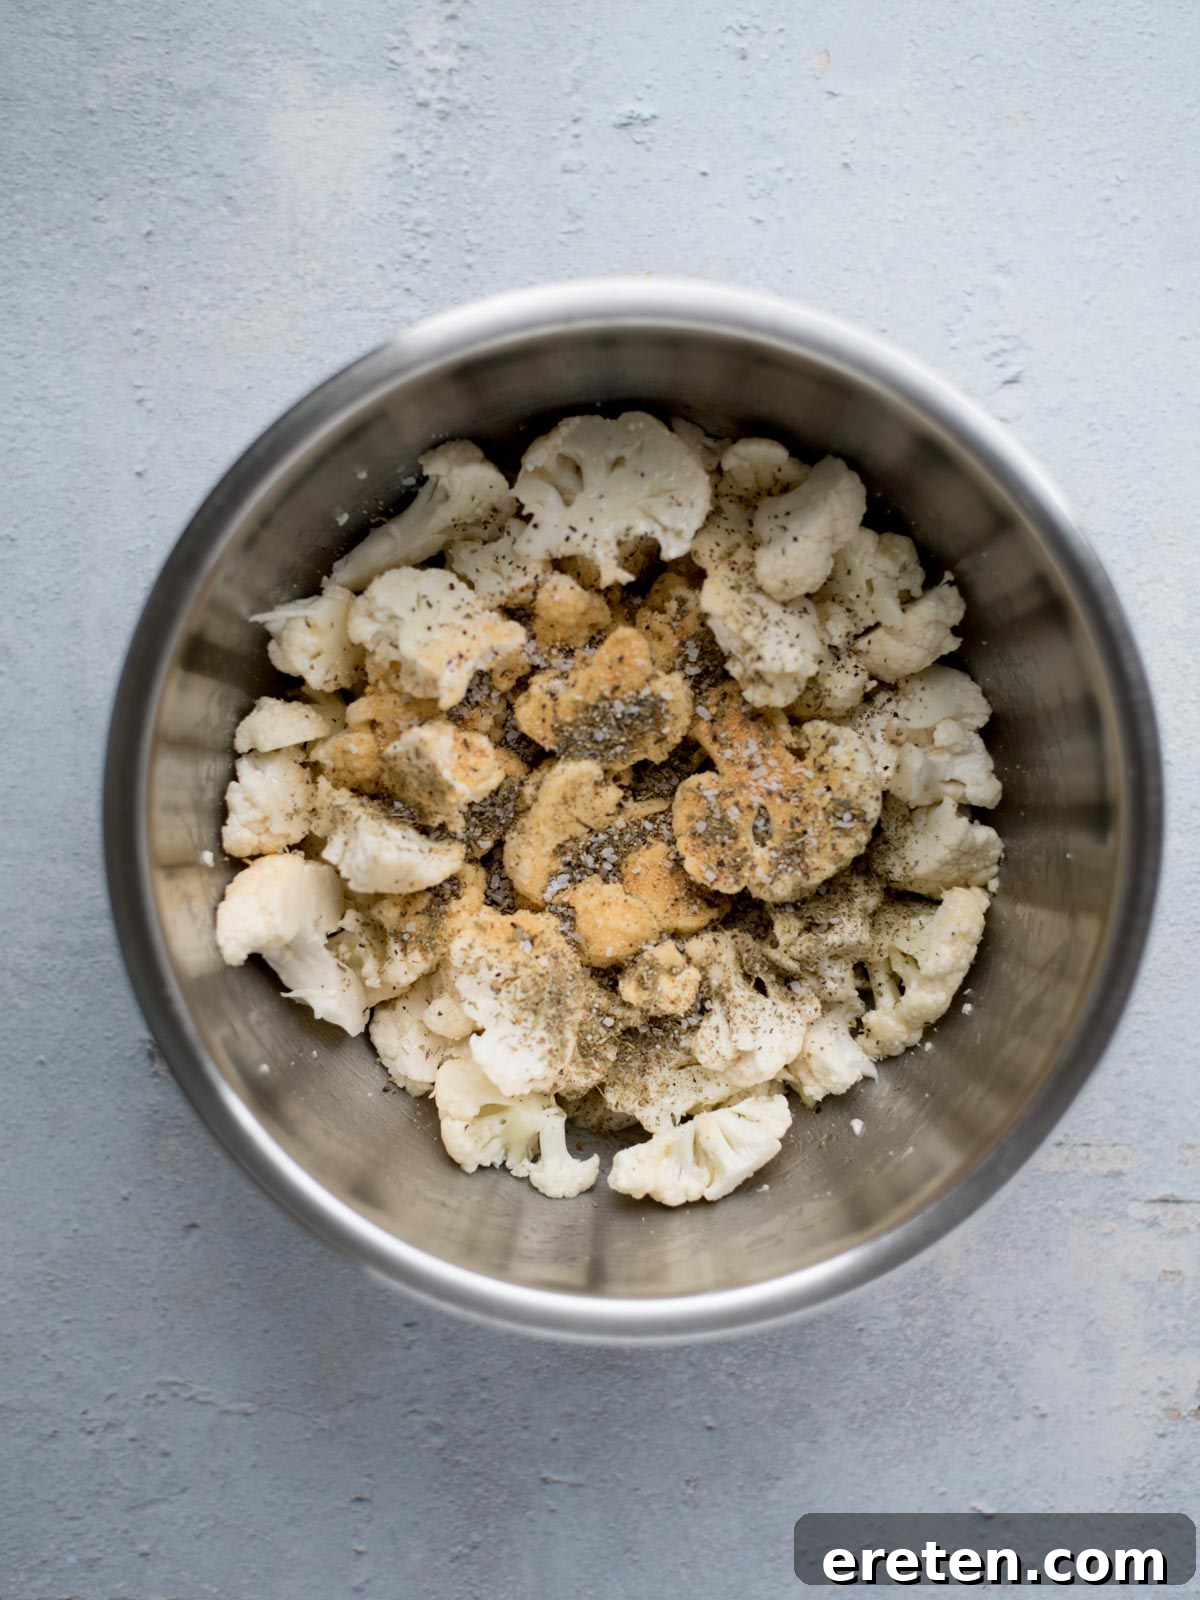
- Add Seasonings: Sprinkle the garlic powder, Italian seasoning, kosher salt, and black pepper over the coated cauliflower. Toss again thoroughly, ensuring the seasonings adhere to all surfaces.
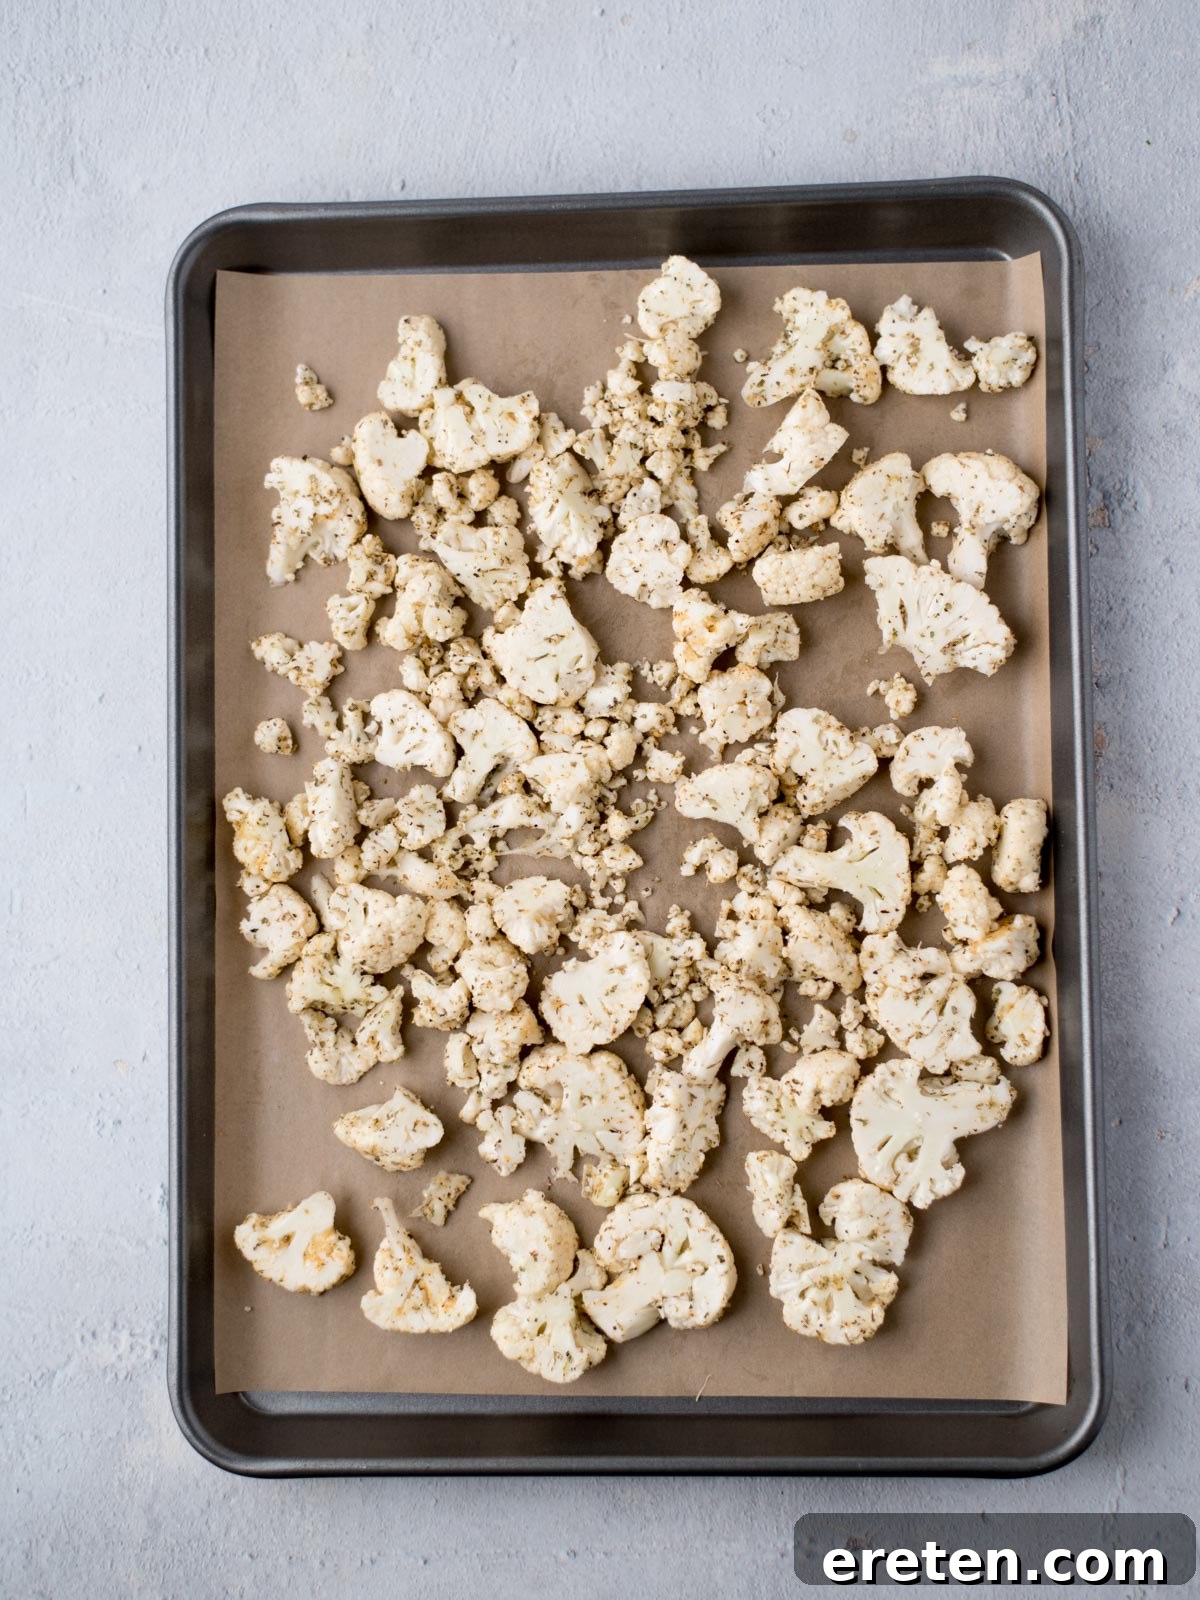
- Arrange on Baking Sheet: Line a large rimmed baking sheet with parchment paper for easy cleanup and to prevent sticking. Spread the seasoned cauliflower in a single layer, ensuring there’s plenty of space between each piece. Do not overcrowd the pan; if necessary, use two baking sheets to avoid steaming.
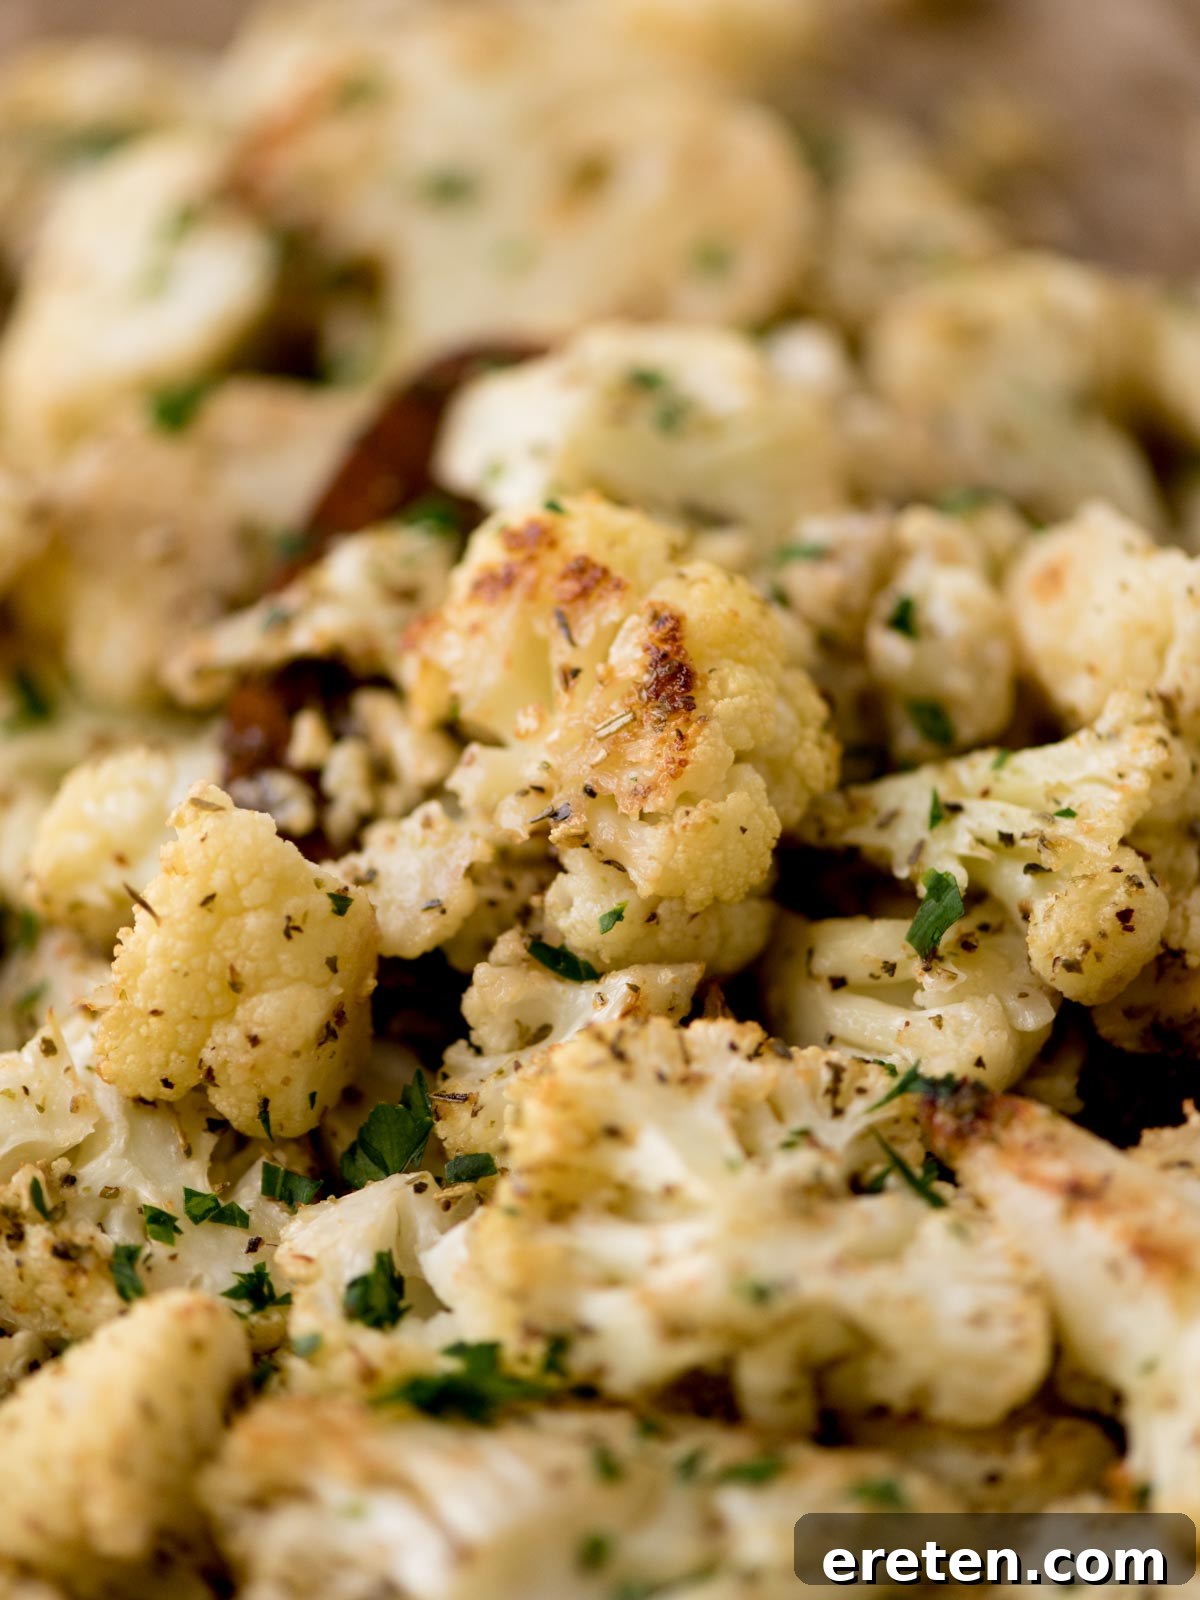
- Roast Until Golden: Bake for 15-20 minutes, or until the cauliflower is golden brown, tender-crisp, and cooked to your desired softness. The cooking time may vary slightly depending on your oven and the size of your cauliflower pieces. For extra crispiness, you can flip the cauliflower halfway through cooking.
Expert Tips & Tricks for Ultimate Crispiness
Achieving the best roasted cauliflower is all about a few smart techniques:
- Dry Cauliflower is Key: After rinsing your cauliflower, always pat it thoroughly dry with paper towels. Excess moisture on the florets will steam in the oven instead of roasting, leading to a soggy texture rather than a crispy one.
- The “Steak” Cutting Method: This is arguably the most important tip. Slicing the cauliflower into ½-inch steaks first, then cutting those into bite-sized pieces, creates more flat surfaces. These flat surfaces maximize contact with the hot baking sheet and circulating air, promoting superior browning and crispiness compared to irregular, rounded florets.
- Proper Oven Temperature: Ensure your oven is fully preheated to 425˚F (220°C) before you put the cauliflower in. A hot initial blast of heat is essential for kickstarting the caramelization process and achieving those desirable crispy edges.
- Don’t Overcrowd the Pan: This is a common mistake! If cauliflower pieces are packed too closely together on the baking sheet, they will release moisture and steam each other, preventing them from browning and crisping up. Spread them out in a single layer with a little space between each piece. Use two baking sheets if necessary.
- Even Oil & Seasoning Coat: Make sure every single piece of cauliflower is well-coated in the oil and butter mixture before adding the dry seasonings. This oily base helps the seasonings adhere evenly, ensuring a burst of flavor in every bite and promoting consistent browning.
- Roast to Your Preferred Tenderness: The ideal roasting time can vary based on your oven and personal preference. Some people enjoy a slight al dente crunch, while others prefer their roasted cauliflower completely soft throughout. Bake until it reaches your perfect texture.
- Parchment Paper is Your Friend: Lining your baking sheet with parchment paper not only makes cleanup a breeze but also helps prevent the cauliflower from sticking, ensuring those beautifully browned bits stay intact.
Essential Kitchen Tools for Roasting Cauliflower
You don’t need fancy gadgets to make amazing roasted cauliflower, just a few kitchen essentials:
- Baking Sheet: A large, rimmed baking sheet is crucial for spreading the cauliflower in a single layer.
- Large Mixing Bowl: For easily tossing the cauliflower with oil and seasonings.
- Measuring Spoons: For accurate seasoning measurements.
- Parchment Paper: For non-stick roasting and easy cleanup.
- Sharp Knife and Cutting Board: For safely and efficiently slicing the cauliflower.
What to Serve with Perfect Roasted Cauliflower
This crispy and flavorful roasted cauliflower is an incredibly versatile side dish that complements a wide array of main courses:
- Foil-Baked Salmon: The rich flavors of salmon are perfectly balanced by the savory cauliflower.
- Oven-Roasted Chicken: A classic pairing that makes for a comforting and complete meal.
- Best Oven Pork Tenderloin: The tender pork and crispy cauliflower create a delightful texture contrast.
- Smoked Chicken Thighs: The smoky notes from the chicken beautifully complement the roasted vegetable.
- Grilled Steak or Lamb Chops: For a hearty and satisfying dinner.
- Vegetarian Mains: Pair it with lentil soup, a hearty grain salad, or a black bean burger for a plant-focused meal.
For an extra layer of irresistible flavor, try sprinkling finely grated Parmesan cheese over the roasted cauliflower immediately after it comes out of the oven. The warmth will help it melt slightly into all the crevices, adding a salty, umami-rich finish that’s absolutely addictive.
Storing Leftover Roasted Cauliflower
Proper storage ensures your delicious leftovers stay fresh and ready for reheating or repurposing:
Allow any leftover roasted cauliflower to cool completely to room temperature. This is crucial to prevent condensation, which can lead to sogginess. Once cool, transfer the cauliflower to an airtight container or a zip-top bag. Store it in the refrigerator for up to 4 days.
To Freeze: For longer storage, spread the cooled roasted cauliflower in a single layer on a baking sheet and freeze until solid (this prevents clumping). Then, transfer the frozen pieces to a freezer-safe or vacuum-sealed bag. It will keep well in the freezer for up to 4 months. Freezing it correctly helps maintain its texture upon reheating.
How to Reheat Leftover Roasted Cauliflower for Best Results
You have several excellent options for reheating leftover roasted cauliflower, depending on how much time you have and your desired level of crispness:
- Oven (Recommended for Crispness): This method best restores the original crisp texture. Preheat your oven to 425°F (220°C). Spread the cauliflower in a single layer on a baking sheet (parchment-lined for easy cleanup). Bake for 7-10 minutes, or until thoroughly warmed through and crispy at the edges. A sheet pan truly helps revive that coveted roasted texture.
- Air Fryer (Quickest for Crispness): For a super quick and effective way to bring back the crispiness, reheat the cauliflower in an air fryer. Set the temperature to 400°F (200°C) and cook for 5-7 minutes, shaking the basket halfway through.
- Microwave (Convenient, Less Crisp): If time is of the essence, the microwave works in a pinch. Heat on high for 1-2 minutes, stirring halfway, until hot. Keep in mind that this method will result in softer cauliflower and will not restore the crispiness.
Creative Ways to Use Leftover Roasted Cauliflower
Leftover roasted cauliflower is a culinary gem, easy to repurpose into exciting new dishes. Often, its flavor deepens overnight, making it even more delicious the next day:
- Grain Bowls: Toss it into a vibrant grain bowl with quinoa or farro, roasted chickpeas, fresh greens, and a drizzle of tahini dressing or a zesty lemon vinaigrette.
- Pasta & Mac and Cheese: Stir chopped roasted cauliflower into your favorite pasta dish or a creamy mac and cheese for an added veggie boost, texture, and savory flavor.
- Breakfast Fare: Mix it into scrambled eggs, a frittata, or a savory breakfast hash for a quick and nutritious breakfast-for-dinner option.
- Wraps & Pita Pockets: Warm it up and tuck it into whole wheat wraps or pita pockets with hummus, crisp lettuce, sliced tomatoes, and a sprinkle of feta cheese.
- Tacos & Burritos: Use it as a hearty filling for vegetarian tacos or burritos, paired with black beans, shredded cheese, a dollop of sour cream or Greek yogurt, and a vibrant cilantro-lime sauce.
- Creamy Soups: Blend it into a creamy vegetable soup for added body, subtle roasted flavor, and extra nutrients. It’s particularly delicious in potato leek soup or a simple vegetable broth.
- Salad Topping: Add cooled, chopped roasted cauliflower to green salads or warm salads for extra substance and flavor.
- Pizza Topping: Spread it over homemade pizza before baking for a unique and delicious topping.
- Dips & Spreads: Mash it with a little olive oil, lemon juice, and seasonings to create a savory spread or dip.
Frequently Asked Questions (FAQs) About Roasted Cauliflower
Crank up the heat! A high oven temperature is absolutely key for achieving those desirable crispy edges and a golden-brown exterior. I consistently recommend 425ºF (220°C). Just ensure your oven is fully preheated to this temperature before the cauliflower goes in; that initial burst of heat makes a significant difference in preventing steaming and promoting true roasting.
While you can use frozen cauliflower, it generally won’t achieve the same level of crispiness as fresh cauliflower. Frozen vegetables tend to release more moisture during cooking, which can lead to a softer, slightly mushier texture rather than a firm, crispy bite. If using frozen, there’s no need to thaw it, but patting it dry after a quick rinse can still help. For the best texture and browning, fresh cauliflower is always the winner.
Yes, absolutely! Let the roasted cauliflower cool completely to room temperature first; this prevents steam from getting trapped and forming ice crystals. Then, transfer it to a freezer-safe bag or an airtight container. For best results, freeze it in a single layer on a baking sheet before transferring to a bag to prevent sticking. It will maintain its quality in the freezer for about 3-4 months. To reheat, the oven or air fryer is best to bring back some of that crisp texture.
Yes, it’s always a good practice to rinse fresh produce, including cauliflower, under cold running water to remove any dirt or residues. However, after rinsing, it is critically important to pat the cauliflower pieces thoroughly dry with paper towels. Removing excess surface moisture is paramount; if the cauliflower is wet, it will steam in the hot oven instead of roasting, leading to a limp and soggy texture.
The most common reason for mushy roasted cauliflower is overcrowding the baking pan. When too many pieces are packed together, they release moisture, which then gets trapped, causing the cauliflower to steam rather than roast. To avoid this, always spread the cauliflower out in a single layer on the baking sheet, ensuring there’s plenty of space between each piece for hot air to circulate. If needed, use two baking sheets. Another common culprit is insufficient drying after rinsing; wet cauliflower will always steam.
Several factors contribute to excellent browning: a high oven temperature (425°F/220°C), dry cauliflower (pat it thoroughly after rinsing), sufficient oil and butter coating (fat conducts heat and promotes browning), and not overcrowding the pan (allowing air circulation). The “steak” cutting method also maximizes flat surfaces for more direct contact with the hot pan, leading to better caramelization.
You can certainly prep some components in advance. You can wash and cut the cauliflower up to a day or two ahead of time and store it in an airtight container in the refrigerator. However, I recommend waiting to toss it with the oil and seasonings until just before roasting. This prevents the cauliflower from becoming prematurely soggy from the salt and keeps the seasonings fresh and vibrant.
More Delicious Roasted Vegetable Recipes
If you loved this crispy roasted cauliflower, you’ll surely enjoy these other easy and flavorful roasted vegetable dishes:
- Garlic Parmesan Roasted Broccoli and Cauliflower
- Sweet and Savory Honey-Roasted Veggies with Cranberries & Pecans
- Simple & Easy Oven-Baked Broccoli
- Irresistible Brown Sugar Roasted Carrots with Garlic
- Crispy Roasted Brussels Sprouts
If you make this recipe and absolutely love it, we would be incredibly grateful for a 5 ⭐️⭐️⭐️⭐️⭐️ rating! Your feedback helps us continue to provide delicious, free recipes to our community.
Roasted Cauliflower Recipe
sweetlysplendid.com
10 mins
15 mins
25 mins
4 people
Print Recipe
Equipment
-
baking sheet
-
mixing bowls
-
measuring cups
-
measuring spoons
-
parchment paper
Ingredients
- 1 medium head of cauliflower
- 2 Tbsp avocado oil
- 2 Tbsp butter melted
- 1 tsp garlic powder
- 1 tsp Italian seasoning
- ½ tsp kosher salt or more to taste
- 1/4 tsp ground black pepper or more to taste
Instructions
-
Preheat the oven to 425˚F (220°C).
-
Slice the cauliflower into 1/2″ steaks, and then slice the steaks into bite-size pieces. Pat dry with paper towels.
-
Melt the butter. Add the cauliflower, avocado oil, and melted butter to a mixing bowl.
-
Toss until the cauliflower is coated completely.
-
Add the seasonings and toss again to coat all of the cauliflower pieces evenly.
-
Add the cauliflower to a parchment-lined baking sheet. Spread it out in a single layer, ensuring not to overcrowd the pan.
-
Bake for 15-20 minutes or until the cauliflower is golden brown, tender-crisp, and at your desired softness.
Notes
- Try to be sure all of the cauliflower is coated in oil and butter before adding the seasonings. This will help the seasonings to stick to all parts of the cauliflower and ensure even flavor distribution.
- I recommend slicing the cauliflower into 1/2″ steaks first because it’ll give you flat sides to the cauliflower that can crisp up in the oven better than just the rounded florets. This is the secret to ultimate crispiness!
- You’ll want to bake the cauliflower until your desired softness. Some prefer it to have a little bit of crunch left (tender-crisp), while others prefer it completely soft throughout. Adjust baking time accordingly.
- Do not overcrowd the baking sheet. If the cauliflower pieces are too close, they will steam instead of roast. Use two baking sheets if necessary to ensure ample space for air circulation.
Nutrition
Serving: 1g, Calories: 152kcal, Carbohydrates: 8g, Protein: 3g, Fat: 13g, Saturated Fat: 5g, Polyunsaturated Fat: 1g, Monounsaturated Fat: 6g, Trans Fat: 0.2g, Cholesterol: 15mg, Sodium: 335mg, Potassium: 448mg, Fiber: 3g, Sugar: 3g, Vitamin A: 184IU, Vitamin C: 69mg, Calcium: 43mg, Iron: 1mg
Nutrition information is automatically calculated and should only be used as an approximation.
Additional Info
Side Dish
American