
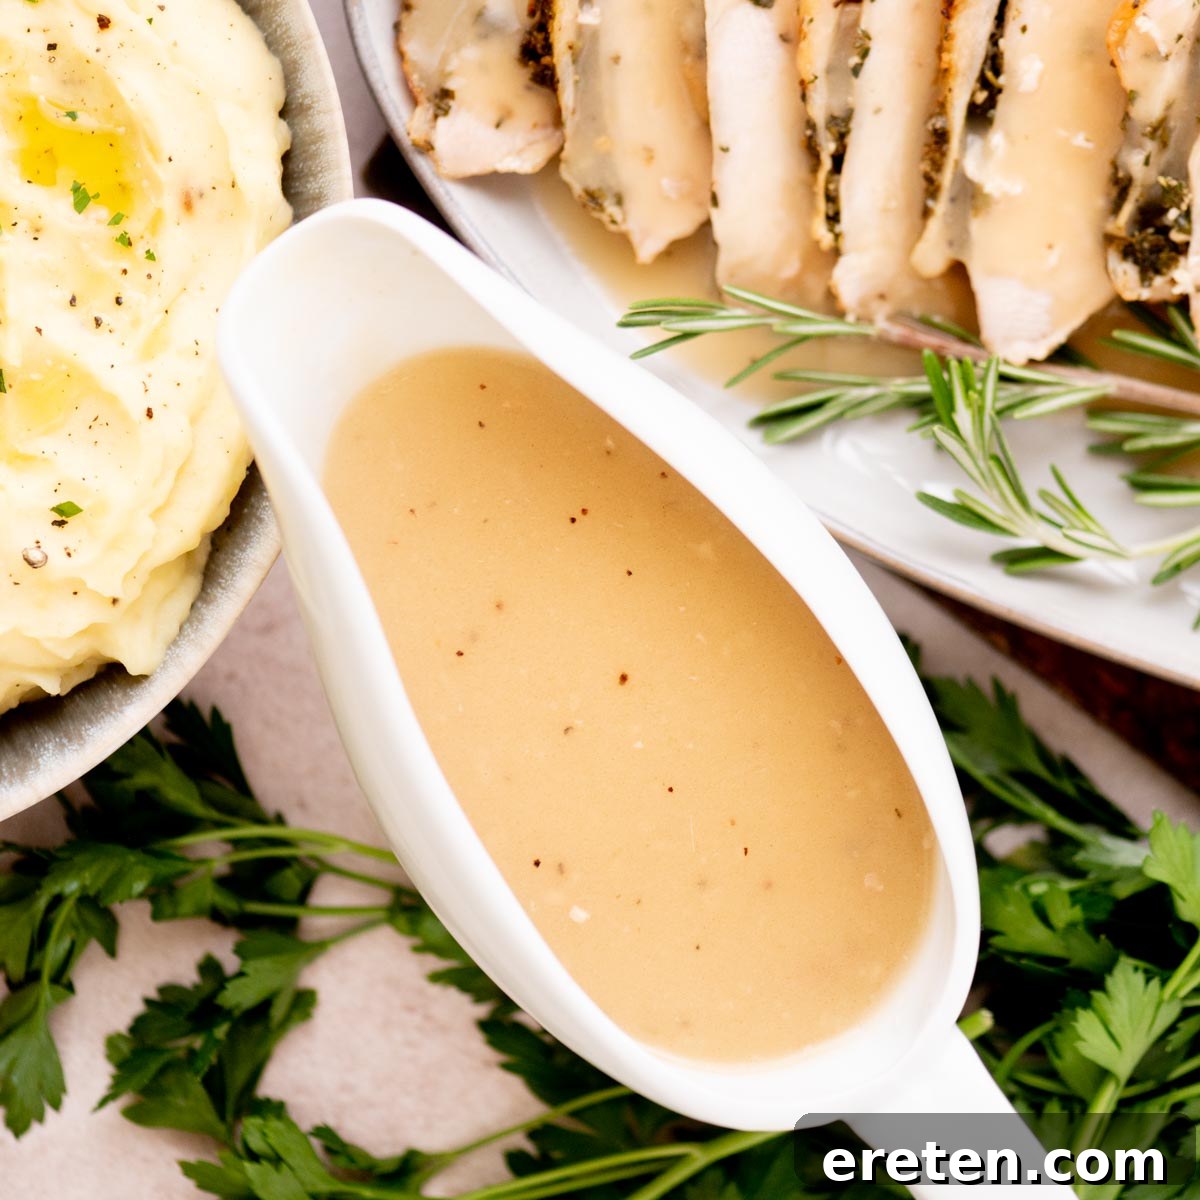
Ultimate Homemade Turkey Gravy from Drippings: Silky, Savory & Lump-Free
There’s nothing quite like a rich, deeply savory, and perfectly smooth turkey gravy to elevate any holiday meal. This recipe ensures your gravy will be the star of the show, earning rave reviews every single time. Forget store-bought packets and jars; with just your turkey drippings and a few common pantry staples, you can create a luxurious, lump-free gravy that tastes like it took hours, but comes together in mere minutes.
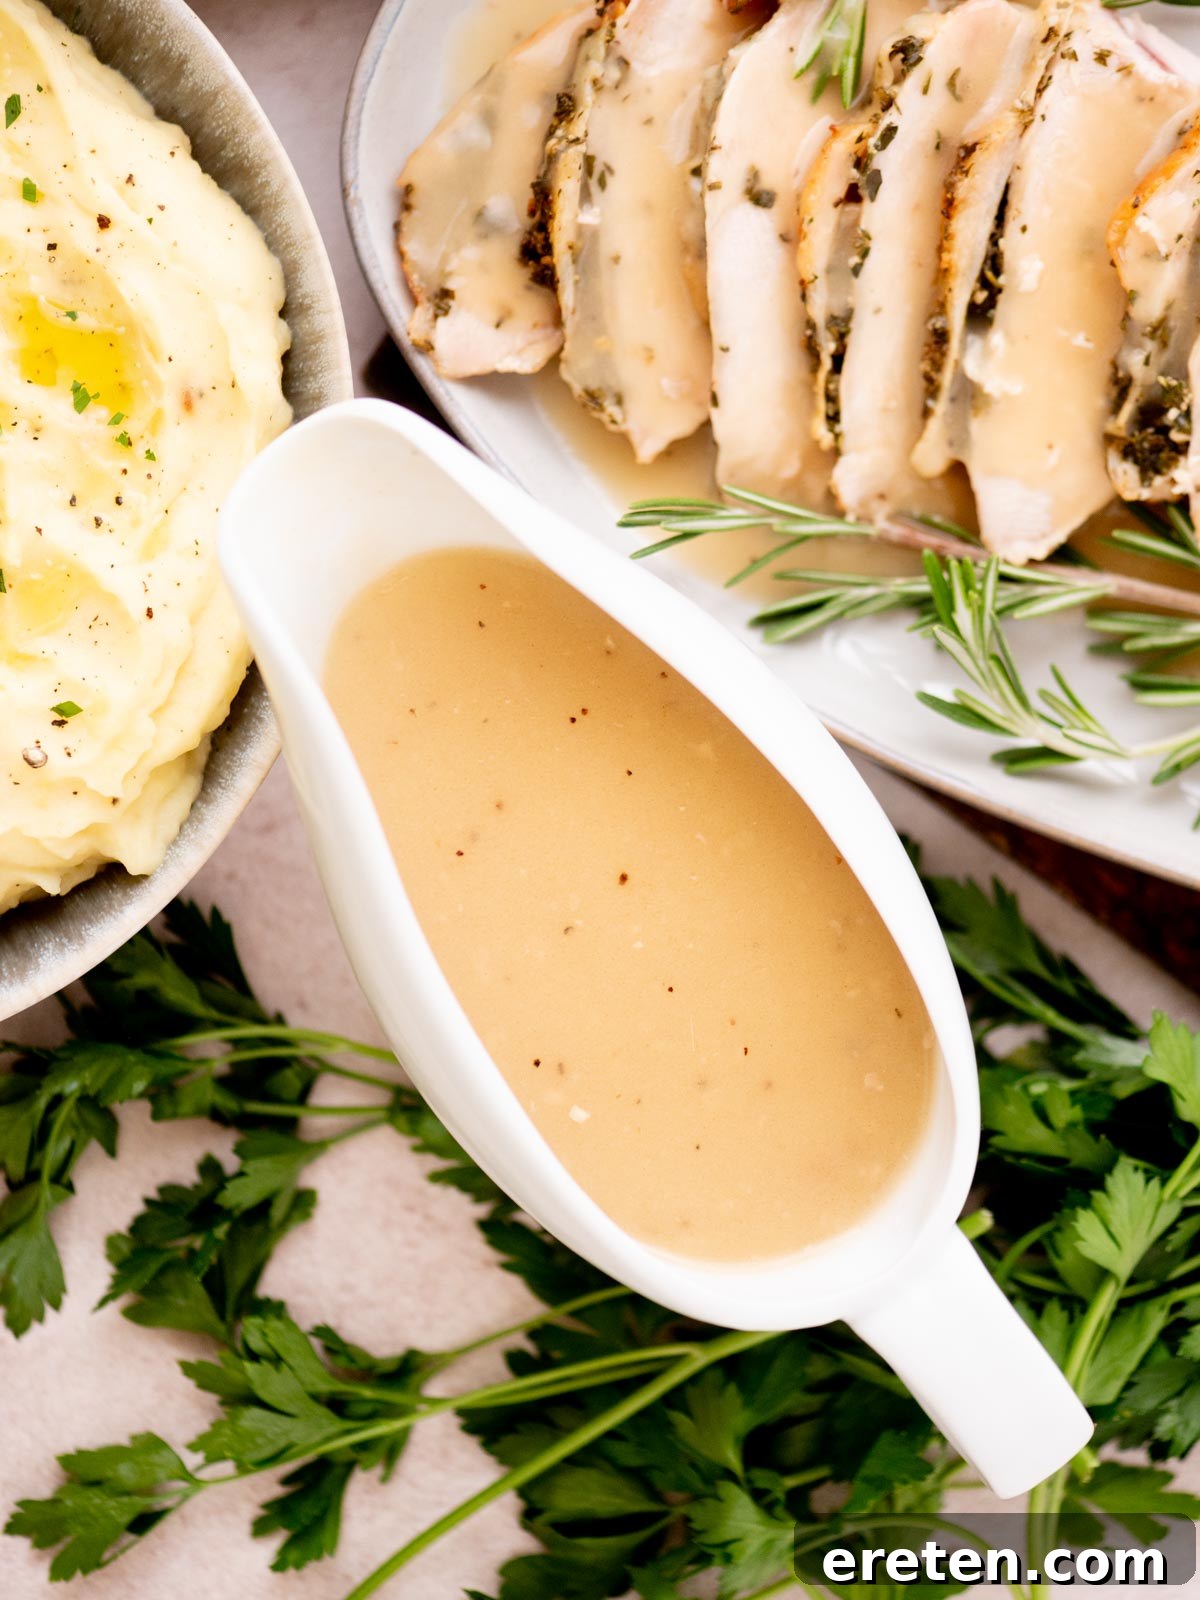
Growing up in a Southern kitchen, I learned the art of making gravy from scratch—a tradition passed down through generations. It was always homemade, rich with butter, wonderfully smooth, and built directly from the flavorful drippings left in the roasting pan. This timeless method is still my go-to today. It’s a testament to classic Southern cooking, where simple, high-quality ingredients are treated with respect to let their true flavors shine. This technique is also foundational to my Southern Brown Gravy Recipe and my Sausage Gravy Recipe, proving its versatility and reliability.
This particular turkey gravy recipe champions a balanced approach, using equal parts fat and flour to form an impeccably smooth and velvety roux. This foundational base is key to preventing lumps and ensuring a consistently silky texture. If you’ve ever been frustrated by gravies that separate, clump, or fall flat on flavor, this recipe is your ultimate solution. It promises a robust, flavorful gravy that will impress even the most discerning palates, making you wonder why you ever considered another method.
Why This Turkey Gravy Recipe Stands Out
- Guaranteed Lump-Free Perfection: The secret lies in whisking the drippings and flour together before applying heat. This cold-start method ensures a flawlessly smooth base every time, eliminating any fear of unsightly clumps.
- Lightning Fast, Ready in 10 Minutes: While your magnificent turkey rests, this gravy practically makes itself. It’s designed to be quick and efficient, freeing you up to enjoy the festivities without last-minute kitchen stress.
- Harnesses Natural Turkey Flavor: Why buy artificial bases when you have a treasure trove of flavor right in your roasting pan? The turkey drippings provide an unparalleled depth that no store-bought substitute can replicate. It’s the essence of your holiday bird, concentrated into a rich sauce.
- Naturally Bold and Rich Flavor Profile: True Southern pan gravies are celebrated for their profound depth, luxurious richness, and expert seasoning. This recipe focuses on maximizing the inherent flavors of your turkey drippings, avoiding the watered-down taste often associated with plain stock-based gravies.
- Effortless Make-Ahead & Reheat Capabilities: This gravy is a dream come true for holiday hosts. It holds up beautifully when made in advance and reheats perfectly, allowing you to prepare components ahead of time and truly savor your Thanksgiving day.
Essential Ingredients for Homemade Turkey Gravy
Crafting the perfect turkey gravy requires a few key components, each playing a vital role in achieving that incredible flavor and texture:
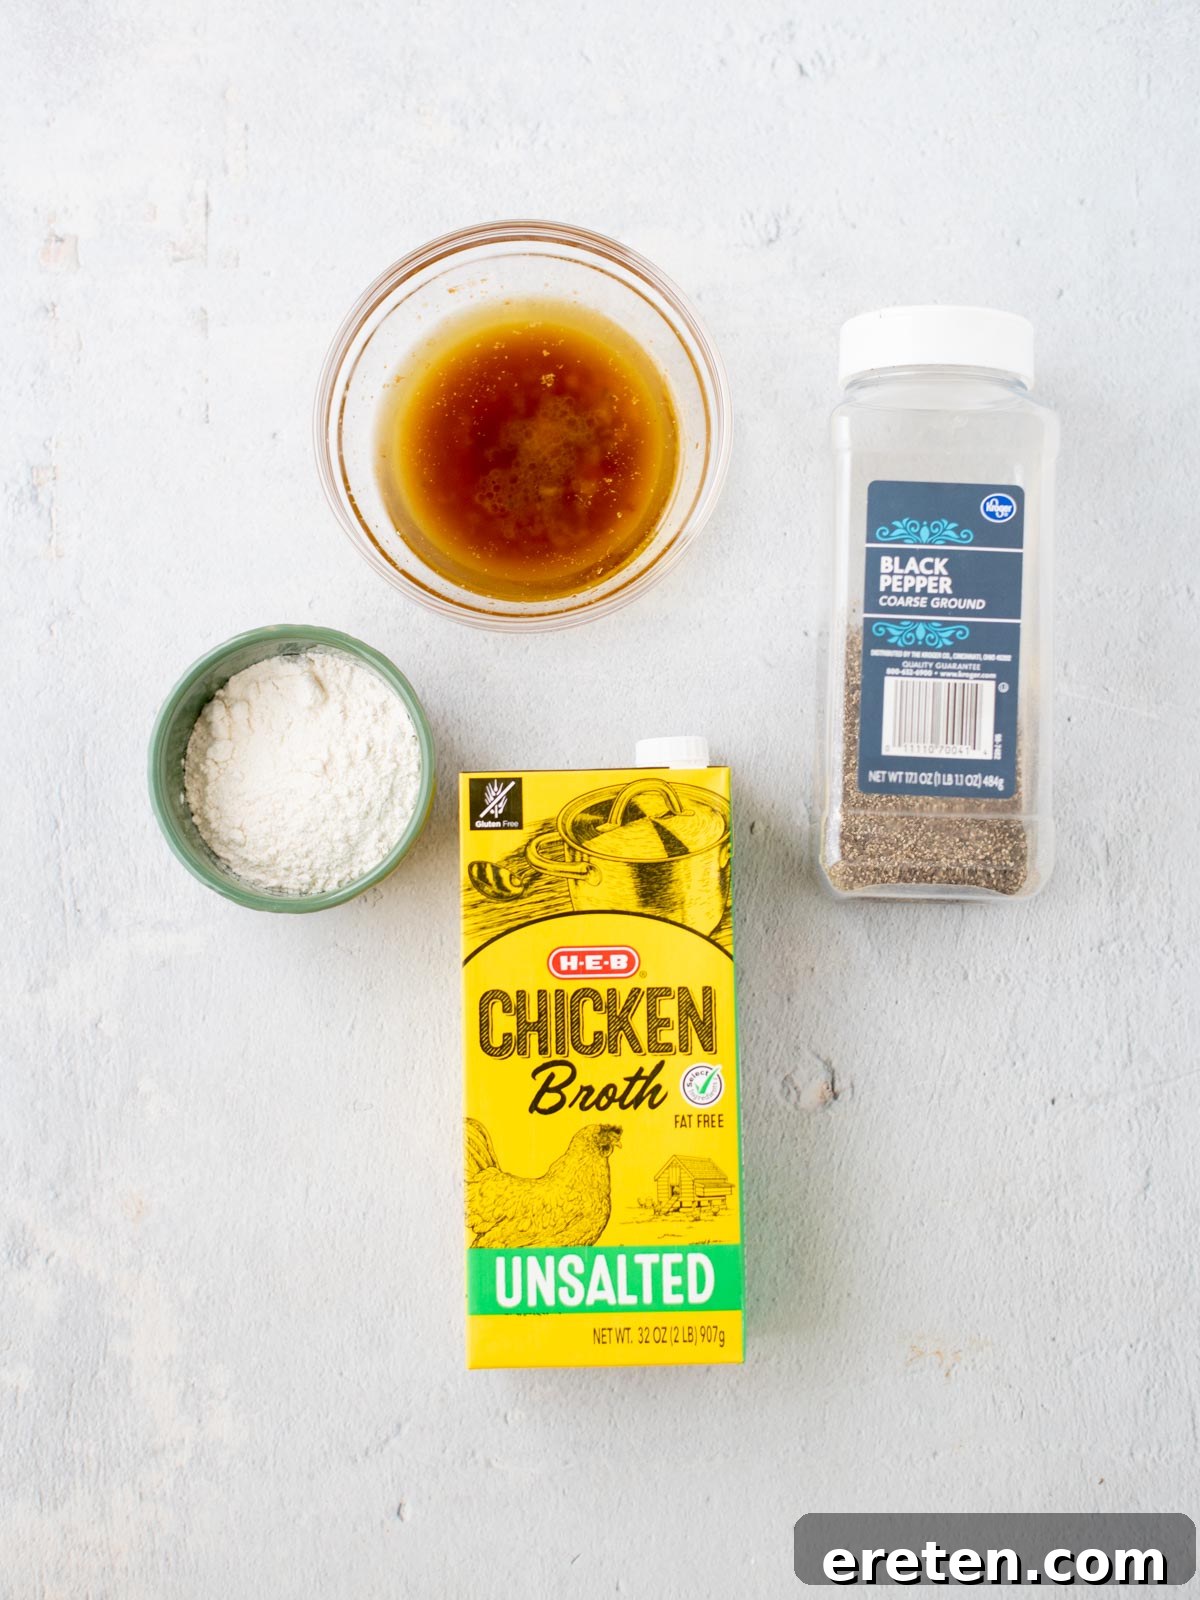
- Turkey Drippings: This is the soul of your gravy. The flavorful fat and browned bits left at the bottom of your roasting pan are packed with concentrated turkey essence. They form the ultimate, savory base for an authentic Southern gravy. Don’t discard them!
- All-Purpose Flour: Essential for thickening, flour works with the drippings to create the roux, which provides the gravy’s signature smooth, velvety texture.
- Unsalted Stock (Turkey or Chicken): Using unsalted stock is crucial for controlling the overall saltiness of your gravy. Your turkey drippings may already be quite salty, so starting with unsalted liquid allows you to adjust the seasoning precisely to your taste. Turkey stock is ideal for enhancing the turkey flavor, but a good quality chicken stock works just as well.
- Freshly Ground Black Pepper: A hallmark of Southern gravy is a generous amount of black pepper. It adds a subtle warmth and a delightful peppery kick that complements the rich turkey flavor. Adjust the quantity to suit your preference.
Remember to taste and adjust salt only if needed. Your turkey drippings often contain enough residual salt from seasoning the bird, so adding more might make your gravy too salty.
Step-by-Step Guide: How to Make Gravy with Turkey Drippings
- Prepare the Roux (Your Gravy Insurance Policy): In a cold saucepan (off the heat), combine ¼ cup of turkey drippings with ¼ cup of all-purpose flour. Whisk vigorously until the mixture is completely smooth and forms a thick paste. Starting with cold ingredients is your best defense against lumps, ensuring a silky foundation for your gravy.
- Cook Out the Flour Taste: Place the saucepan over medium heat. Continue whisking constantly for 1-2 minutes. The mixture will start to bubble gently and develop a pleasant, nutty aroma. This crucial step cooks out the raw flour taste, preventing your gravy from tasting pasty.
- Slowly Incorporate the Stock: Begin to gradually whisk in 3 cups of unsalted stock, adding just a small amount at a time. Whisk thoroughly until each addition is fully incorporated and smooth before adding more. This controlled process helps maintain a lump-free consistency. Once all the stock is added, increase the heat slightly to bring the mixture to a gentle simmer.
- Season to Perfection: Once simmering, add black pepper generously to taste. Remember to only add salt if necessary, after tasting, as your drippings may already contribute sufficient saltiness from the turkey seasoning.
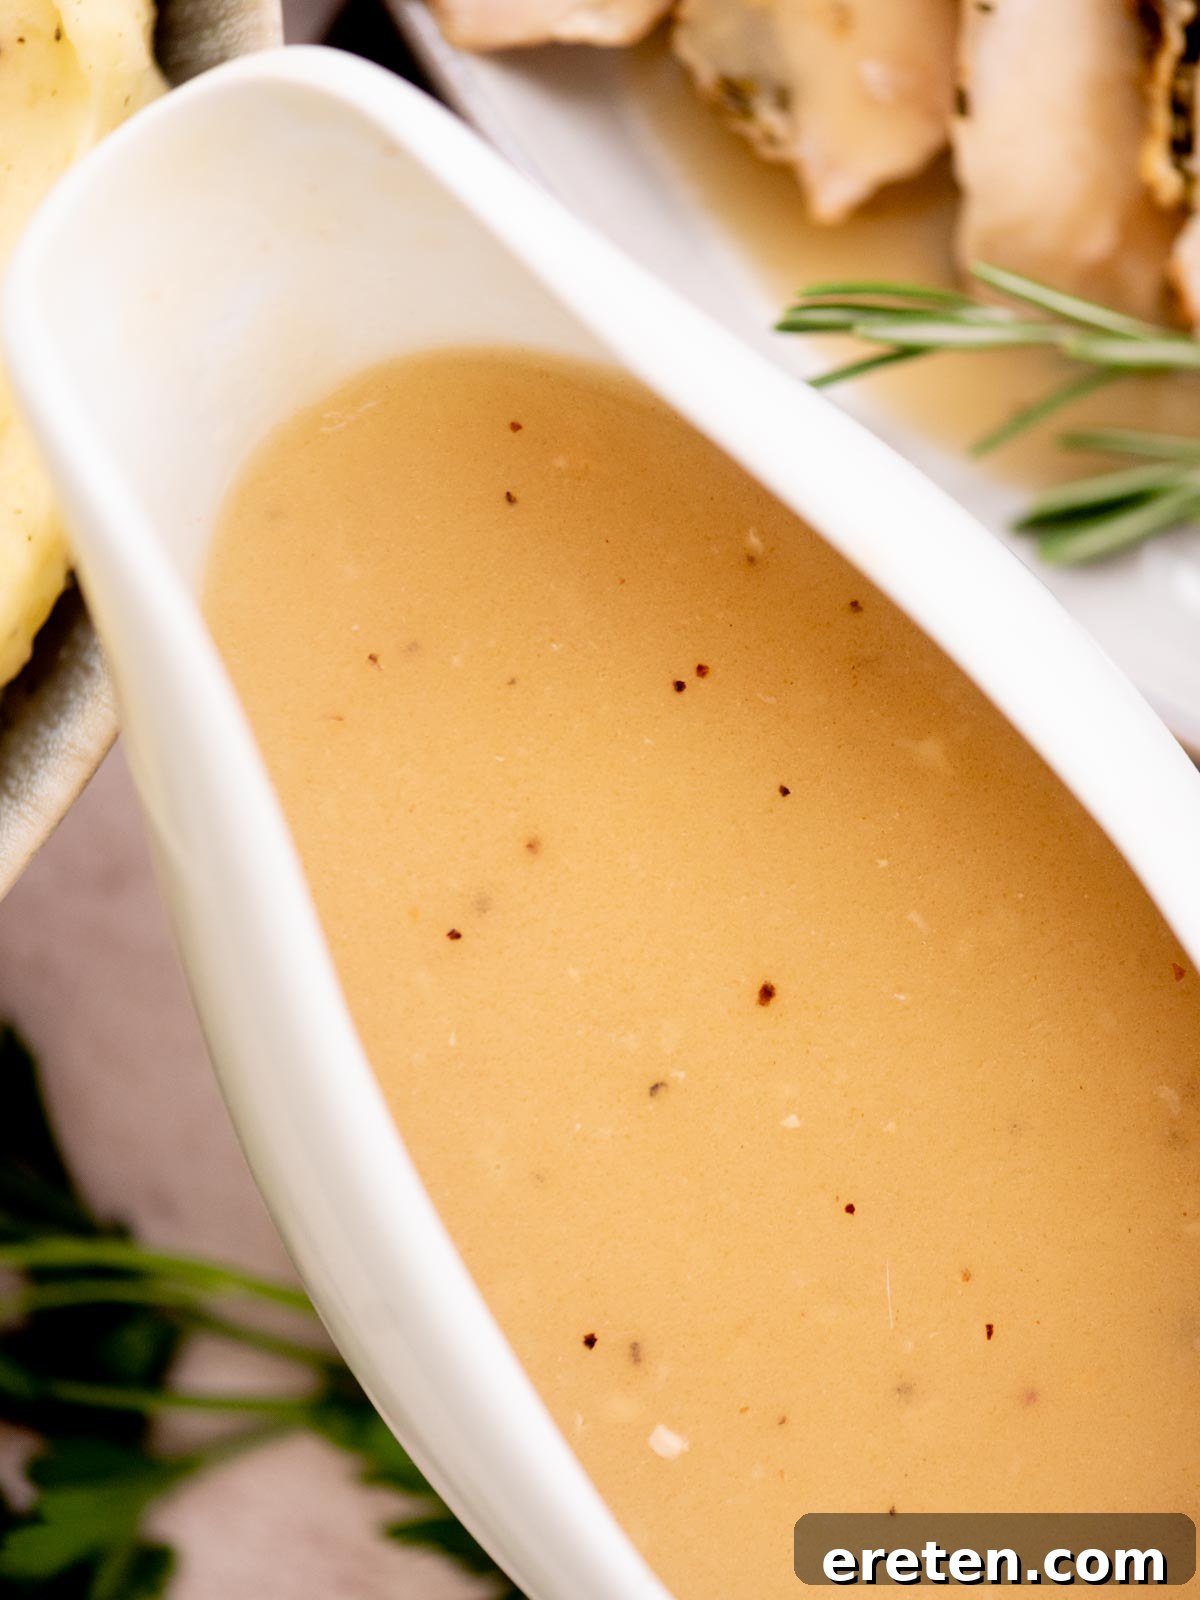
- Thicken to Desired Consistency: Allow the gravy to simmer for 3-5 minutes, stirring frequently. During this time, the flour will fully hydrate and the gravy will thicken. Continue simmering until it reaches your desired silky consistency and coats the back of a spoon beautifully.
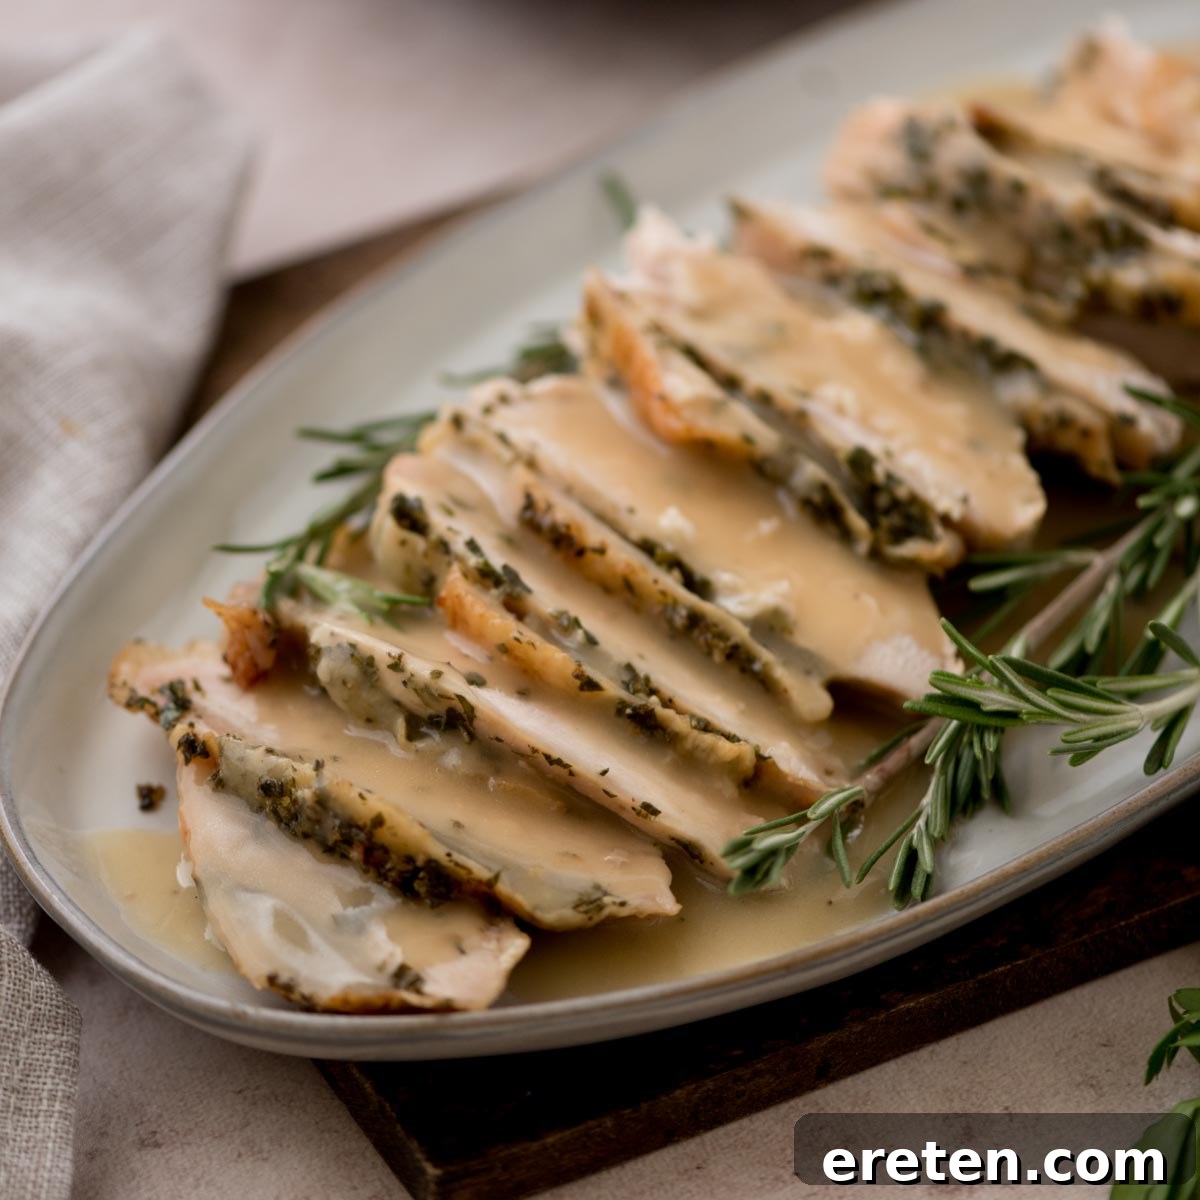
- Serve Warm and Enjoy: Your masterpiece is ready! Pour the warm gravy over slices of roasted turkey, dressing, fluffy mashed potatoes, or any of your cherished holiday sides. Place that gravy boat right in the middle of the table and watch it disappear.
Expert Tips for the Best Turkey Gravy Ever
- Always Start Cold: This cannot be stressed enough! Combining flour with cold drippings before heating is the most effective way to prevent lumps. The flour disperses evenly without clumping.
- Too Thin? Simmer Longer: Gravy thickens as the liquid evaporates and the flour fully hydrates. If your gravy isn’t thick enough after the initial simmer, simply continue cooking it over low heat, stirring occasionally, until it reaches your desired consistency.
- Too Thick? Add More Stock: If your gravy becomes too thick, don’t despair! Whisk in a splash (about 1-2 tablespoons at a time) of additional warm unsalted stock or even a little hot water until it loosens to your preferred texture.
- When Drippings are Mostly Fat: If your roasting pan yields mostly rendered fat with few solids, use ¼ cup of the fat, along with ¼ cup of flour to make your roux. You may need to add a splash of stock early on to help loosen the roux if it seems too stiff.
- Insufficient Drippings? Supplement with Butter: If you don’t have a full ¼ cup of turkey drippings, simply make up the difference with unsalted butter until you reach the total ¼ cup of fat needed for the roux. You’ll still get a delicious gravy, though the turkey flavor might be slightly less intense.
- For Deeper Color and Flavor: To enhance the richness of your gravy’s color and add an extra layer of savory depth, whisk in a teaspoon of Worcestershire sauce or a tiny pinch of smoked paprika towards the end of cooking. These additions are optional but highly recommended for an even more robust flavor.
- Don’t Forget to Deglaze: After removing your turkey, pour off most of the drippings, leaving just the ¼ cup needed for the gravy. Then, add a small amount of stock or water to the roasting pan and scrape up all the delicious browned bits (fond) from the bottom. These bits are pure flavor gold and should be strained into your drippings for maximum taste.
Mastering Make-Ahead Turkey Gravy Instructions
Preparing components in advance is a game-changer for stress-free holiday cooking, and gravy is no exception. This recipe is wonderfully suited for making ahead, maintaining its silky texture and rich flavor. Here’s how to do it perfectly:
How to Make it Ahead (Up to 2 Days Before Thanksgiving)
- Cook Completely: Follow the recipe instructions precisely and cook the gravy to its full, desired thickness. Do not stop early, as it needs to be fully thickened to set properly in the refrigerator.
- Rapid Cooling is Key: To prevent a grainy texture and ensure maximum smoothness upon reheating, pour the hot gravy into a shallow dish or pan. This increases the surface area, allowing it to cool down quickly until it’s just warm.
- Store in an Airtight Container: Once cooled, transfer the gravy to an airtight container. For an extra layer of protection against a skin forming on top, press a piece of plastic wrap directly onto the surface of the gravy before sealing the container.
- Refrigerate: Store the gravy in the refrigerator for up to 1-2 days.
How to Reheat it So it Stays Smooth
Reheating gravy can be tricky if not done correctly, often leading to separation or clumps. Avoid high heat and rushed warming:
- Low and Slow is the Way: Transfer the refrigerated gravy to a saucepan and warm it gently over medium-low heat. Patience is key here.
- Gradual Loosening with Stock: As the gravy warms, it will likely be very thick. Add unsalted stock, 1-2 tablespoons at a time, whisking continuously, until it returns to your preferred smooth, pourable consistency.
- Constant Whisking: Keep whisking constantly as the gravy warms and you add stock. This helps to re-emulsify any fats and ensure a consistently smooth texture.
- Don’t Panic if it Separates: It’s common for gravy to look slightly separated or a bit lumpy when it first starts warming. Continue whisking gently; almost always, it will come back together beautifully as it heats through.
Storing Your Delicious Turkey Drippings Gravy
Proper storage ensures you can enjoy your homemade gravy for days to come:
Refrigerator:
Store leftover gravy in an airtight container in the refrigerator for up to 3-4 days. When ready to enjoy again, rewarm it gently on the stovetop over low heat, whisking in a splash of stock or water to achieve the desired consistency.
Freezer:
For longer storage, freeze the gravy in an airtight, freezer-safe container for up to 2 months. Thaw it overnight in the refrigerator, then rewarm gently on the stovetop, whisking frequently, and adding a little stock if it needs to be thinned out.
Keeping Gravy Warm on Thanksgiving Day (The Foolproof Method)
If you’re making your gravy early or simply want to ensure it stays perfectly hot and ready for hours without scorching, here’s an invaluable trick:
- Use a Slow Cooker: Pour your finished gravy into a slow cooker.
- Set to “WARM”: Crucially, set your slow cooker to the “WARM” setting, not “LOW.” The “LOW” setting is often too hot and can cause the gravy to scorch or thicken excessively. “WARM” maintains an ideal serving temperature.
- Cover and Stir: Keep the slow cooker covered to prevent a skin from forming and to retain heat. Stir the gravy every 30-45 minutes to maintain its smooth texture and even temperature.
- Adjust Consistency as Needed: If you notice the gravy thickening over time, simply whisk in a splash of additional warm stock or hot water until it returns to your desired consistency.
This method is the most reliable way to keep your gravy silky, hot, and delicious for the entire duration of your holiday meal, allowing guests to serve themselves perfect gravy whenever they desire.
Frequently Asked Questions About Turkey Gravy
Absolutely! This gravy is excellent for make-ahead preparation. You can prepare it up to 2 days in advance. Just be sure to reheat it slowly over low heat, whisking constantly, and adding extra stock as needed to restore its silky consistency.
If you suspect your drippings are overly salty, it’s crucial to use unsalted stock and completely omit any additional salt in the recipe. A splash of heavy cream or milk added at the end can also help to mellow out excessive saltiness and add richness.
Yes, you can! While turkey drippings provide the best flavor, you can replace them with an equal amount of unsalted butter to create the roux. You’ll miss some of that rich, roasted turkey flavor, so consider using a high-quality turkey or chicken stock to compensate.
Don’t fret! If your gravy ends up with lumps, you have a couple of easy fixes. You can whisk it vigorously with a sturdy whisk to smooth them out, or for a perfectly smooth result, simply strain the gravy through a fine-mesh sieve into a clean saucepan. It will still be delicious!
If your drippings are a bit mild, consider adding a bouillon cube (turkey or chicken) dissolved in a small amount of hot water to your stock, or a tiny amount of umami boosters like a splash of soy sauce or mushroom powder along with the Worcestershire sauce mentioned in the tips. These ingredients enhance savory notes without overpowering the turkey flavor.
More Essential Thanksgiving Recipes You Might Enjoy
- Southern Mashed Potatoes
- Grandma’s Green Bean Casserole
- Southern Corn Casserole
- Perfect Roasted Turkey Breast
- Homemade Cranberry Sauce
Pin this now to find it later!
Pin It
Turkey Gravy Recipe
By: Kara
This silky, deeply savory Southern Turkey Gravy from Drippings comes together in minutes using your pan drippings and a few pantry staples. It’s smooth, lump-free, and the kind of gravy your family will ask for every year.
Ingredients
- ¼ cup turkey drippings
- ¼ cup all-purpose flour
- 3 cups unsalted stock (turkey or chicken)
- black pepper to taste
- salt only if needed
Instructions
-
In a saucepan (off the heat), whisk the ¼ cup turkey drippings and ¼ cup all-purpose flour together until the mixture is completely smooth. Starting cold helps prevent lumps.
-
Place the pan over medium heat. Cook for 1-2 minutes, whisking constantly, until the mixture smells slightly nutty and begins to bubble. This cooks out the raw flour flavor.
-
Slowly whisk in the 3 cups unsalted stock. Add a little at a time at first, whisking until smooth before adding more.
-
Bring the gravy to a gentle simmer. Cook for 3-5 minutes, stirring often, until thickened to your desired consistency.
-
Add black pepper to taste. Add salt only if needed. Your drippings may already be salty enough.
-
Serve warm. Ladle over turkey, dressing, mashed potatoes, or any Thanksgiving side you love.
Notes
- Short on drippings? Supplement with butter until you reach ¼ cup total fat.
- Too thick? Whisk in additional stock a splash at a time.
- Too thin? Simmer a little longer — the gravy will thicken as it cooks.
- Make-Ahead: Prepare up to 2 days early. Cool completely, refrigerate, then warm over medium-low heat with a splash of stock to loosen.
- Freezer-Friendly: Freeze for up to 2 months. Thaw in the fridge and reheat gently while whisking.
- Extra depth: A tiny splash of Worcestershire or smoked paprika can add color and deeper savory flavor.
Nutrition Information
Nutrition information is automatically calculated, so should only be used as an approximation.
Additional Info
Like this recipe? Leave a comment below!