
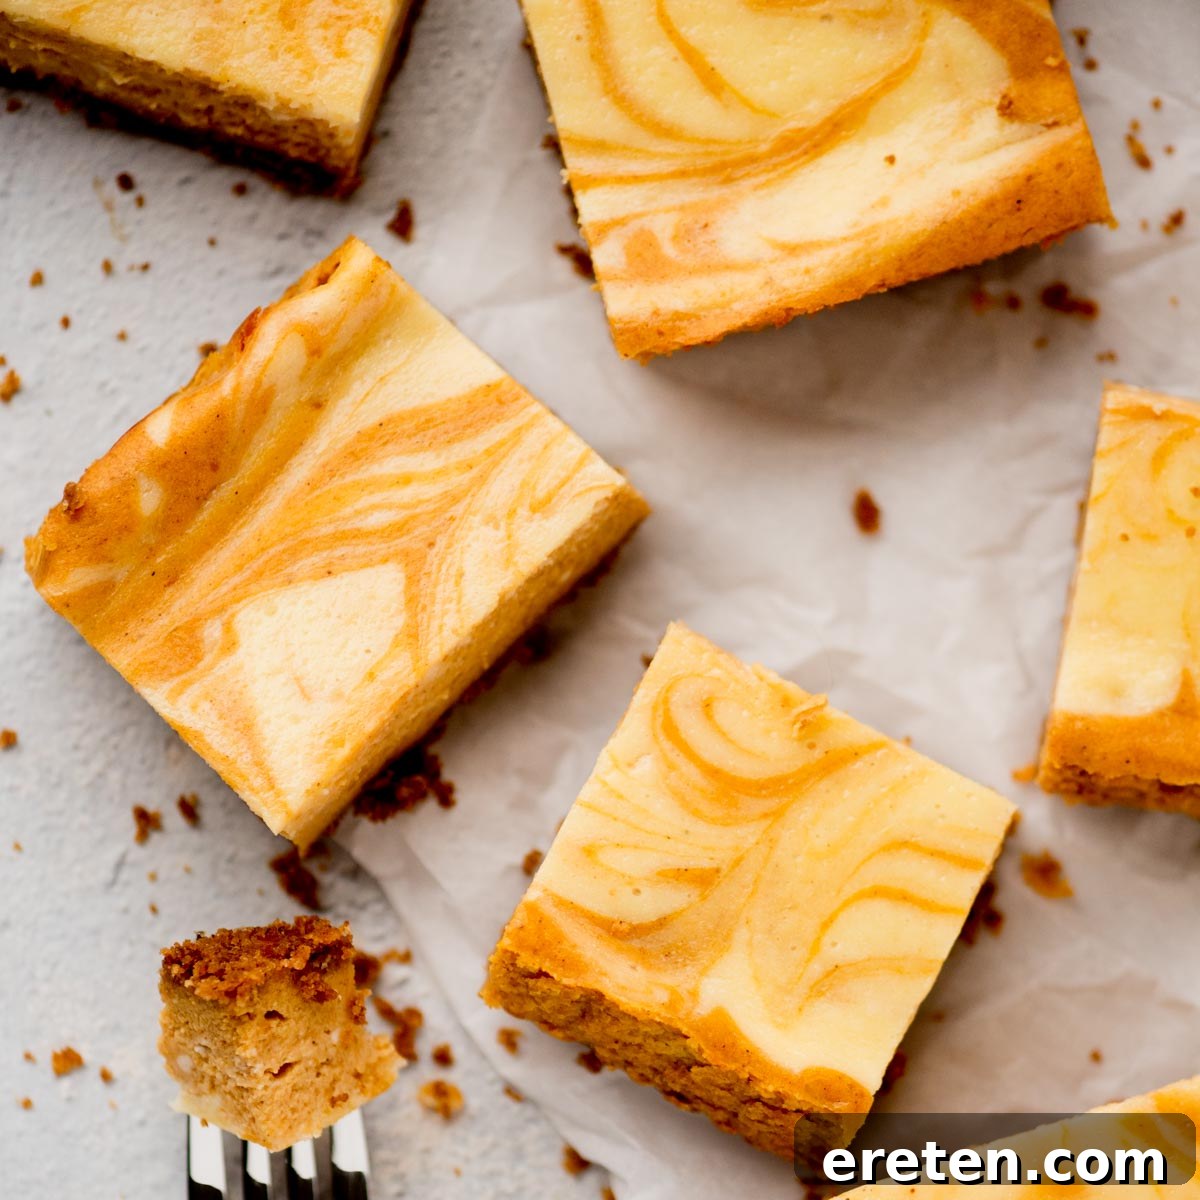
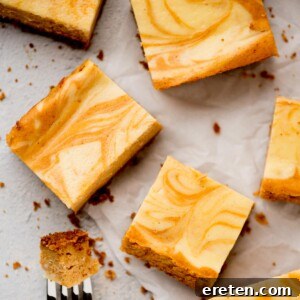
Step into a world of comforting autumn flavors with these utterly irresistible pumpkin cheesecake bars. Imagine a rich, buttery graham cracker crust providing the perfect foundation for a lusciously creamy cheesecake filling, elegantly swirled with vibrant pumpkin pie goodness. These bars aren’t just a dessert; they’re a celebration of fall, making them an indispensable treat for any holiday gathering or a cozy evening in. Best of all, they’re surprisingly easy to prepare, bringing sophisticated seasonal delight straight to your kitchen.
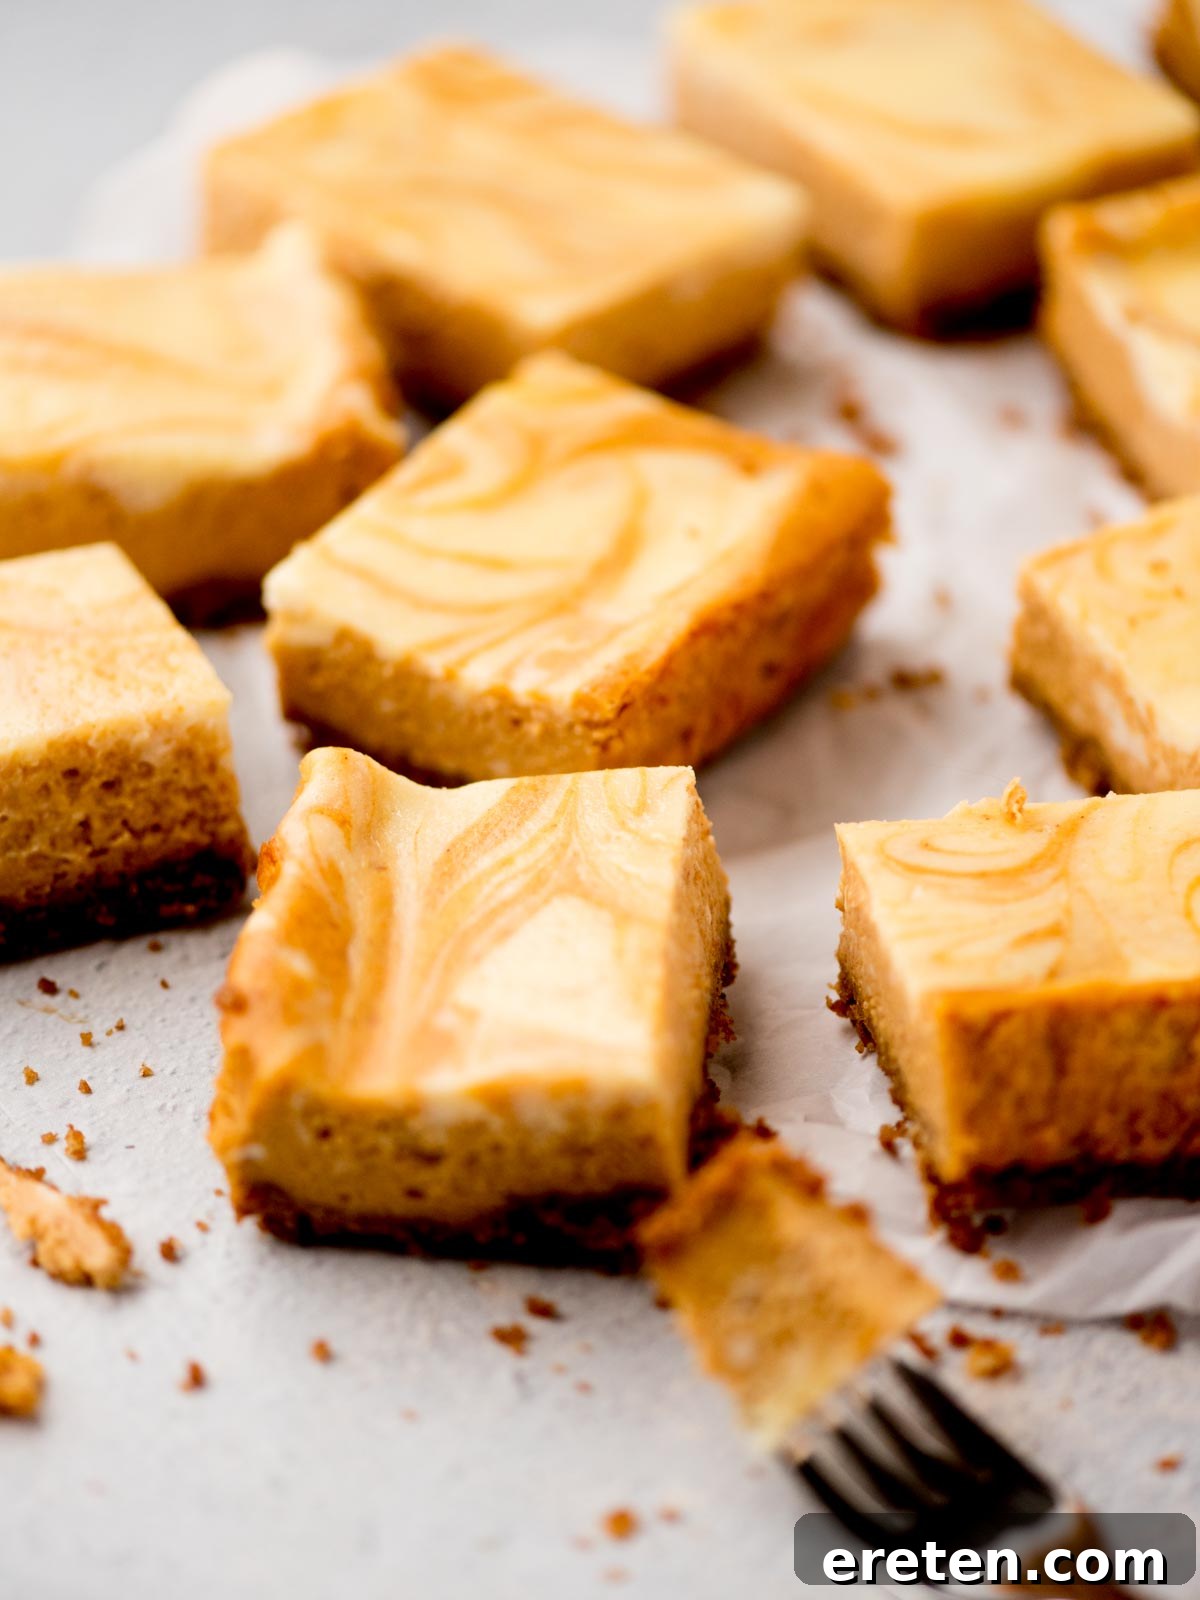
Effortless Elegance: Easy Pumpkin Cheesecake Bars for Your Holiday Table
As the leaves turn and the air cools, the aroma of warm spices and sweet pumpkin signals the start of baking season. While countless fall desserts beckon with their delightful charm, if you’re searching for that truly perfect holiday treat – one that combines ease with undeniable deliciousness – look no further. These pumpkin cheesecake bars are a revelation, offering all the rich, creamy decadence of a traditional cheesecake but in a wonderfully simplified and shareable form. Forget the stress of tricky springform pans and the fuss of water baths; these bars bake beautifully in a standard 9×13-inch baking dish, making them approachable for even novice bakers.
Whether you’re adding them to a festive cookie tray for a party, serving them as the grand finale to your Thanksgiving feast, or simply enjoying them with a hot cup of coffee, these bars are a delightful departure from typical pumpkin pies or elaborate cheesecakes. Their convenient bar shape makes them ideal for grab-and-go enjoyment, ensuring everyone can savor a piece of this autumnal magic.
Why You’ll Fall in Love with These Delicious Pumpkin Cheesecake Bars
Prepare to crown a new favorite holiday recipe! These extraordinary pumpkin bars, featuring a delightful graham cracker crust, are designed to win hearts and satisfy cravings. With a multitude of pumpkin recipes available, this particular creation stands out, promising to quickly become your go-to for the season. Here’s why these bars are an absolute must-try:
- Irresistibly Delicious & Festive: These cheesecake pumpkin bars perfectly capture the essence of the holidays with their rich flavor profile and visually appealing pumpkin swirl. They’re a guaranteed crowd-pleaser that embodies festive indulgence.
- Remarkably Easy to Make: Don’t let the elegant appearance fool you. This recipe is designed for simplicity. Even if you’re new to baking or consider yourself a kitchen novice, you’ll find these bars incredibly straightforward to prepare, yielding professional-looking results without the hassle.
- Common, Accessible Ingredients: You won’t need to hunt for exotic items. This recipe relies on readily available ingredients found at any grocery store, ensuring a stress-free shopping experience and allowing you to focus on the joy of baking.
- Effortlessly Portable & Party-Ready: Unlike traditional cheesecakes that can be cumbersome to transport and serve, these bars are inherently fuss-free. Their sturdy bar form makes them perfect for parties, potlucks, family gatherings, or any event where easy serving and handheld enjoyment are appreciated. No plates or forks are strictly necessary!
- Conveniently Freezer-Friendly: Planning ahead for the busy holiday season is a breeze with these bars. They freeze beautifully, allowing you to prepare them well in advance and simply thaw when needed. This feature is a game-changer for holiday hosts and ensures you always have a delightful treat on hand.
- No Water Bath Required: A common source of stress for many bakers, the dreaded water bath is entirely optional here. These bars bake wonderfully without it, simplifying the process and reducing potential baking mishaps.
- Perfect Texture Combination: Enjoy the delightful contrast between the crumbly, buttery crust and the smooth, creamy pumpkin-spiced cheesecake layer, creating a truly satisfying bite every time.
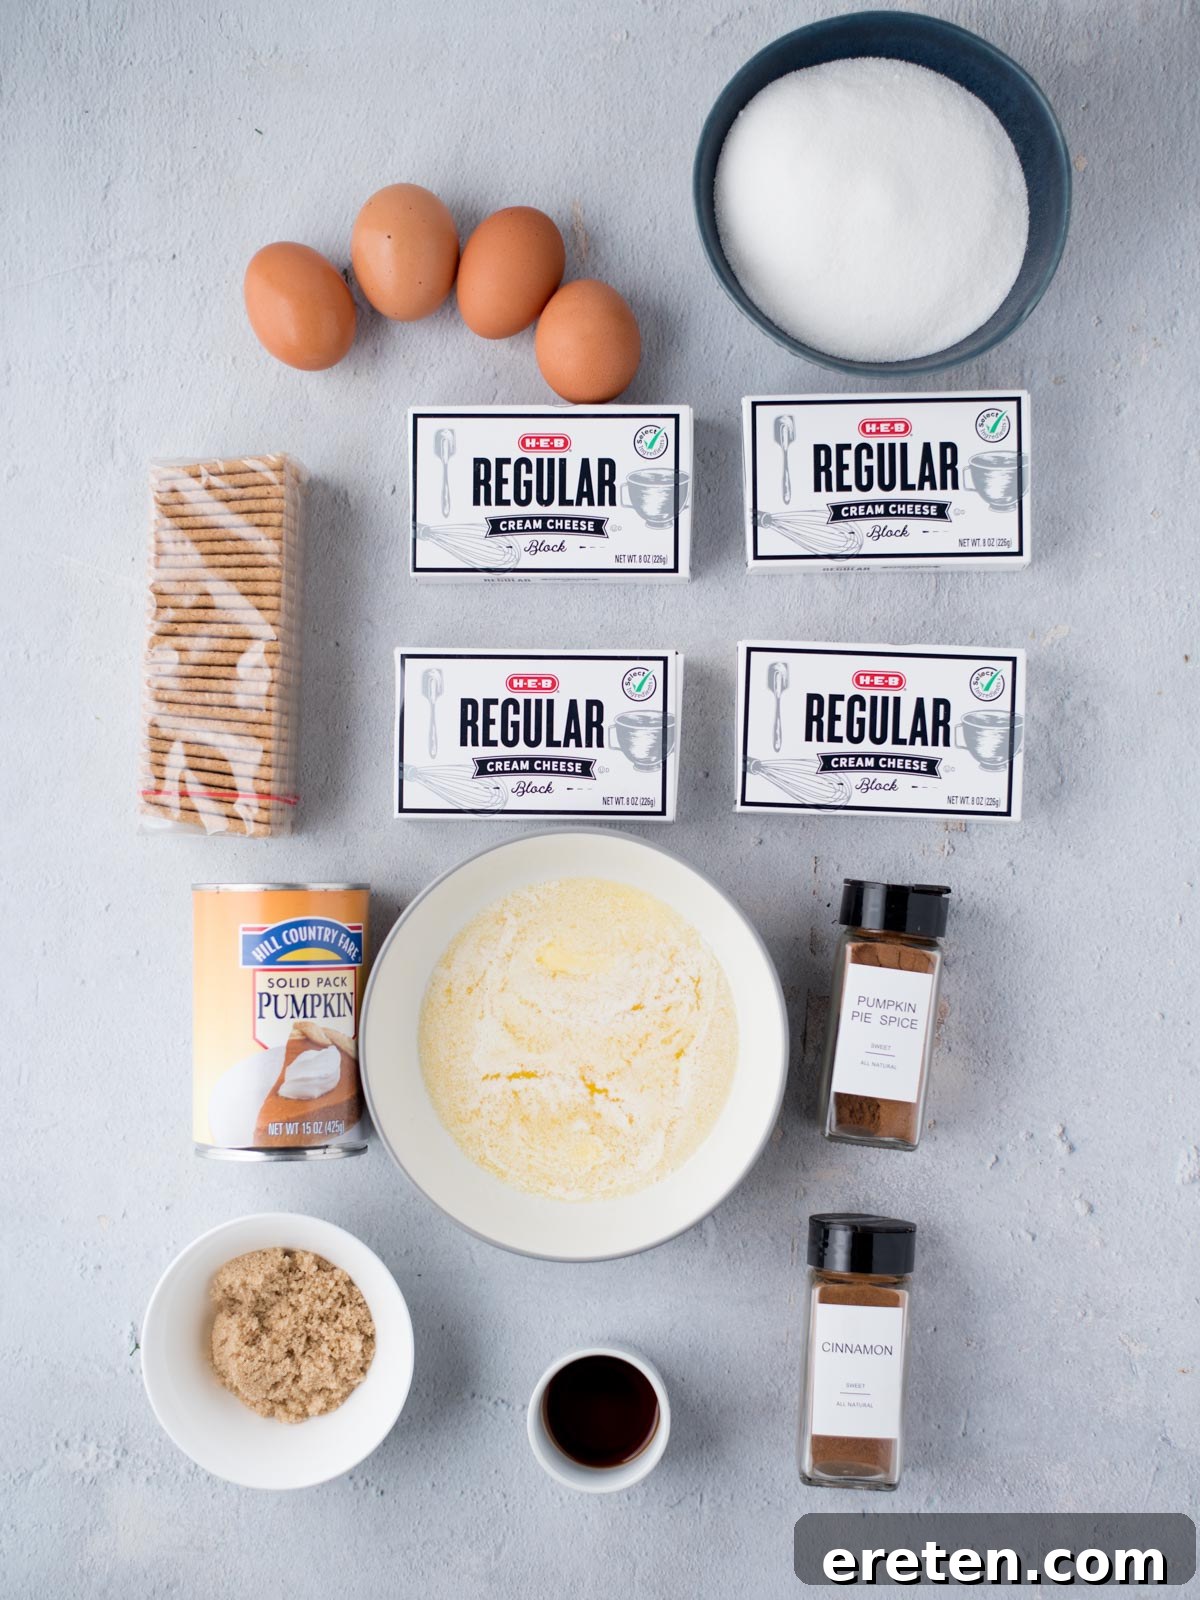
Key Ingredients for the Perfect Pumpkin Cream Cheese Bars
One of the many joys of this recipe is its reliance on simple, easy-to-find ingredients that combine to create extraordinary flavor. Here’s a detailed look at what you’ll need, along with some helpful tips:
For the Irresistible Graham Cracker Crust:
- Graham Crackers or Graham Cracker Crumbs: For ultimate convenience, many stores offer pre-crushed graham cracker crumbs. However, if you prefer to crush your own for a fresher taste, a good rule of thumb is 12 full sheets of graham crackers to yield about 1 ½ cups of fine crumbs.
- Brown Sugar: This adds a deeper, molasses-rich sweetness and helps bind the crust, contributing to its signature chewiness and golden hue.
- Unsalted Butter, Melted: Butter is crucial for creating that perfectly tender and cohesive crust. Ensure it’s fully melted to evenly coat the crumbs.
Pro Tip for Crushing Graham Crackers: If you’re starting with whole graham crackers, place about 12 full sheets in a sturdy plastic bag. Lay the bag on a kitchen towel (folded for cushioning and easy cleanup) and use a rolling pin or a meat mallet to crush them into fine, uniform crumbs. This method is surprisingly satisfying and ensures a consistent crust texture. Alternatively, a food processor makes quick work of this step.
Exciting Crust Variation: Gingersnap Delight! For a more festive and spicy twist, consider a gingersnap crust. Simply replace the graham crackers with 1 ½ cups of finely crushed gingersnap cookies and substitute the brown sugar with an equal amount of white granulated sugar. This variation adds a wonderful warm spice that complements the pumpkin beautifully.
For the Velvety Smooth Cheesecake Filling:
- Full-Fat Cream Cheese: This is non-negotiable for a truly rich and creamy cheesecake. Crucially, the cream cheese *must* be at room temperature. Set it out on your counter at least an hour before you plan to bake. This ensures it blends smoothly without lumps and prevents overmixing, which can lead to cracks.
- White Granulated Sugar: Provides the essential sweetness to balance the tang of the cream cheese and the earthiness of the pumpkin.
- Vanilla Extract: A foundational flavor enhancer that adds warmth and depth to the cheesecake base.
- Large Eggs: Eggs act as the primary binder and contribute to the cheesecake’s structure and creamy texture. Like cream cheese, ensuring they are at room temperature helps them incorporate more smoothly into the batter.
- Pumpkin Puree (NOT Pumpkin Pie Filling!): This distinction is critical. Pumpkin puree is pure cooked and mashed pumpkin, offering unadulterated pumpkin flavor. Pumpkin pie filling, on the other hand, comes pre-spiced and sweetened, which would throw off the flavor balance of this recipe. You can even make your own homemade pumpkin puree for an extra touch of freshness.
- Ground Cinnamon: A classic and essential spice for pumpkin desserts, adding aromatic warmth.
- Pumpkin Pie Spice: This pre-blended spice mix typically includes cinnamon, nutmeg, ginger, and cloves, delivering that quintessential fall flavor profile. You can easily find it in most grocery stores, or make your own homemade pumpkin pie spice blend using individual ground spices.
Step-by-Step Guide: How to Craft These Delectable Pumpkin Cheesecake Bars
While the instructions may appear extensive, I assure you that making these pumpkin cheesecake bars is a straightforward and rewarding process. Each step is designed for clarity and ease, guiding you to a perfect dessert every time.
Step 1: Prepare Your Pan and Preheat Oven
Preheat your oven to 350ºF (175ºC). Line a 9×13-inch baking dish with parchment paper. It’s essential to leave a generous overhang of parchment paper on the sides; this acts as “handles” later, allowing you to easily lift the cooled bars out of the pan for clean slicing.
Step 2: Combine Crust Ingredients
In a medium-sized mixing bowl, combine the graham cracker crumbs and brown sugar. Mix thoroughly with a fork or spatula until the ingredients are uniformly blended. This ensures an even sweetness and texture throughout the crust.
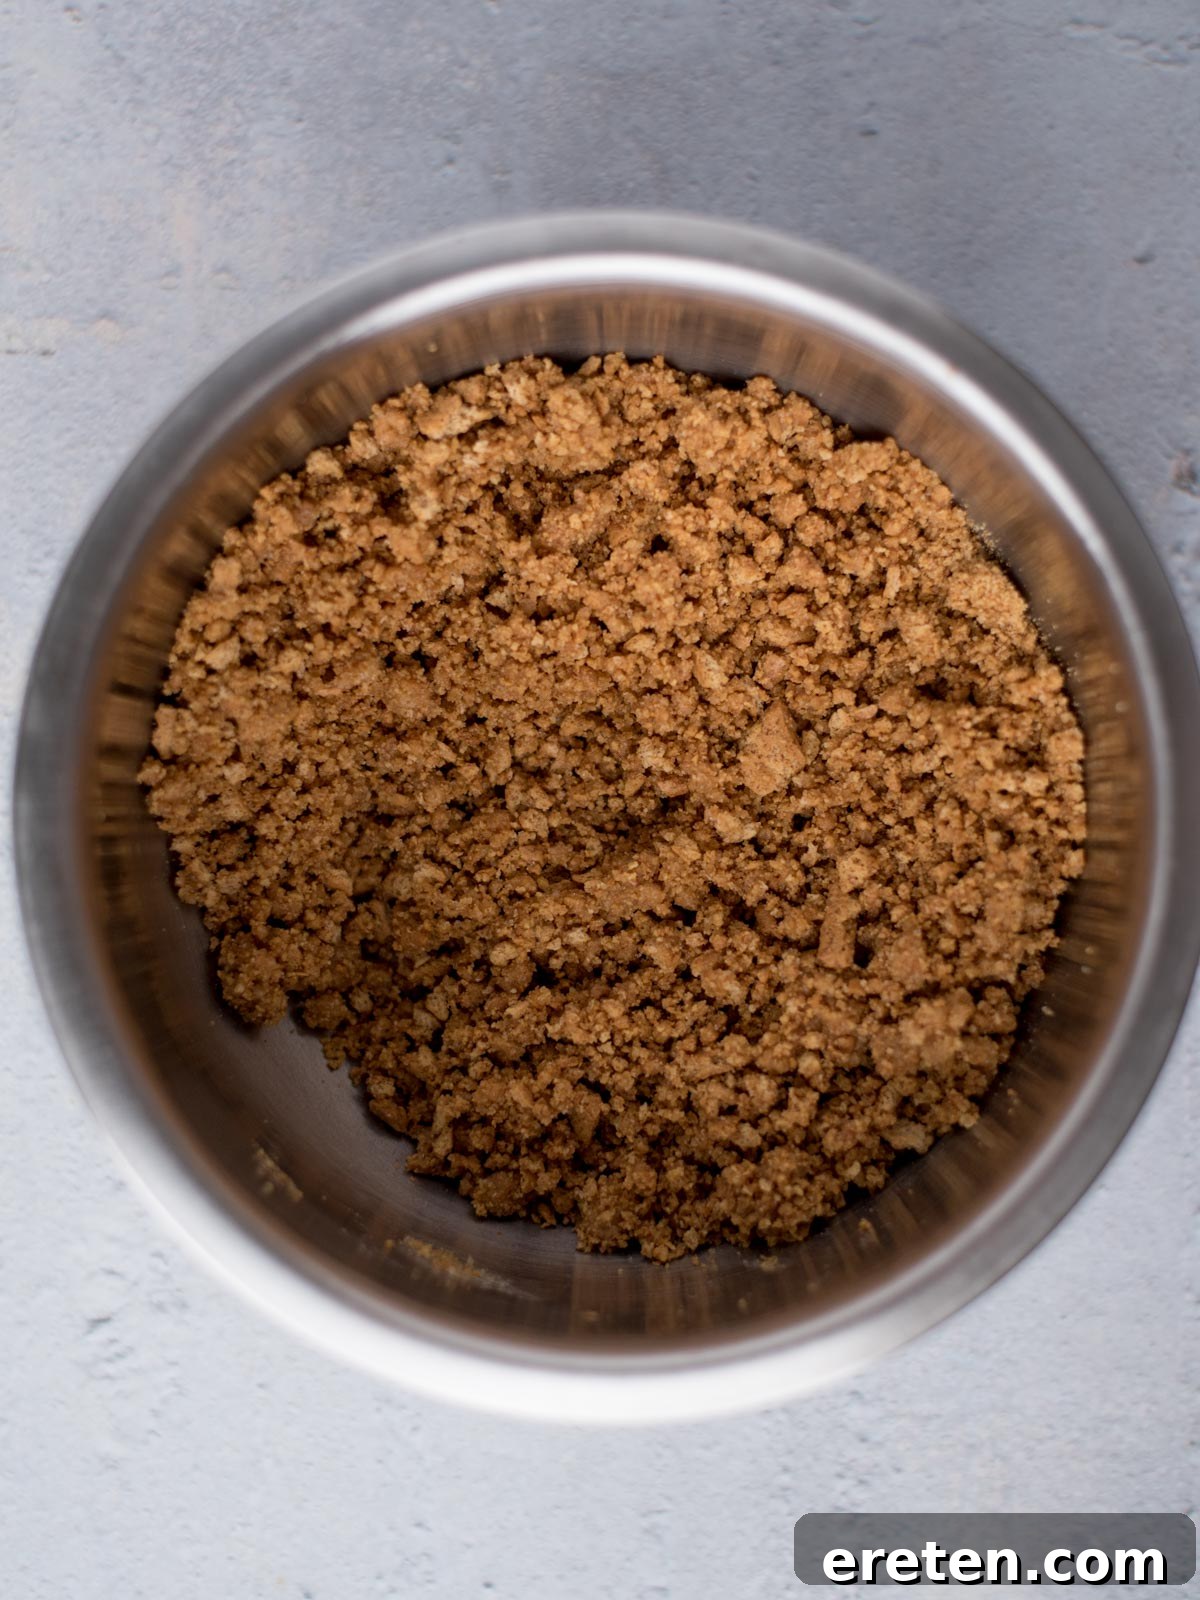
Step 3: Add Melted Butter to Crust
Pour the melted unsalted butter into the graham cracker and brown sugar mixture. Mix well until the crumbs are completely moistened and begin to clump together, forming a consistency similar to wet sand or a loose dough.
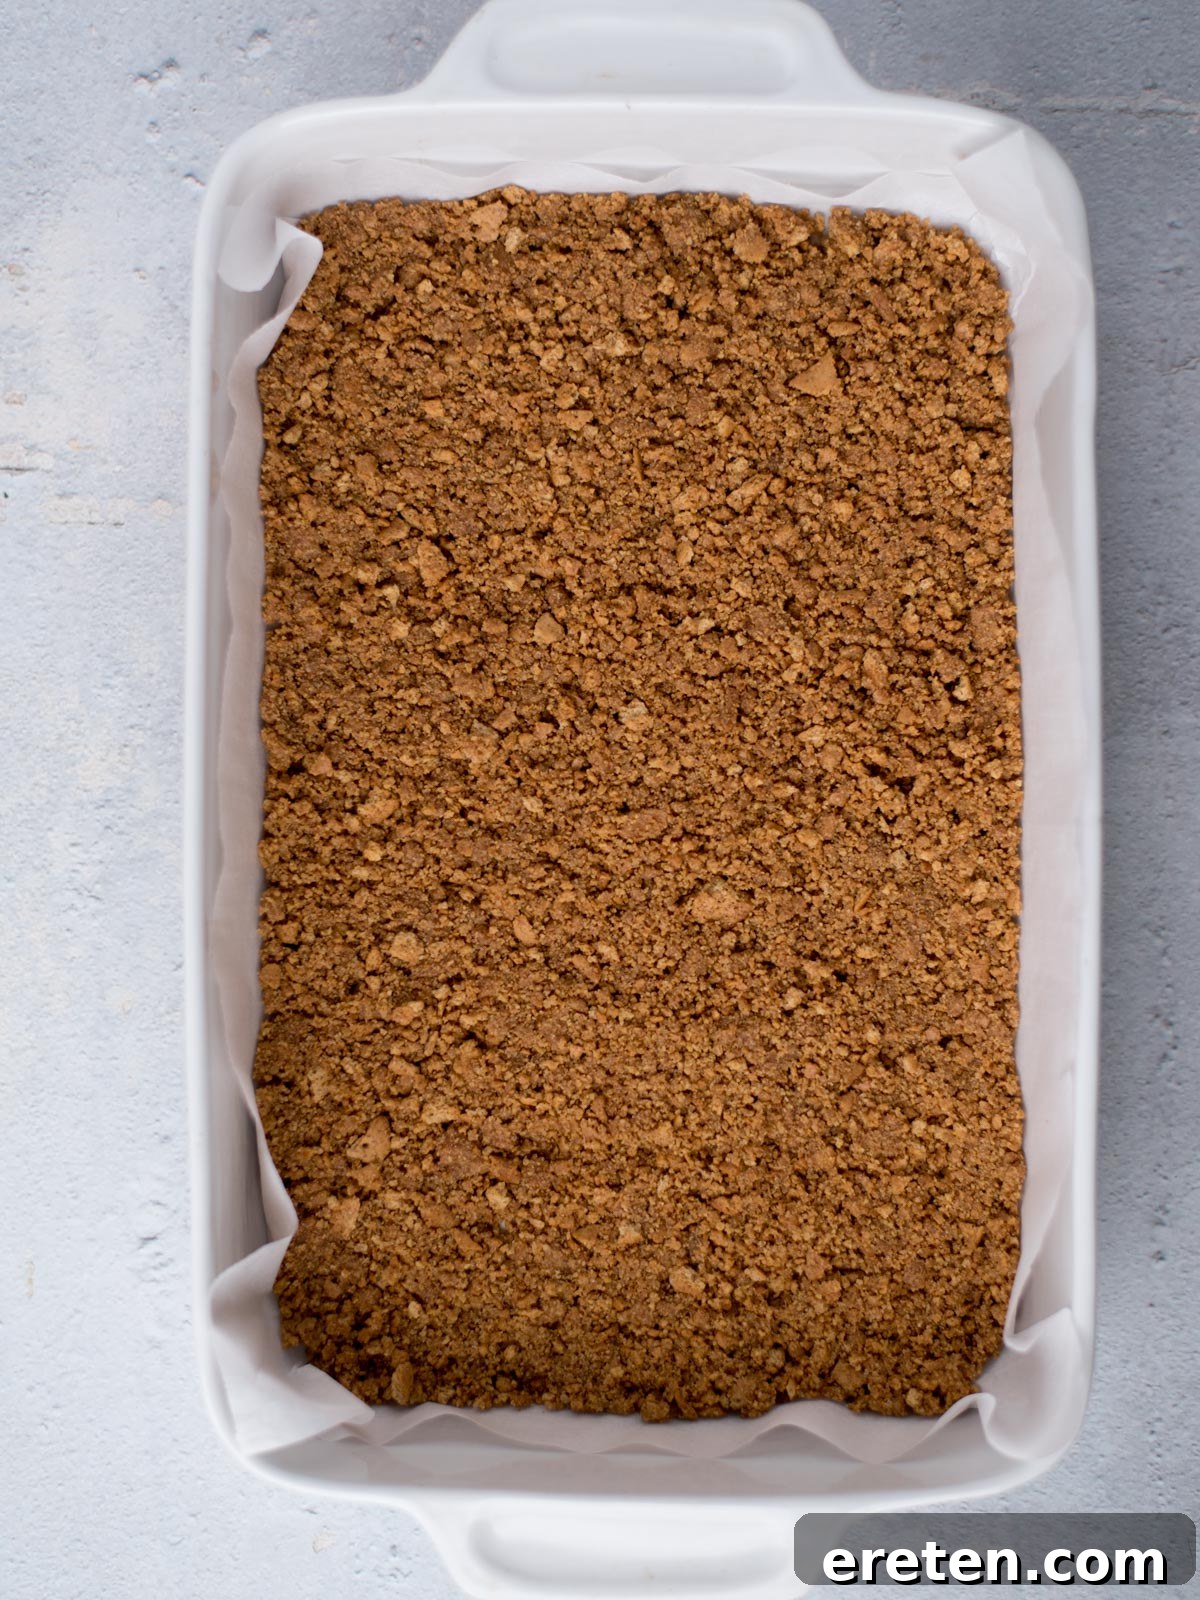
Step 4: Press and Pre-Bake the Crust
Transfer the crust mixture into the bottom of your prepared 9×13-inch pan. Using the back of a spoon or your clean hands, press the mixture firmly and evenly across the entire bottom of the pan. Bake the crust for 8 minutes. Pre-baking the crust helps to set it, making it wonderfully crisp and preventing it from becoming soggy under the creamy cheesecake filling. Once baked, remove it from the oven and set it aside to cool slightly while you prepare the filling.
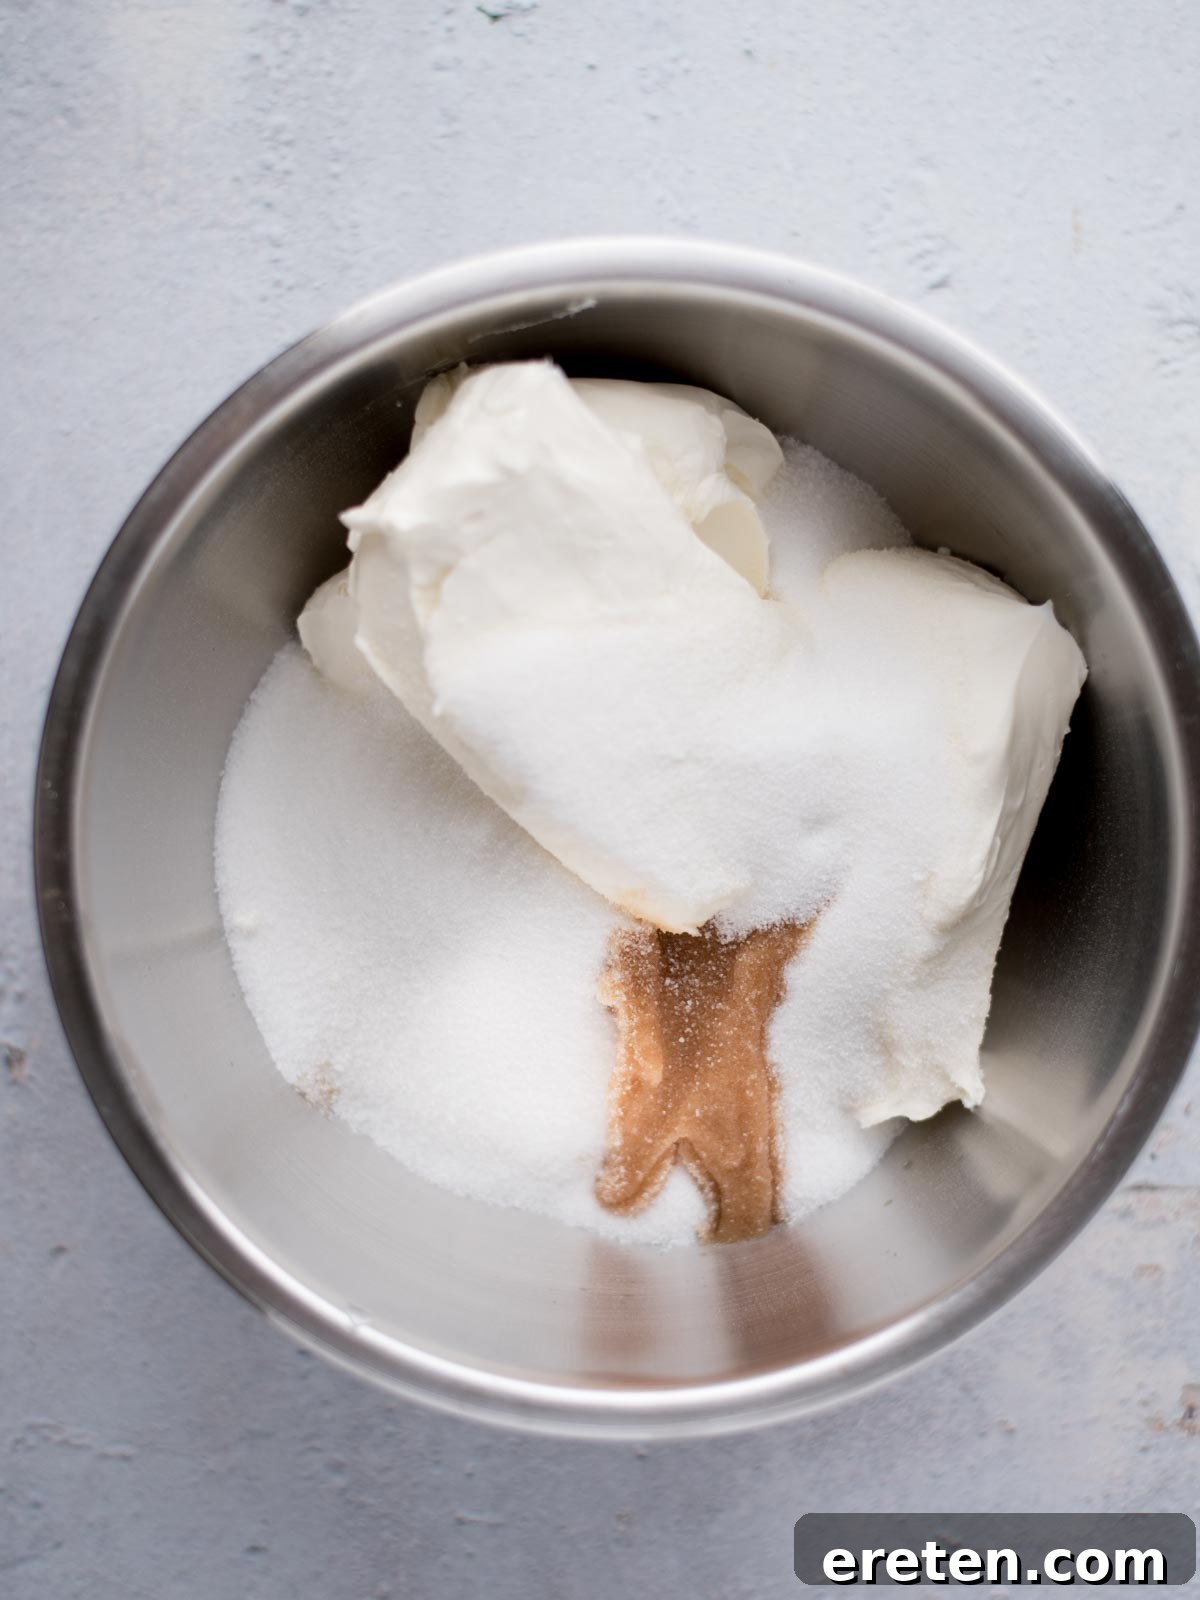
Step 5: Prepare the Cheesecake Base
While the crust cools, begin making the cheesecake filling. In a large mixing bowl, or the bowl of a stand mixer fitted with the paddle attachment, add the room temperature full-fat cream cheese, white sugar, and vanilla extract. Ensuring your cream cheese is at room temperature is paramount for a lump-free, silky-smooth filling.
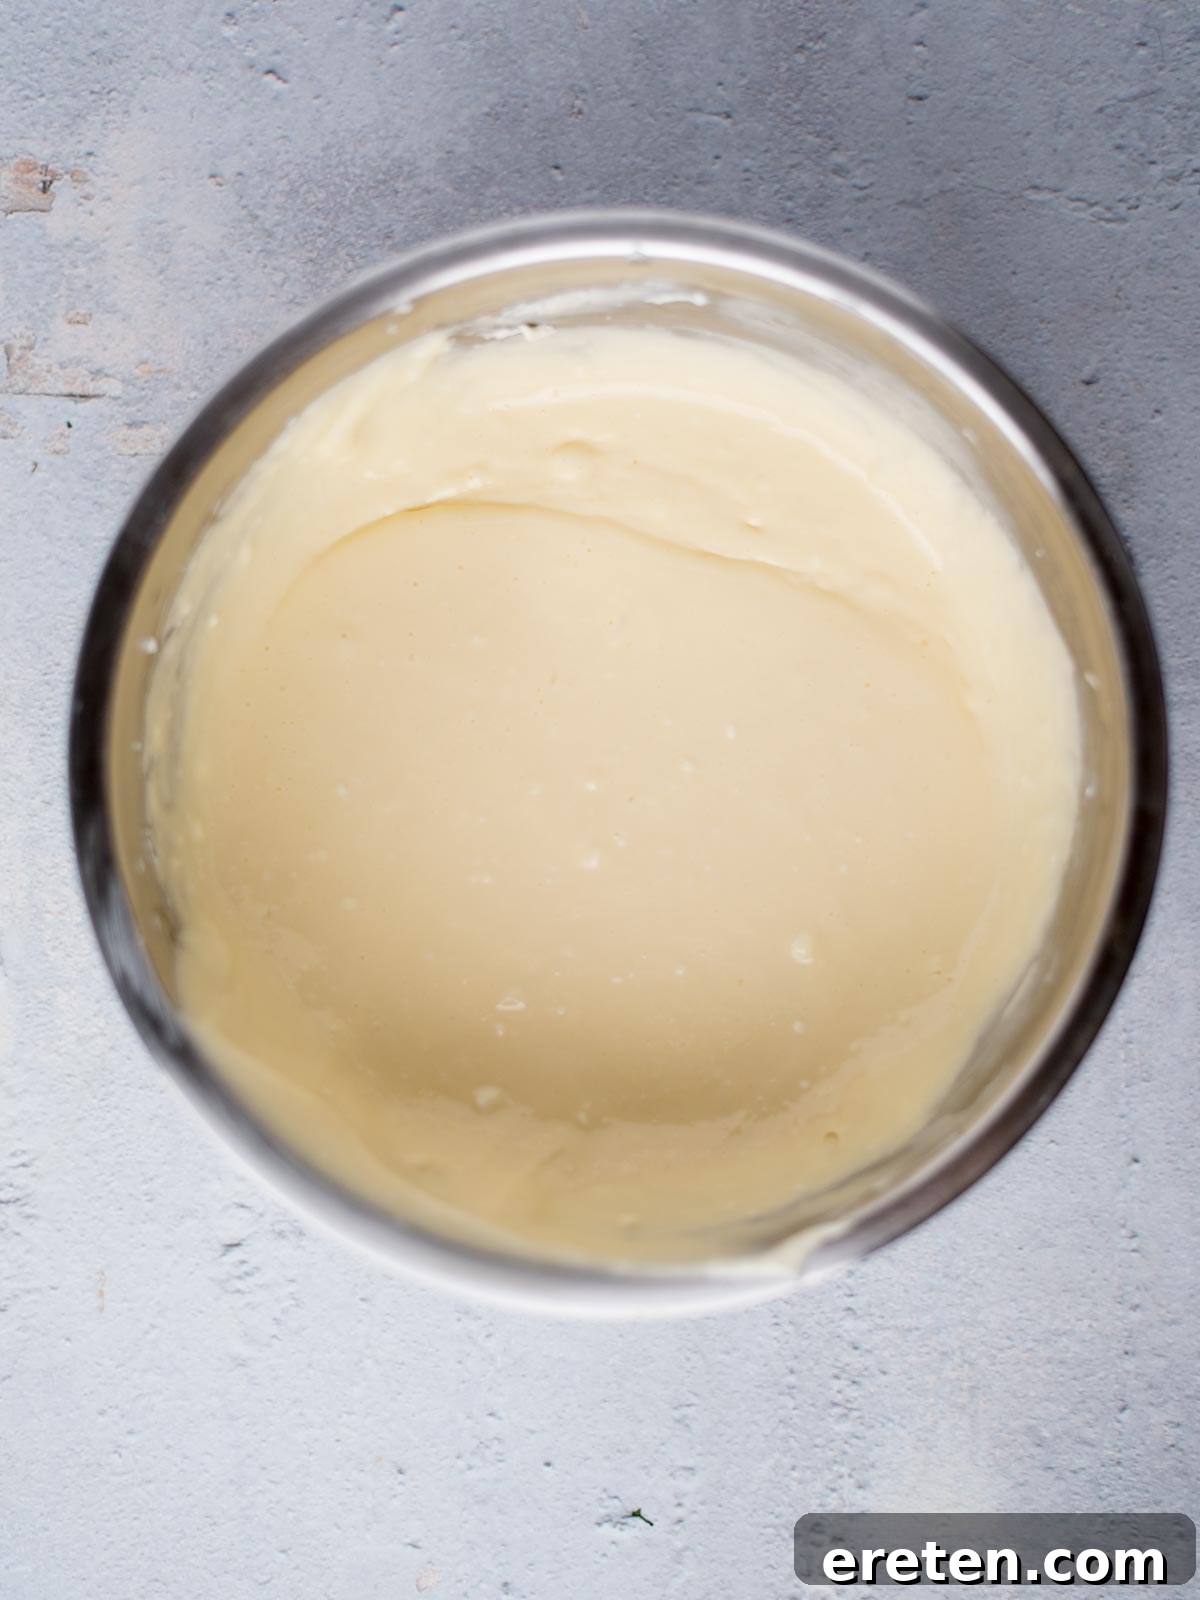
Step 6: Mix the Cheesecake Filling
Using either your stand mixer on low speed or an electric hand mixer, blend the cream cheese mixture just until it is smooth and fully combined. Be careful not to overmix! Overmixing incorporates too much air, which can lead to cracking during baking.
Step 7: Incorporate the Eggs
Once the mixture is smooth, add the large eggs one at a time. Beat each egg into the mixture just until it is combined and no streaks remain before adding the next one. This gentle incorporation helps maintain the smooth consistency and prevents excessive air from entering the batter.
Step 8: Separate for the Swirl
Carefully remove about one-third of the plain cheesecake batter from the large mixing bowl and transfer it to a separate, smaller bowl. Set this bowl aside. This portion will be used to create the elegant swirls that define these pumpkin swirl cheesecake bars.
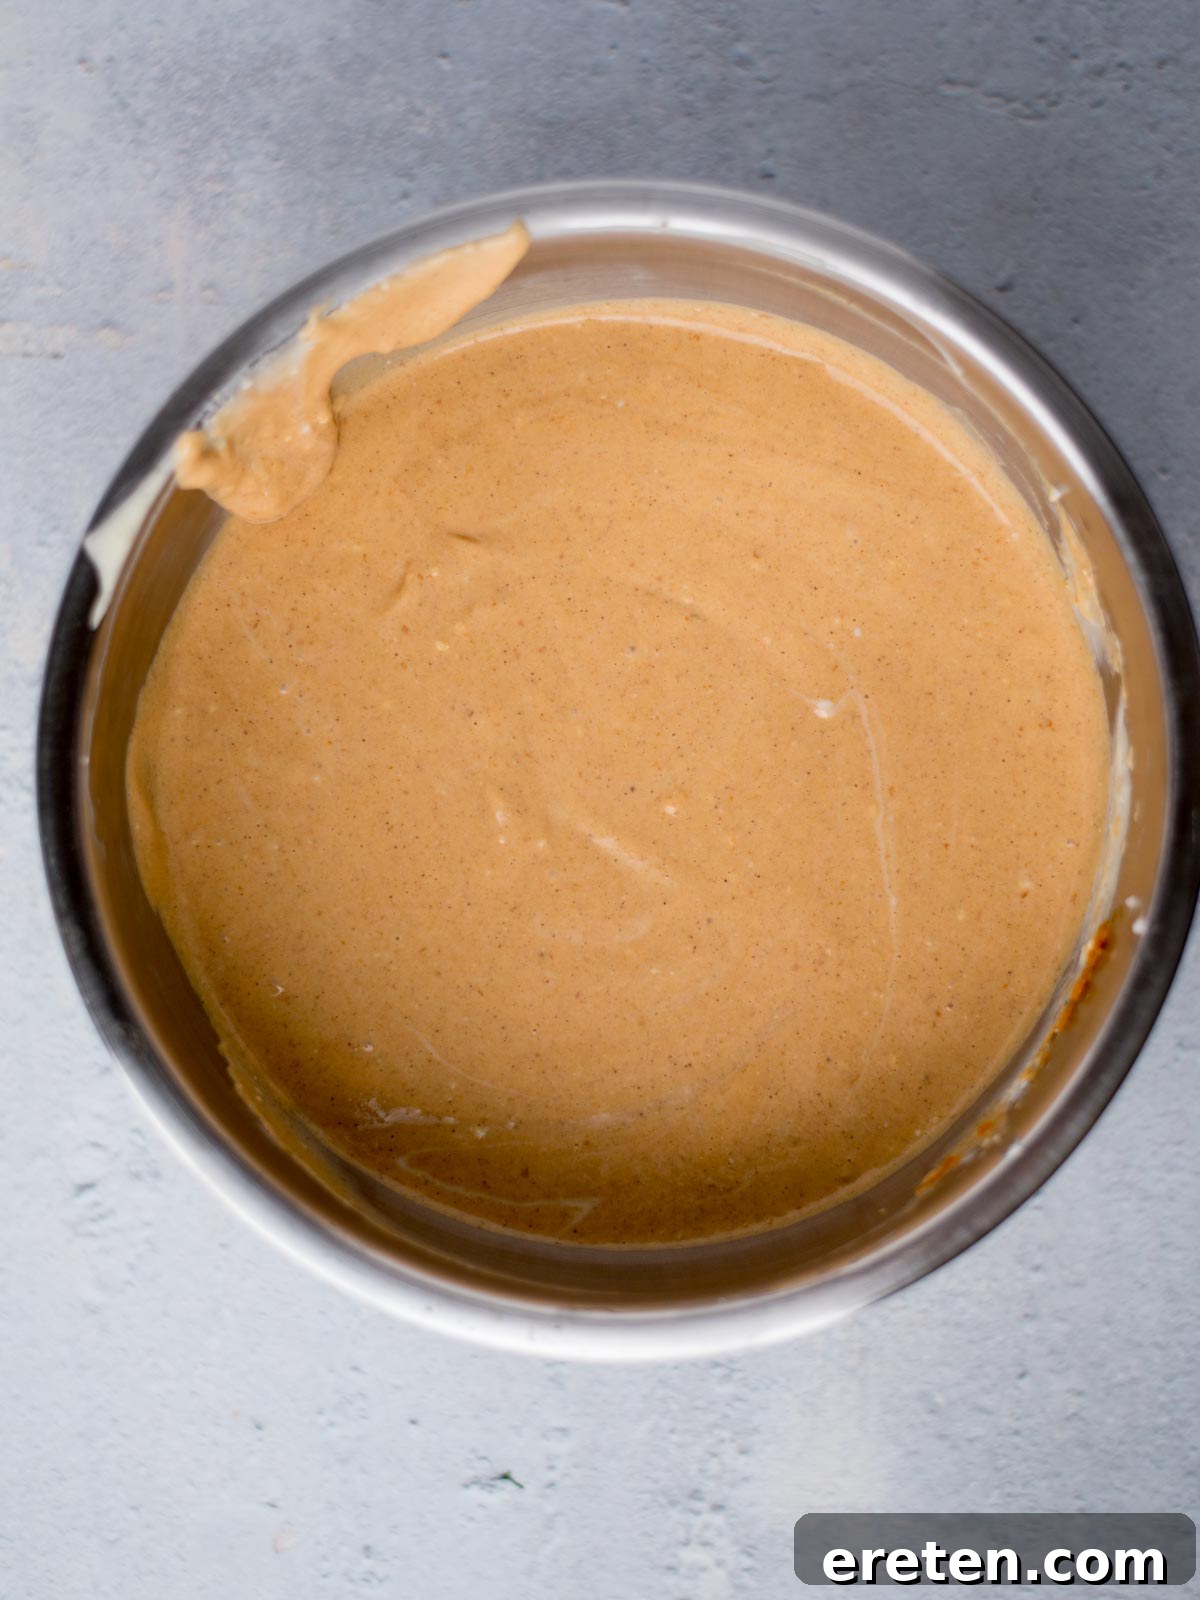
Step 9: Create the Pumpkin Layer
To the remaining two-thirds of the cheesecake batter in the large mixing bowl, add the pumpkin puree, ground cinnamon, and pumpkin pie spice. Mix on low speed just until these ingredients are fully combined and the batter is a uniform orange hue. Again, avoid overmixing.
Step 10: Layer the Pumpkin Filling
Evenly pour the pumpkin cheesecake mixture over the cooled graham cracker crust in your prepared baking dish. Gently spread it to create a smooth, even layer.
Step 11: Add the Plain Cheesecake Layer
Delicately spoon or pour the reserved plain cheesecake mixture over the top of the pumpkin layer. Be very careful during this step to avoid mixing the two layers prematurely. You want distinct layers to create a beautiful swirl effect.
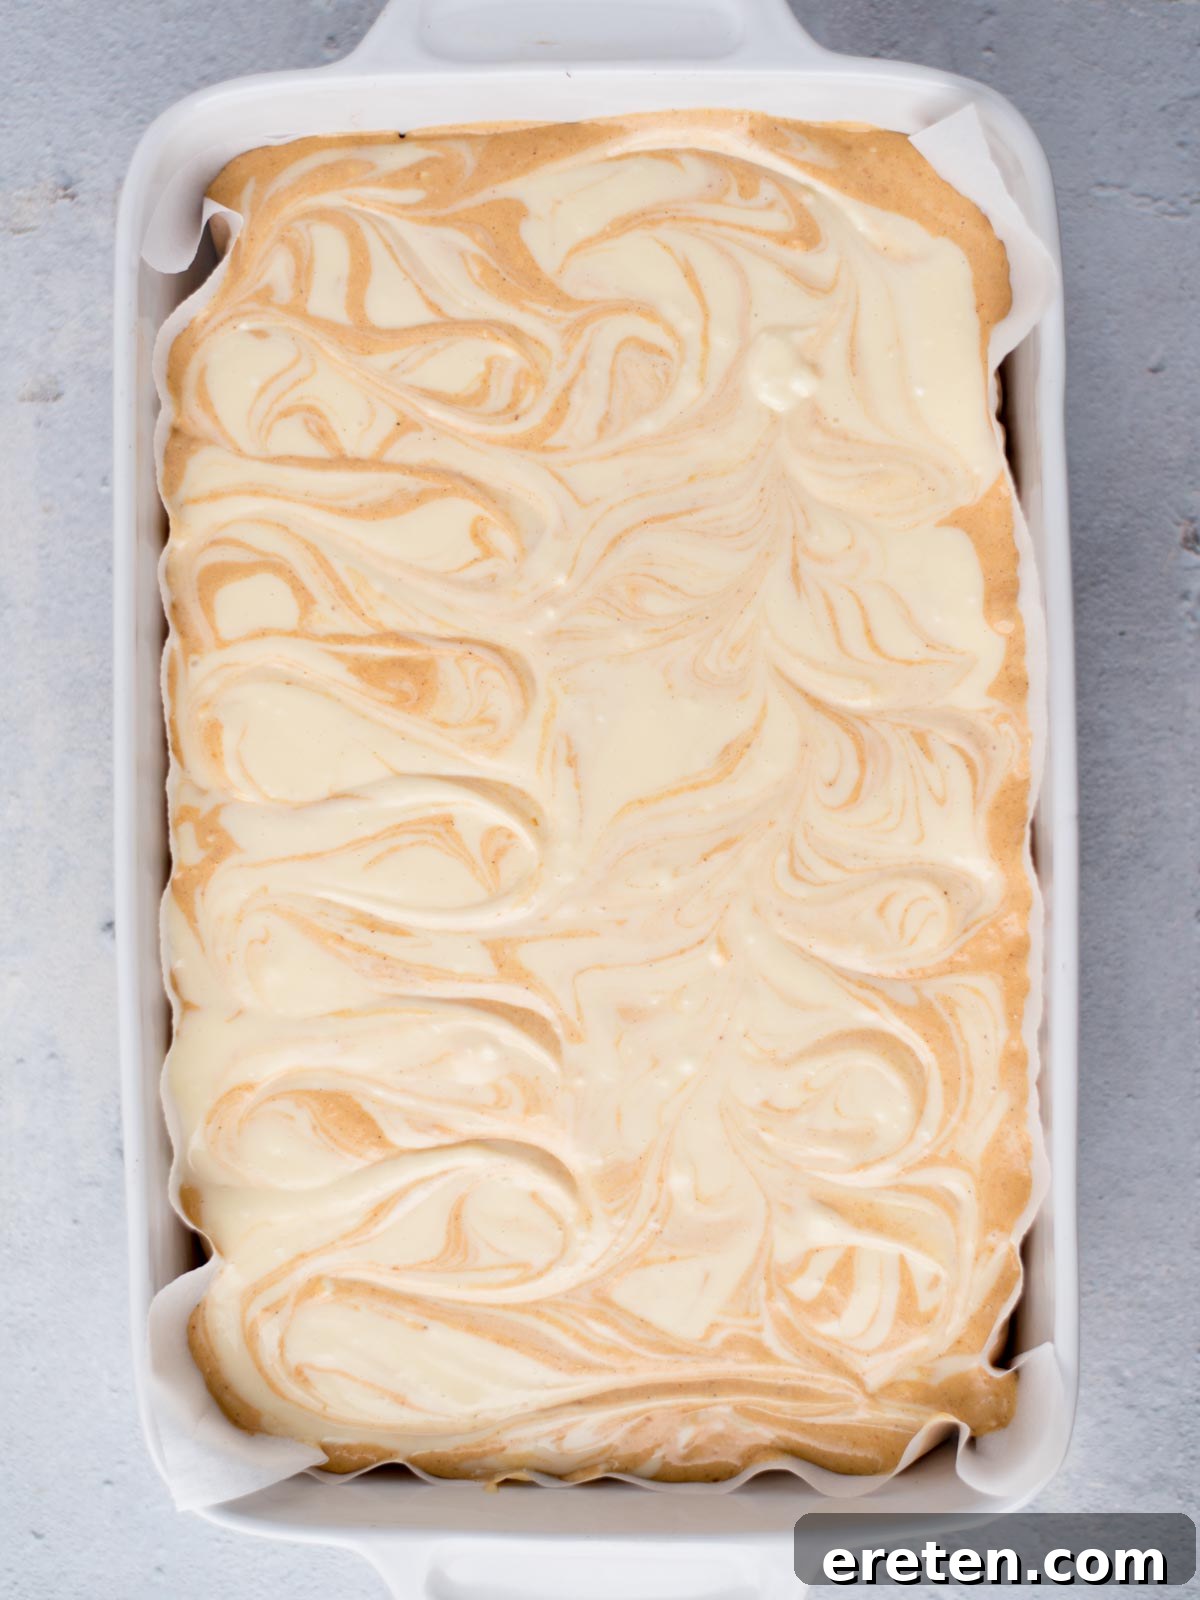
Step 12: Craft the Signature Swirl
Using a toothpick, a thin knife, or a kabob skewer, gently swirl the plain cheesecake layer into the pumpkin mixture. Move the tool in gentle, S-shaped or figure-eight patterns. The goal is to create beautiful marbled patterns, not to fully combine the two batters. Less is often more here; a few deliberate swirls will create a stunning visual.
Step 13: Bake and Cool to Perfection
Carefully place the baking pan into the preheated oven. Bake for approximately 55-60 minutes, or until the cheesecake is mostly set. To test for doneness, gently jiggle the pan; the edges should be set, but the very center might have a slight, barely perceptible wobble. It should not be jiggly throughout. If it is, continue baking for a few more minutes until it’s nearly firm. Promptly remove the cheesecake bars from the oven and allow them to cool completely to room temperature on a wire rack. This slow, gradual cooling is crucial for preventing cracks. Once at room temperature, transfer the baking dish to the refrigerator and chill for at least 2-4 hours, or ideally overnight, before slicing. This chilling period allows the cheesecake to fully set and firm up, making for cleaner cuts and a superior texture.
Step 14: Prepare for Slicing
Once thoroughly chilled and firm, remove the baking dish from the refrigerator. Use the parchment paper overhang to gently lift the entire cheesecake slab out of the pan and onto a cutting board. This makes slicing much easier and cleaner.
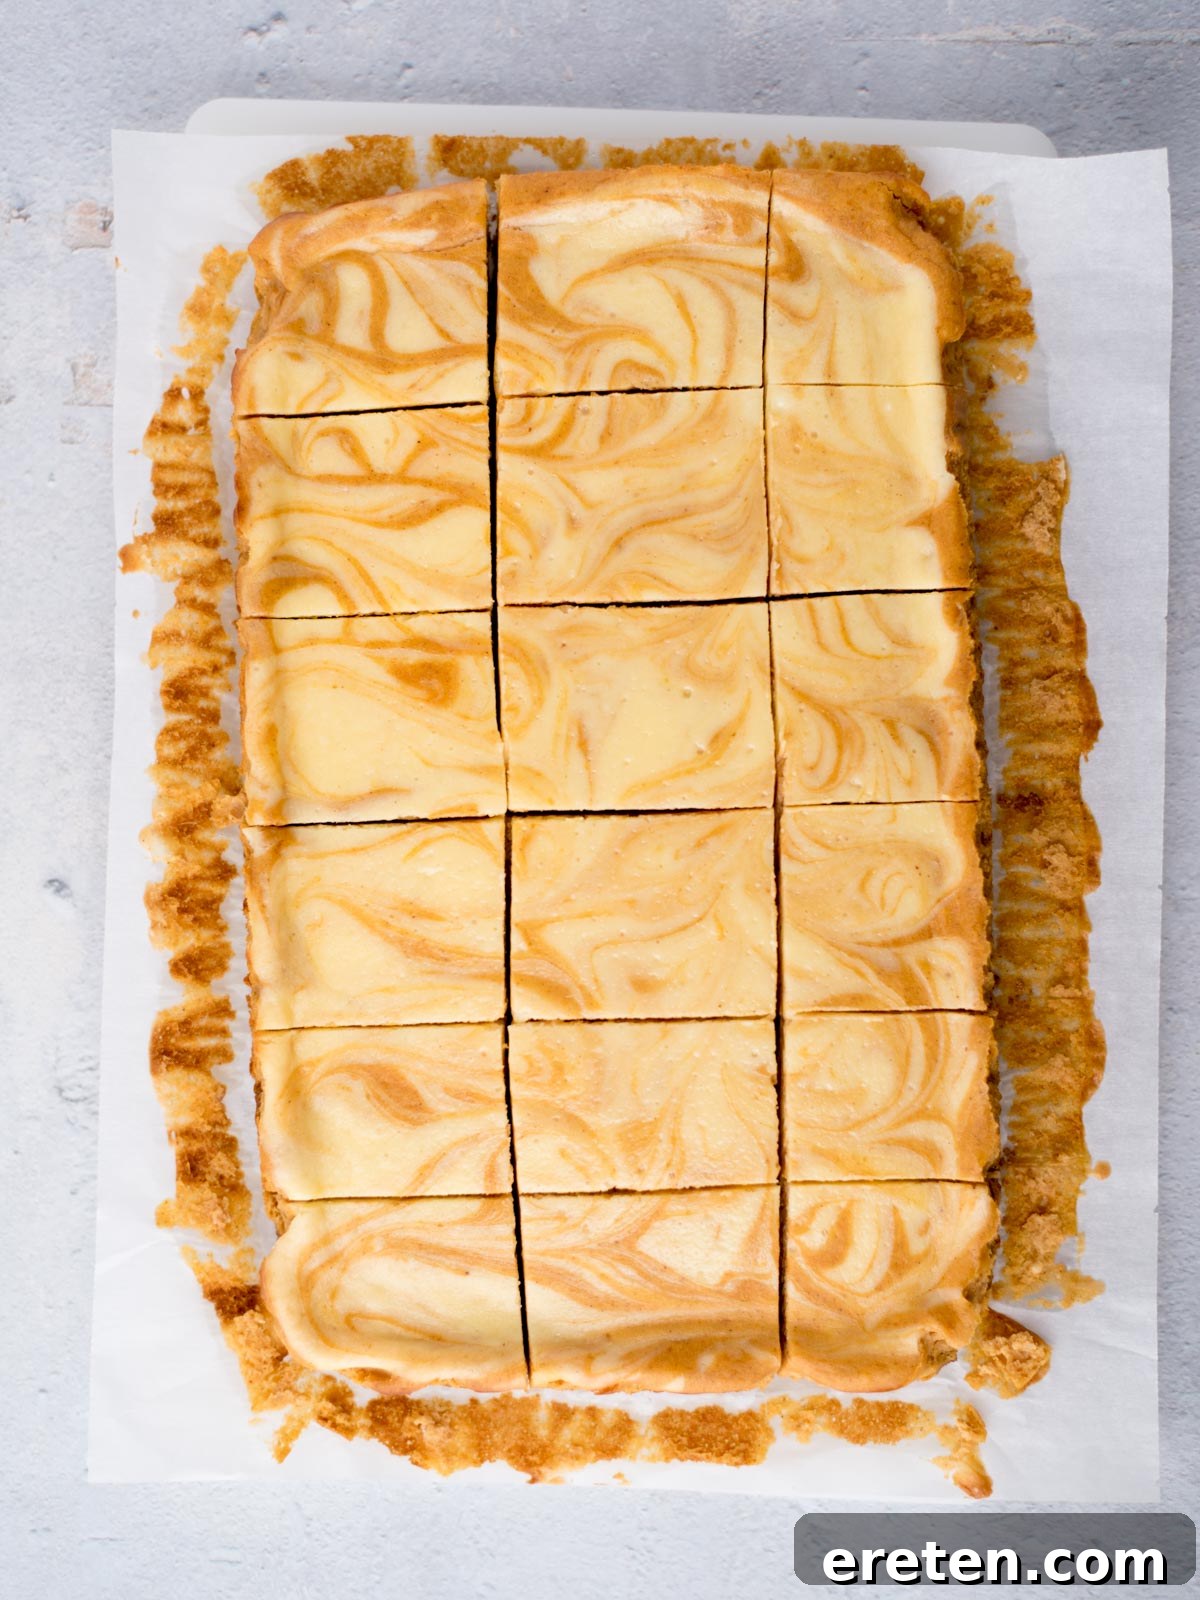
Step 15: Slice and Serve with Style
For the cleanest cuts, it’s vital to slice the cheesecake bars immediately after removing them from the refrigerator, using a hot knife. The best technique involves running a sharp knife under hot water for a few seconds, wiping it dry, and then making a decisive cut. Repeat this process – running the knife under hot water and wiping it clean – between each slice. This prevents the cheesecake from sticking and ensures beautifully neat, professional-looking bars. Serve these delightful pumpkin cheesecake bars as they are, allowing their rich flavors to shine, or elevate them further with a dollop of fresh whipped cream and a sprinkle of cinnamon.
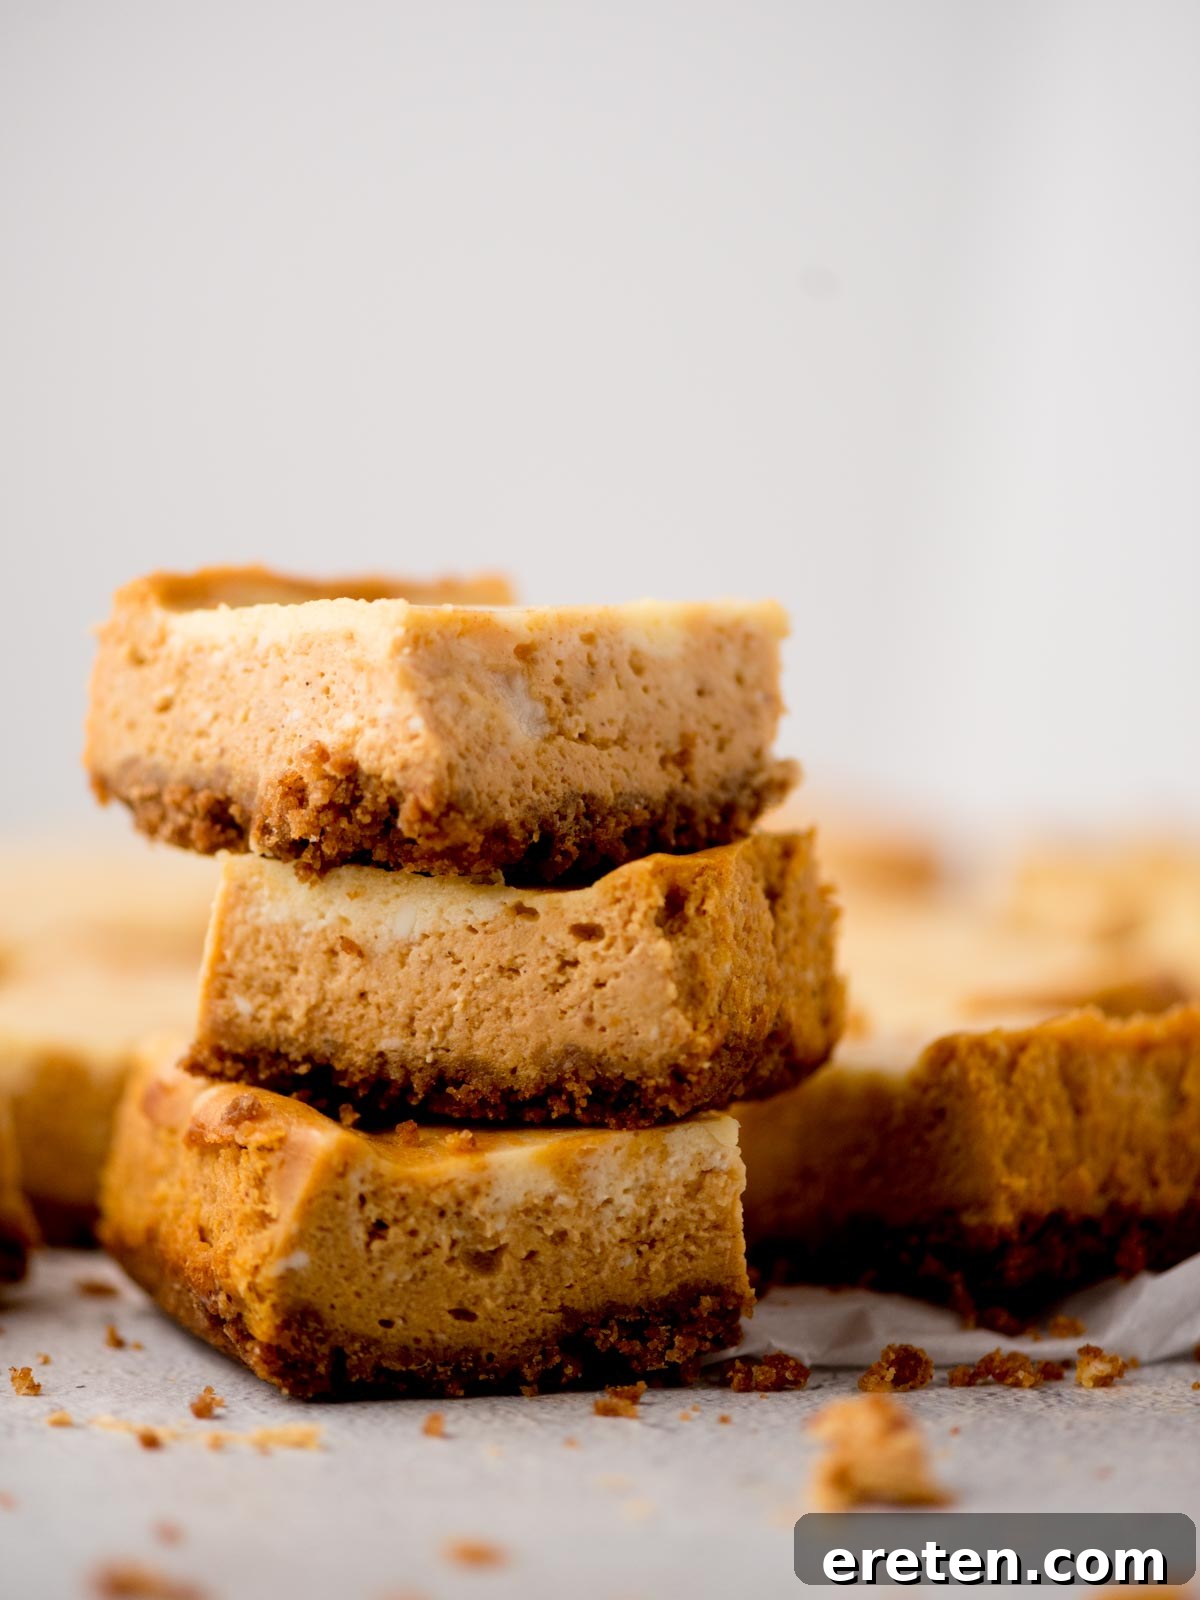
Essential Kitchen Tools for Pumpkin Cheesecake Bars
Having the right tools can make all the difference in ensuring a smooth and enjoyable baking experience. Here are some key kitchen essentials you’ll want on hand for these pumpkin cheesecake bars:
9×13 Baking Dish: A standard, sturdy dish is crucial for baking an even layer of cheesecake bars.
Buy Now →
Parchment Paper: Essential for easy removal and clean slicing of your bars. Don’t forget the overhang!
Buy Now →
Glass Mixing Bowls: For combining ingredients, having a few sizes is always helpful.
Buy Now →
Measuring Cups & Measuring Spoons: Accuracy is key in baking for consistent results.
Buy Now →
Buy Now →
KitchenAid Stand Mixer (or electric hand mixer): Makes quick work of blending the cheesecake batter to a smooth consistency.
Buy Now →
Expert Tips for the Best Pumpkin Cheesecake Squares
Achieving bakery-quality pumpkin cheesecake bars is simpler than you think when you follow these key tips:
- The Parchment Paper Overhang is Essential: Do not skimp on the parchment paper! When lining your 9×13-inch pan, ensure you leave a significant overhang on the longer sides. This acts as a sling, allowing you to effortlessly lift the entire cooled cheesecake slab out of the pan. This step is critical for clean, neat slices and avoids damaging the bars when trying to remove them.
- Room Temperature Cream Cheese is Non-Negotiable: This is arguably the most important tip for a smooth, creamy cheesecake filling. Cold cream cheese will inevitably lead to lumps in your batter, no matter how long you mix it. Set your full-fat cream cheese out on the counter at least one to two hours before you start baking. This allows it to soften perfectly, ensuring it blends into a silky, lump-free consistency.
- Avoid Overmixing the Cheesecake Filling: Once your cream cheese and sugar are smooth, and after adding the eggs, mix only until just combined. Overmixing incorporates too much air into the batter. When baked, these air pockets will expand, then collapse as the cheesecake cools, leading to a sunken center and unsightly cracks on the surface. Mix on low speed and stop as soon as the ingredients are homogenous.
- Gentle Swirling for Visual Appeal: When layering and swirling the two cheesecake mixtures (plain and pumpkin), remember that less is more. The goal is to create distinct, beautiful marbled patterns, not to fully blend the two batters. Use a light hand and a toothpick or skewer to create gentle, intentional swirls. Over-mixing at this stage will result in a muddy, uniform color rather than an elegant swirl.
- Patience with Cooling and Chilling: Do not rush the cooling process! Allow the cheesecake bars to cool completely to room temperature on a wire rack before transferring them to the refrigerator. Placing a warm cheesecake directly into the fridge can cause condensation to form and lead to cracking. Once at room temperature, chill the bars in the refrigerator for a minimum of 2-4 hours, or ideally overnight. This chilling period is crucial for the cheesecake to firm up and achieve its optimal dense, creamy texture, making it much easier to slice cleanly.
- The Hot Knife Technique for Perfect Slices: For impeccably clean and smooth cuts, always use a hot knife. Run a sharp knife under hot water, wipe it completely dry, and then make your cut. Repeat this process for every single slice, wiping off any lingering cheesecake or crust crumbs between cuts. This technique prevents the creamy cheesecake from sticking to the knife and creates professional-looking bars.
Want a Free Crockpot Meals Ebook?
Sign up now to get this exclusive collection of recipes that aren’t available anywhere else!
Enter your name and email below to download your free ebook.
Frequently Asked Questions (FAQ) about Pumpkin Cheesecake Bars
Cheesecake cracking is a common issue typically caused by one of two main factors: overmixing the batter (which incorporates too much air that expands and then collapses during baking and cooling) or overbaking the cheesecake bars (leading to a dry texture that pulls apart). Ensuring your cream cheese is at room temperature and mixing only until just combined can help prevent this.
No, these are distinctly different! Pumpkin puree is simply cooked, mashed pumpkin with nothing else added. Pumpkin pie filling, however, is a seasoned product that already contains sugar and spices (like cinnamon, nutmeg, ginger, and cloves), designed to be poured directly into a pie crust and baked. Using pumpkin pie filling instead of plain pumpkin puree would make your cheesecake bars overly sweet and intensely spiced, disrupting the intended flavor balance of this recipe.
While technically possible, it is strongly recommended to use full-fat cream cheese for the best results. Low-fat cream cheese has a higher water content, which can lead to a less creamy texture and may affect the setting of the bars, making them more prone to cracking or being too soft. For that signature rich, dense cheesecake experience, stick with full-fat.
The cheesecake bars are done when the edges appear set and slightly puffed, but the very center (about a 2-inch diameter) still has a slight jiggle when you gently shake the pan. The center will continue to set as it cools. Avoid baking until the entire surface is completely firm and still, as this will likely result in an overbaked, cracked, and dry cheesecake.
Take Them Up a Notch: Creative Variations for Your Cheesecake Bars
These pumpkin cheesecake bars are phenomenal as is, but don’t hesitate to add your own personal flair and elevate them even further. Here are some delicious ideas to inspire you:
- Decadent Drizzle & Topping: Enhance the richness by topping cooled bars with a generous dollop of fresh homemade whipped cream, then drizzling with warm caramel sauce or a sprinkle of toasted pecans.
- Crunchy Texture: For an added layer of texture and flavor, sprinkle crushed gingersnap cookies or candied pecans over the top of the bars just before serving. A dusting of finely grated dark chocolate could also be a delightful touch.
- Chocolate Lover’s Dream: Fold a handful of mini chocolate chips into the pumpkin cheesecake batter just before swirling, or sprinkle them over the top before baking. White chocolate chips would also pair beautifully.
- Cream Cheese Frosting: Instead of plain whipped cream, consider a light, spiced cream cheese frosting for an extra layer of decadence.
- Nutty Crust Alternative: While gingersnaps are great, you could also make the crust with finely chopped toasted pecans or walnuts for a different nutty base.
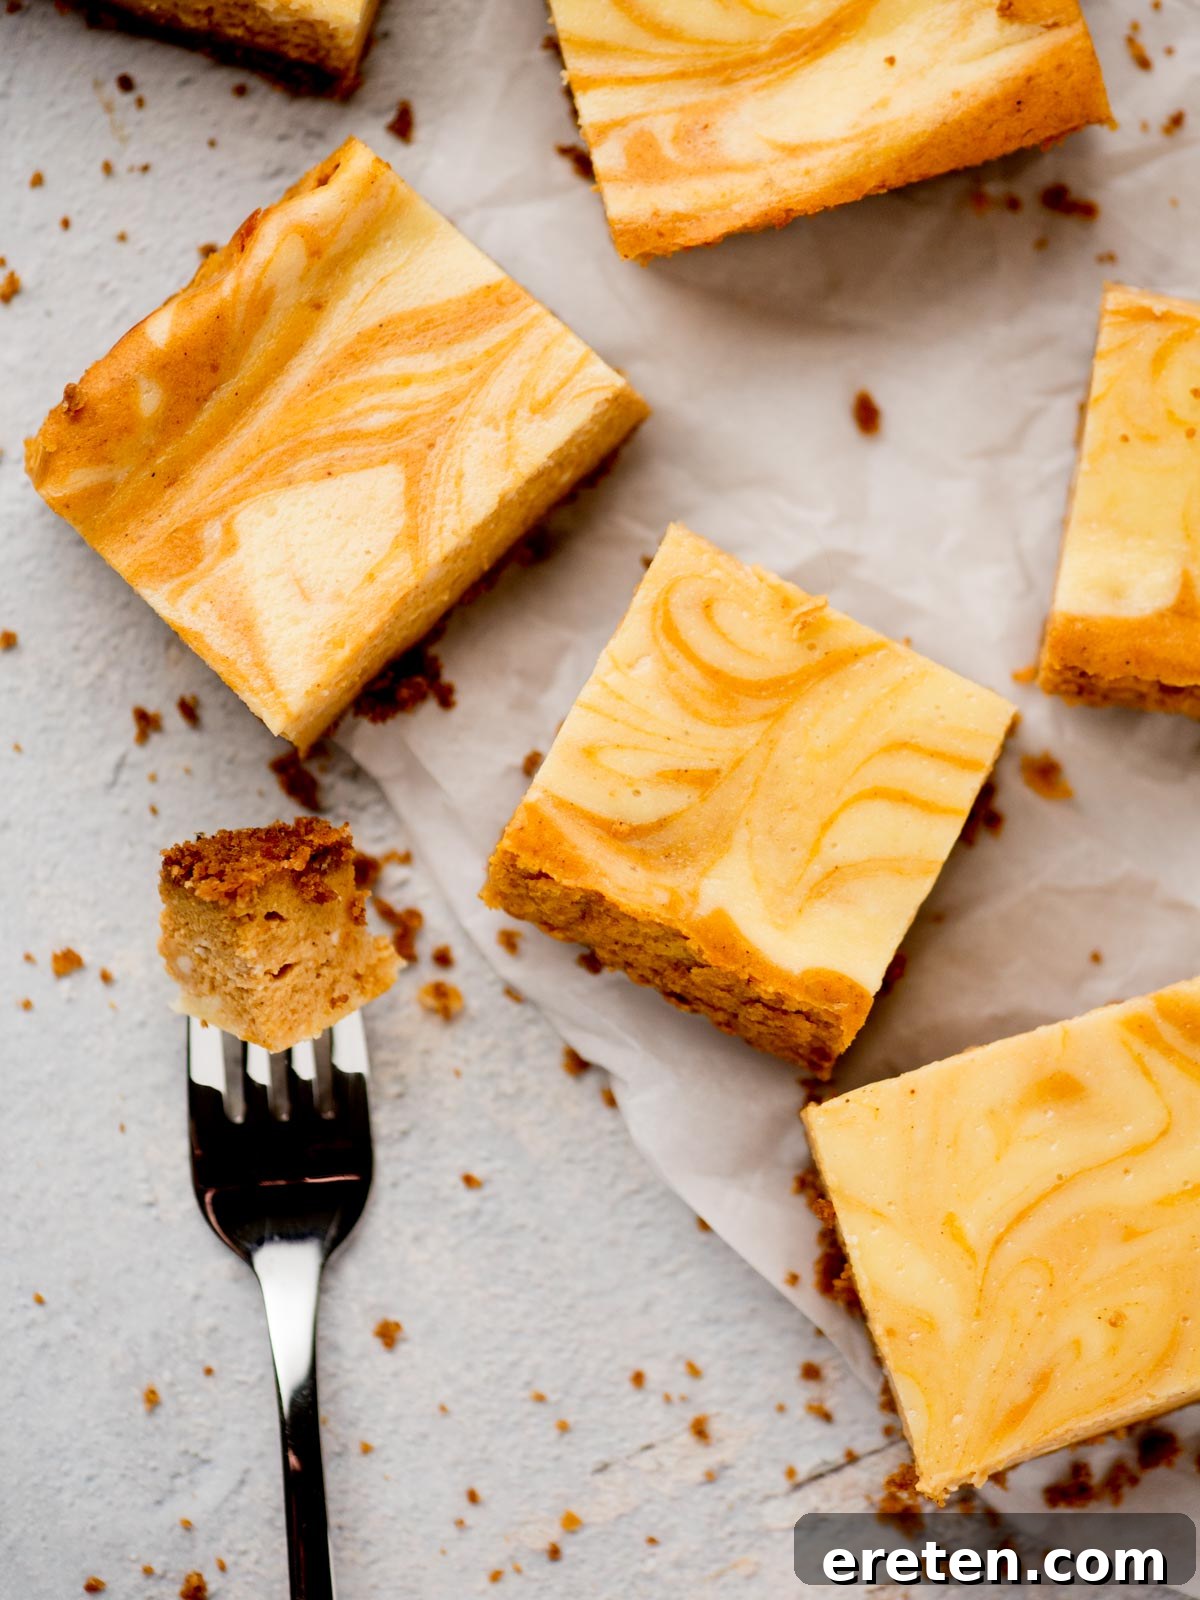
Storing Your Delightful Pumpkin Pie Cheesecake Bars
These bars are not only delicious but also incredibly convenient for make-ahead preparations, thanks to their excellent storage capabilities. Proper storage ensures they remain fresh and flavorful for days, or even months!
- Refrigerator Storage: To store your pumpkin cheesecake bars in the refrigerator, place them in an airtight container. This will keep them fresh and delicious for up to 3 days. Ensure they are fully cooled before refrigerating to prevent condensation.
- Freezer Storage: For longer preservation, these bars are perfectly freezer-friendly. Cut the cheesecake into individual servings. Wrap each bar tightly in plastic wrap, then place them in an airtight freezer-safe container or a heavy-duty freezer bag. They can be stored in the freezer for up to 6 months. When ready to enjoy, simply thaw them in the refrigerator overnight or on the counter for a shorter period.
Watch how to make these irresistible Pumpkin Cheesecake Bars!
More Delectable Fall and Pumpkin Desserts to Explore
- Loaded Apple Pie Squares
- Pumpkin Dessert Pizza
- Pumpkin Spice No Churn Ice Cream
If you whip up this recipe and absolutely adore it, we would be incredibly grateful for a 5 ⭐️⭐️⭐️⭐️⭐️ rating! Your feedback helps us continue to provide delicious, free recipes to our wonderful community.
Pumpkin Cream Cheese Bars
Pin
Ingredients
Crust
- 12 full sheets graham cracker crumbs
- 1/4 cup brown sugar
- 1/2 cup unsalted butter melted
Cheesecake
- 4 – 8 ounce full fat cream cheese at room temperature
- 1.5 cups white sugar
- 2 teaspoons vanilla extract
- 4 large eggs
- 15 ounces pumpkin puree (not pumpkin pie filling)
- 1 teaspoon ground cinnamon
- 2 teaspoons pumpkin pie spice
Instructions
-
Start by making the crust.
-
Preheat the oven to 350ºF. Line a 9 x 13 baking dish with parchment paper. Leave a little extra on the ends so that you can pull the bars out of the pan.
-
In a medium sized mixing bowl, combine the graham cracker crumbs and brown sugar. Mix together until thoroughly combined.
-
Pour in the melted butter. Mix together until it begins to stick together and form a dough.
-
Take the crust mix and press it into the bottom of the 9×13 parchment lined dish. You want to press it into an even layer across the bottom.
-
Bake the crust for 8 minutes.
-
Remove from the oven and set it aside to cool.
-
In a large mixing bowl or the bowl of a stand mixer, begin making the cheesecake layer. Add the cream cheese, sugar, and vanilla to the bowl.
-
Using either the stand mixer or an electric hand mixer, blend the cheesecake mix on low just until it is smooth. Don’t overmix.
-
Once smooth, add in the eggs one at a time. Beat each egg in just until it is combined before adding the next egg.
-
Remove 1/3 of the mixture from the bowl and place it in a separate bowl. Set that separate bowl aside.
-
To the large mixing bowl, add the pumpkin, cinnamon, and pumpkin pie spice. Mix until just combined.
-
Pour the pumpkin mixture over the graham cracker crust.
-
Gently pour the reserved cheesecake mixture over the top. Careful not to mix the two layers.
-
With a toothpick or kabob skewer, gently swirl the cheesecake mix into the pumpkin mix. Careful not to overmix. You want it to be a swirl, not fully mixed together.
-
Place the baking dish in the oven and bake for 55-60 minutes or until the cheesecake is set.
-
Remove the cheesecake from the oven and allow it to cool completely to room temperature.
-
Place the baking dish in the refrigerator for 1-2 hours before slicing. Be sure it’s at room temperature first.
-
Once cooled, remove from the refrigerator and pull the cheesecake out by the parchment paper overhang.
-
Cut the cheesecake into bars. You need to do this immediately after removing it from the refrigerator with a hot knife. The best way to do this is to run the knife under hot water, wipe off the water, and make your cut. Run the knife under hot water between each cut.
-
Serve them as is or topped with whipped cream.
Video
Notes
- It’s important when you’re lining the pan with parchment paper to be sure you leave an extra overhang to be able to pull it from the pan to slice.
- Be careful when you’re swirling the two cheesecake mixes together. You want it to be a swirl, not completely combined. Less is more when it comes to this step.
- You need to cut them immediately after cooling with a hot knife.
- The cream cheese MUST be room temperature. It’s key to a smooth, creamy cheesecake filling.
- Don’t overmix the cheesecake filling. If you over mix it, it will get air pockets. When baked, they will rise and then fall resulting in both a sunken and cracked cheesecake filling.
- Try not to put the cheesecake in the refrigerator before it’s completely cooled. It can cause condensation and cracking if you do it too soon before it’s completely cooled.
Nutrition
Calories: 233kcal,
Carbohydrates: 34g,
Protein: 3g,
Fat: 10g,
Saturated Fat: 6g,
Polyunsaturated Fat: 1g,
Monounsaturated Fat: 3g,
Trans Fat: 0.3g,
Cholesterol: 85mg,
Sodium: 42mg,
Potassium: 114mg,
Fiber: 1g,
Sugar: 31g,
Vitamin A: 5871IU,
Vitamin C: 2mg,
Calcium: 32mg,
Iron: 1mg
Nutrition information is automatically calculated, so should only be used as an approximation.