
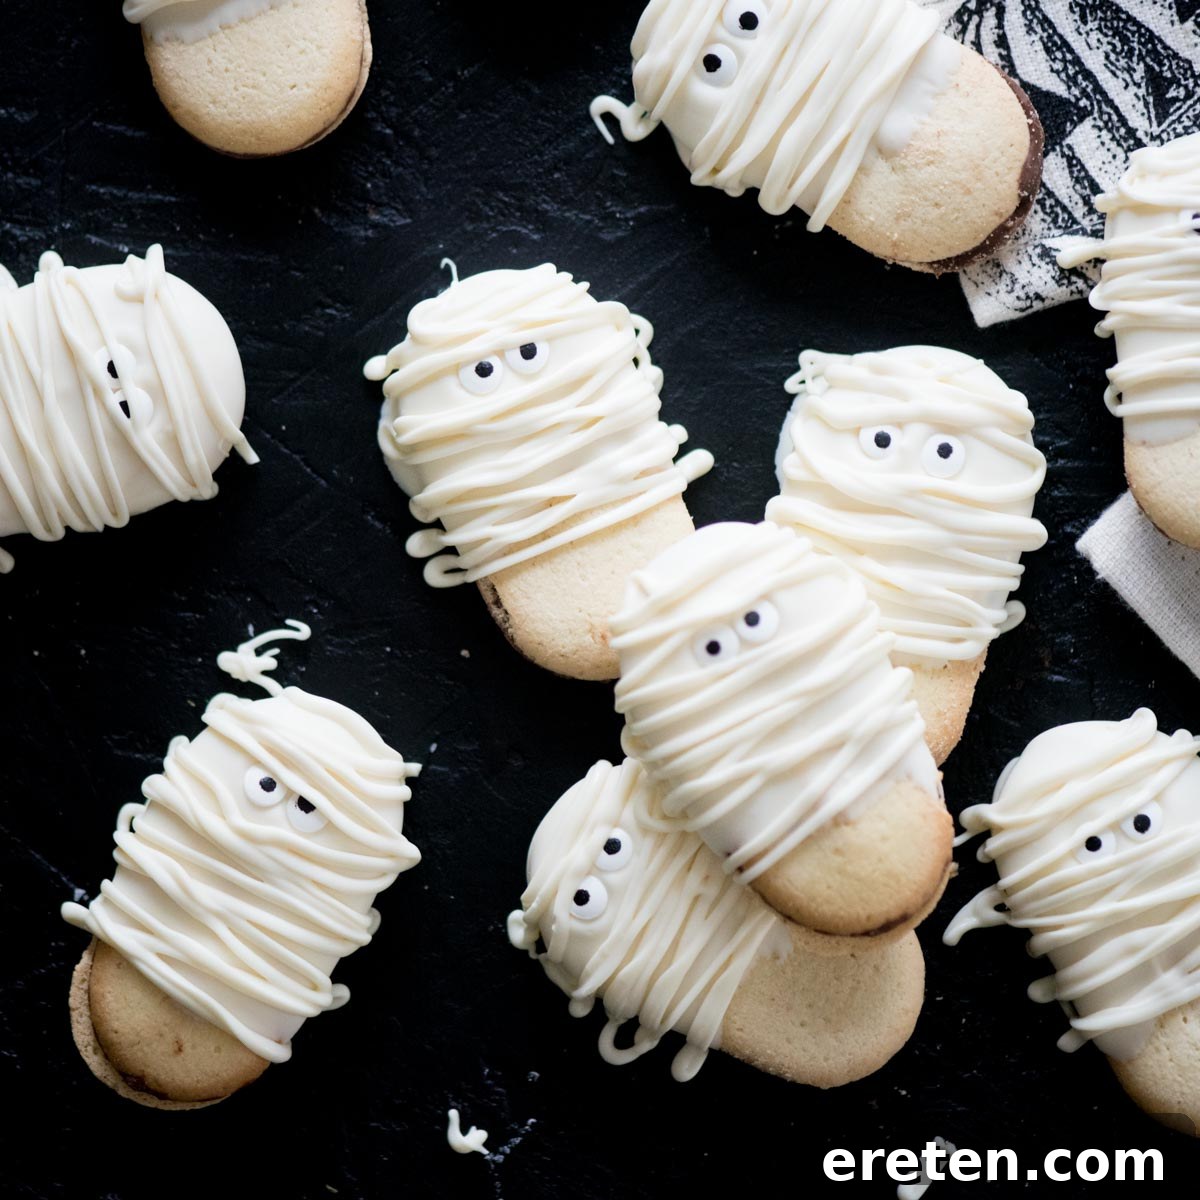
Spooktacularly Simple: Easy 3-Ingredient Halloween Mummy Cookies Your Kids Will Adore
Get ready for some hauntingly good fun in the kitchen this Halloween! These adorable mummy cookies are the ultimate easy treat that will delight both kids and adults alike. With just three simple ingredients and minimal effort, you can whip up a batch of these charmingly spooky snacks, perfect for school parties, trick-or-treat gatherings, or a cozy family night in. Forget complicated baking – this recipe focuses on simplicity, making it a fantastic activity to share with your little monsters. Watch their eyes light up as they help transform ordinary cookies into their very own edible mummies!
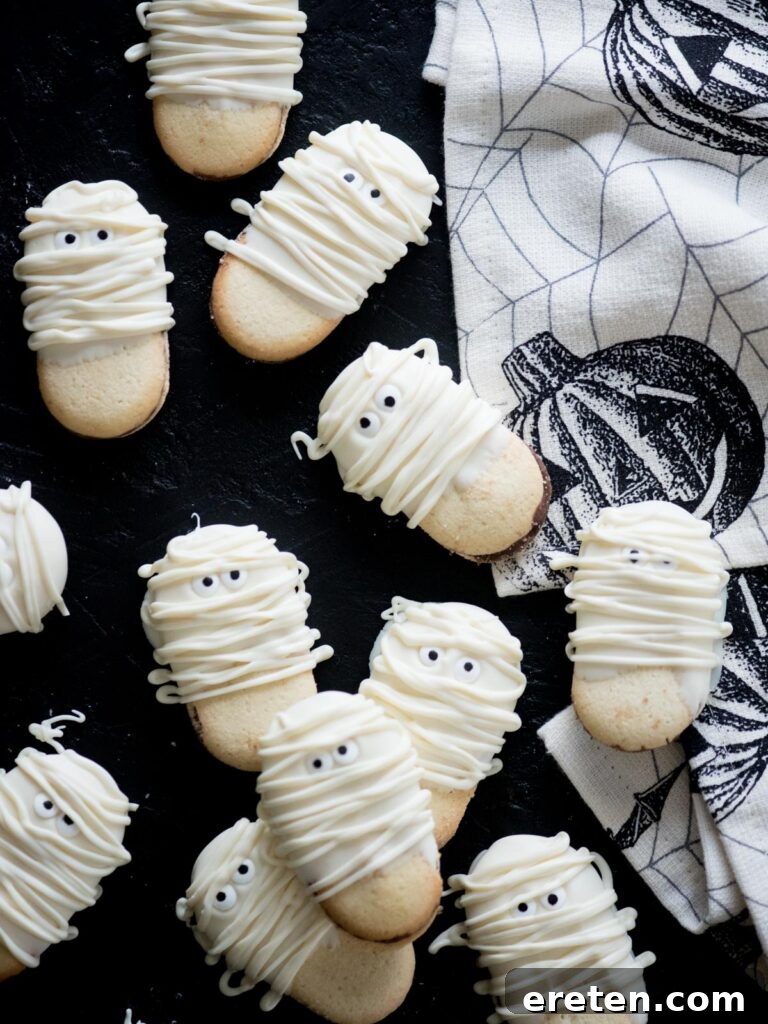
Why These Mummy Cookies Are the Best Spooky Treat
Halloween is a time for spooky fun, and that includes the treats! If you’re searching for a captivating yet effortless dessert to create with your children, look no further. Our 3-ingredient mummy cookies are a true game-changer. They strike the perfect balance between cute and creepy, making them irresistible to tiny hands and curious taste buds. Beyond their charming appearance, these cookies are designed for maximum enjoyment and minimum fuss. Kids can actively participate in almost every step, fostering a sense of accomplishment and creative expression without leaving a giant mess for you to clean up. It’s a win-win for everyone – delicious results and precious family memories.
The beauty of this recipe lies in its remarkable simplicity. No baking required, no complex decorating techniques, and certainly no lengthy ingredient lists. You’ll be amazed at how quickly these delightful treats come together, freeing up more time for costume planning, pumpkin carving, or simply enjoying the festive atmosphere. Whether you’re a seasoned baker or a complete novice, these easy Halloween cookies are foolproof, ensuring picture-perfect results every time. Get ready to impress your friends and family with these charming confections that taste as good as they look!
Gather Your Simple Ingredients for Mummy Magic
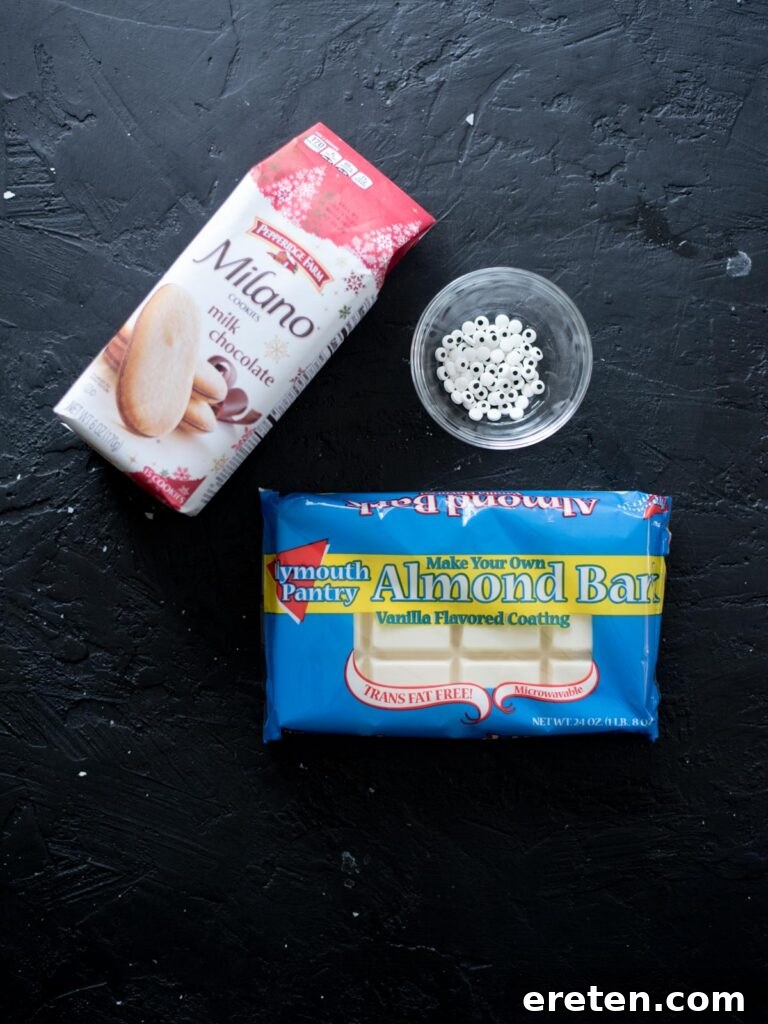
One of the best features of this recipe is its incredibly short ingredient list. You only need three items to bring these adorable mummies to life!
- Milano Cookies: These classic, elongated cookies are the perfect base for our mummies. Their oval shape and smooth surface make them ideal for dipping and decorating. While Milano cookies are our top recommendation for their consistent size and delicious flavor, feel free to experiment! Any long, oval-shaped cookie you prefer will work beautifully. Think shortbread fingers or even some vanilla wafers if you’re looking for different textures.
- Almond Bark (or White Chocolate): Almond bark is a fantastic choice for coating these cookies due to its smooth melting properties and ease of use. It hardens quickly and provides a crisp, appealing finish. If almond bark isn’t readily available or you prefer the taste of chocolate, high-quality white chocolate chips or melting wafers are excellent alternatives. When using white chocolate, a small amount of coconut oil (about ½ teaspoon per cup of chocolate) can be added to ensure a smoother consistency and prevent it from seizing, which helps achieve that perfect mummy wrap effect.
- Mini Candy Eyes: These are essential for giving your mummies their characteristic spooky gaze! The smallest size of candy eyes works best, fitting perfectly on the cookies and adding to their cute, eerie charm. You can find these at most craft stores, baking supply shops, or in the baking aisle of larger supermarkets, especially during the Halloween season. Make sure to have plenty on hand, as you’ll need two for each cookie!
How to Craft Your Halloween Mummy Cookies: Step-by-Step Guide
Creating these festive Halloween cookies is incredibly simple and makes for a fun activity with the kids. Follow these easy steps to bring your sweet mummies to life!
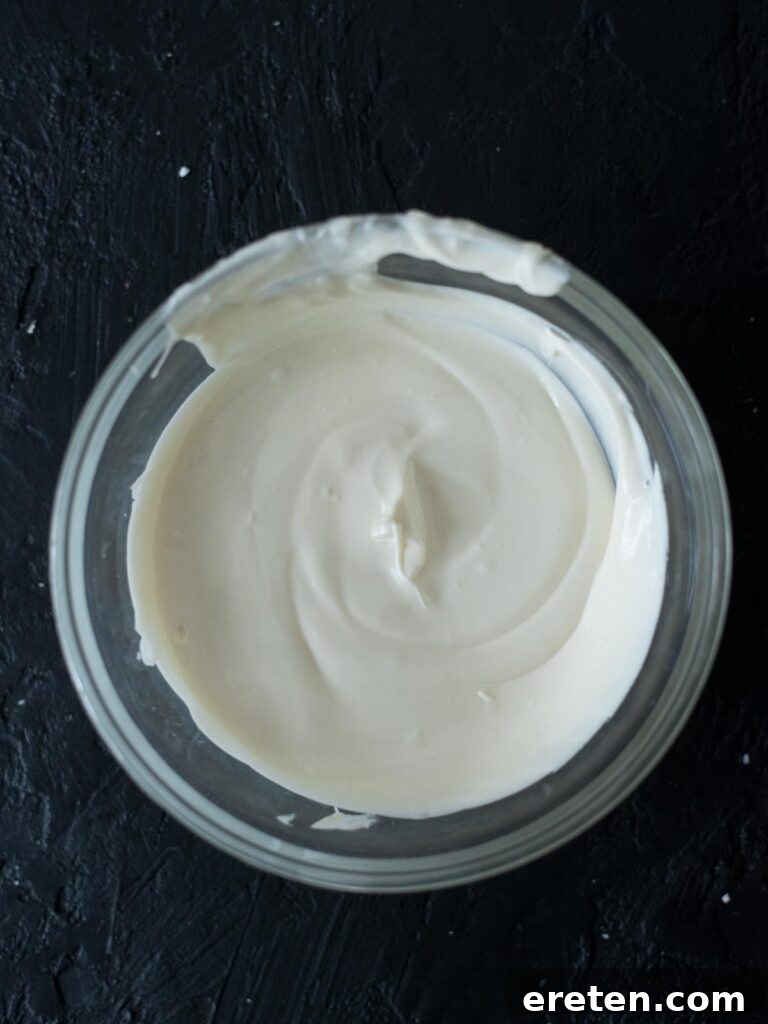
- Melt the Almond Bark: Begin by placing your almond bark into a microwave-safe bowl. Heat it in the microwave in 30-second intervals, stirring well after each interval, until it is completely smooth and creamy. Alternatively, you can use a double boiler for a more controlled melting process. Be extremely careful not to overheat the bark, as this can cause it to clump and become unusable. It should be just melted enough to be fluid. If there are a few small lumps, simply stir vigorously; the residual heat will usually melt them without further microwaving.
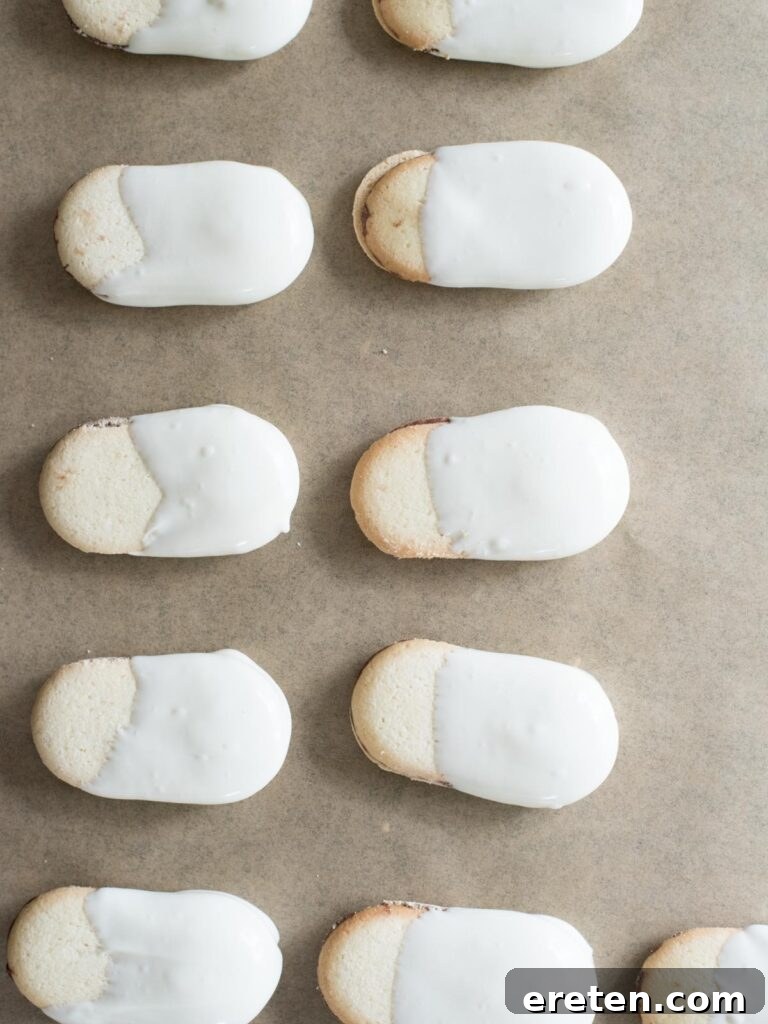
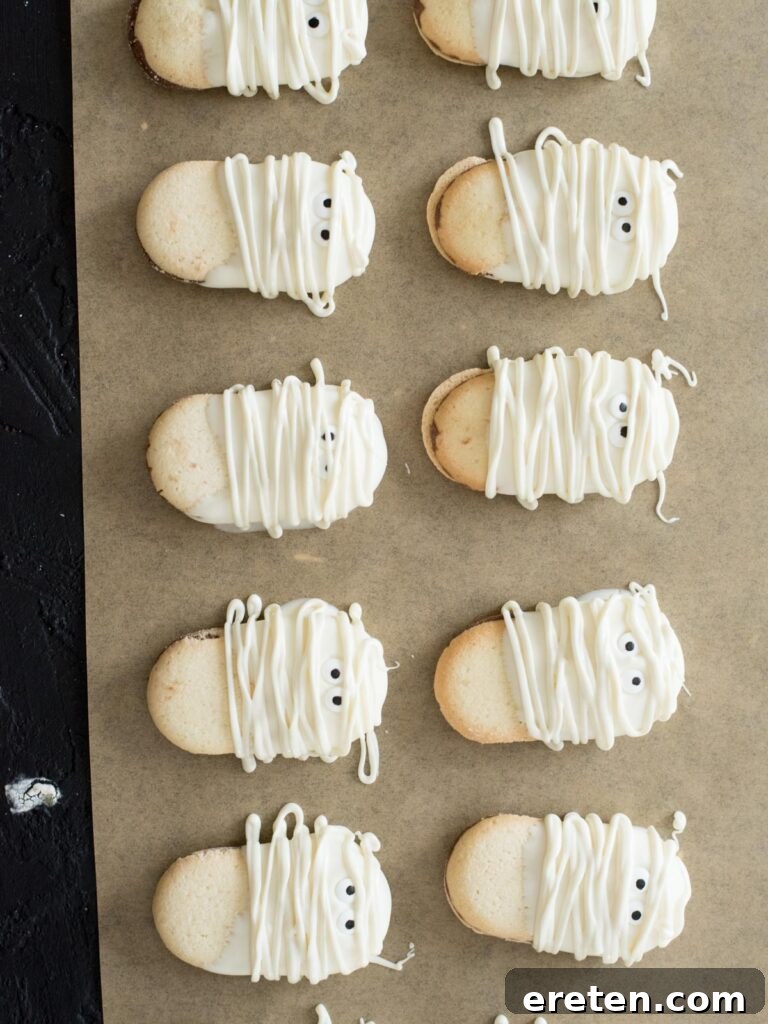
- Dip the Cookies: Line a baking sheet with parchment paper or wax paper. Take each Milano cookie and carefully dip it about three-quarters of the way into the melted almond bark. Allow any excess bark to drip off, then place the dipped cookie onto the prepared parchment-lined sheet. Ensure you leave the top quarter of the cookie clear for the “eyes.”
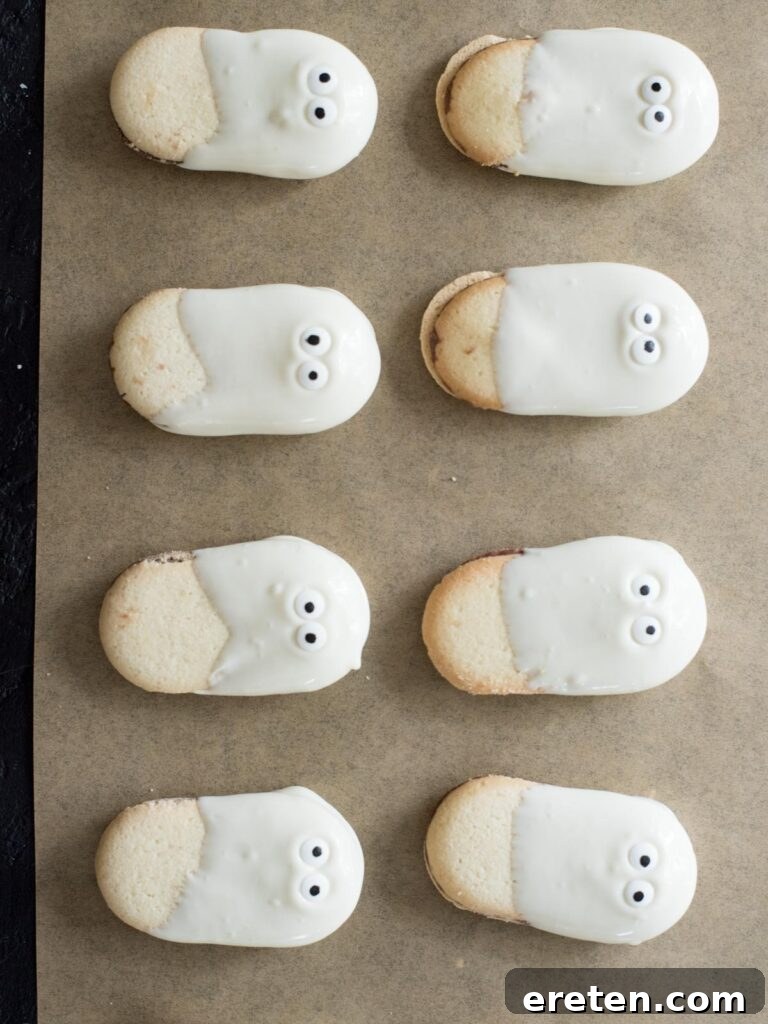
- Add the Spooky Eyes: While the almond bark on the cookies is still wet and pliable, gently place two mini candy eyes onto the upper quarter of each cookie, directly onto the melted bark. The wet bark will act as an adhesive, securing the eyes in place as it sets. Position them closely together to give your mummies an extra dose of adorable spookiness.
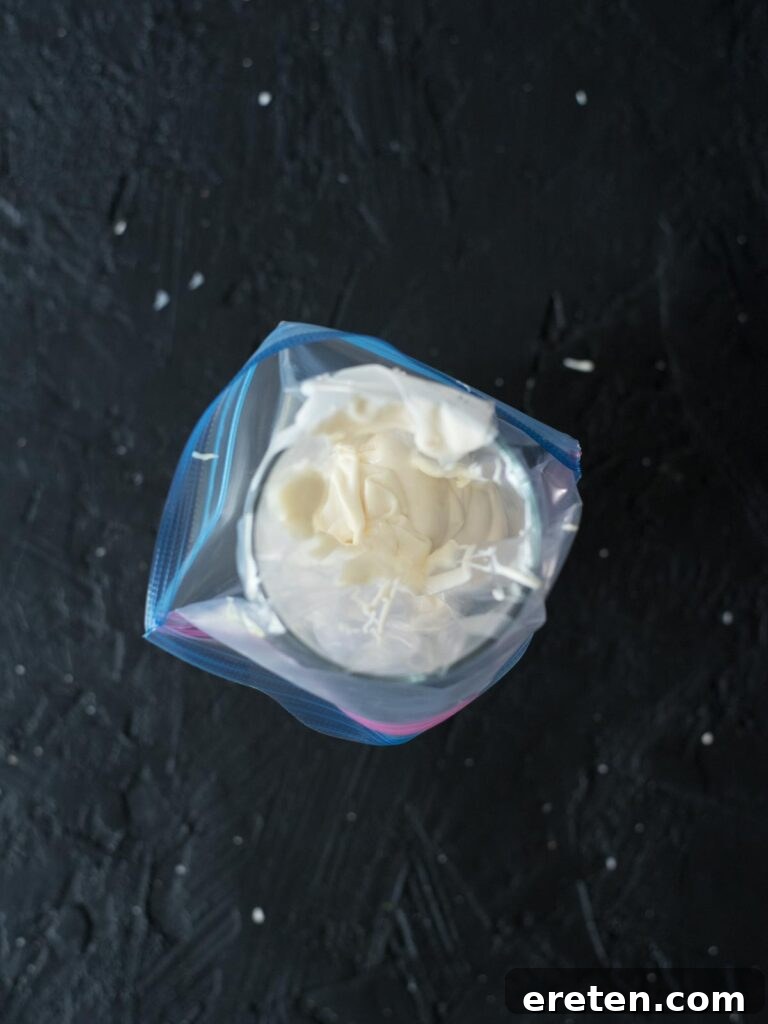
- Prepare for Drizzling: As the dipped cookies begin to set, prepare your remaining melted almond bark for drizzling. Pour the bark into a sturdy zip-top bag. A helpful trick is to place the bag in a tall cup and fold the edges over, making it much easier to pour the melted bark without making a mess.
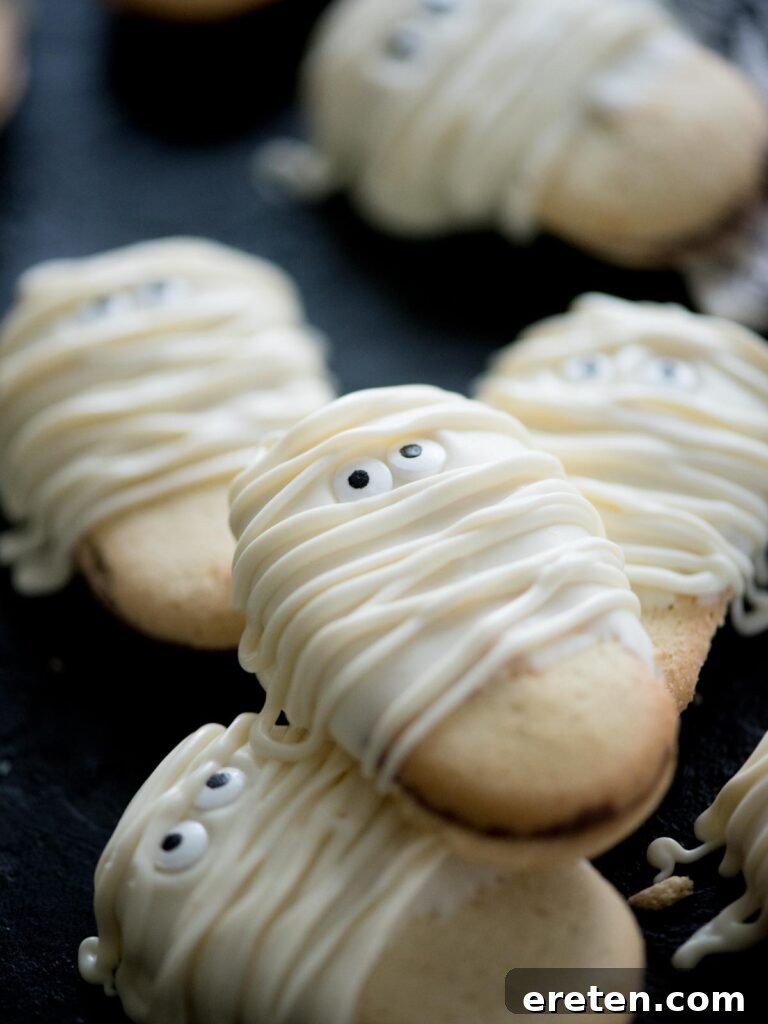
- Drizzle the Mummy Wraps: Snip a very small corner off the zip-top bag. The smaller the snip, the finer your “mummy wrap” lines will be. Drizzle the almond bark back and forth over the cookies in a zigzag pattern, covering the dipped portion and creating the iconic bandage look. For the best effect, try to get close to the candy eyes, and don’t be afraid to let the drizzle slightly overlap them – this adds to the authentic, wrapped appearance.
- Allow to Set: Once all your cookies are drizzled, allow them to cool and set completely. This can be done at room temperature or, for a quicker set, you can carefully place the baking sheet in the refrigerator for about 10-15 minutes. Ensure the almond bark is firm to the touch before serving or storing.
Expert Tips, Tricks, and Frequently Asked Questions
Ensuring your mummy cookies turn out perfectly every time is easy with a few helpful hints. Here are some tips and answers to common questions:
Tips for Success:
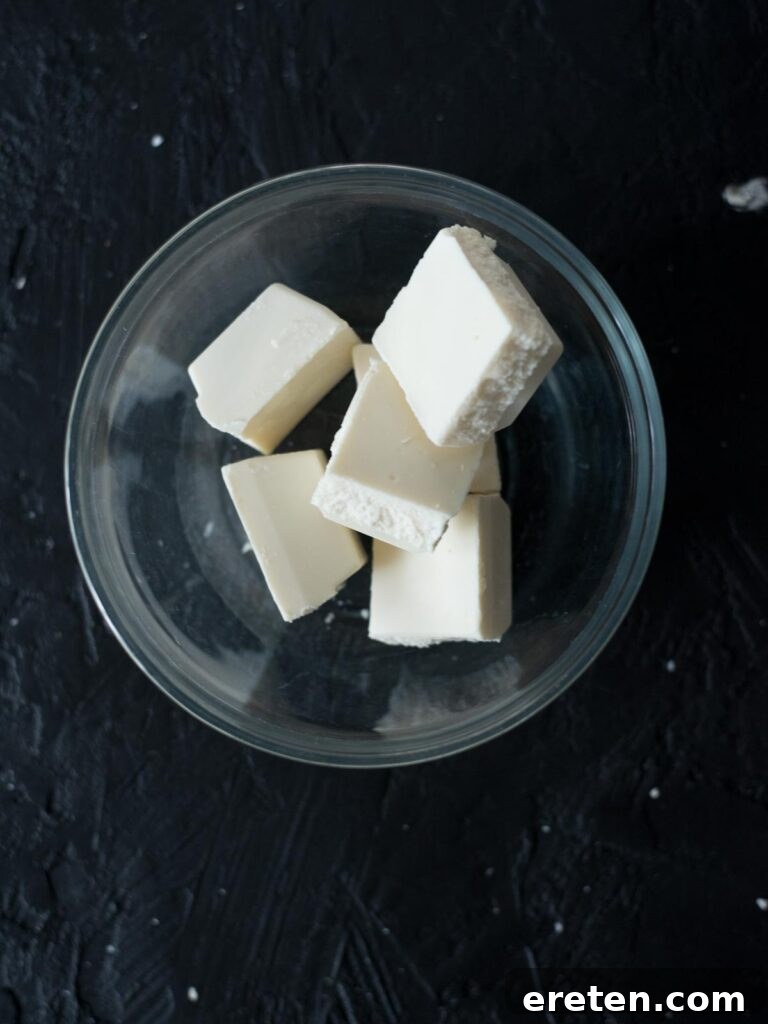
- Melting Caution is Key: The most crucial tip is to avoid overheating the almond bark (or white chocolate). Overheated bark will become thick, clumpy, and difficult to work with, losing its smooth consistency. Heat it gradually in short bursts, stirring frequently, and remove it from the heat source as soon as it’s mostly melted. The residual heat will continue to melt any remaining small pieces as you stir. If you notice it getting too thick, a tiny bit of vegetable shortening or coconut oil (about ½ teaspoon) can sometimes help thin it out, but prevention is best!
- Parchment Paper is Your Friend: Always use parchment paper or wax paper on your baking sheets. This prevents the cookies from sticking and makes for easy cleanup once the bark has set.
- Steady Drizzle, Spooky Style: When drizzling, a steady hand and consistent pressure on the zip-top bag will help create uniform “bandages.” Don’t worry about perfection; slightly uneven lines can add to the charm of these rustic mummies! Experiment with different patterns, from straight lines to more intricate zigzags.
- Quick Setting: If you’re in a hurry, placing the cookies in the refrigerator for 10-15 minutes will speed up the setting process considerably. Just be sure not to leave them in too long, as condensation can form on the chocolate.
- Kid-Friendly Zone: Involve your kids by letting them place the candy eyes and even help with the drizzling (with supervision for younger ones!). It’s a fantastic way to engage them in the cooking process.
Frequently Asked Questions (FAQs):
You can easily substitute Milano cookies with any long, oval-shaped cookie you prefer. Options like Pepperidge Farm Bordeaux, Pirouettes (though they might be harder to dip), or even simple shortbread fingers can work well. The key is a relatively flat, sturdy cookie that can hold its shape once dipped and drizzled.
Absolutely! Melted white chocolate is a perfectly acceptable substitute for almond bark. For best results and a smooth consistency, we recommend adding about ½ teaspoon of coconut oil or vegetable shortening per cup of white chocolate. This helps prevent the white chocolate from seizing and makes it easier to work with, ensuring a nice, even coating and drizzle for your mummy cookies.
While you technically can, it’s generally not recommended for white chocolate or almond bark, as water-based food colorings can cause the chocolate to seize and become clumpy. If you want to add color, use oil-based candy colors (also known as gel food coloring specifically designed for chocolate). A drop of green or purple could make for some “monster” cookies!
If your almond bark becomes too thick or seizes, try stirring in a very small amount (¼ to ½ teaspoon) of vegetable shortening or coconut oil. Gently reheat for a few seconds if necessary and stir until smooth. This often helps to restore the desired consistency.
How to Store Leftover Mummy Cookies for Maximum Freshness
Once your charming mummy cookies have completely set and the almond bark is firm, proper storage is key to maintaining their freshness and deliciousness. Store the cookies in an airtight container at room temperature for up to 4 days. If your kitchen tends to be warm, you can also store them in the refrigerator, but allow them to come to room temperature for a few minutes before serving for the best flavor and texture. Avoid stacking them before the bark is fully hardened to prevent sticking.
Creative Serving Ideas and Fun Variations
These Halloween mummy cookies are fantastic on their own, but you can elevate their presentation and offer exciting variations to make them even more special.
- Spooky Platter: Arrange them artfully on a Halloween-themed platter alongside other treats like candy corn, mini pumpkins, or plastic spiders for a full spooky spread.
- Cookie Decorating Station: For a party, prepare the dipped cookies with eyes beforehand, then let guests drizzle their own “bandages” using different colored candy melts for a personalized touch.
- Dusting of Delight: Before the bark completely sets, you could lightly sprinkle them with edible glitter or a tiny bit of cocoa powder to give some depth or a “dirty mummy” effect.
- Different Cookie Bases: While Milano cookies are perfect, don’t limit yourself! Try shortbread cookies, ginger snaps, or even graham crackers for a different flavor profile and texture.
- Monster Mummies: Use larger candy eyes for a more exaggerated, goofy look, or try adding a small red candy dot as a “mouth” below the eyes for a vampire mummy.
Essential Kitchen Tools for Easy Mummy Cookie Creation
Making these spooky treats requires only a few basic kitchen items. Here’s what you’ll need:
- Glass Mixing Bowls: For melting the almond bark in the microwave or a double boiler.
- Almond Bark: The key ingredient for coating and drizzling.
- Candy Eye Sprinkles: To give your mummies their iconic spooky gaze.
- Parchment Paper or Wax Paper: Essential for preventing sticking and easy cleanup.
- Baking Sheet: To hold your cookies while they set.
- Zip-Top Bag: For controlled drizzling of the almond bark.
- Scissors: To snip the corner of the zip-top bag.
Other Spooky Halloween Recipes You Might Enjoy
If you loved making these mummy cookies, explore more fun and easy Halloween treats to complete your festive spread!
- Halloween Graveyard Dirt Cups: A classic spooky dessert, perfect for individual servings.
- Candy Corn Bark: A colorful and crunchy treat featuring the iconic Halloween candy.
- Poison Popcorn: A mysteriously delicious popcorn concoction with a fun twist.
- Spooky Snack Mix: A savory and sweet mix that’s great for parties.
- Bug Juice: A vibrant and eerie drink to quench your Halloween thirst.
Halloween Mummy Cookies Recipe
These easy 3-ingredient mummy cookies are a fun, spooky, and delicious Halloween treat that kids will love to make and eat!
Prep Time: 10 mins
Total Time: 10 mins
Yields: 16 cookies
Pin Recipe
Ingredients
- 6 ounces Milano cookies
- 32 whole mini candy eyes
- 12 ounces almond bark
Instructions
- Add the almond bark to a microwave-safe bowl. Melt in the microwave (or double boiler) just until smooth. Be careful not to overheat to avoid clumping.
- Take each cookie and dip them ¾ of the way down, then place them on a parchment-lined baking sheet.
- While the almond bark is still wet, place two candy eyes on each cookie in the upper ¼ of the bark-dipped area.
- While the cookies are setting, pour the remaining melted almond bark into a zip-top bag. For ease, place the bag in a cup to hold it upright during pouring.
- Snip a small corner off the bag and drizzle the almond bark over the cookies, moving from side to side to create the mummy bandage effect. For the best look, drizzle close to the eyes, even slightly overlapping them.
- Allow the cookies to cool and set completely before serving. This can be done at room temperature or in the refrigerator.
Nutrition Information (Approximate per cookie)
Calories: 183kcal, Carbohydrates: 24g, Protein: 1g, Fat: 9g, Saturated Fat: 7g, Polyunsaturated Fat: 1g, Monounsaturated Fat: 1g, Cholesterol: 2mg, Sodium: 62mg, Potassium: 11mg, Fiber: 1g, Sugar: 19g, Vitamin A: 9IU, Calcium: 4mg, Iron: 1mg
Nutrition information is automatically calculated and should only be used as an approximation.
Additional Recipe Information
Course: Dessert, Halloween, Vegetarian
Cuisine: American
Making these easy mummy cookies is a cherished Halloween tradition for many families. Their simplicity, coupled with the fun, spooky outcome, makes them an undeniable favorite. So, gather your little ghosts and goblins, get those few ingredients ready, and prepare for a bewitching baking experience. Happy Halloween, and happy munching!