
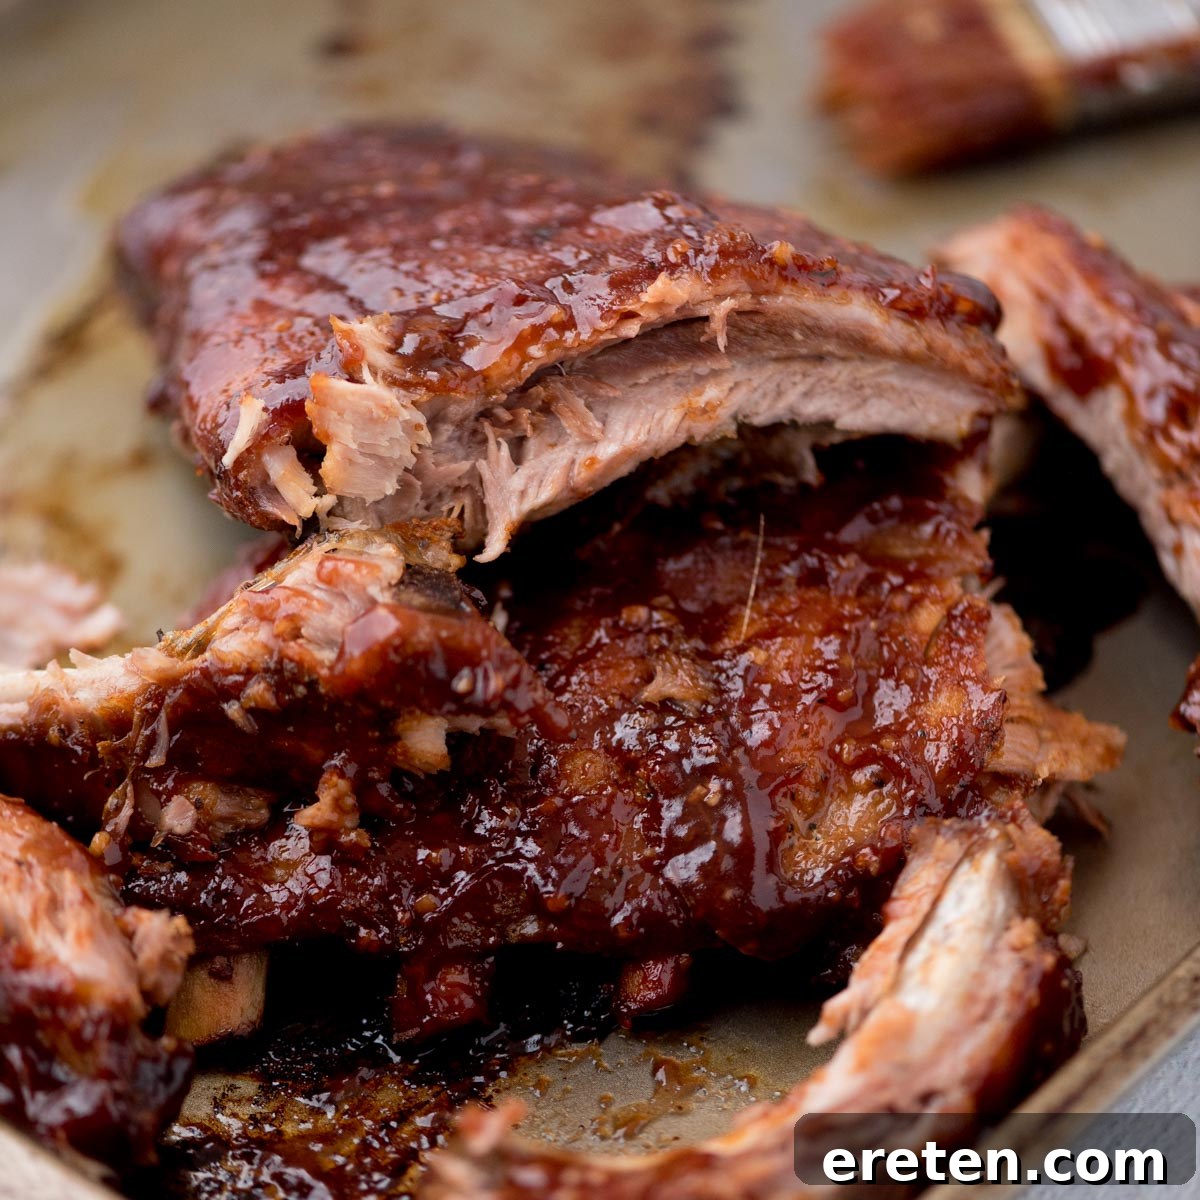
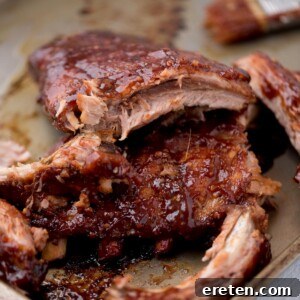
Welcome to the ultimate guide for crafting the most succulent, fall-off-the-bone oven-baked pork ribs. Forget the grill, the unpredictable weather, and the arduous clean-up! This recipe promises restaurant-quality ribs right from your kitchen, delivering incredible flavor and tenderness every single time, without the fuss. Whether it’s a scorching summer day or a chilly winter evening, these ribs are your perfect year-round solution for a crowd-pleasing meal.
If you’ve ever loved the idea of tender ribs but dreaded the smoky mess and scrubbing associated with outdoor grilling, you’re in for a treat. This oven-baked method ensures juicy, flavorful ribs that are easy to prepare and even easier to clean up afterward. No more battling stubborn char or grease – just a simple soak for your baking sheet. Prepare to impress your family and friends with ribs so good, they won’t believe they came from your oven.
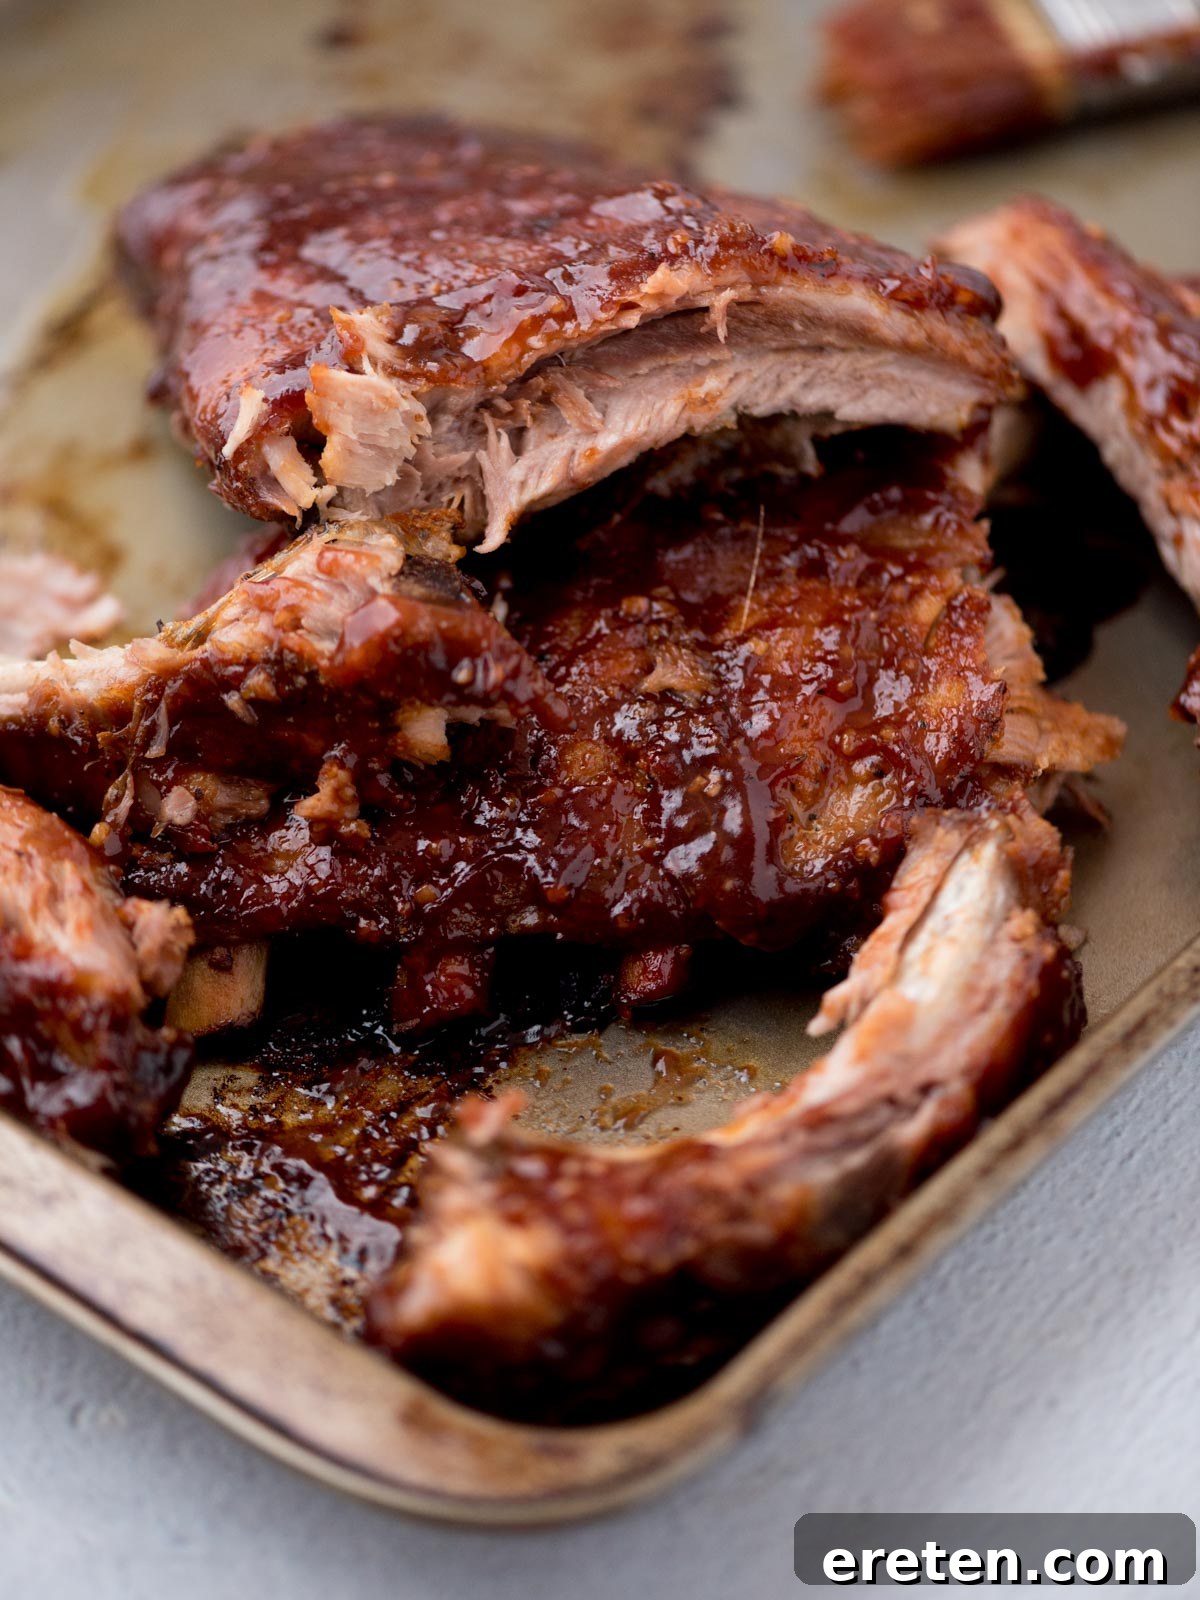
Why Oven Baked Ribs Are a Game Changer
Oven-baked ribs offer a multitude of advantages that make them a superior choice for home cooks. Beyond the obvious convenience, this method guarantees consistent results that are often harder to achieve on a grill. Here’s why these oven baby back ribs will become a staple in your recipe rotation:
- Effortless Preparation: This recipe utilizes simple, everyday ingredients and straightforward steps, making it accessible for even novice cooks. No specialized grilling skills or equipment are required.
- Consistently Tender & Moist: The enclosed environment of the oven, particularly when ribs are wrapped in foil, creates a steaming effect that locks in moisture. This foolproof technique ensures your ribs emerge incredibly tender and juicy, eliminating any risk of dried-out meat.
- Family-Friendly & Safe: Preparing ribs in the oven removes the hazards associated with outdoor grilling, such as dangerous flare-ups or open flames. It’s a safer cooking method, making it easy to involve younger family members in the meal preparation process.
- Weather-Proof Culinary Delight: Rain, snow, or scorching sun – the weather will never dictate your rib cravings again. Enjoy perfectly cooked ribs any day of the year, regardless of external conditions.
- Minimal Clean-Up: Perhaps one of the biggest benefits is the significantly reduced clean-up. A foil-lined baking sheet is far easier to manage than scraping and scrubbing a greasy grill, allowing you more time to enjoy your delicious meal.
- Deep Flavor Development: The slow, steady heat of the oven allows the dry rub seasonings to deeply penetrate the meat, creating a robust flavor foundation that is beautifully complemented by the final barbecue sauce application.
Essential Ingredients for Perfect Oven Ribs
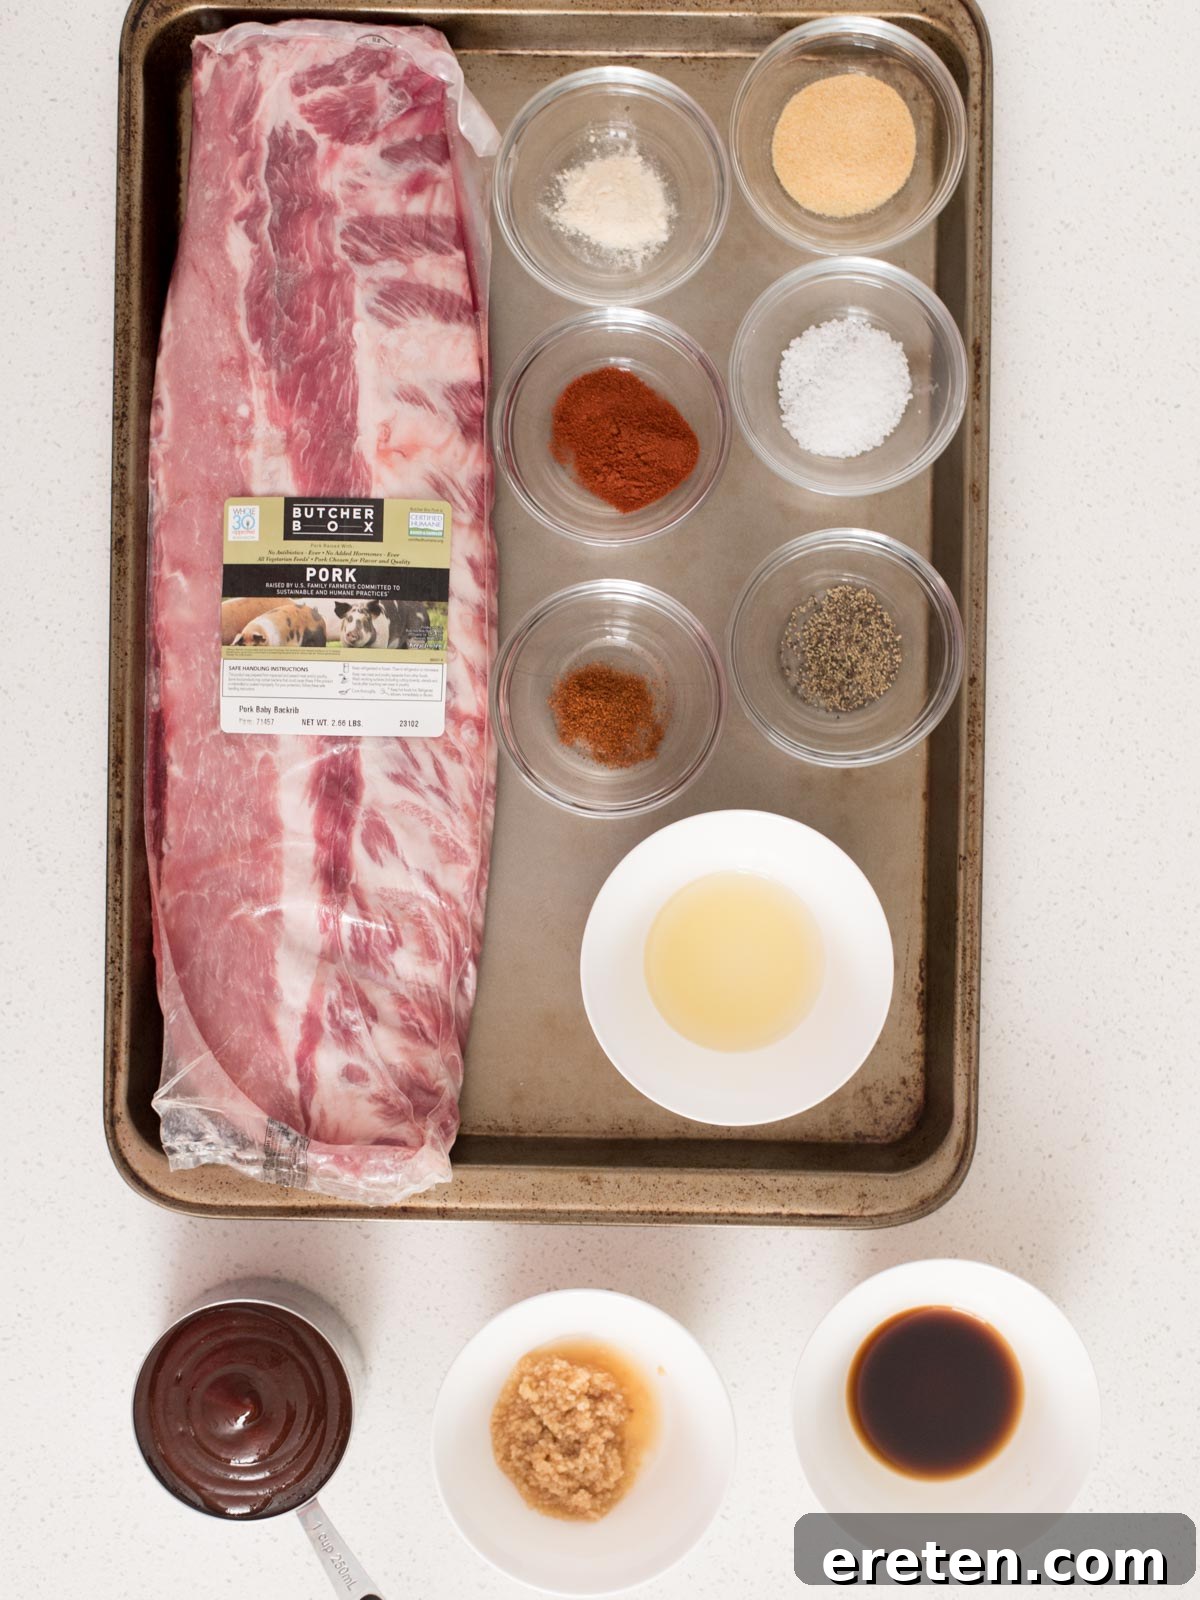
The beauty of this recipe lies in its simplicity. You don’t need a pantry full of exotic spices or gourmet sauces. Just a few fundamental ingredients combine to create a truly unforgettable rib experience. Here’s what you’ll need to gather:
The Ribs (The Star of the Show!)
- Baby Back Pork Ribs: These are typically shorter, leaner, and more curved than spare ribs, offering tender meat and a delightful texture. They cook relatively quickly and are often preferred for their “meatier” bite.
- Crucial Preparation – Removing the Membrane: This is a non-negotiable step for achieving truly tender ribs. On the concave (bone side) of the rib rack, you’ll find a thin, silvery membrane. If left on, this membrane becomes tough and chewy when cooked, preventing the seasonings from fully penetrating the meat and hindering the “fall-off-the-bone” texture. To remove it, use a butter knife or the tip of a spoon to lift a corner of the membrane, then grip it with a paper towel and pull it off in one swift motion. Don’t skip this!
- Spare Ribs (Alternative): While baby back ribs are featured, this recipe works equally well for spare ribs. Spare ribs are larger, flatter, and typically have more connective tissue and fat, resulting in a richer flavor profile. They may require a slightly longer initial cooking time (as noted in the tips). Just like baby backs, ensure you remove the membrane for optimal results.
Homemade Spice Rub (Flavor Foundation)
This balanced blend of spices creates a savory, slightly smoky, and gently spicy crust that forms the flavor base for your ribs.
- Garlic Powder: Provides an earthy, aromatic punch. If using garlic salt, remember to reduce the amount of added kosher salt to avoid over-salting.
- Smoked Paprika: Essential for imparting that desirable smoky depth typically associated with grilled ribs, even when cooking in the oven.
- Coarse Kosher Salt: Enhances all other flavors and aids in tenderizing the meat. Coarse salt adheres well to the ribs.
- Onion Powder: Adds another layer of savory aroma and complements the garlic.
- Ground Black Pepper: Offers a subtle heat and pungent flavor that rounds out the spice profile.
- Cayenne Pepper: Provides a gentle kick of heat. Adjust the quantity to your preferred spice level.
- Neutral Oil (Avocado or Olive Oil): Acts as a binder for the dry rub, helping the spices adhere evenly to the meat and promoting a beautiful crust.
Irresistible Barbecue Sauce (The Finishing Touch)
The final glaze adds a sweet, tangy, and savory finish to your perfectly cooked ribs.
- Your Favorite Barbecue Sauce: Don’t hesitate to use a brand you already love. Whether it’s a sweet, smoky, or tangy variety, it will integrate beautifully with the spice rub. Sweet Baby Ray’s is a popular choice for its balanced flavor.
- Minced Fresh Garlic: Elevates the sauce with a fresh, pungent aroma and flavor.
- Worcestershire Sauce: Adds umami depth and a subtle tangy complexity to the barbecue sauce.
- Coarse Kosher Salt: Balances the sweetness of the barbecue sauce and enhances the overall flavor.
Customizing Your Ribs: Flavorful Substitutions
One of the joys of cooking is the ability to adapt recipes to your taste and pantry. This rib recipe is incredibly versatile, allowing for numerous substitutions to fine-tune the flavor profile to your liking:
- Dry Rub Mixes: Short on individual spices? Feel free to swap the homemade dry rub ingredients for your favorite store-bought or pre-mixed dry rub blend. Look for blends designed for pork or ribs for optimal results.
- Worcestershire Sauce Alternatives: If you have dietary restrictions or allergies (e.g., to fish, as some Worcestershire sauces contain anchovies), you can substitute with low-sodium soy sauce for umami, or opt for a readily available vegan Worcestershire sauce.
- Homemade Barbecue Sauce: If you have a cherished family recipe for BBQ sauce, this is the perfect opportunity to use it! A homemade sauce can add a personal touch and truly elevate your ribs.
- Boost the Heat: For those who love extra spice, consider incorporating a teaspoon of chili powder or an additional pinch of cayenne pepper into your dry rub. Smoked chipotle powder can also add a smoky heat.
- Alternative Binder (Mustard): Instead of neutral oil, yellow mustard can be used as an excellent binder for the dry rub. It helps the spices stick and adds a subtle tang that cooks off beautifully. You can also add a touch of dry mustard powder directly into the spice rub for an enhanced mustard flavor.
- Sweeten the Rub: To achieve a sweeter, caramelized crust, mix in a tablespoon or two of light or dark brown sugar into your dry rub. The sugar will caramelize beautifully during the final baking stage.
- Smoky Enhancement: If you miss the classic smoky flavor of the grill, a few drops of liquid smoke can be added to your barbecue sauce or even lightly brushed onto the ribs with the oil before applying the dry rub. Start sparingly, as a little goes a long way.
- Herbal Notes: For an aromatic twist, try adding a pinch of dried thyme, oregano, or rosemary to your dry rub. These herbs pair wonderfully with pork.
Mastering the Art of Oven-Baked Ribs: Step-by-Step Guide
Achieving tender, juicy ribs in your oven is simpler than you think. This detailed guide breaks down each stage of the cooking process to ensure you get perfect results every time. Remember, the full recipe card below provides precise measurements and timings, but understanding the “why” behind each step is key to success.
Step 1: Preparing and Seasoning Your Ribs for Maximum Flavor
Proper seasoning is the bedrock of flavorful ribs. While barbecue sauce adds a fantastic finish, the dry rub ensures deep, penetrating flavor throughout the meat. Don’t rely solely on the sauce for taste!
- Preheat Your Oven: Start by preheating your oven to 350°F (175°C). This ensures the oven is at the correct temperature when the ribs go in.
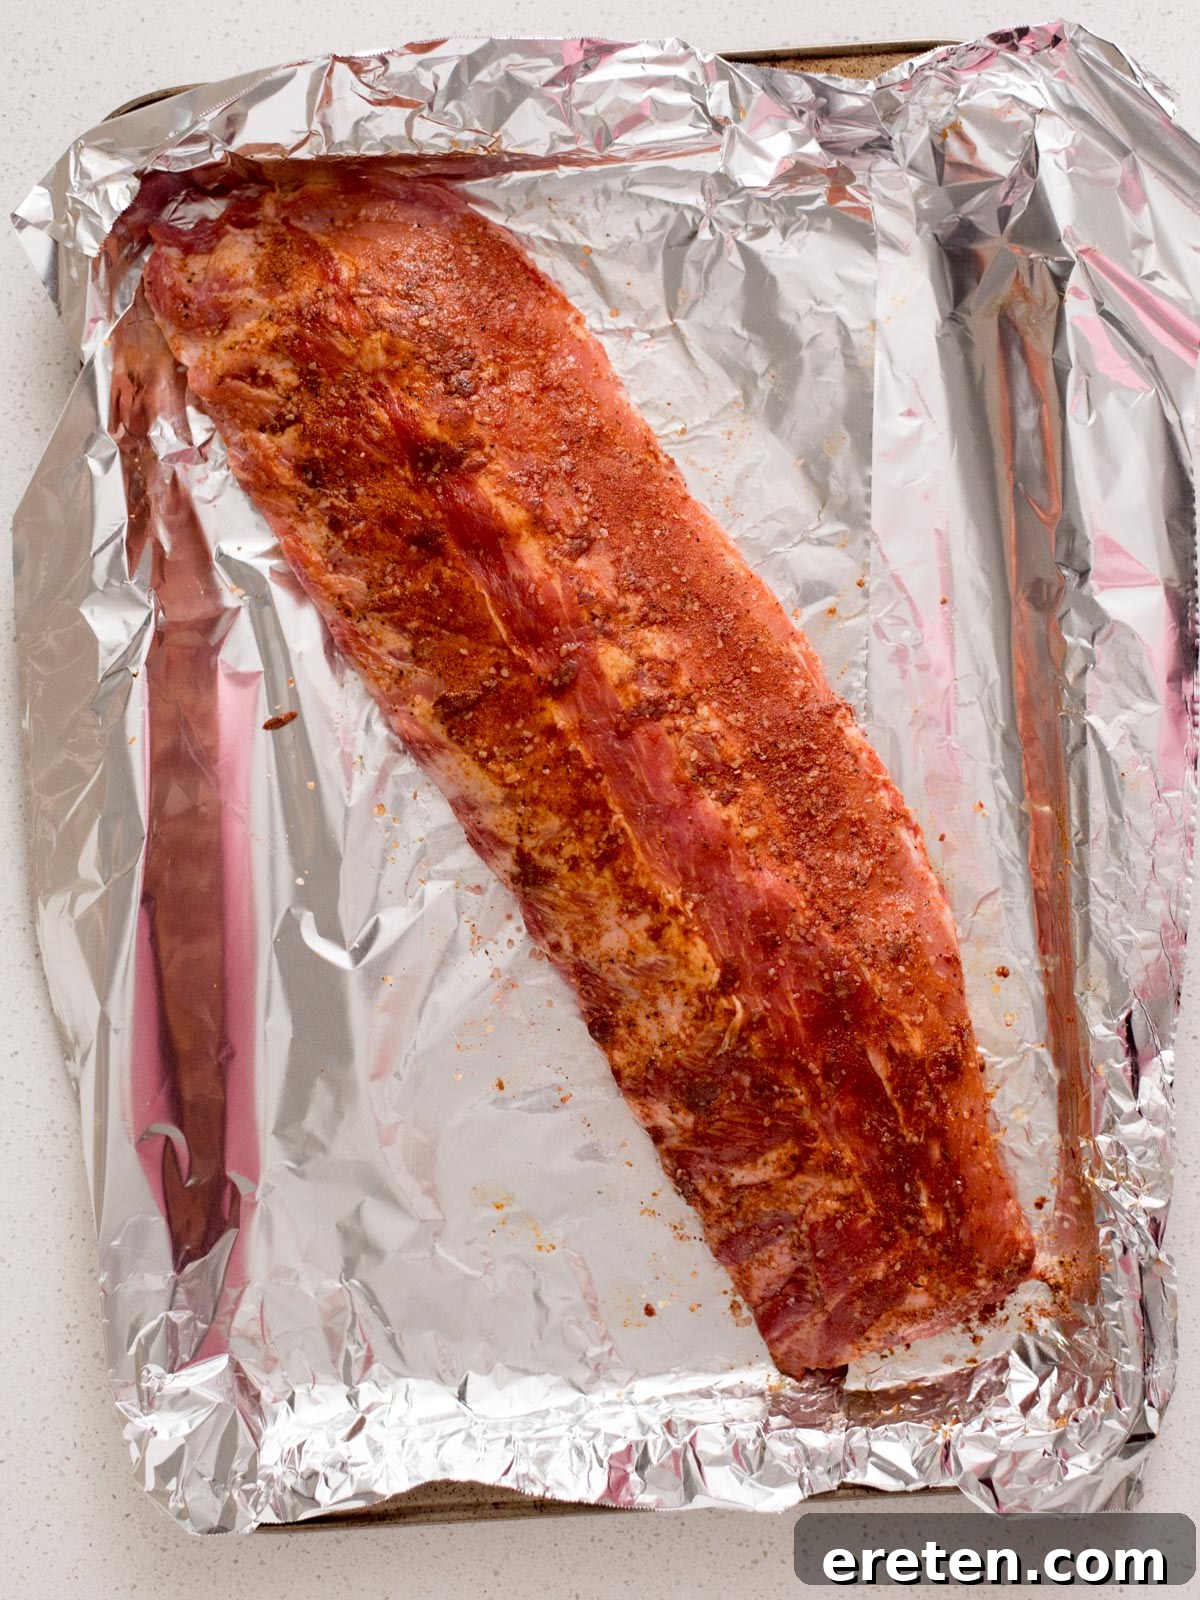
- Prepare the Ribs: Place the cleaned rack of ribs (membrane removed!) on a sturdy foil-lined baking sheet. Using foil makes clean-up significantly easier.
- Craft the Dry Rub: In a small mixing bowl, combine garlic powder, smoked paprika, coarse kosher salt, onion powder, ground black pepper, and cayenne pepper. Stir thoroughly until all spices are evenly distributed.
- Apply the Binder: Drizzle or brush a neutral oil (like avocado or olive oil) over both sides of the ribs. This acts as a binder, helping the dry rub adhere and promoting a nice crust.
- Generously Season: Sprinkle the prepared seasoning mixture liberally over both sides of the ribs. Rub it in gently, ensuring all surfaces are thoroughly coated. Place the ribs meat-side up on the baking sheet.
Step 2: Optimal Cooking Temperature and Timing in the Oven
The key to tender oven ribs is a two-stage cooking process: a low, slow cook to tenderize, followed by a higher heat finish to caramelize the sauce.
- Initial Cook (Low & Slow): I recommend starting your ribs at 350°F (175°C) for the initial phase. Crucially, the ribs must be tightly covered with foil during this stage. The foil traps steam, creating a moist cooking environment that renders the meat incredibly tender without drying it out.
- Final Cook (High Heat & Glaze): After the initial tenderizing phase, the heat is increased to 450°F (230°C). At this point, the foil is removed, and your favorite barbecue sauce is applied. The higher heat helps to caramelize the sauce, creating that beautiful, sticky, slightly charred exterior that everyone loves, while finishing the cook and enhancing the flavor.
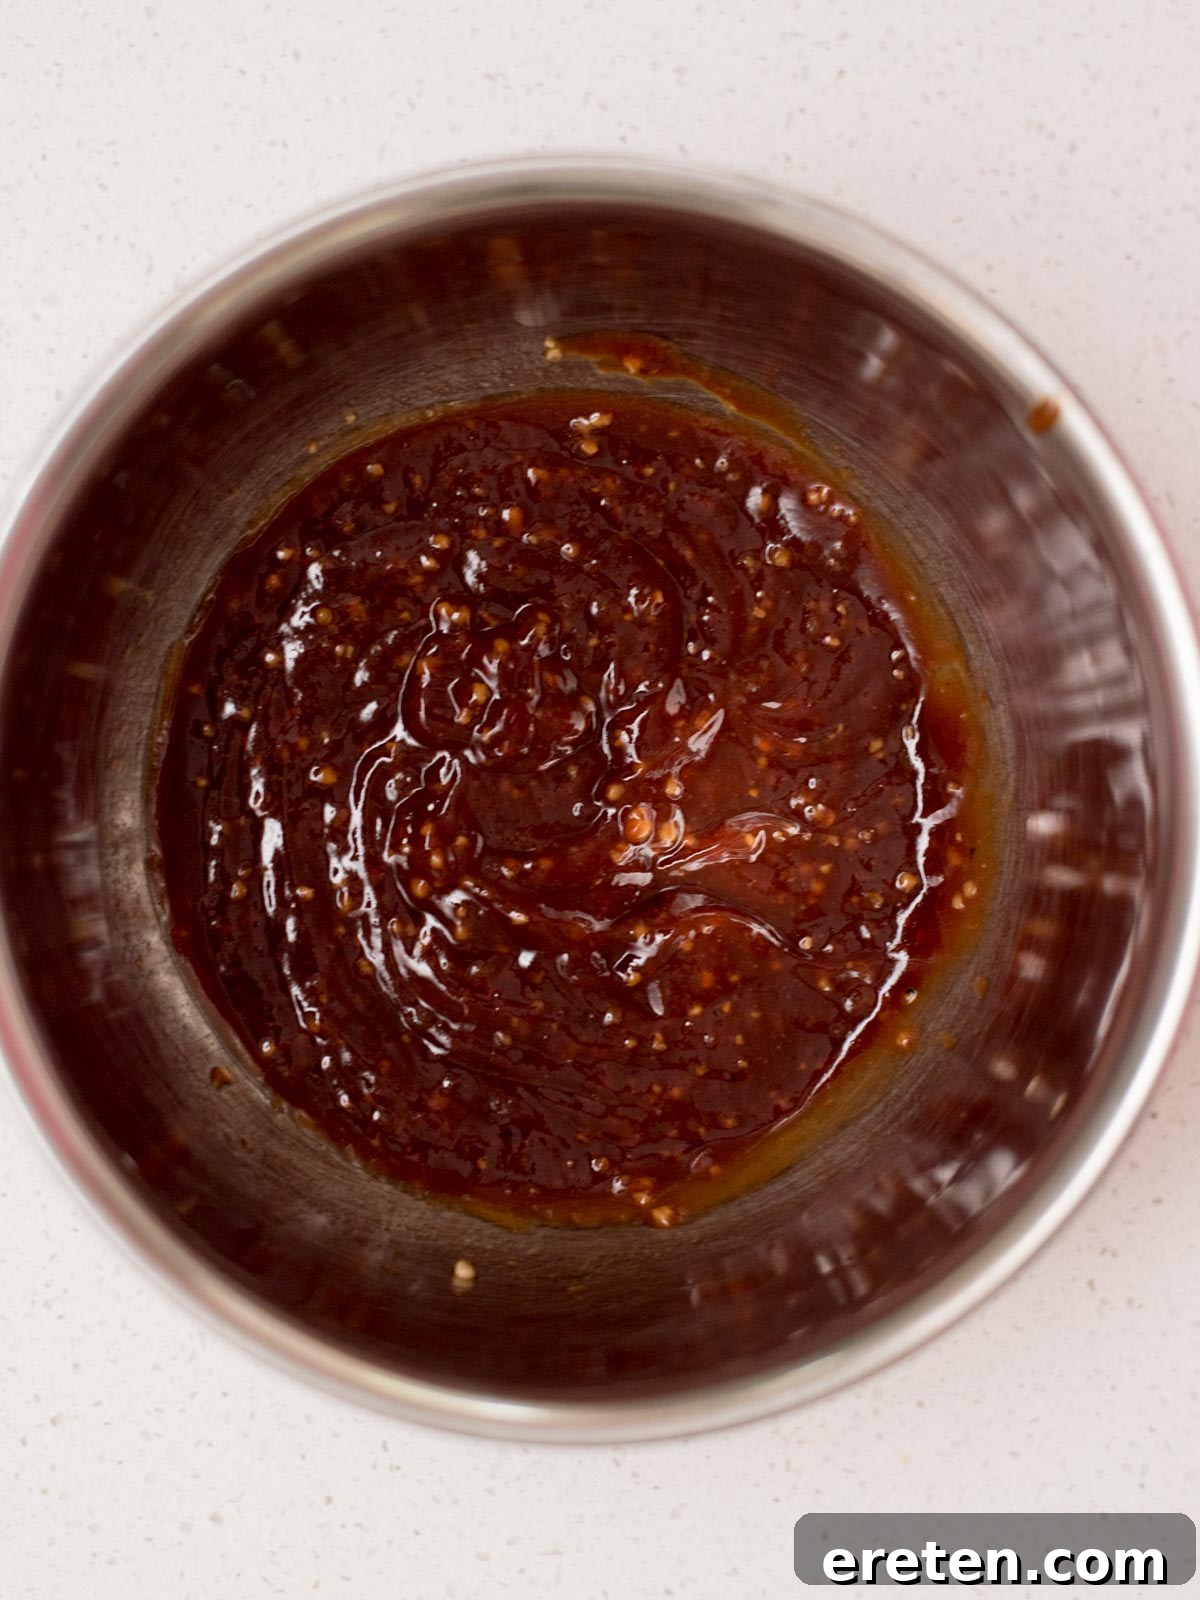
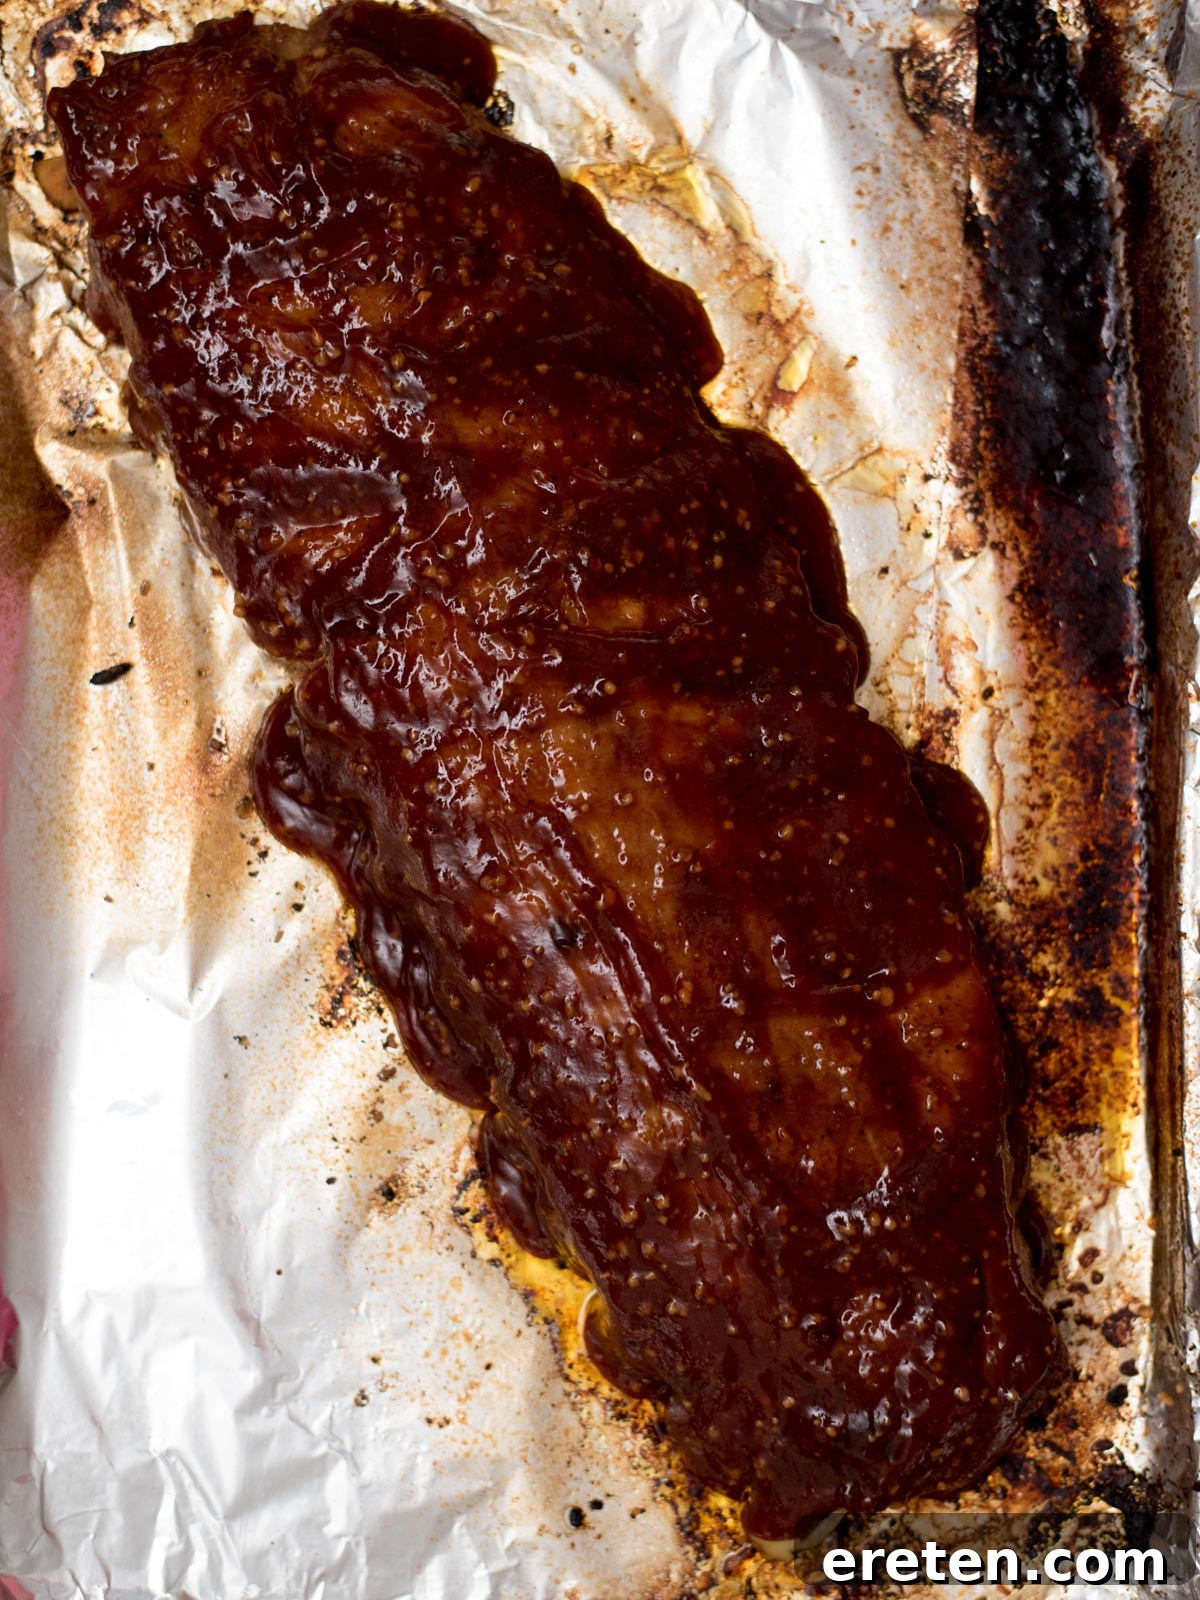
Step 3: The Full Cooking Duration and Why Resting is Key
For a standard rack of baby back ribs (around 2.5 lbs), the total baking time will be just under 1 hour and 45 minutes, plus crucial resting time.
- Bake Time Breakdown:
- Initial Covered Bake: Bake the tightly foil-covered ribs at 350°F (175°C) for 90 minutes. This slow steaming tenderizes the meat significantly.
- Sauce & Finish: After 90 minutes, remove the ribs from the oven (but keep them covered initially). Increase oven temperature to 450°F (230°C). Uncover the ribs, generously brush with your prepared BBQ sauce, and return to the oven for 12-15 minutes, or until the sauce is caramelized and bubbly.
- The Critical Rest Period: Once your ribs are beautifully glazed and out of the oven, resist the urge to slice into them immediately. Allow them to rest for at least 15 minutes. This rest time is vital for several reasons:
- Juice Redistribution: As meat cooks, its fibers contract, pushing juices towards the center. Resting allows these juices to redistribute throughout the meat, ensuring every bite is moist and flavorful.
- Continued Tenderization: The carryover heat continues to tenderize the ribs gently, further enhancing that fall-off-the-bone texture.
- Prevents Dryness: Slicing hot meat causes the precious juices to run out, leaving your ribs dry. Resting prevents this, preserving their juiciness and tenderness.
Helpful Equipment for Oven Ribs
Having the right tools can make your rib-making experience even smoother. Here are some essentials you might find useful:
Baking Sheet
Buy Now →
Aluminum Foil
Buy Now →
Glass Mixing Bowls
Buy Now →
Measuring Cups
Buy Now →
Measuring Spoons
Buy Now →
Basting Brush
Buy Now →
Expert Tips for the Best Oven-Baked Pork Ribs
While the recipe is straightforward, these additional tips will help you elevate your oven-baked ribs from good to absolutely phenomenal:
- Choose the Right Binder: Always opt for a neutral-flavored oil (like avocado, light olive oil, or even vegetable oil) as the binder for your dry rub. This ensures that the binder doesn’t introduce conflicting flavors that might detract from your carefully selected seasonings and barbecue sauce.
- The Power of a Tight Foil Seal: This is arguably one of the most critical steps for achieving truly tender, succulent ribs. When you cover the ribs with aluminum foil, make sure it is wrapped as tightly as possible, creating a sealed pouch. This traps the heat and steam generated during cooking, effectively braising the ribs and ensuring they become incredibly moist and tender. Loose foil will allow steam to escape, leading to drier results.
- Never Skip the Rest: As mentioned, resting your ribs for at least 15 minutes after they come out of the oven is non-negotiable. This allows the internal juices to redistribute evenly throughout the meat, preventing them from escaping when you slice into them. Think of it as a final tenderizing step that locks in moisture and flavor. Patience here is rewarded with incredibly juicy ribs.
- Adjust for Larger Racks: If you’re working with a larger rack of ribs (e.g., a 4-pound spare rib rack), you’ll need to increase the initial cooking time. For 4 lbs, extend the initial foil-covered bake at 350°F (175°C) to 2 hours. Then proceed with uncovering, saucing, and increasing the heat as directed.
- Achieve Crispy Edges (Optional): For those who love a slightly crispy, charred edge on their ribs, after the final sauce-basting and baking, you can place the ribs under the broiler for 1-3 minutes. Watch them very closely, as barbecue sauce can burn quickly. This adds a delightful textural contrast.
- Don’t Overcrowd the Pan: Ensure your ribs have enough space on the baking sheet. If they are too crowded, they will steam rather than bake evenly, which can impact the texture and caramelization. Use two baking sheets if necessary.
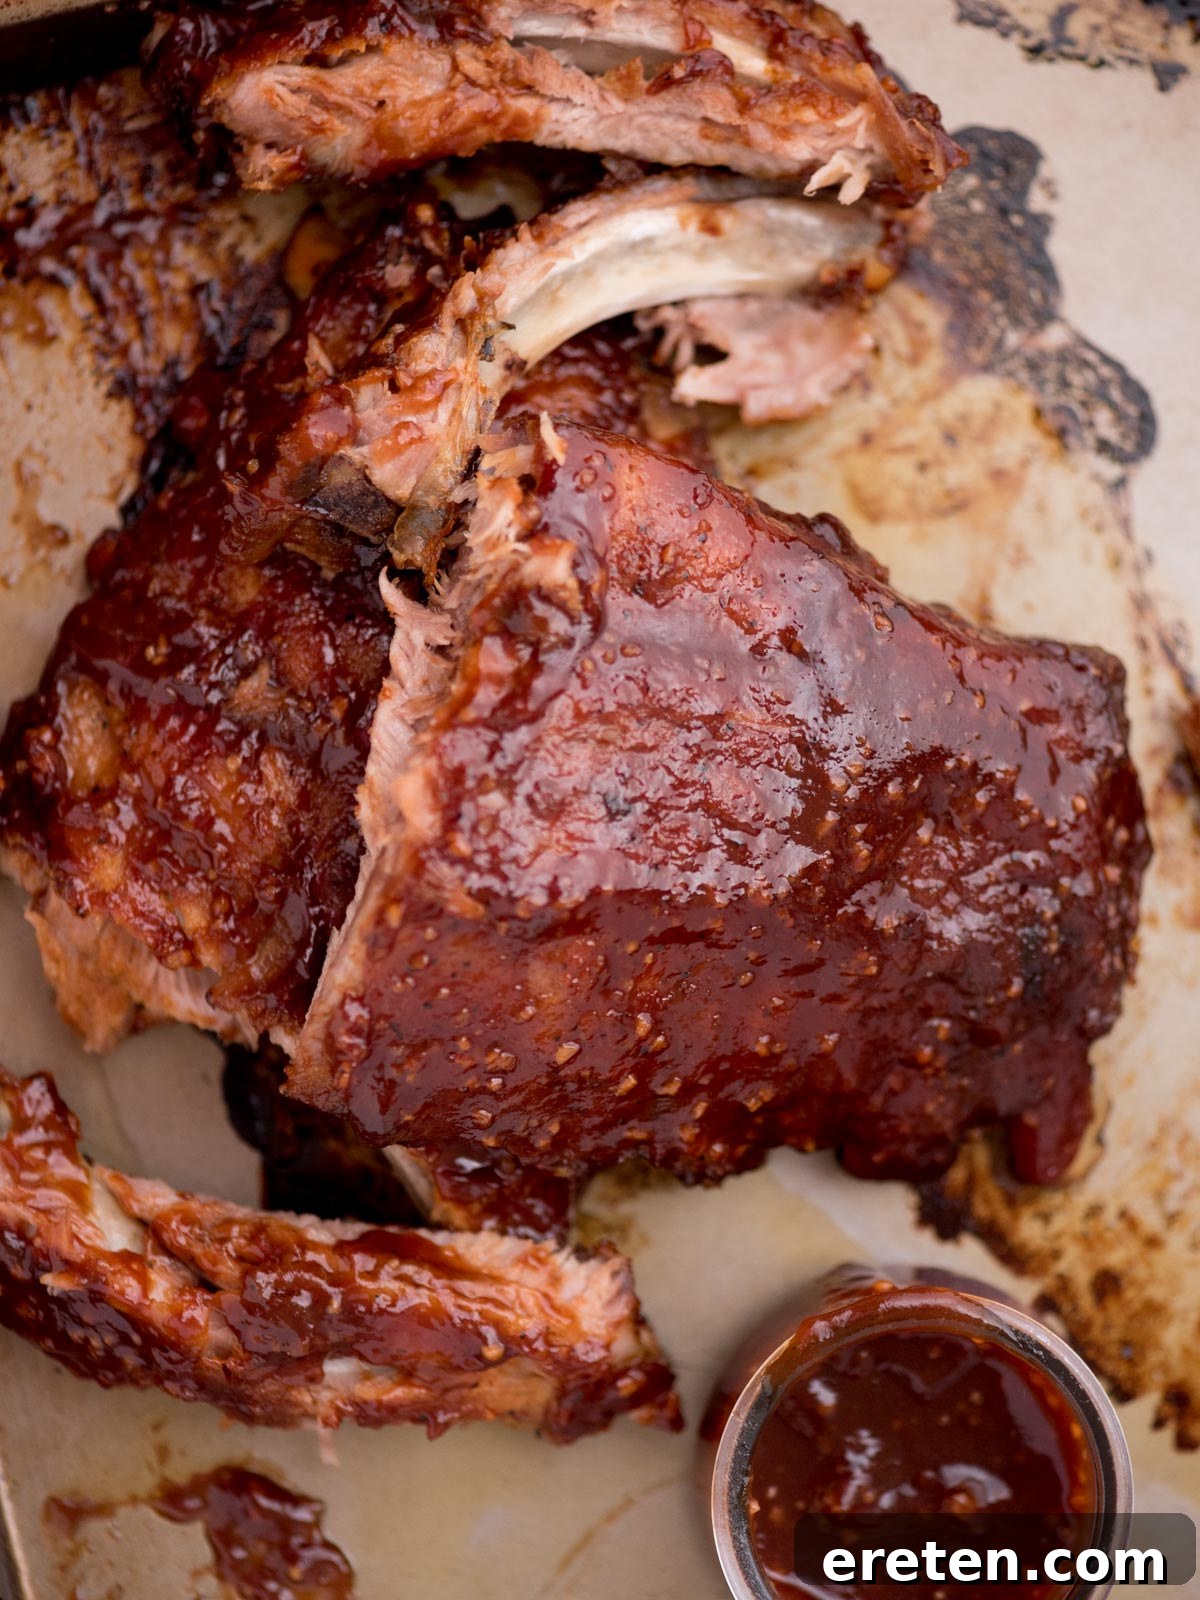
Frequently Asked Questions About Oven Ribs
Absolutely! For the first 90 minutes of baking, cover your ribs tightly with aluminum foil. This creates a moist, steamy environment within the foil packet, which is crucial for tenderizing the meat and achieving that coveted fall-off-the-bone texture. After this initial phase, remove the foil, add your favorite barbecue sauce, and finish baking at a higher temperature to caramelize the sauce.
For the best and most even cooking results, it is recommended to bake these oven ribs on the middle rack of your oven. This position typically offers the most consistent heat distribution, preventing hot spots that could lead to uneven cooking or burning.
The primary method to keep ribs moist in the oven is by wrapping them tightly in aluminum foil during the initial baking phase. The tight seal traps steam and juices, essentially slow-braising the meat in its own moisture. This method is the secret to getting exceptionally tender and juicy results. Ensuring the foil is very secure and leak-proof is key to preventing dryness.
Your ribs are done when the meat is incredibly tender and easily pulls away from the bone. You shouldn’t need a knife to separate them; a fork or even your fingers should be enough. The internal temperature should reach at least 145°F (63°C), but for fall-off-the-bone tenderness, it will likely be closer to 190-205°F (88-96°C).
Yes, you can certainly do some prep work in advance! You can apply the dry rub to the ribs and refrigerate them for several hours, or even overnight, to allow the flavors to truly meld. This can actually enhance the taste. For the initial baking, you can bake them covered, let them cool, and then refrigerate. When ready to serve, just warm them up, apply the sauce, and finish baking uncovered.
Serving Your Delicious Oven Baby Back Ribs
Once your perfectly tender and saucy ribs have rested, it’s time to enjoy the fruits of your labor! Slice the ribs between the bones and serve them as the star of your meal. Ribs pair wonderfully with a variety of classic side dishes that complement their rich flavor profile.
- Creamy Southern Mashed Potatoes: The ultimate comfort food to soak up all that delicious rib sauce.
- Crispy Baked Garlic Potato Wedges: A fantastic alternative to fries, offering a satisfying crunch.
- Hearty Smoked Baked Beans: A classic barbecue accompaniment that adds a sweet and smoky counterpoint.
- Creamy Smoked Mac and Cheese: Indulgent and flavorful, it’s a perfect match for rich pork.
- Classic Old Fashioned Potato Salad: Cool, creamy, and tangy – a refreshing contrast to warm ribs.
- Moist Southern Cornbread: Perfect for soaking up any leftover sauce or juices.
- Creamy Coleslaw: The crisp, fresh crunch and tangy dressing provide a lovely balance to the richness of the ribs.
- Grilled Corn on the Cob: Sweet and slightly charred, it’s a simple yet delicious side.
Storing and Reheating Leftover Oven Baked Ribs
Having leftover ribs is a rare but welcome occurrence! Proper storage ensures you can enjoy them again, maintaining their flavor and tenderness.
- Refrigeration: Allow any leftover ribs to cool completely to room temperature before storing. Wrap them tightly in plastic wrap or place them in a well-sealed, airtight container. Stored this way, they will remain fresh in the refrigerator for up to 4 days.
- Freezing for Longer Storage: To freeze leftover ribs, first ensure they are completely cool. Wrap individual portions or full racks securely in a double layer of aluminum foil, making sure they are sealed tightly to prevent freezer burn. Then, place the foil-wrapped ribs into a freezer-safe bag or an airtight freezer container. Properly sealed, frozen ribs can be stored for up to 3 months.
- Reheating Instructions:
- Thawing: If frozen, thaw the ribs completely in the refrigerator overnight before reheating.
- Oven Reheating (Recommended): Preheat your oven to a moderate temperature, around 300°F (150°C). Place the thawed ribs on a baking sheet, adding a tablespoon or two of water or extra barbecue sauce to keep them moist. Cover them loosely with foil. Reheat for 20-30 minutes, or until warmed through, basting with more sauce if desired during the last few minutes. This gentle reheating prevents them from drying out.
- Microwave (Quick Option): While not ideal for texture, you can microwave individual portions for a quick reheat. Cover loosely with a damp paper towel and heat in 30-second intervals until warmed through.
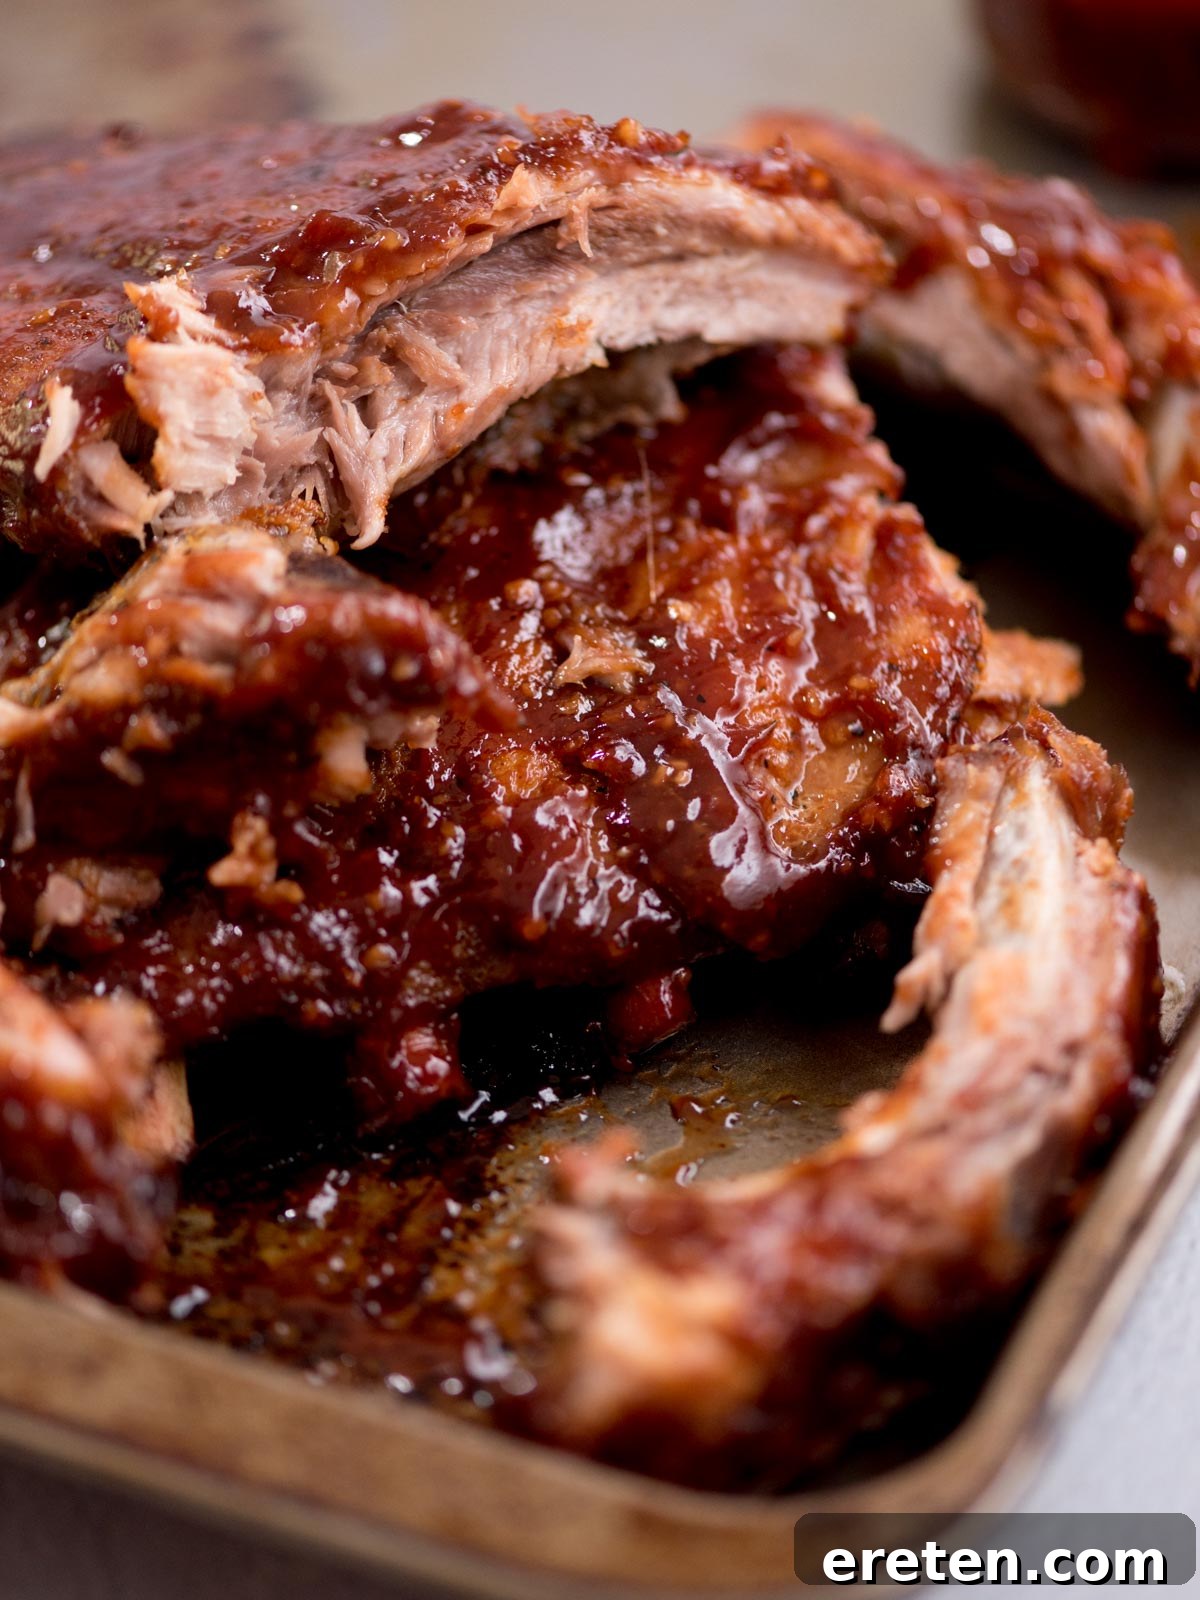
Explore More Delicious Pork Recipes
If you’re a fan of succulent pork dishes, you’ll love exploring these other fantastic recipes from our collection:
- Pit Boss Ribs: For those who still love a smoky twist, even on the grill or smoker.
- Instant Pot Pulled Pork: Quick and easy pulled pork for sandwiches, tacos, and more.
- Authentic Carnitas: Crispy, flavorful Mexican slow-cooked pork.
- Baked Ranch Pork Chops: A simple and delicious weeknight meal.
If you whip up this recipe and fall in love with it as much as we have, please consider leaving a 5 ⭐️⭐️⭐️⭐️⭐️ rating! Your feedback helps us continue to share wonderful, free recipes with our community.
Oven Baked Ribs Recipe
kara
10 minutes
2 hours
8
Ingredients
Ribs
- 2.5 lbs baby back pork ribs
- 1 tsp garlic powder
- 1 tsp smoked paprika
- 1 tsp coarse kosher salt
- 1/2 tsp onion powder
- 1/2 tsp ground black pepper
- 1/2 tsp cayenne pepper
- 1 tbsp avocado or olive oil
Sauce
- 1 cup barbecue sauce
- 2 tbsp garlic minced
- 1 tbsp Worcestershire sauce
- 1/2 tsp coarse kosher salt
Instructions
-
Preheat oven to 350ºF (175°C).
-
Start by preparing the ribs. Flip the ribs over and remove the membrane and silver skin from the back. This step is crucial for tender ribs.
-
Place the cleaned ribs on a foil-lined baking sheet.
-
To a small mixing bowl, add garlic powder, paprika, salt, onion powder, black pepper, and cayenne pepper. Mix to combine thoroughly.
-
Take the avocado or olive oil and evenly coat both sides of the ribs. This acts as a binder for the rub.
-
Sprinkle the seasoning mixture generously over both sides of the ribs and rub it in so that all surfaces are completely covered.
-
Cover the ribs very tightly with foil, creating a sealed packet. Place them in the preheated oven on the middle rack.
-
Bake for 90 minutes. After 90 minutes, remove them from the oven, but leave them covered with foil while you prepare the sauce.
-
Increase the oven temperature to 450°F (230°C).
-
In a medium-sized mixing bowl, combine the barbecue sauce, minced garlic, Worcestershire sauce, and coarse kosher salt. Mix thoroughly until all ingredients are well combined.
-
Carefully remove the foil from the ribs and generously brush the prepared sauce over the top surface, ensuring they are fully coated.
-
Place the uncovered ribs back in the oven on the middle rack for 12-15 minutes, or until the sauce is caramelized and bubbly.
-
Remove them from the oven and let them rest for a minimum of 15 minutes before slicing and serving. This resting period is essential for juicy, tender results.
Notes
- Use a neutral oil (like avocado or olive oil) as the binder for the rub to avoid conflicting flavors between the seasoning, sauce, and binder.
- It’s crucial to make sure that the foil is wrapped extremely tightly when you put the ribs in the oven. This seals in the heat and steam, which is vital for achieving incredibly tender ribs.
- Always allow the ribs to rest for at least 15 minutes after cooking. This ensures the juices redistribute throughout the meat, preventing them from drying out and maximizing juiciness and tenderness.
- For a larger rack of ribs (approximately 4 lbs), you’ll want to increase the initial covered cooking time to 2 hours at 350°F (175°C) before proceeding with the saucing and higher-heat finish.
- For an extra crispy bark, consider a quick 1-3 minute broil after the final bake. Watch carefully to prevent burning!
Nutrition
Nutrition information is automatically calculated, so should only be used as an approximation.