
Mastering Traditional Crepes: An Easy Homemade Recipe Guide
There’s something inherently magical about crepes. These delicate, thin pancakes, originating from France, have a captivating charm that transcends breakfast tables and dinner plates alike. For me, crepes have always held a special place, evoking fond memories of childhood and the joy of simple, delicious food. I vividly recall a woman from my hometown who would prepare batches of these culinary wonders for the senior center, each one filled with the most delightful ingredients. That first bite was an unforgettable moment, sparking a lifelong love affair with crepes. I even experimented with making them regularly at home, convinced I needed a special crepe pan. Over the years, I’ve come to realize that while a dedicated pan can be a nice addition, a simple flat skillet works just as beautifully, making this exquisite treat accessible to everyone.
Crepes are more than just a dish; they’re a canvas for culinary creativity. Their versatility allows them to seamlessly transition from a decadent dessert to a hearty savory meal. Whether you’re craving something sweet to start your day or an elegant dinner that impresses with minimal effort, crepes offer an incredible range of possibilities. This guide will walk you through my favorite basic crepe recipe, ensuring you can whip up perfect crepes every time, with ingredients you likely already have on hand. Get ready to embark on a delightful journey into the world of traditional crepes!
Essential Ingredients for Simple Homemade Crepes
One of the best aspects of traditional crepes is the simplicity of their ingredients. You don’t need exotic items or a lengthy shopping list to create these delectable treats. With just a few pantry staples, you’re well on your way to enjoying a taste of France right in your kitchen. Here’s what you’ll need:
- Unsalted Butter: Adds richness and flavor to the batter. Melting it ensures it incorporates smoothly.
- Milk (2% recommended): Provides liquid to the batter and contributes to the crepe’s tender texture. While 2% is my personal preference, whole milk will make them richer, and skim milk will make them lighter.
- Large Eggs: Act as a binder, giving the crepes structure and a lovely golden hue.
- All-Purpose Flour: The primary dry ingredient, providing the delicate structure of the crepe.
- Granulated Sugar: A touch of sweetness that balances the flavors, making these crepes suitable for both sweet and savory applications. You can adjust the amount based on your preference.
- Salt: A pinch enhances all the other flavors, making them pop. Don’t skip it, even in sweet recipes!
These basic ingredients combine to form a batter that is incredibly adaptable. The beauty lies in their straightforward nature, allowing the natural flavors to shine through and complement a wide array of fillings and toppings.
Step-by-Step Guide: How to Make Perfect Basic Crepes
Crafting beautiful crepes is an art that’s surprisingly easy to master. The key lies in precise technique and careful attention to detail. Follow these simple steps to create light, airy, and uniformly thin crepes that will impress everyone:
- Prepare the Batter: In a medium mixing bowl, combine all your ingredients: melted unsalted butter, milk, eggs, all-purpose flour, sugar, and salt. Whisk vigorously or use an electric mixer until the batter is completely smooth and free of lumps. The consistency should be thin, like heavy cream, allowing it to spread easily across the pan. For optimal results, let the batter rest for at least 30 minutes in the refrigerator. This allows the flour to fully hydrate and gluten to relax, resulting in more tender crepes.
- Heat Your Skillet: Place a flat-bottomed skillet (preferably non-stick, approximately 8-10 inches in diameter) over medium-high heat. The ideal temperature is crucial; the pan needs to be hot enough for the batter to start cooking immediately upon contact, but not so hot that it burns the crepe before it can spread. A good test is to sprinkle a few drops of water; they should sizzle and evaporate quickly.
- Grease the Pan: This step is absolutely critical for non-stick success! Lightly grease your hot pan with a small amount of oil, cooking spray, or a dab of butter on a paper towel. You’ll need to repeat this step between each crepe to prevent sticking and ensure a smooth release. Even the best non-stick pans benefit from this.
- Pour and Swirl the Batter: Pour approximately ¼ cup of batter into the center of the hot, greased pan. Immediately lift and tilt the pan, gently swirling it in a circular motion, allowing the batter to spread evenly across the entire bottom surface in a very thin layer. Work quickly, as the batter will set fast.
- Cook and Flip: Let the crepe cook for about 1-2 minutes on the first side. You’ll know it’s ready to flip when the edges begin to curl slightly, appear dry, and turn golden brown. The center should look set. Using a thin spatula, or with a confident flick of the wrist (if you’re feeling adventurous and the pan is properly greased!), quickly flip the crepe. Cook the second side for a much shorter duration, typically 30-60 seconds, until lightly golden.
- Stacking Your Crepes: As each crepe finishes cooking, carefully transfer it to a plate. To prevent sticking, place a sheet of wax paper or parchment paper between each crepe as you stack them. This keeps them from fusing together and makes them easier to handle later.
- Fill and Enjoy: Once all your crepes are cooked, it’s time for the best part – filling them with your favorite sweet or savory delights!
Expert Tips and Tricks for Homemade Crepe Perfection
While the process of making crepes is straightforward, a few key tips can elevate your results from good to absolutely phenomenal. Pay attention to these insights for consistently perfect, delicate crepes:
- Greasing is Gold: I cannot overstate the importance of lightly greasing your pan between EACH crepe. This is the number one reason crepes stick and tear. A thin layer of oil or butter ensures easy flipping and beautiful, unblemished crepes.
- Achieve a Smooth Batter: Lumps in crepe batter are a no-go. Since crepes are so thin, any unmixed flour bits will be noticeable and create an undesirable texture. Use a whisk vigorously, or better yet, a blender, to achieve a silky-smooth consistency.
- The Batter Rest: Don’t skip the resting period. Allowing the batter to rest for at least 30 minutes (or even overnight in the refrigerator) gives the flour time to fully hydrate and the gluten to relax. This results in more pliable, tender crepes that are less likely to tear.
- Heat Management is Key: Finding the “delicate balance” in heat is crucial. Too low, and your crepes will take too long to cook, becoming tough. Too high, and they’ll burn before you can properly swirl the batter or flip them. Start with medium-high and adjust as needed. The first crepe is often a “test” crepe – don’t worry if it’s not perfect; it helps you gauge the pan’s temperature.
- Quick Cooking on the Second Side: The second side of the crepe cooks much faster than the first, typically within 30-60 seconds. Do not walk away! Overcooking will make your crepes dry and brittle.
- The Art of the Flip: While a thin, flexible spatula works perfectly fine, mastering the “wrist action” flip (flipping the crepe directly with the pan) is incredibly satisfying and often easier if the pan is properly greased. Crepes will slide very easily when cooked correctly. Give it a try!
- Thinness Matters: Aim for the thinnest possible layer of batter. This is what defines a crepe. Too much batter will result in a thicker, more pancake-like texture.
By keeping these simple yet effective tips in mind, you’ll be consistently turning out professional-looking and tasting crepes that are a joy to eat.
Creative Ways to Serve Your Perfect Crepes: Sweet & Savory Delights
The true magic of crepes lies in their incredible versatility. They can be dressed up or down, served for any meal, and accommodate a vast array of fillings and toppings. Here are some inspiring ideas to transform your classic crepes into unforgettable dishes:
For Sweet Crepes:
Indulge your sweet tooth with these delightful combinations. Sweet crepes are perfect for breakfast, brunch, or an elegant dessert.
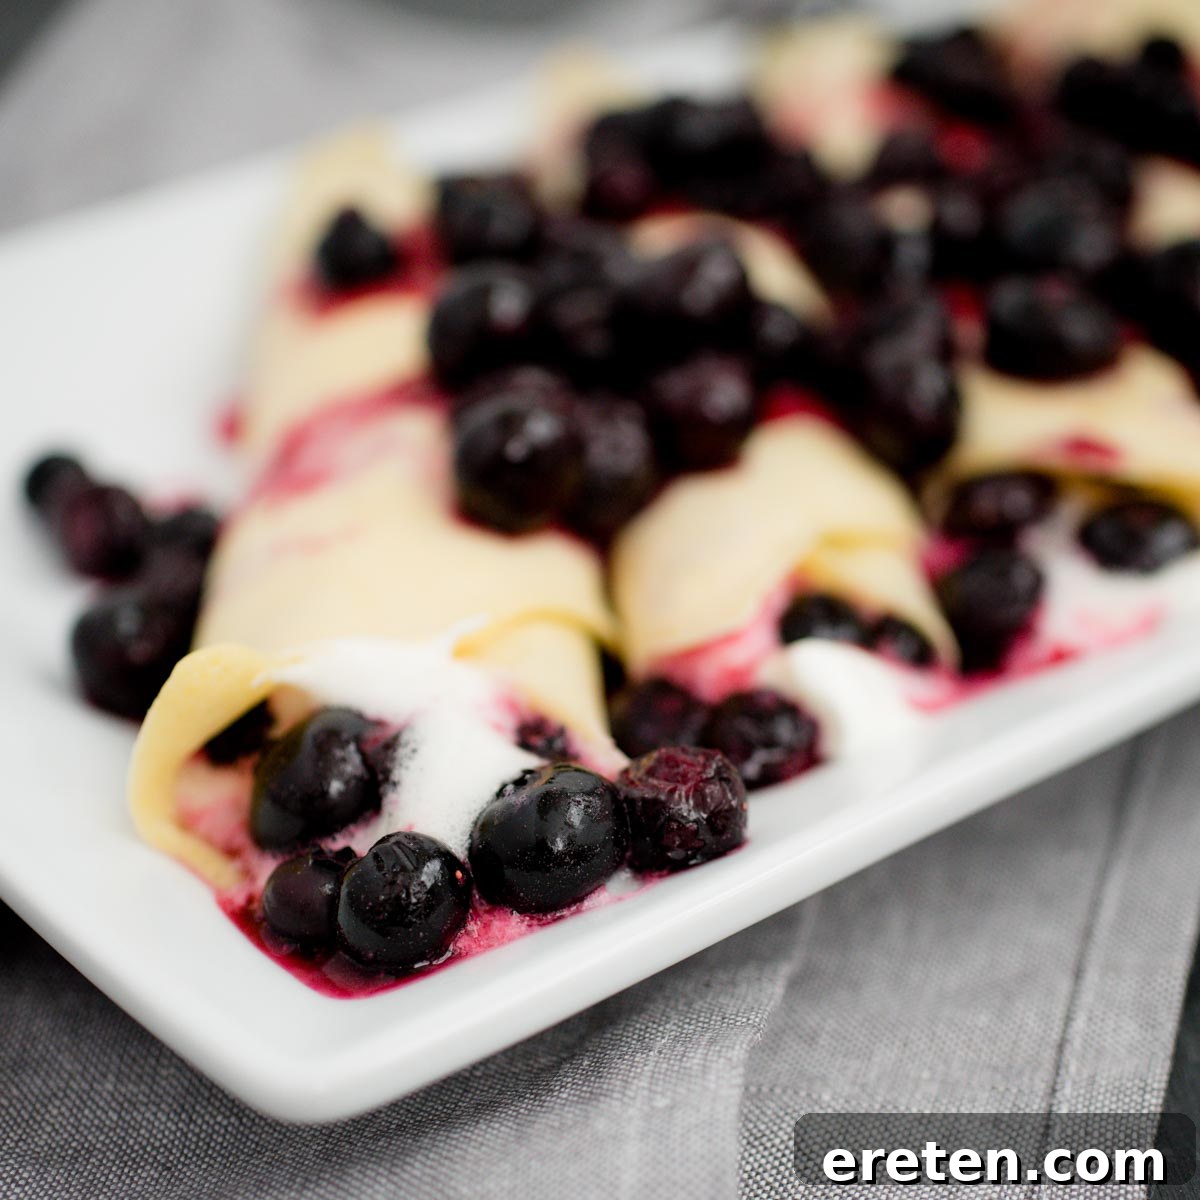
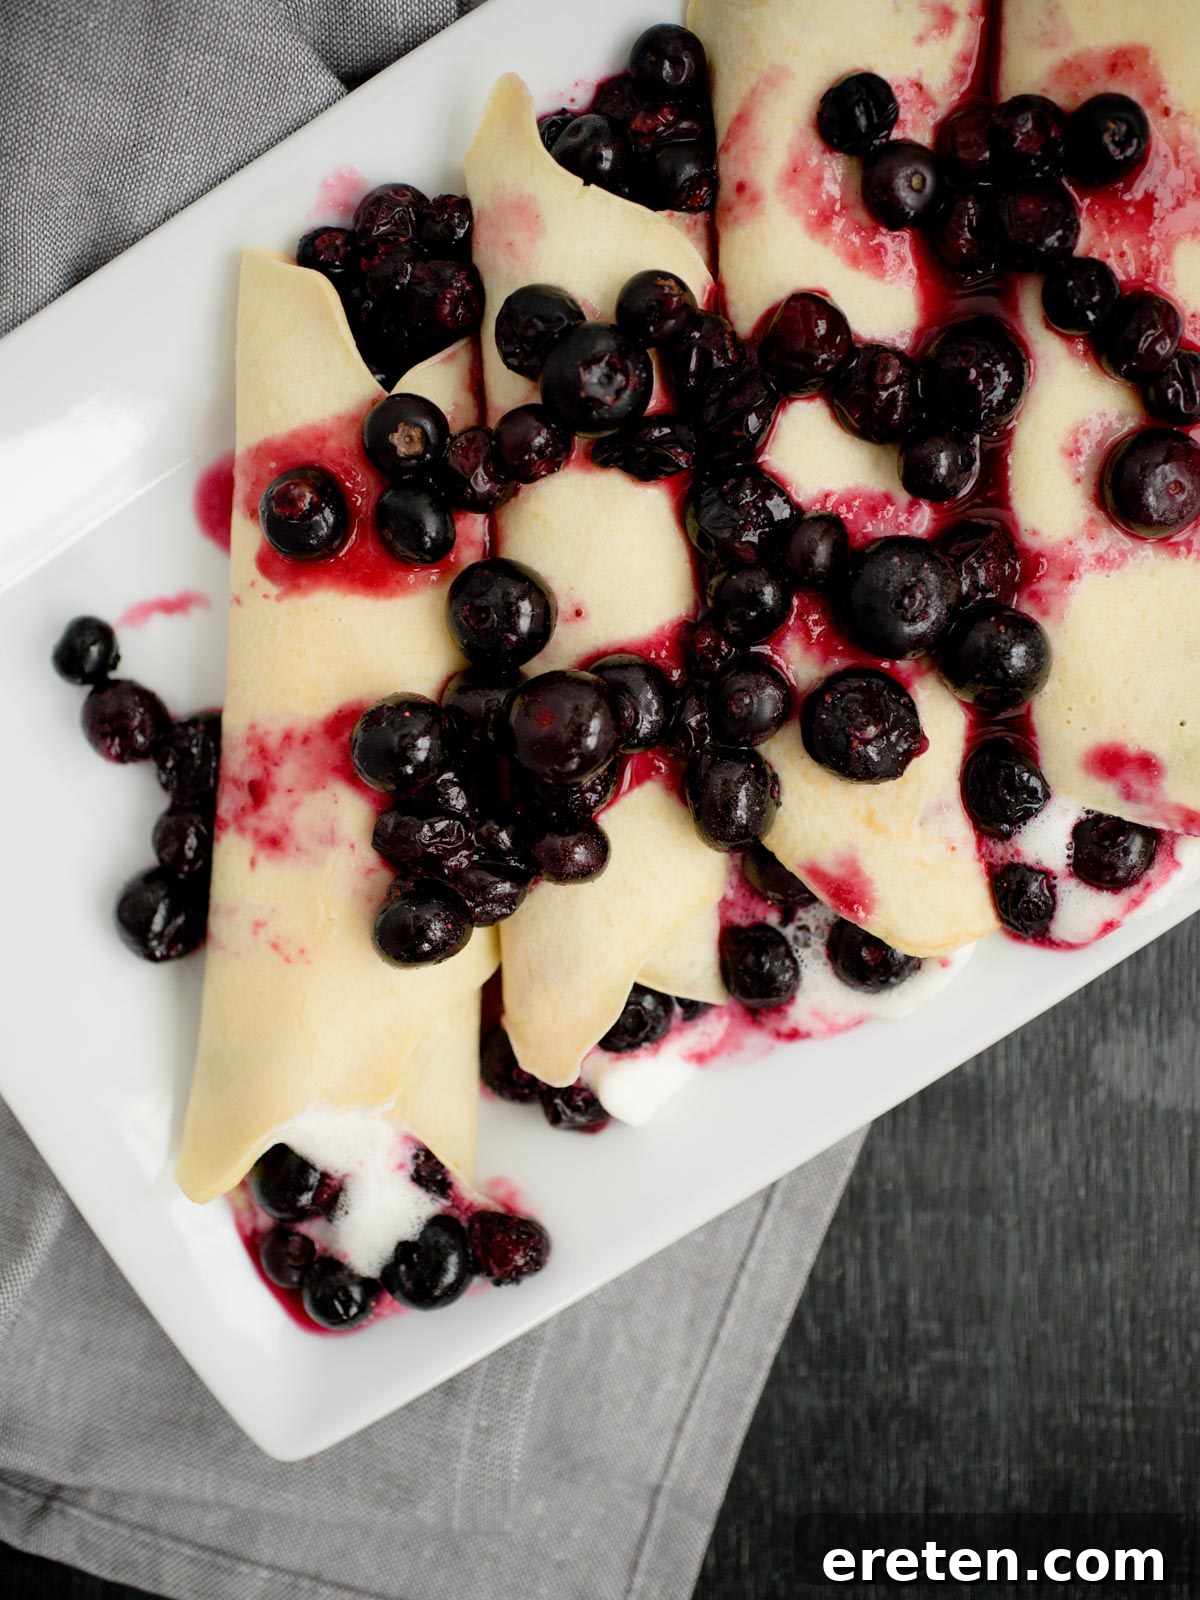
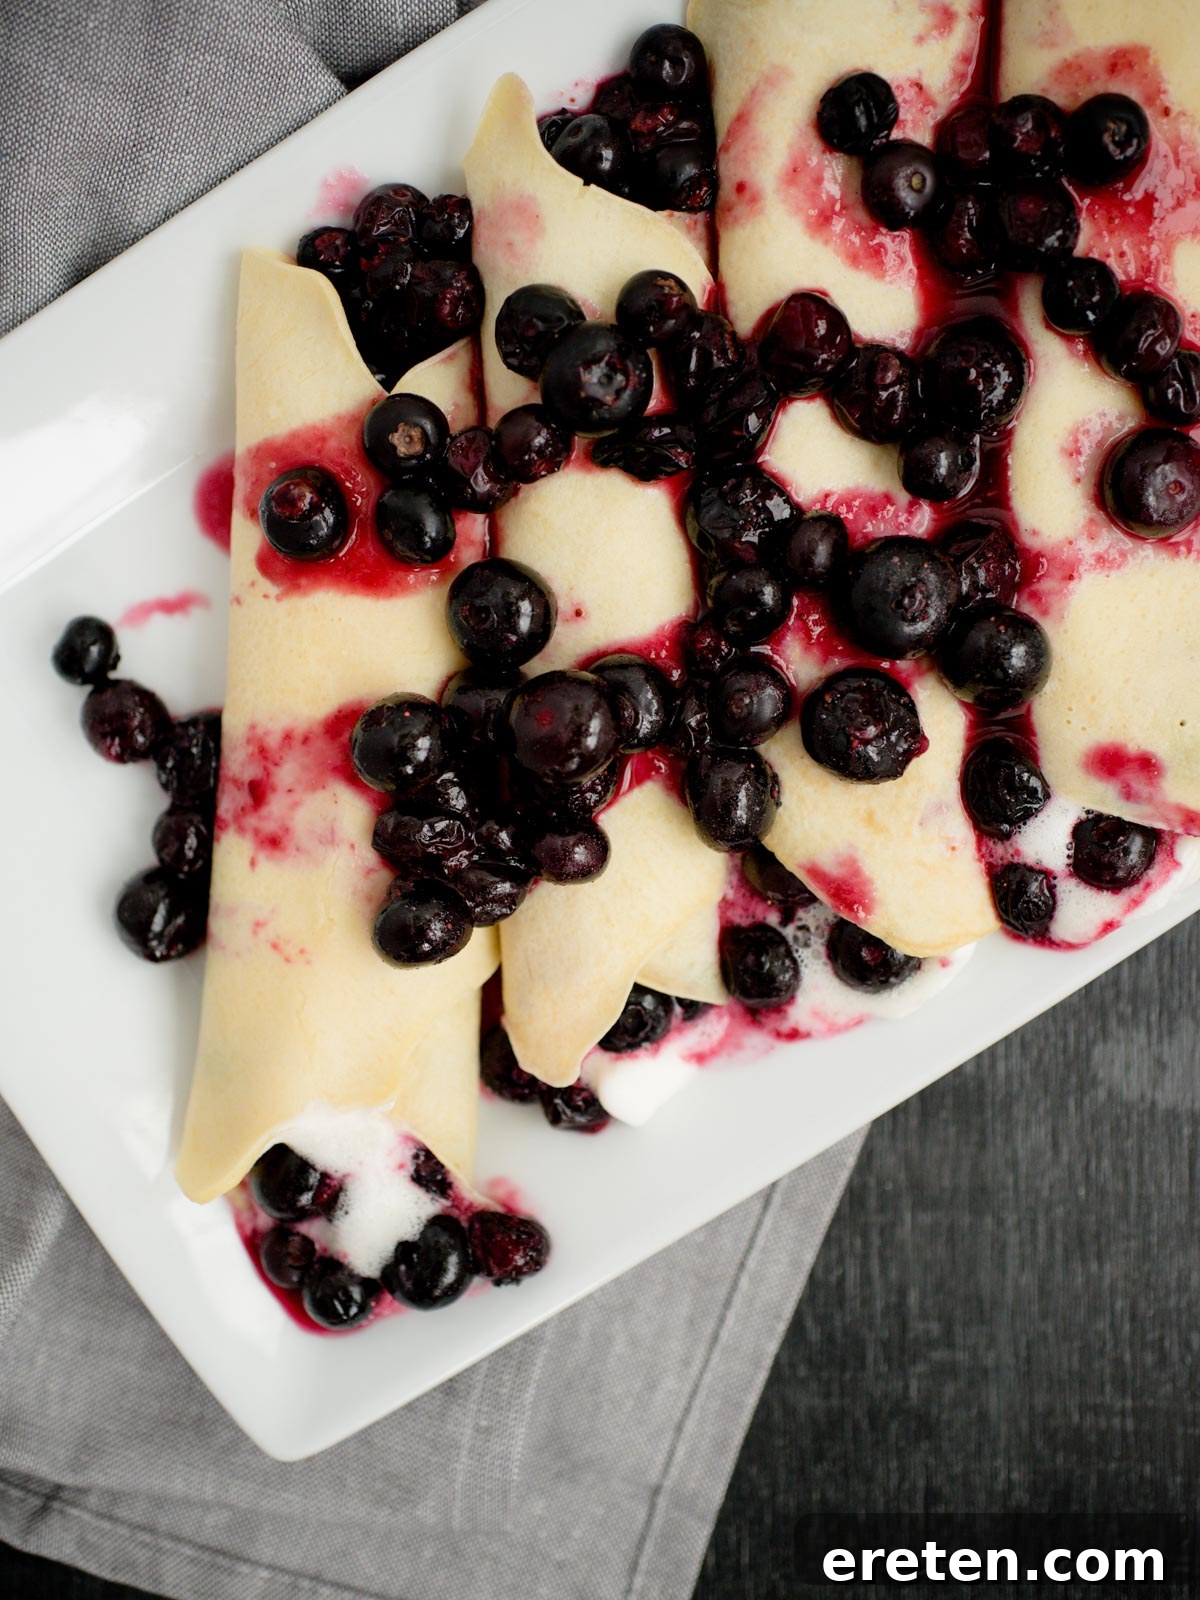
- Classic Fruit & Cream: Fresh sliced strawberries, blueberries, bananas, raspberries, or peaches, often paired with whipped cream, crème fraîche, or cream cheese frosting.
- Nutty & Chocolatey: Spread with Nutella, peanut butter, almond butter, or Biscoff spread. Add chocolate chips, chocolate syrup, or a sprinkle of cocoa powder.
- Fruity Spreads & Sauces: Jam, fruit preserves, apple butter, lemon curd, or warm caramel sauce.
- Simple & Elegant: A sprinkle of granulated sugar and a squeeze of fresh lemon juice, or melted butter and a dusting of cinnamon sugar.
- Gourmet Touches: Drizzle with maple syrup, honey, or a berry coulis. Top with toasted nuts (almonds, walnuts, pecans), shredded coconut, or a scoop of vanilla ice cream.
For Savory Crepes:
Crepes make an excellent vessel for savory fillings, offering a lighter alternative to sandwiches or heavy meals. They’re fantastic for lunch or dinner.
- Vegetarian Delights: Sautéed mushrooms, onions, spinach, zucchini, bell peppers, or asparagus. Combine with goat cheese, feta, or mozzarella for extra flavor.
- Hearty Meats: Sliced ham, turkey, shredded chicken, steak (sliced thinly), crispy bacon, or smoked salmon.
- Cheesy Goodness: Melted cheddar, Gruyère, Swiss, or a creamy béchamel sauce with cheese.
- Breakfast Inspired: Scrambled eggs, potatoes (diced and pan-fried), sausage, or a combination of these for a brunch-worthy crepe.
- Mediterranean Flavors: Hummus, olives, sun-dried tomatoes, and fresh herbs like basil or oregano.
How are crepes traditionally served?
Crepes are traditionally served either filled or topped. In France, it’s common to see them simply folded or rolled with sweet fillings like sugar and lemon, or more elaborate savory preparations featuring cheese, ham, or vegetables. The idea is for the delicate crepe to act as a wrapper, showcasing the delicious filling within.
How do the French eat their crepes?
The French, who perfected the art of the crepe, enjoy them much like anyone else – filled or topped with a variety of sweet or savory ingredients. They rarely eat them plain, as the crepe itself is designed to complement and carry flavors. Whether it’s a simple butter and sugar crepe for a quick snack or a sophisticated buckwheat crepe with a savory filling for a meal, the filling is always the star, embraced by the tender crepe.
Storing and Making Ahead: Your Classic Crepe Recipe
One of the many conveniences of crepes is that they can be prepared in advance, making them perfect for meal prep or entertaining. Proper storage ensures they remain fresh and delicious.
Cooked crepes should be stored in an airtight container or a resealable bag. To prevent them from sticking together, layer them with sheets of parchment paper or wax paper between each crepe. When stored properly in the refrigerator, they will last for up to 3 days, ready to be filled and enjoyed at a moment’s notice.
Can traditional crepes be made ahead of time?
Absolutely, yes! Making crepes ahead of time is a fantastic strategy. You can prepare the batter and store it in the refrigerator for up to 24 hours before cooking. Just give it a good whisk before using. Even better, you can cook the crepes completely and then store them in the refrigerator for up to 3 days, layered with wax paper. They can also be frozen for longer storage.
Freezing Cooked Crepes:
For longer storage, cooked crepes freeze beautifully. Stack them with wax paper or parchment paper between each one, then wrap the stack tightly in plastic wrap and place it in a freezer-safe bag or container. They can be frozen for up to 1-2 months. When you’re ready to enjoy them, simply thaw the stack in the refrigerator overnight, or at room temperature for an hour, then gently peel them apart and reheat lightly in a pan or microwave.
Traditional Crepes FAQs: Your Questions Answered
Is crepe batter the same as pancake batter?
No, crepe batter is distinctly different from pancake batter. The primary difference lies in the absence of a leavening agent (like baking powder or baking soda) in traditional crepe batter. This means crepe batter does not rise, resulting in a much thinner, flatter, and more delicate final product compared to fluffy pancakes. Crepe batter also tends to be thinner in consistency, allowing it to spread thinly across the pan.
Should crepe batter be thick or thin?
Crepe batter should be thin, with a consistency similar to heavy cream or whole milk. This thinness is essential for the batter to spread easily and evenly across the bottom of the pan, forming the characteristic delicate, almost translucent layer of a crepe. If your batter is too thick, your crepes will resemble pancakes.
What is the secret to great crepes?
The secret to great crepes combines several factors: starting with an excellent, smooth batter recipe; allowing the batter to rest for optimal texture; maintaining the correct pan temperature; and mastering the cooking technique to ensure they are thin, evenly cooked, and not overcooked. Proper greasing of the pan between each crepe is also paramount to prevent sticking and achieve those perfect, tender results.
Do I need a special pan to make crepes?
While a dedicated crepe pan with low sides is convenient, it is not essential. A good quality, non-stick flat-bottomed skillet (8-10 inches in diameter) works perfectly well for making delicious crepes. The key is to ensure it heats evenly and is properly greased.
Can I make savory crepes with this recipe?
Absolutely! This basic crepe recipe is designed to be versatile, making it ideal for both sweet and savory fillings. The subtle sweetness from the small amount of sugar is minimal enough to complement savory ingredients beautifully. Simply omit any additional sugar in your fillings if you prefer a strictly savory profile.
How do I make crepes gluten-free?
To make gluten-free crepes, you can substitute the all-purpose flour with a high-quality gluten-free all-purpose flour blend. Some blends may require a slight adjustment in liquid to achieve the correct batter consistency, so monitor closely. Using a blend specifically designed for baking can yield the best results.
What is the ideal temperature for cooking crepes?
The ideal temperature is medium-high heat. The pan should be hot enough that the batter begins to set almost immediately when poured, allowing for quick swirling. However, it shouldn’t be so hot that the crepe burns before it’s cooked through. You’ll likely need to adjust the heat slightly as you cook, as the pan retains heat over time.
Explore More Delicious Recipes!
If you’ve enjoyed mastering these traditional crepes, you might also love these other delightful recipes:
- Banana Pudding for Two
- Blueberry Banana Smoothie Bowl
- Pumpkin Spice No-Churn Ice Cream
Traditional Crepes

Print Recipe
Ingredients
- 2 tbsp unsalted butter, melted
- 1 1/3 cup milk (I used 2%)
- 4 large eggs
- 1 cup all-purpose flour
- 1 tbsp sugar
- 1/2 tsp salt
Instructions
- In a mixing bowl, combine melted butter, milk, and eggs. Whisk well until combined and smooth.
- Gradually add the all-purpose flour, sugar, and salt, mixing until the batter is completely smooth and free of any lumps. For best results, let the batter rest in the refrigerator for at least 30 minutes.
- Heat a flat-bottomed skillet (approximately 8 inches or larger) or crepe pan over medium-high heat.
- Once the pan is hot, lightly grease it with oil or cooking spray. This step is crucial and should be repeated between each crepe.
- Pour approximately 1/4 cup of batter into the pan. Immediately tilt and swirl the pan around until the batter spreads evenly across the bottom in a thin layer.
- Cook for 1-2 minutes until the edges begin to curl slightly and the center looks set. Flip the crepe and cook the other side very briefly, about 30-60 seconds, until lightly golden.
- Transfer the cooked crepe to a plate, placing a sheet of wax paper between each crepe to prevent sticking. Continue with the remaining batter.
- Once all crepes are cooked, fill them with your favorite sweet or savory fillings, roll them up, and enjoy!
Notes
- It is extremely important to grease your pan between each crepe. Without proper greasing, the batter will stick, and your crepe may tear.
- For a smooth batter, consider using a blender to combine ingredients thoroughly.
- While a spatula works, trying to flip the crepe with a flick of the wrist and the pan can be easier and more efficient once you get the hang of it, especially with a well-greased pan.
Nutrition
Serving: 1 crepe, Calories: 52kcal, Carbohydrates: 6g, Protein: 2g, Fat: 2g, Saturated Fat: 1g, Polyunsaturated Fat: 0.2g, Monounsaturated Fat: 1g, Trans Fat: 0.1g, Cholesterol: 38mg, Sodium: 73mg, Potassium: 39mg, Fiber: 0.2g, Sugar: 1g, Vitamin A: 95IU, Vitamin C: 0.03mg, Calcium: 23mg, Iron: 0.4mg
Nutrition information is automatically calculated and should only be used as an approximation.
Additional Info
Like this recipe? Leave a comment below and share your thoughts!