
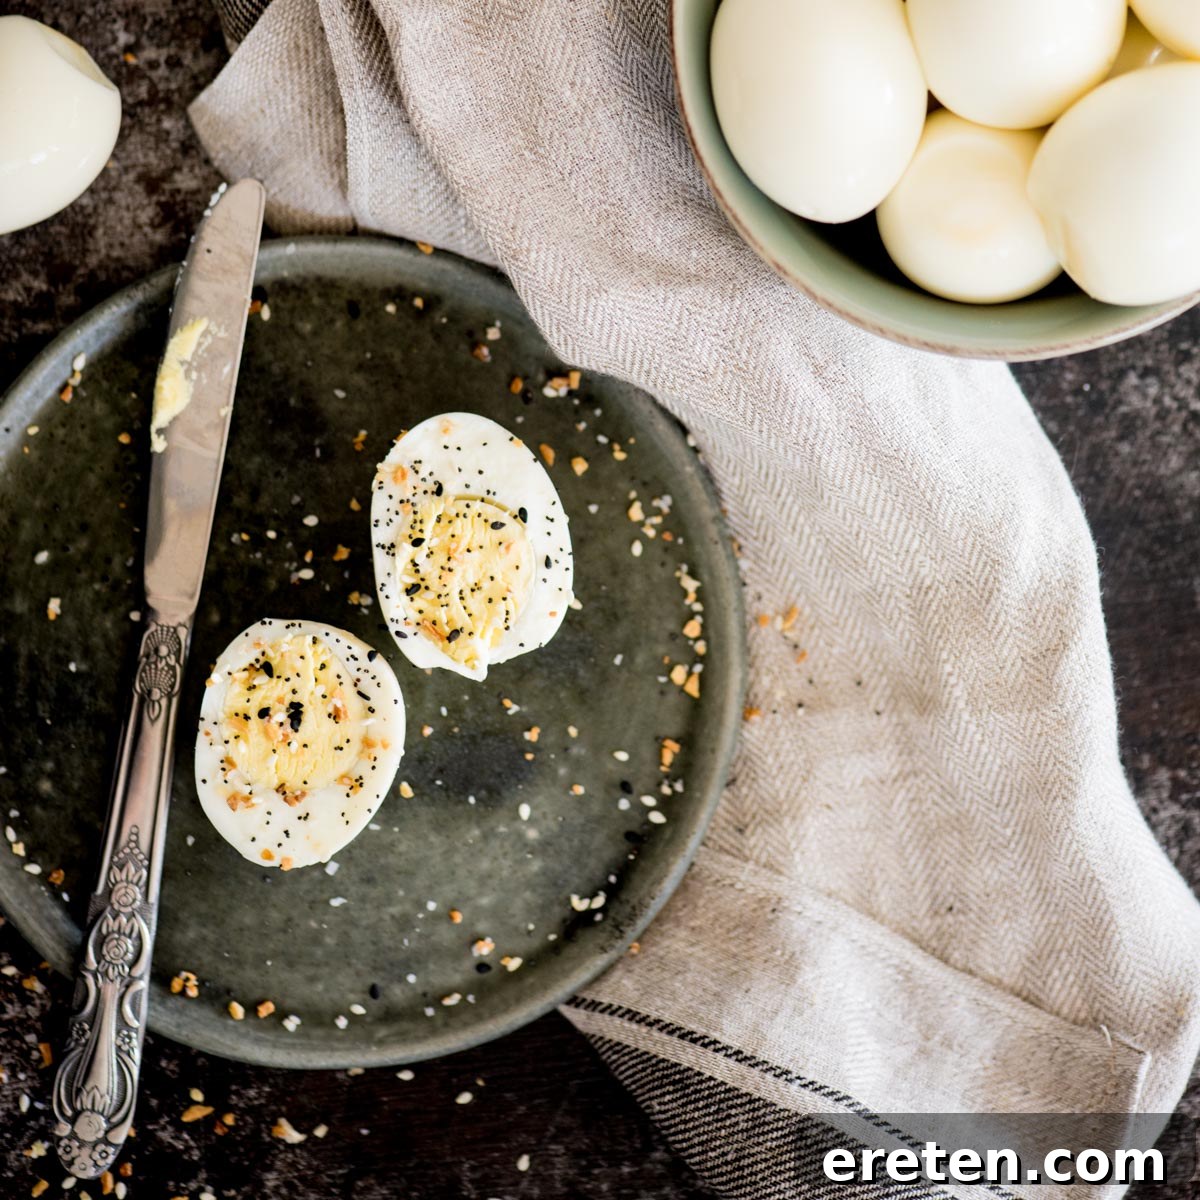
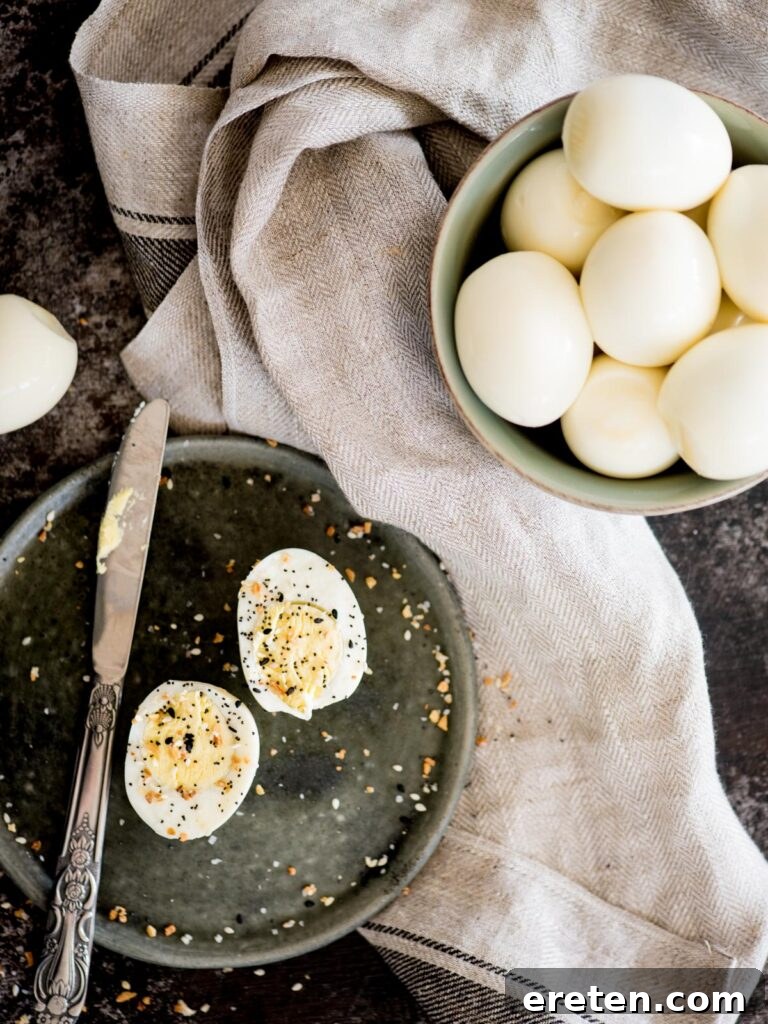
Effortless Perfection: The Ultimate Guide to Instant Pot Hard-Boiled Eggs
Forget the frustration of peeling stubbornly sticky shells or enduring unevenly cooked yolks. The Instant Pot has revolutionized the way we prepare hard-boiled eggs, transforming a once tedious task into a consistently perfect and effortlessly simple process. Whether you’re preparing for a holiday feast like Easter, stocking up for weekly meal prep, or simply craving a healthy, protein-rich snack, this fail-proof method will deliver beautifully cooked, easy-to-peel hard-boiled eggs every single time. Say goodbye to green rings around your yolks and hello to culinary convenience with your pressure cooker.
Traditionally, hard-boiling eggs on the stovetop often involved a delicate dance of timing, temperature, and luck. The results could be inconsistent: some eggs would be undercooked, others overcooked with that tell-tale greenish-gray ring around the yolk, and nearly all presented a challenge when it came to peeling. This often led to wasted egg whites stubbornly clinging to the shell, leaving you with less-than-perfect eggs for your culinary creations.
The Instant Pot, however, offers a superior solution. By leveraging precise pressure and steam, it creates an optimal cooking environment that ensures even cooking throughout the egg. The rapid pressure release, followed by an immediate ice bath, causes a thermal shock that makes the egg white contract, separating it cleanly from the shell. This isn’t just a convenient cooking method; it’s a consistent one, ensuring you get perfect results whether you’re cooking a single egg or a full dozen, making it an indispensable tool for anyone who loves hard-boiled eggs.
Why the Instant Pot is a Game-Changer for Hard-Boiled Eggs
Many home cooks dread making hard-boiled eggs due to the common problems associated with traditional stovetop methods. The Instant Pot effectively eliminates these issues, providing a method that is not only simpler but also yields consistently superior results. Here’s why it stands out:
- Perfectly Cooked Yolks: The controlled, high-pressure steaming environment ensures that eggs cook evenly from the outside in. This prevents the common problem of overcooked, chalky yolks or the unsightly green ring (ferrous sulfide) that forms when sulfur in the egg white reacts with iron in the yolk due to excessive heat. With the Instant Pot, you achieve vibrant, golden yolks every time.
- Effortless Peeling: This is arguably the biggest benefit for most people. The combination of steaming under pressure and the immediate ice bath creates a thermal shock that causes the egg white to pull away from the shell membrane. This dramatically reduces the effort required to peel the eggs, often resulting in shells that practically slide off, even with very fresh eggs that are notoriously difficult to peel using conventional methods.
- Hands-Off Cooking: Once you set your Instant Pot, you’re free to walk away and attend to other tasks. There’s no need to constantly monitor a boiling pot or adjust heat. The Instant Pot handles the cooking cycle autonomously, beeping when it’s done, which saves you time and mental energy.
- Consistent Results, Every Time: Whether you’re making 1 egg or 18, the cooking time and method remain the same, leading to predictable and perfect results batch after batch. This consistency is invaluable for meal prep or large gatherings.
- Energy Efficiency: While stovetop boiling heats a large pot of water, the Instant Pot uses a minimal amount of water, quickly bringing it to pressure and cooking efficiently, potentially saving energy compared to prolonged boiling on a stovetop.
Essential Ingredients for Instant Pot Hard-Boiled Eggs
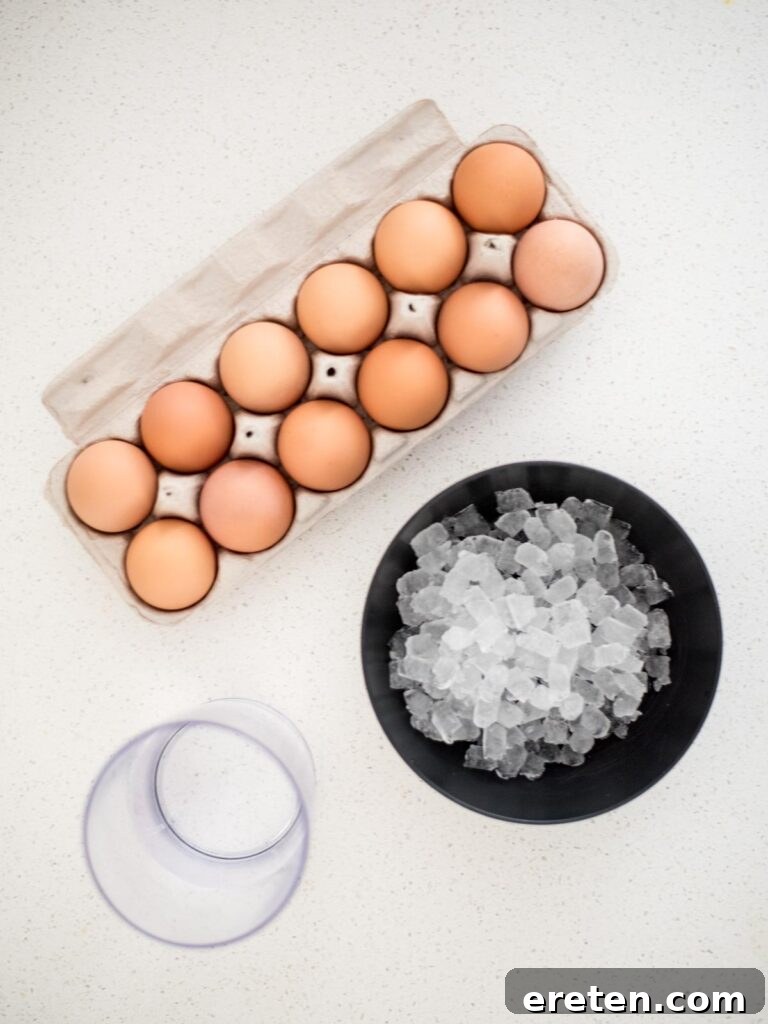
One of the most appealing aspects of this method is its incredible simplicity. You truly only need two core ingredients, but selecting them wisely can enhance your experience and the final outcome.
- Water: You’ll need just enough water to create the necessary steam for the pressure cooking process. Typically, 1 cup of cold water is sufficient for most Instant Pot models, regardless of the quantity of eggs you’re cooking. Tap water is perfectly fine for this recipe; there’s no need for distilled or filtered water unless that’s your preference.
- Eggs: The star of the show! You can use any type or size of chicken eggs you prefer – large, extra-large, or even medium. The Instant Pot method is so effective that it works beautifully with eggs of varying freshness, even those straight from the farm, which are usually the hardest to peel using traditional boiling methods. Using fresh eggs is no longer a barrier to easy peeling with your pressure cooker.
That’s it! No vinegar, baking soda, or other additives are required to achieve perfectly peelable eggs.
Step-by-Step: How to Make Hard-Boiled Eggs in the Instant Pot
Let’s dive into the incredibly straightforward steps to achieve perfectly cooked hard-boiled eggs using your Instant Pot. You’ll be amazed at how quickly and easily this process becomes a staple in your kitchen.
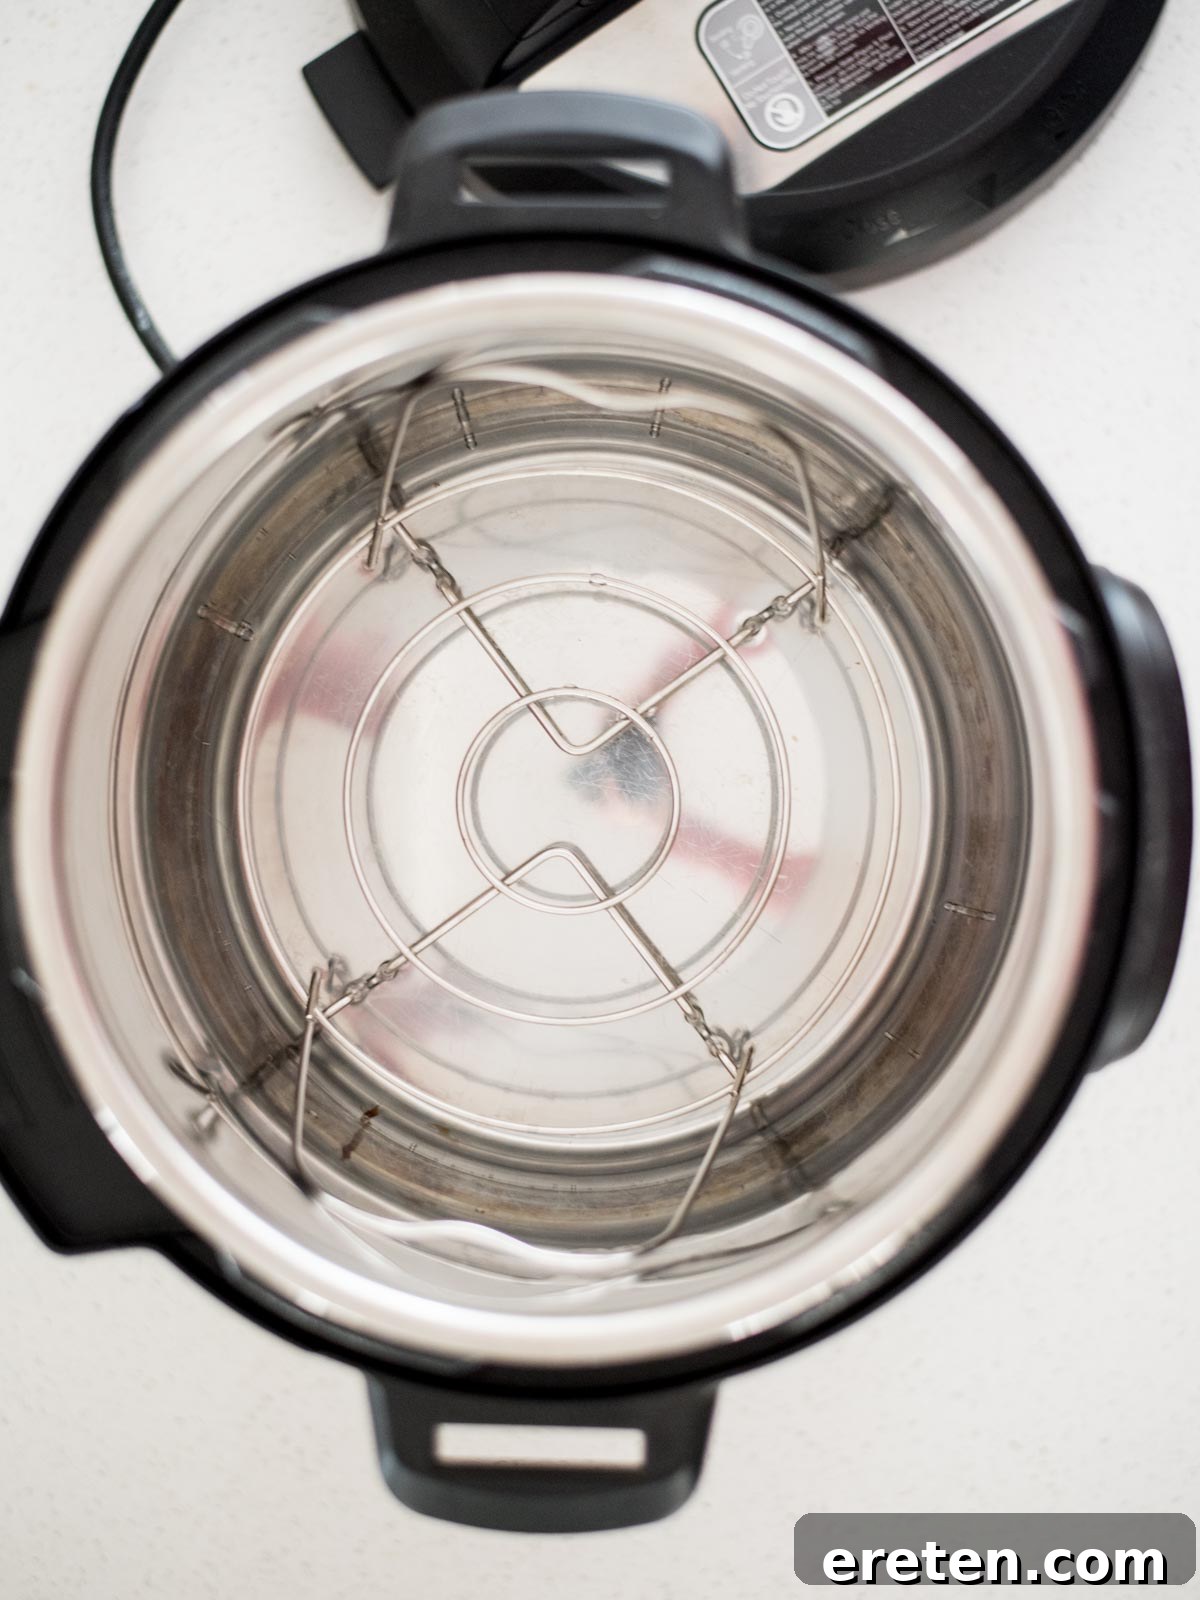
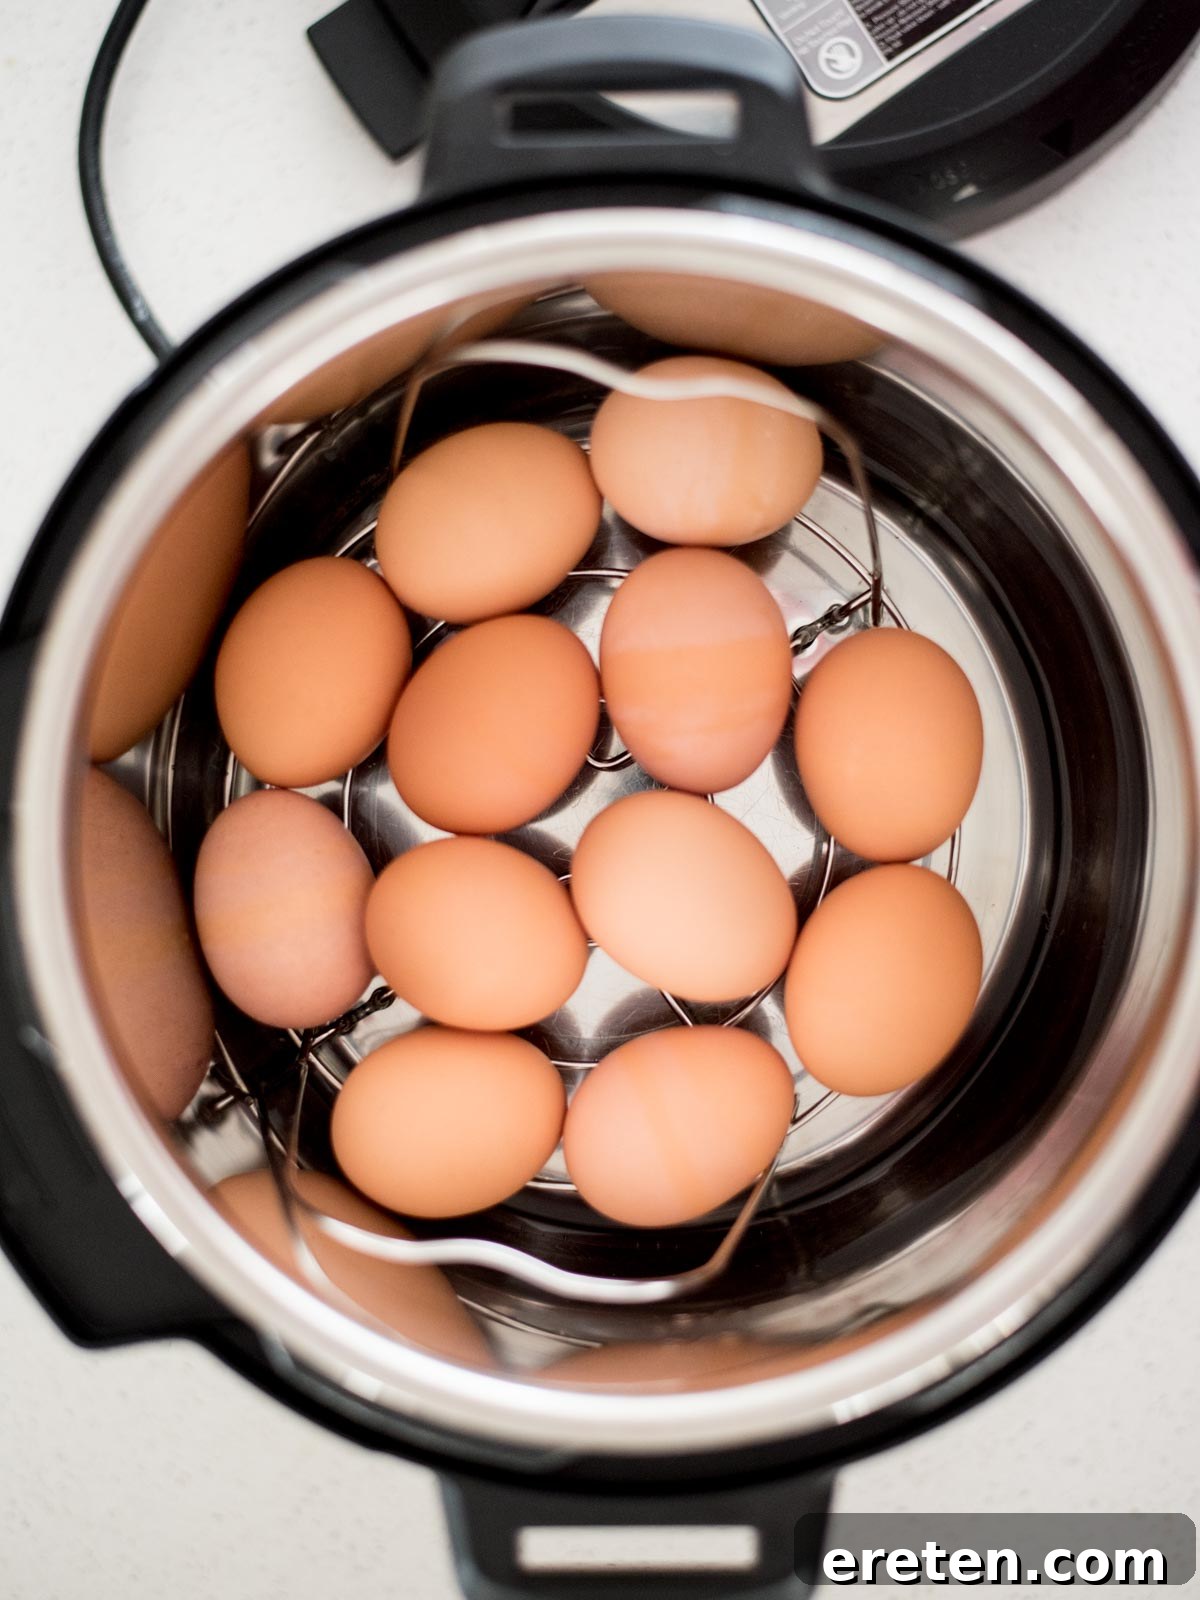
- Prepare Your Instant Pot: Begin by placing the metal trivet (the steam rack that typically comes with your Instant Pot) into the bottom of the inner pot. This crucial accessory elevates the eggs above the water, allowing them to steam under pressure rather than boil directly in water. This steaming action is key to their even cooking and superior texture.
- Add Water: Pour 1 cup of cold water into the bottom of the Instant Pot. This precise amount of water will quickly turn to steam once the pot comes to pressure, creating the ideal, consistent environment for cooking your eggs. The water should be enough to generate steam but not so much that it touches the eggs.
- Arrange the Eggs: Carefully place your desired number of eggs on top of the trivet. You can cook anywhere from one egg to a full pot, stacking them gently if necessary. The beauty of the Instant Pot method is that the cooking time remains consistent whether you’re making a small batch or a large one. The only important rule is to ensure that no eggs are directly touching the water at the bottom of the pot. Arrange them in a single layer if possible, or stack them loosely to allow steam to circulate evenly.
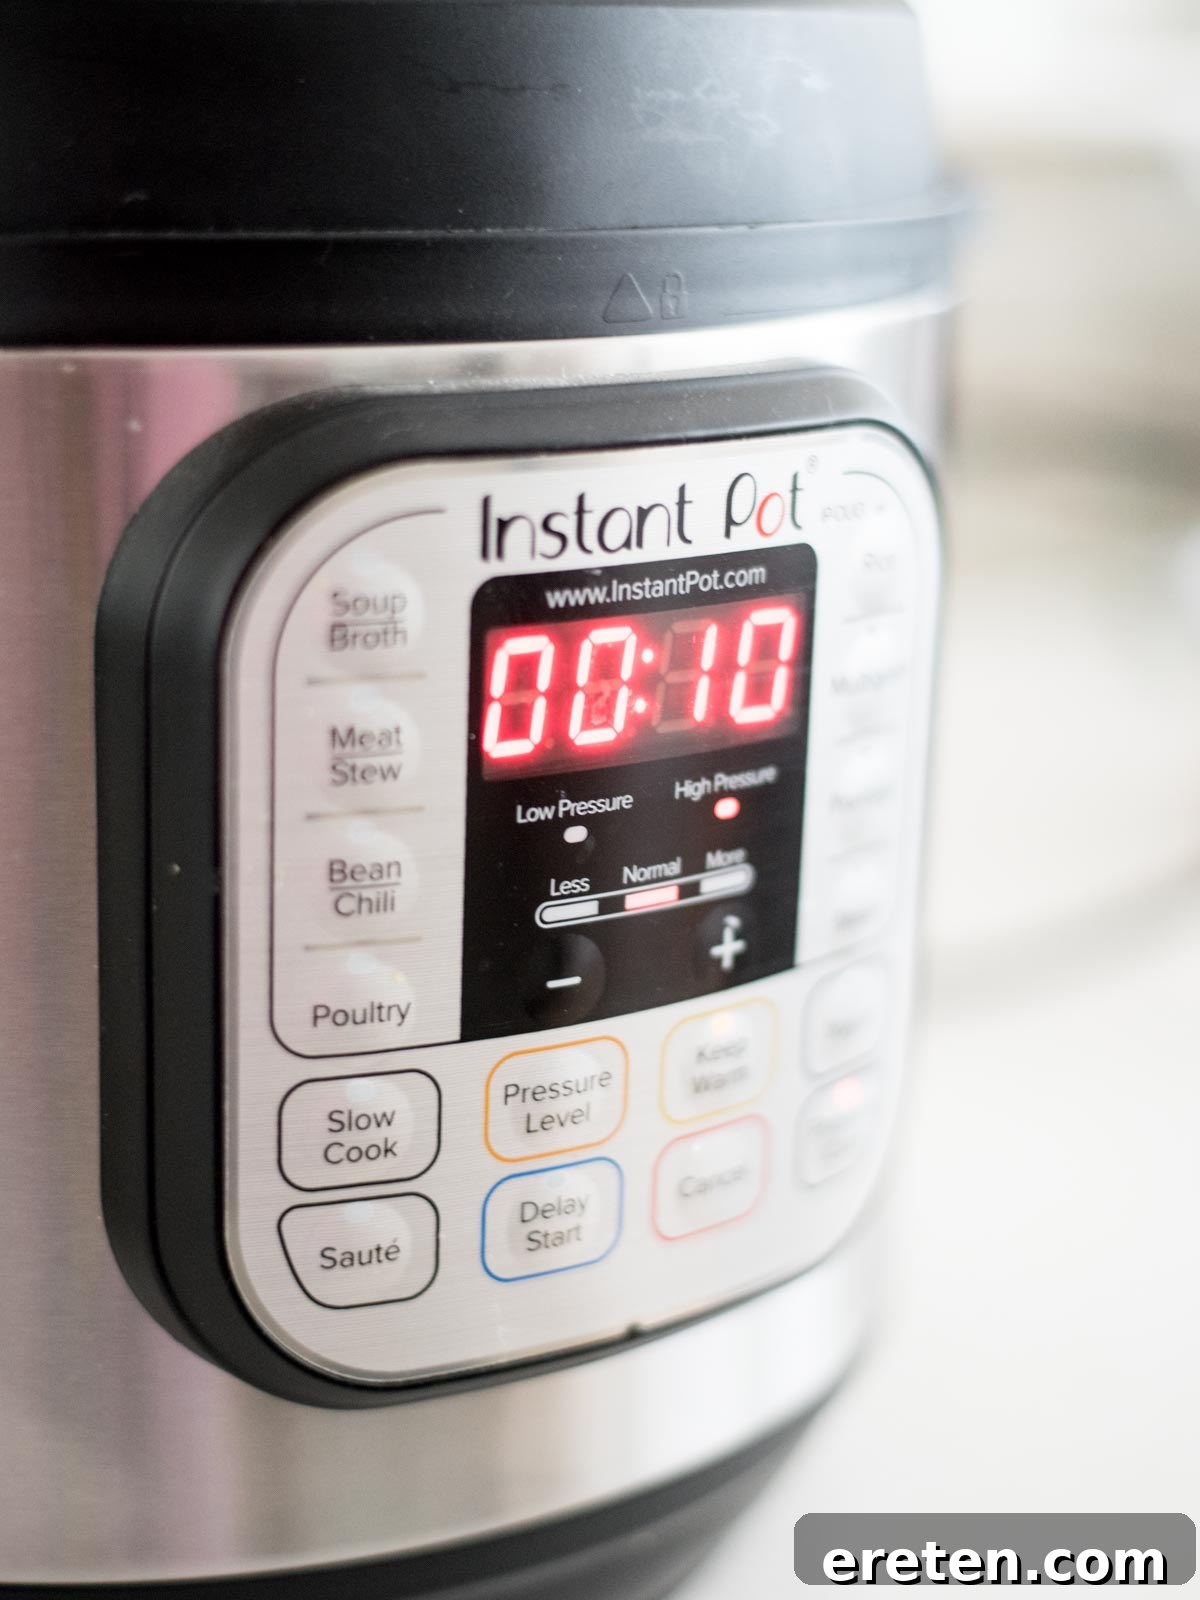
- Seal and Set: Secure the lid onto your Instant Pot, twisting it into place until it locks. Make sure the steam release valve on the lid is set to the “Sealing” position. This is vital for the pot to build and maintain pressure. Select the “Manual” or “Pressure Cook” button (the name may vary slightly depending on your Instant Pot model) and set the cooking time to 10 minutes on High Pressure.
- Pressure Cook and Quick Release: Once you’ve set the time, the Instant Pot will take a few minutes to come to pressure. After it reaches pressure, the timer will begin counting down. Once the cooking cycle is complete and the timer beeps, it’s crucial to perform a “Quick Release” to prevent overcooking. Carefully switch the steam release valve from “Sealing” to “Venting.” Be extremely cautious as a vigorous stream of hot steam will rapidly escape. Once all the steam has been released and the float valve (the small metal pin next to the steam release) drops, it’s safe to twist and open the lid.
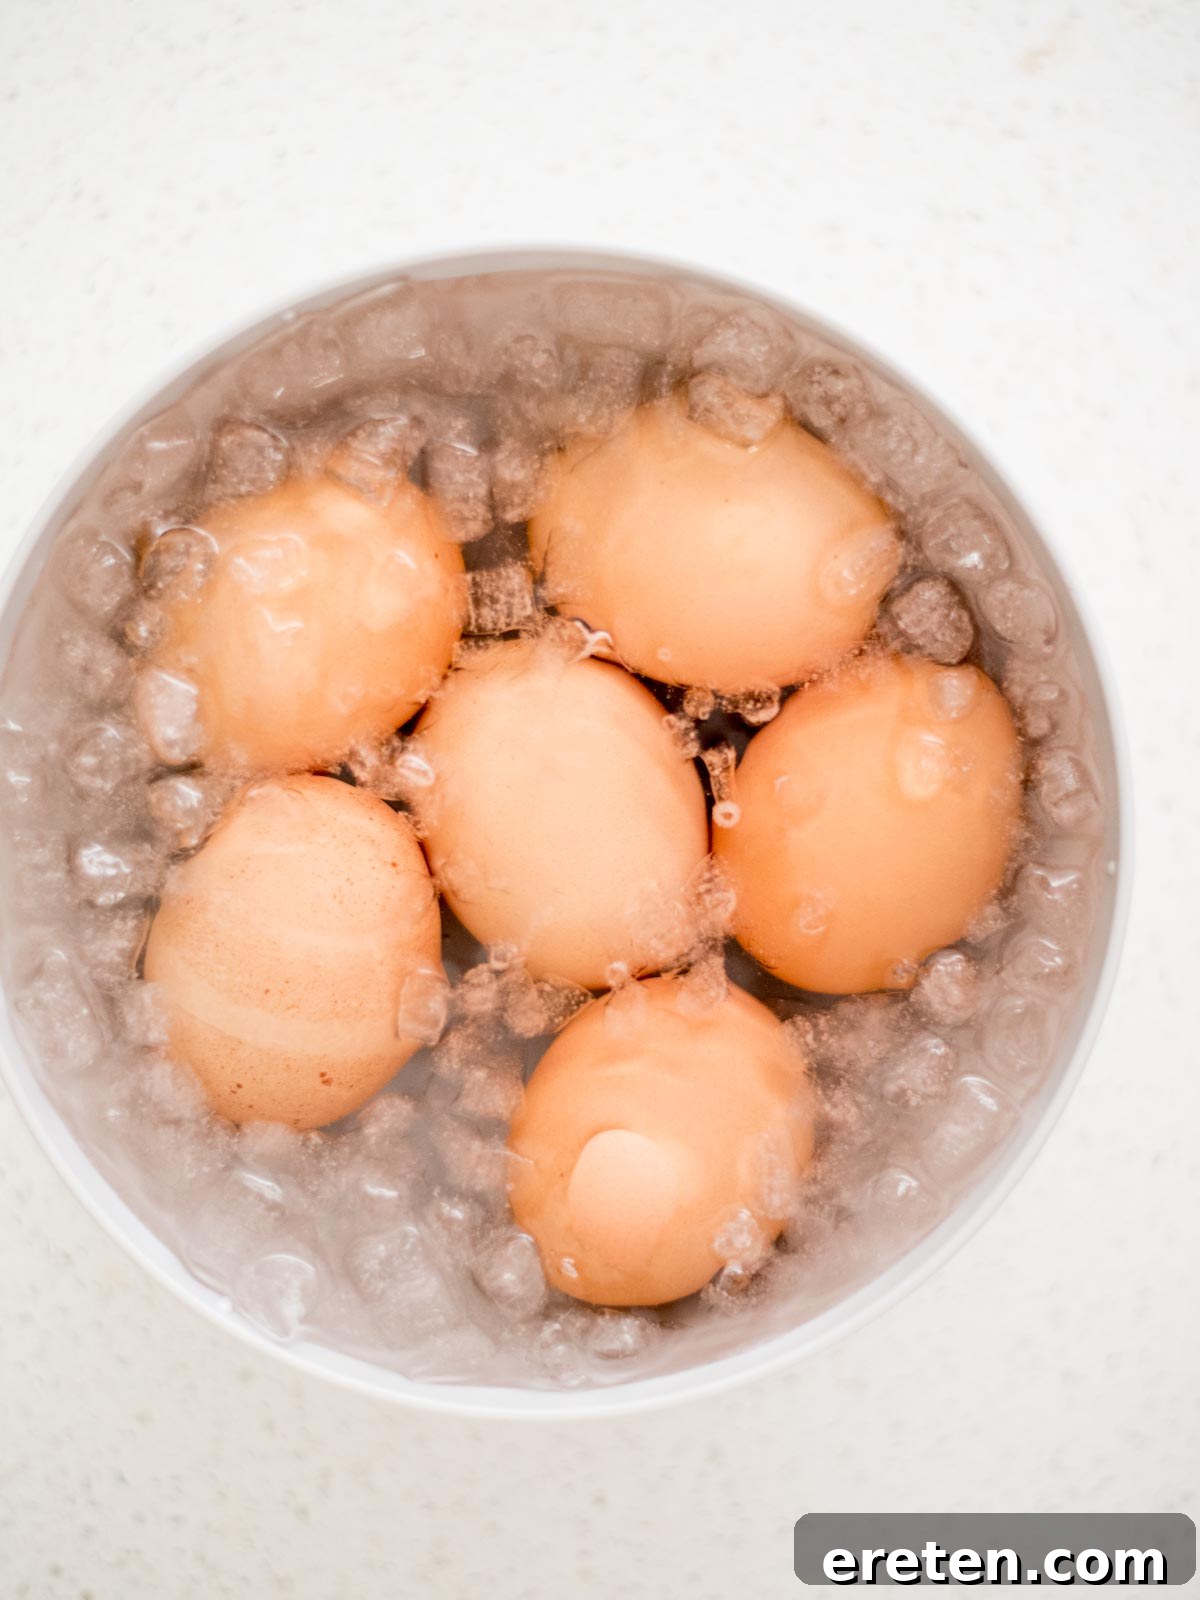
- Immediate Ice Bath: While the Instant Pot is cooking or releasing steam, prepare a large bowl filled with plenty of ice and cold water. This ice bath is a critical step for achieving easy-to-peel eggs and preventing the gray-green ring. Immediately transfer the cooked eggs from the Instant Pot into the ice bath using a pair of tongs to avoid burns. Let them cool in the ice bath for at least 5 minutes, or until they are completely cool to the touch. This abrupt temperature change halts the cooking process, prevents any further cooking, and helps the egg whites contract away from the shell.
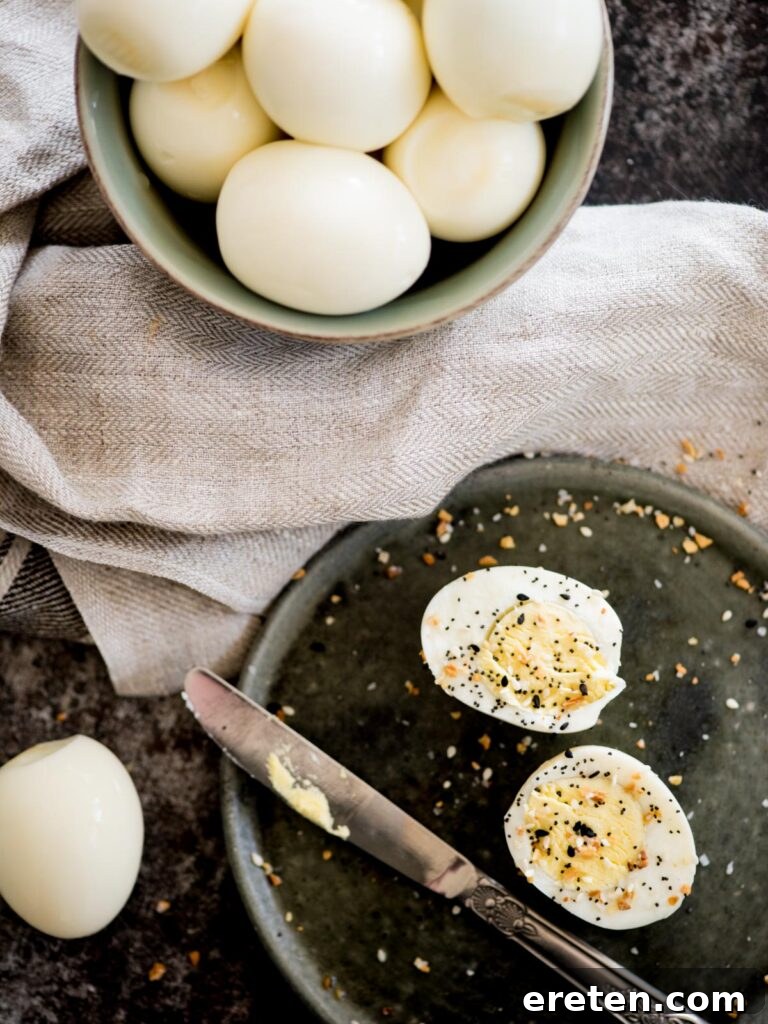
- Peel and Enjoy: Once chilled, gently tap the eggs on a hard surface to create small cracks all around the shell. Many find that starting the peel from the wider end of the egg, where a small air pocket often resides, yields the easiest results. The shells should practically slide off, leaving you with smooth, perfectly cooked eggs. You can peel them under cool running water to help rinse away small shell fragments. Enjoy your delicious, perfectly hard-boiled eggs immediately, or store them for later use!
Expert Tips for Instant Pot Hard-Boiled Eggs
Achieving consistently perfect hard-boiled eggs in your Instant Pot is incredibly straightforward, but a few additional tips can elevate your results even further, ensuring success every single time.
- Quantity Does Not Affect Cook Time: One of the most remarkable advantages of pressure cooking eggs is that the cook time remains constant whether you’re cooking one egg or a full batch. The steam evenly cooks all eggs regardless of quantity, as long as they are elevated on the trivet and not directly submerged in water. This makes the Instant Pot ideal for both small, quick snacks and large-scale egg preparation for meal prep or gatherings.
- Timing for Perfect Doneness: While 10 minutes on high pressure yields perfectly firm hard-boiled eggs, you can adjust the cooking time to achieve different levels of doneness for your yolks.
- Soft-Boiled Eggs (Jammy Yolks): For yolks that are still runny and jammy with tender whites, try 4-5 minutes on High Pressure.
- Medium-Boiled Eggs (Creamy Yolks): For yolks that are set but still creamy in the center, aim for 6-7 minutes on High Pressure.
- Firm Hard-Boiled Eggs (Fully Set Yolks): For completely set, firm yolks without any green discoloration, 9-10 minutes on High Pressure is ideal.
Always follow any of these timings with an immediate Quick Release and an ice bath.
- The Critical Ice Bath: This step cannot be overstated. The rapid cooling created by transferring the hot eggs directly into an ice bath serves multiple crucial purposes. Firstly, it immediately halts the cooking process, preventing any residual heat from overcooking the eggs and leading to that undesirable green ring around the yolk. Secondly, this sudden thermal shock causes the egg white to contract rapidly, pulling it cleanly away from the inner membrane of the shell, which is the secret to incredibly easy peeling. Do not skip this step!
- Mastering the Peel: Even with the Instant Pot’s magic, a good peeling technique helps ensure smooth results. Gently tap the egg all over a hard surface to create many small cracks. Then, start peeling from the wider end, where the air pocket usually resides. Peeling under a gentle stream of cold water can also help wash away small shell fragments and lubricate the process, leading to a perfectly smooth, unmarred egg. Peel them as soon as they’re cool enough to handle from the ice bath; waiting too long can sometimes make them slightly harder to peel.
- Optimal Storage Guidelines: Proper storage ensures your hard-boiled eggs remain fresh and delicious for days. Unpeeled hard-boiled eggs can be stored in their shells in the refrigerator for up to 7 days. Once peeled, they should be stored in an airtight container, preferably covered with a damp paper towel to prevent them from drying out, and consumed within 5 days. They make a fantastic, protein-packed grab-and-go snack!
- Versatile Culinary Uses: Perfectly hard-boiled eggs open up a world of culinary possibilities. Beyond enjoying them simply with a sprinkle of salt and pepper, they can be transformed into a variety of delicious dishes:
- Classic Deviled Eggs, a timeless appetizer for any gathering.
- Creamy Egg Salad, perfect for sandwiches, wraps, or as a dip.
- Added to vibrant green salads for an extra boost of protein and texture.
- As a key component in a traditional Niçoise salad.
- Sliced and served on trendy avocado toast for a nutritious breakfast.
- A healthy, portable snack any time of day, perhaps with a dash of everything bagel seasoning.
Perfect Instant Pot Hard Boiled Eggs Recipe
Discover the easiest and most reliable way to make perfectly cooked, easy-to-peel hard-boiled eggs in your Instant Pot. Say goodbye to green yolks and stubborn shells!
Prep Time: 1 minute |
Cook Time: 10 minutes |
Total Time: 11 minutes
Ingredients
- 1 cup Water
- Eggs (any desired number that fits on your trivet)
Instructions
- Place the metal trivet (the rack that came with your Instant Pot) into the bottom of the inner pot.
- Pour 1 cup of cold water into the bottom of the Instant Pot.
- Carefully place your eggs on the trivet. You can use as many eggs as will fit on the trivet, stacking them gently if needed, ensuring no eggs are touching the water at the bottom.
- Secure the lid onto the Instant Pot and turn the steam release valve to the “Sealing” position.
- Select “Manual” or “Pressure Cook” and set the cooking time to 10 minutes on High Pressure.
- Once the Instant Pot finishes cooking and the timer goes off, carefully perform a Quick Release by turning the steam release valve to “Venting.”
- While the pressure is releasing, prepare a large bowl with ice and cold water for an immediate ice bath.
- Once all pressure has fully released and the float valve drops, open the lid. Immediately transfer the cooked eggs using tongs into the prepared ice bath. Let them cool for at least 5 minutes.
- Gently crack and peel your eggs. Many find that starting the peel from the wider end of the egg yields the easiest results. Enjoy your perfectly hard-boiled eggs!
Notes
The cooking time remains consistent regardless of the number of eggs used. The crucial factor is to ensure the eggs are elevated on the trivet and not directly touching the water at the bottom of the pot.
For softer-boiled eggs (jammy yolks), try 4-5 minutes on High Pressure. For medium-boiled eggs (creamy yolks), aim for 6-7 minutes. Always follow with a Quick Release and immediate ice bath.
Course
Breakfast, Snack, Appetizer, Side Dish