
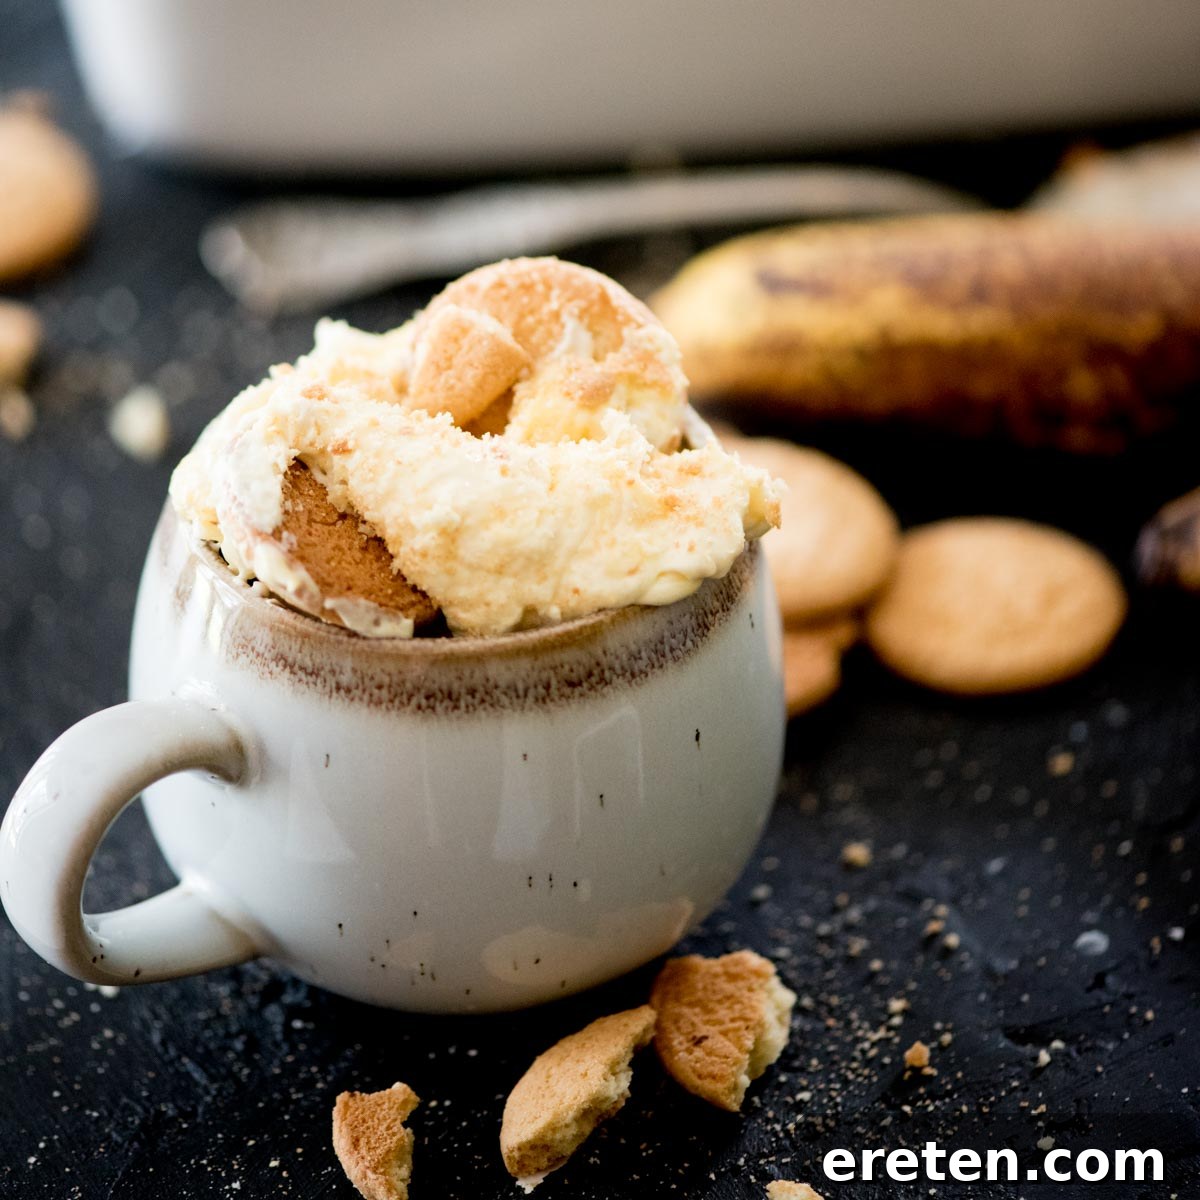
If you’re searching for the ultimate banana pudding experience, your quest ends here! This isn’t just another dessert; it’s a culinary journey into the heart of Southern comfort, elevated to perfection. This exceptional banana pudding recipe offers everything you adore about the classic Southern treat and so much more. It’s an irresistibly rich, lusciously creamy delight, generously packed with tender vanilla wafers and sweet, ripe bananas. What sets this recipe apart is its ingenious blend of effortless preparation with a few special touches, resulting in a silkier, more decadent texture that’s sophisticated enough for any celebration yet simple enough for an everyday indulgence. Prepare to amaze your family and friends with a dessert that will undoubtedly become their most requested favorite.
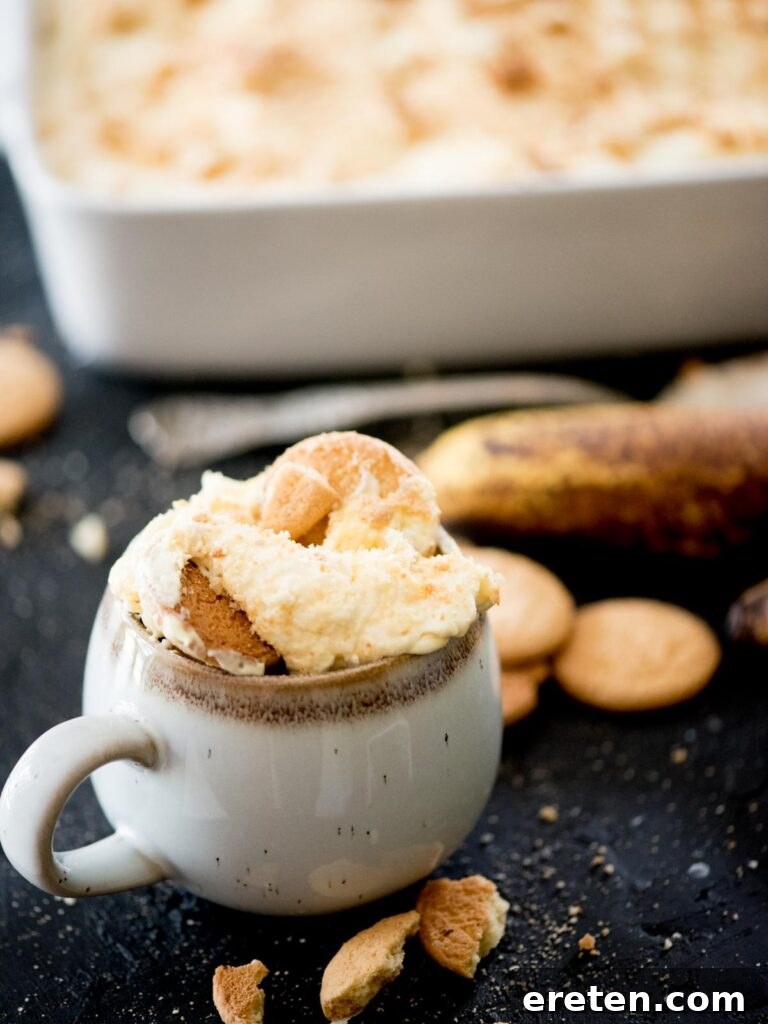
The Secret to the Best Banana Pudding: Cream Cheese
Banana pudding is more than just a dessert in the South; it’s a staple, a warm embrace, and an instant feeling of home. Over the years, I’ve experimented with countless variations, from old family recipes to modern twists. But among them all, one version reigns supreme: this delightful recipe featuring a creamy, tangy secret ingredient – cream cheese. It’s hands down not only my personal favorite but also the unanimous choice of everyone I share it with. The cream cheese adds an unparalleled richness and a subtle tang that perfectly balances the sweetness, resulting in a banana pudding that is extra creamy, perfectly sweet, and consistently a show-stopping crowd-pleaser.
Adding cream cheese is my not-so-secret weapon that transforms a beloved classic into something truly extraordinary without adding any complexity to the preparation. It lends a luxurious depth and a beautifully smooth texture that traditional recipes often lack. Whether you’re preparing a cozy dessert for your own family’s enjoyment or bringing a decadent dish to a potluck or gathering with friends, trust me when I say this cream cheese banana pudding will be the one they crave and request again and again. It truly elevates the entire experience, making every spoonful a memorable delight.
Essential Ingredients for Creamy Banana Pudding
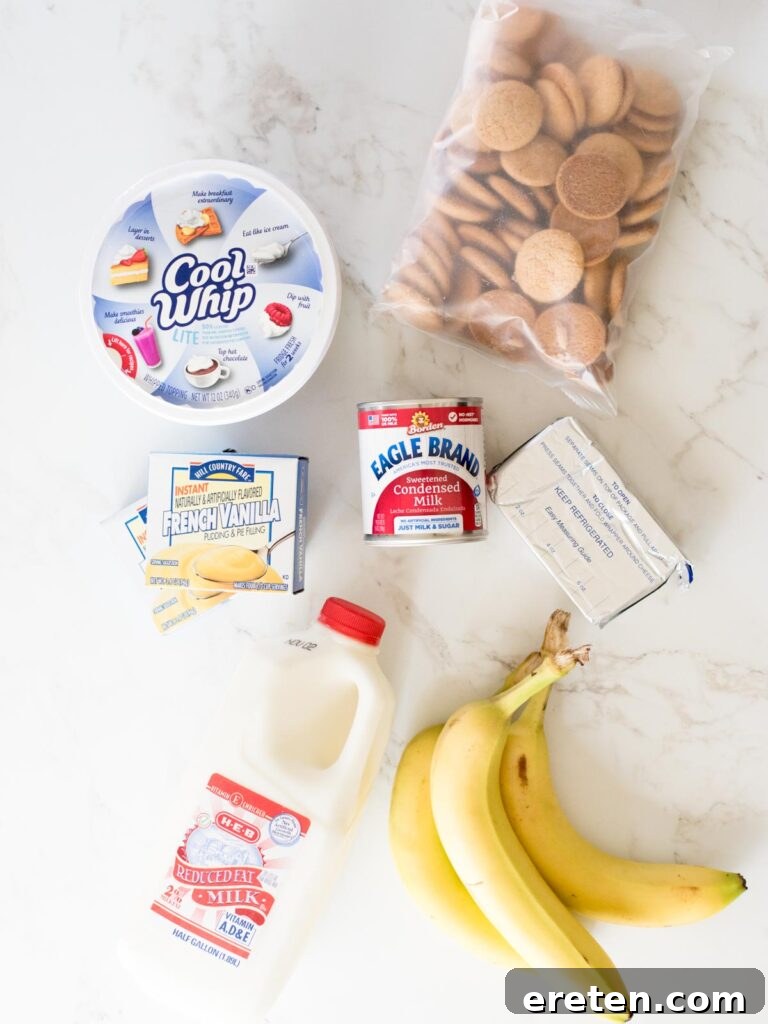
Crafting the perfect banana pudding begins with selecting the right ingredients. Each component plays a vital role in achieving that rich, creamy, and utterly irresistible texture and flavor. Here’s a detailed look at what you’ll need to create this Southern masterpiece:
- Milk: The foundation of our pudding. Full-fat milk is recommended for the richest and creamiest texture, though 2% milk can also work. Avoid skim milk or non-dairy alternatives if you want the classic, thick consistency.
- Instant Pudding Mix: For convenience and consistent results, instant vanilla or French vanilla pudding mix is key. Choose a high-quality brand for the best flavor.
- Cream Cheese: The star secret ingredient! Use full-fat cream cheese, softened to room temperature, to ensure it blends smoothly into the mixture, creating that signature silky texture and delicate tang.
- Sweetened Condensed Milk: This provides an incredible depth of sweetness and contributes significantly to the pudding’s luscious, dense consistency. Do not confuse it with evaporated milk; they are not interchangeable in this recipe.
- Cool Whip (or Fresh Whipped Cream): A light, airy topping that perfectly complements the rich pudding. Cool Whip offers convenience and stability, but homemade whipped cream can be used for an even fresher taste.
- Vanilla Wafers: The traditional choice for banana pudding. These crispy cookies soften beautifully as they absorb the pudding, creating a delightful cake-like layer.
- Bananas: The star fruit! Choose firm, ripe bananas – not overly green, but also not too brown or mushy, as overripe bananas can release too much liquid and cause the pudding to become watery.
Choosing the Perfect Cookies for Your Banana Pudding
While the classic vanilla wafer holds a special place in the hearts of banana pudding aficionados, don’t be afraid to get creative! Swapping out the traditional cookies can add an exciting new dimension to this beloved dessert, allowing you to personalize it to your taste. Here are a few fantastic options to consider, each offering a unique twist on the classic:
- Vanilla Wafers (Nilla Wafers): These are the iconic and authentic choice, and precisely what this recipe calls for. Their delicate vanilla flavor and crisp texture are perfectly designed to soften beautifully when layered with the pudding, absorbing the creamy goodness to create that quintessential melt-in-your-mouth experience everyone knows and loves. They evoke a nostalgic charm that’s hard to beat.
- Shortbread Cookies: For a richer, more buttery base, shortbread cookies are an excellent alternative. Their slightly crumbly texture and luxurious buttery flavor add a sophisticated touch, upgrading your pudding. Keep in mind they won’t soften quite as much as vanilla wafers, offering a delightful textural contrast.
- Chessmen Cookies: These elegantly shaped, buttery cookies are known for holding their structure wonderfully, even after chilling in the pudding. They not only contribute a delicious rich flavor but also lend a more decorative and refined appearance to your banana pudding, making it ideal for special occasions.
- Golden Oreos: If you’re craving an extra layer of sweetness and a hint of something familiar, Golden Oreos are a fantastic choice. The creamy filling and vanilla cookie add both a delightful texture and an extra boost of vanilla flavor, creating a decadent and fun twist that younger guests especially adore.
- Graham Crackers: Though not strictly a cookie, graham crackers introduce a unique flavor profile that pairs surprisingly well with bananas. They offer a sweet, slightly honeyed taste complemented by a subtle cinnamon warmth. They soften to a pleasant, tender consistency and provide a wonderful depth of flavor.
Cool Whip or Fresh Whipped Cream: Which is Better for Banana Pudding?
This particular recipe calls for Cool Whip, primarily for its convenience and stable consistency, which holds up beautifully in the pudding. However, the choice between Cool Whip and freshly whipped cream ultimately comes down to personal preference and the desired outcome for your banana pudding.
- Cool Whip: This non-dairy whipped topping is incredibly convenient to use and provides a very stable structure, meaning your pudding will hold its shape well for longer, especially when making it ahead. It has a distinctly sweet flavor and a smooth, consistent texture that many people grew up with and associate with classic banana pudding.
- Fresh Whipped Cream: If you opt for fresh whipped cream, you’ll be rewarded with a lighter, more natural dairy flavor and a less artificial sweetness. You’ll need to sweeten it yourself (with powdered sugar and a touch of vanilla extract) and whip it to stiff peaks to ensure it holds its shape within the pudding. While it offers a more gourmet touch, it can sometimes be less stable than Cool Whip and may deflate slightly over time.
The difference lies mainly in taste and consistency. Cool Whip contributes to a denser, sweeter, and more enduring pudding, while fresh whipped cream offers a delicate, airy, and fresher dairy experience. Both are delicious in their own right, so feel free to choose the option that best suits your palate and schedule!
Crafting Your Cream Cheese Banana Pudding: Step-by-Step Guide
Creating this irresistible homemade banana pudding is surprisingly simple, making it accessible even for novice bakers. The detailed instructions and precise measurements are provided in the recipe card at the bottom of this page, but here’s a comprehensive overview to guide you through each step, ensuring a perfect, creamy result every time.
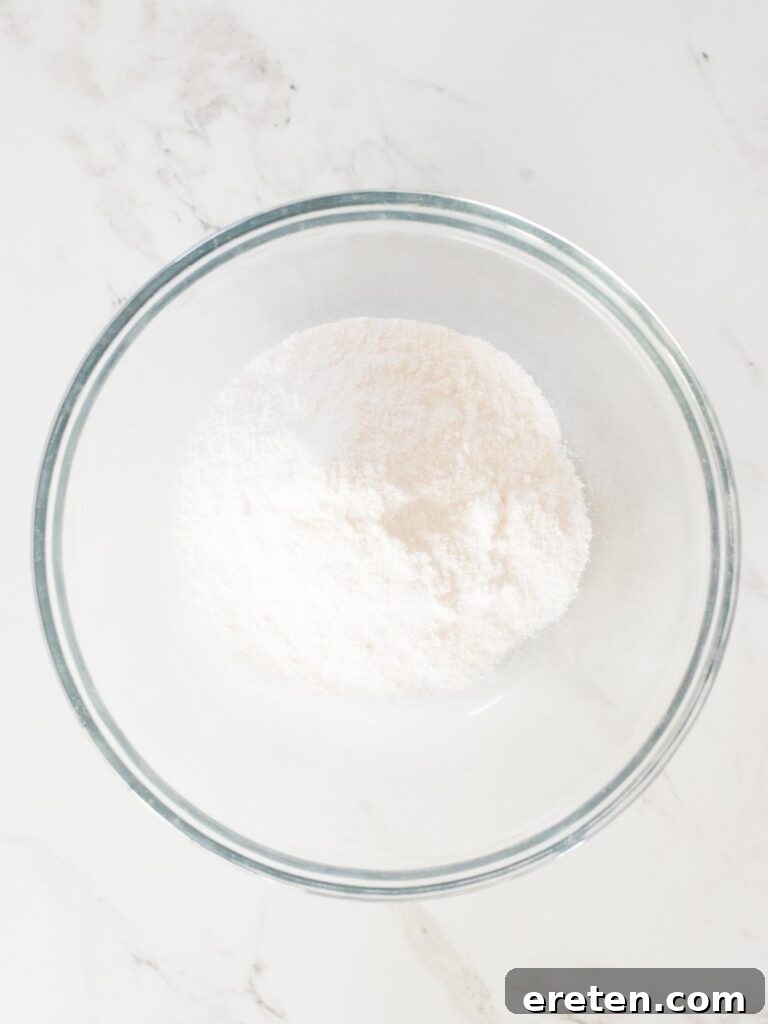
- Prepare the Instant Pudding: In a medium-sized mixing bowl, combine the instant pudding mix with the cold milk. Using a hand mixer on medium speed, beat the mixture for about 2 minutes, or until it just begins to thicken to a soft-set consistency. It doesn’t need to be completely firm at this stage, as it will thicken further. Set this mixture aside.
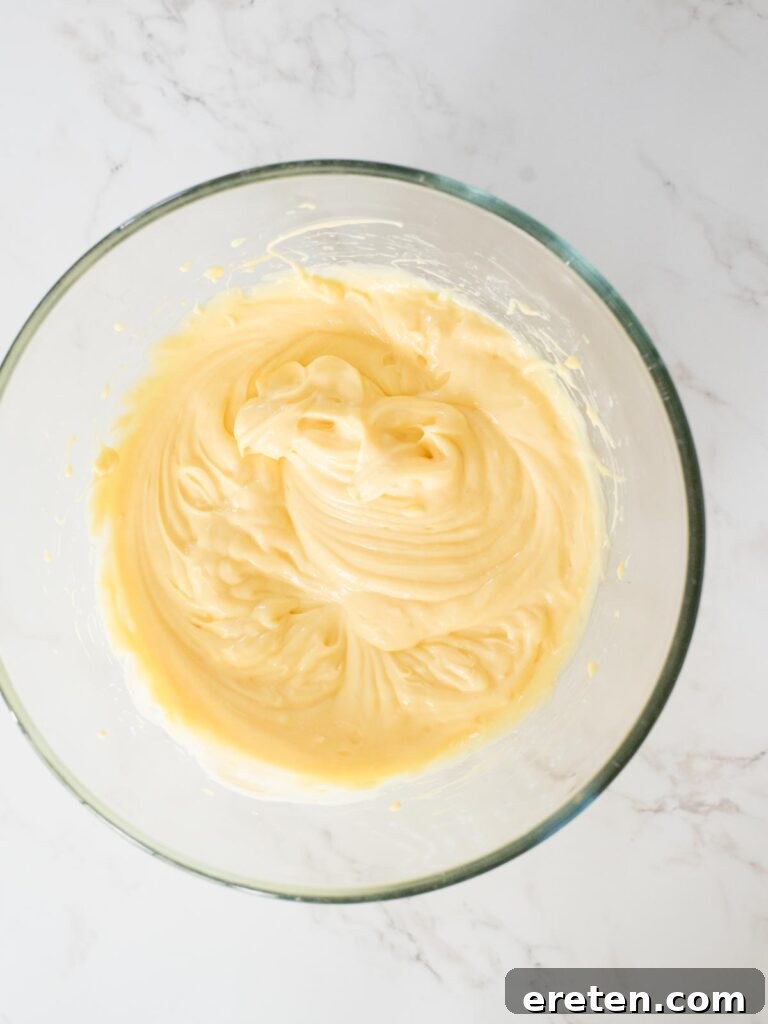
- Cream the Sweetened Condensed Milk and Cream Cheese: In a separate, larger mixing bowl, add the softened cream cheese and the sweetened condensed milk. Using the same hand mixer (no need to clean the beaters), beat these two ingredients together on medium speed until they are thoroughly combined, smooth, and lump-free. The mixture should be light and airy.
- Combine Pudding Mixtures: Gently add the prepared instant pudding mixture to the cream cheese and condensed milk mixture. Continue mixing with the hand mixer on low speed until all ingredients are completely incorporated, creating a unified, velvety smooth pudding base. Scrape down the sides of the bowl to ensure everything is well mixed.
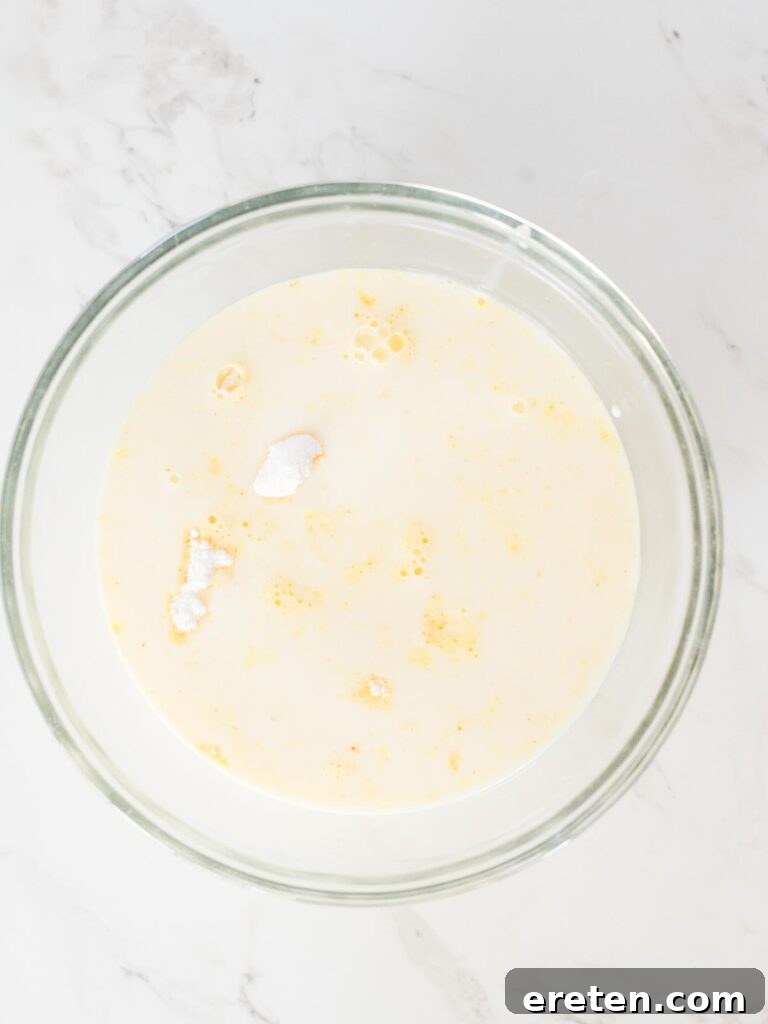
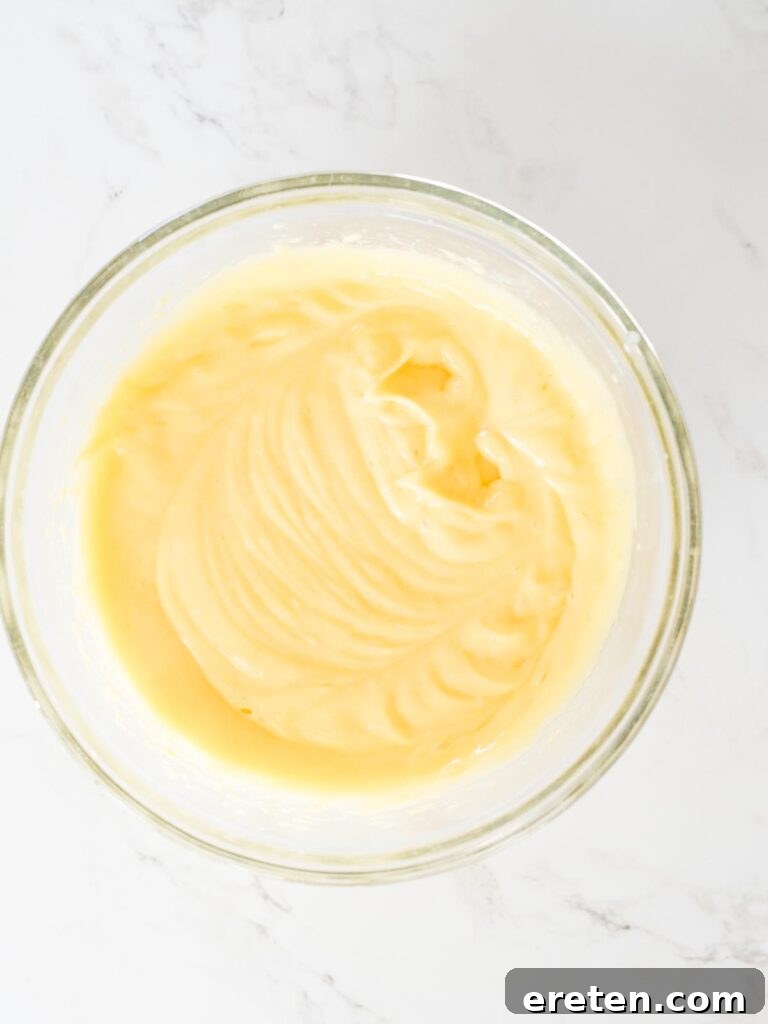
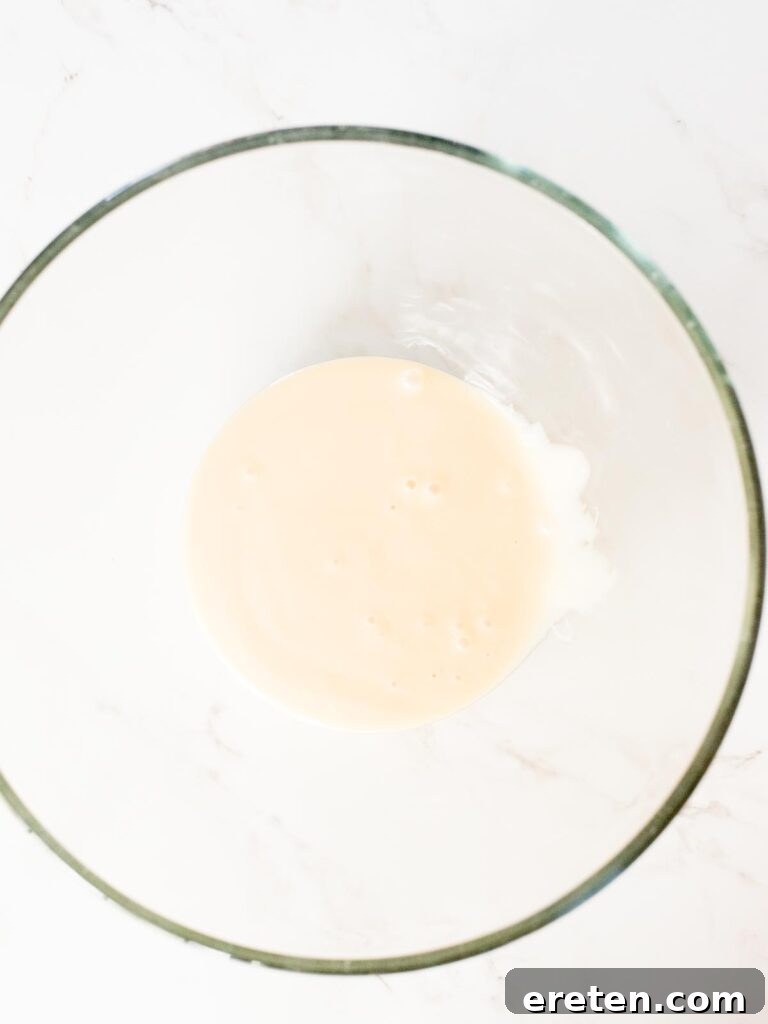
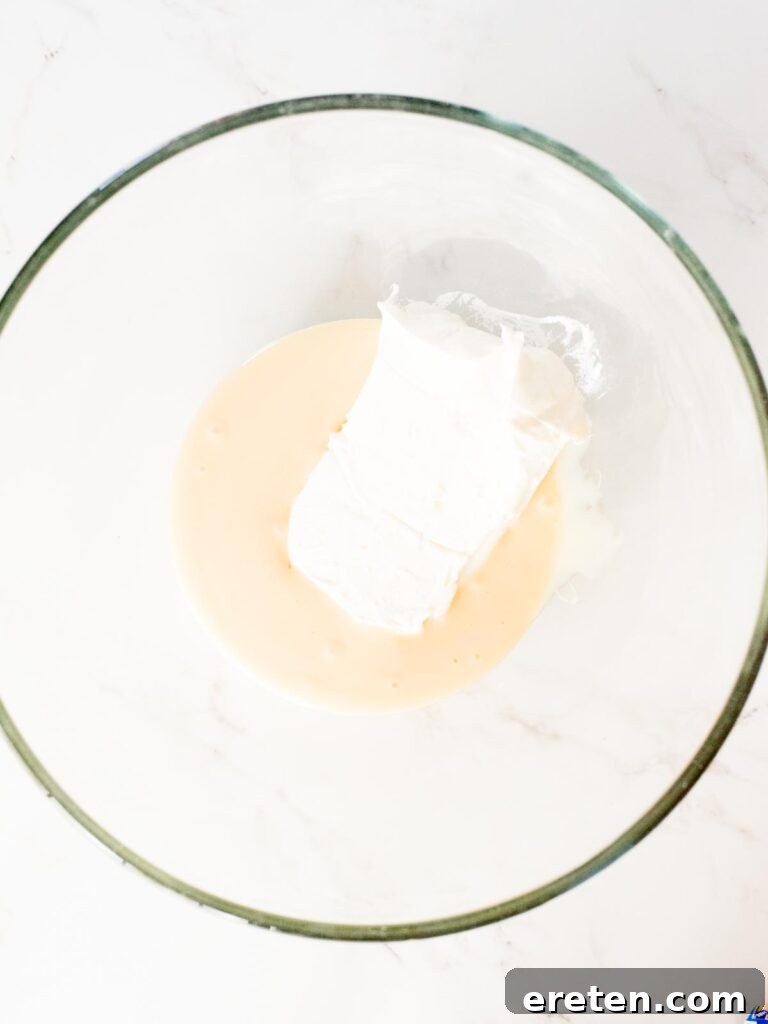
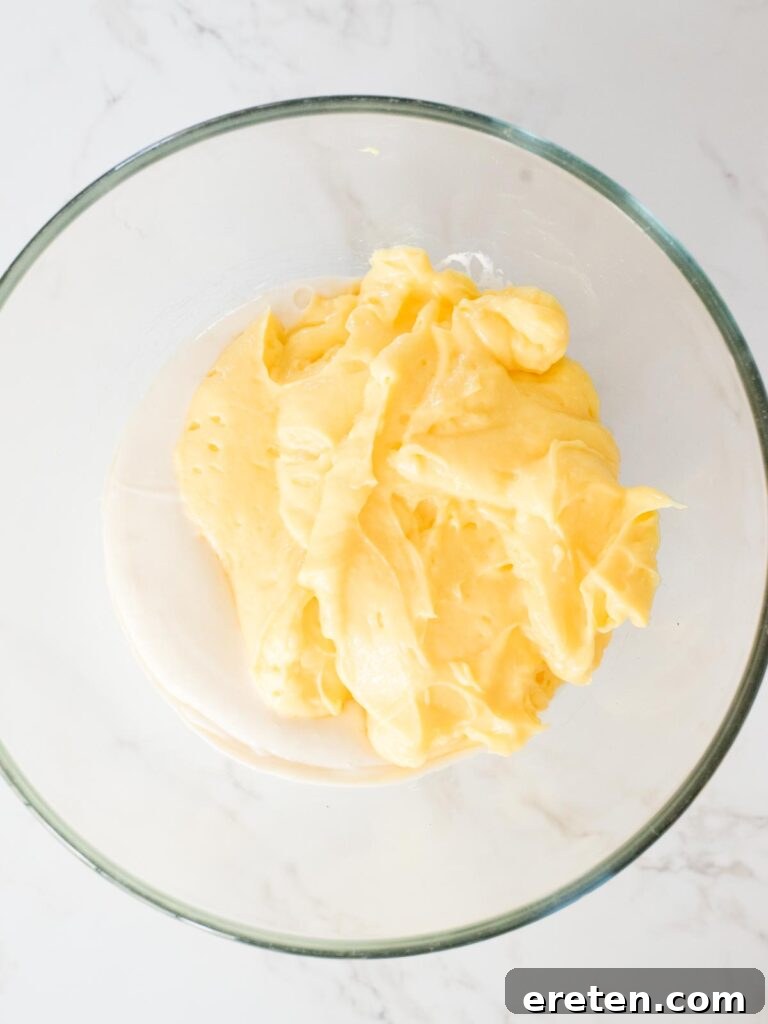
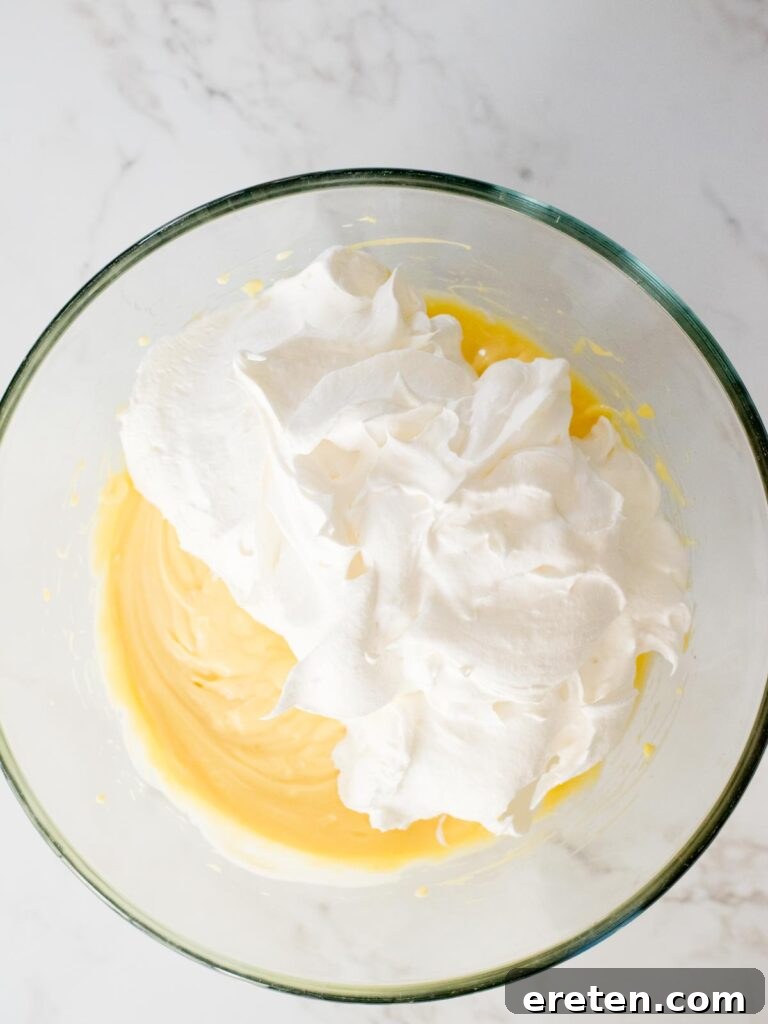
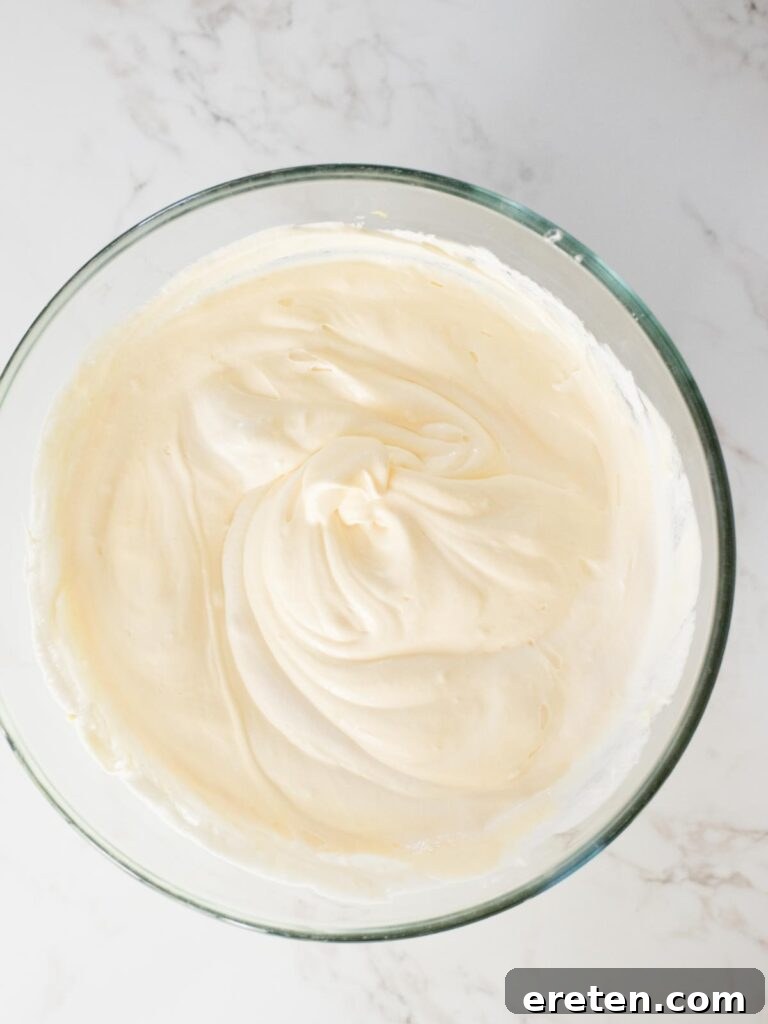
- Fold in the Cool Whip: With a spatula, gently fold the Cool Whip into the combined pudding mixture. It’s crucial to be gentle here to maintain some of the airiness from the Cool Whip, which contributes to the light texture of the final pudding. Fold until just combined, being careful not to overmix.
Assembling Your Delicious Banana Pudding: The Layering Technique
The art of banana pudding lies not just in its creamy filling, but also in its beautiful layers. Following these steps will ensure a visually appealing and perfectly textured dessert that’s a joy to serve and eat.
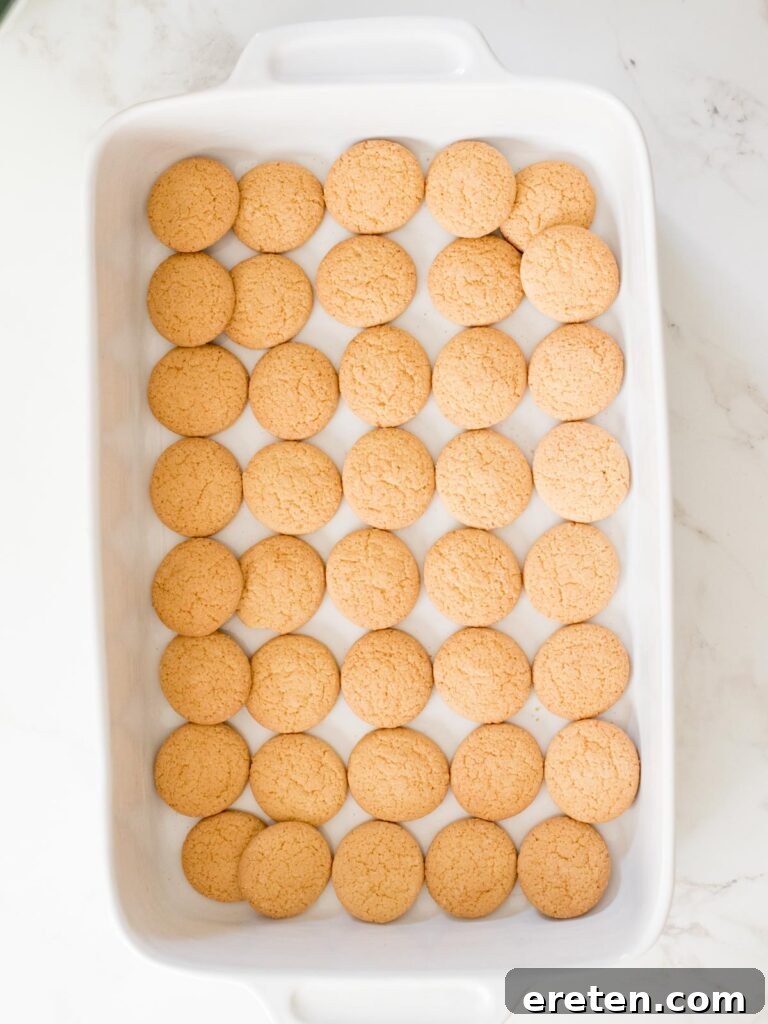
- Create the First Cookie Layer: Take a 9×13 inch casserole dish or a deep serving bowl. Arrange a single, even layer of vanilla wafers across the entire bottom of the dish. Don’t worry if there are small gaps; the pudding will fill them. This layer will absorb moisture and become tender.
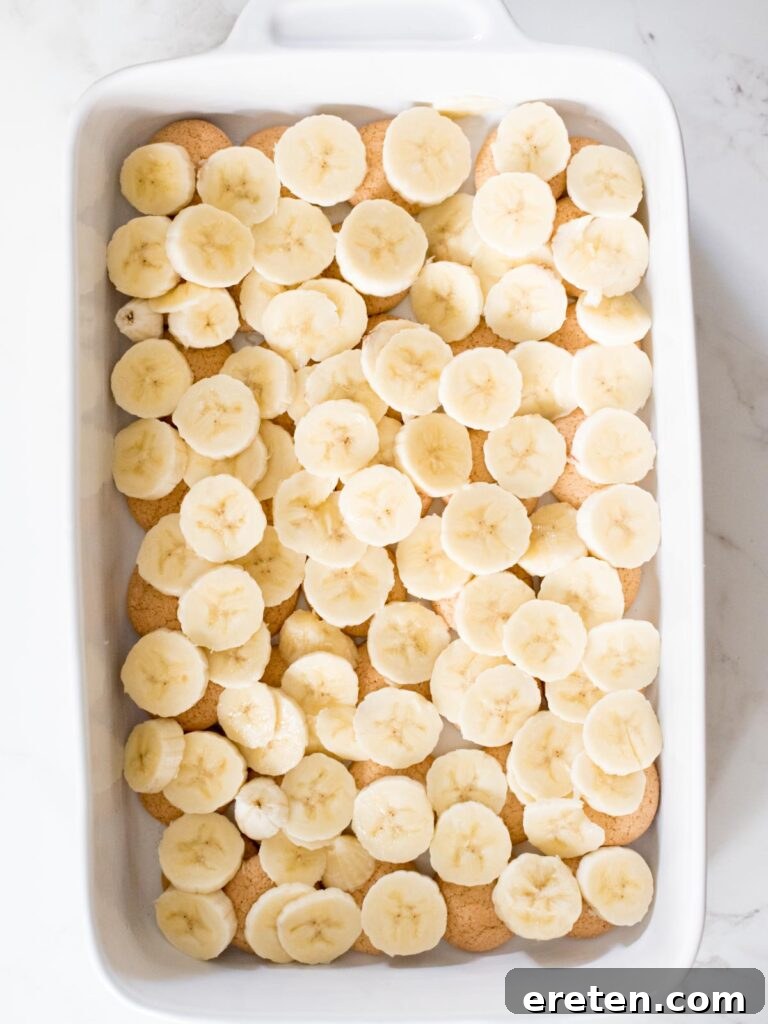
- Add Sliced Bananas: Evenly distribute a layer of freshly sliced bananas over the vanilla wafers. Ensure the bananas are spread out to provide a delightful banana flavor in every bite. Aim for a uniform layer.
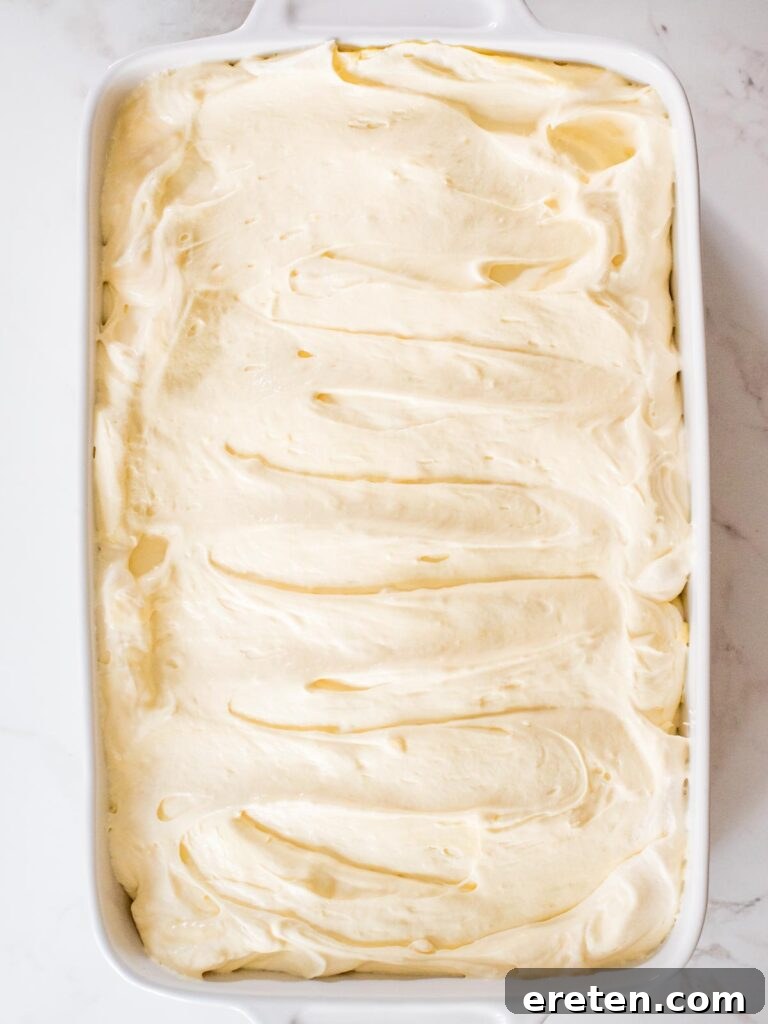
- Pour the Pudding Mixture: Carefully spoon or pour about half of the prepared pudding mixture over the bananas, gently spreading it with a spatula to ensure an even coating. This layer will begin to soften the wafers and infuse the bananas with creamy goodness.
- Repeat Layers (Optional, depending on dish size and desired layers): If you have enough ingredients and a deep enough dish, you can repeat steps 5-7 to create another full layer of wafers, bananas, and pudding. Otherwise, proceed to the next step.
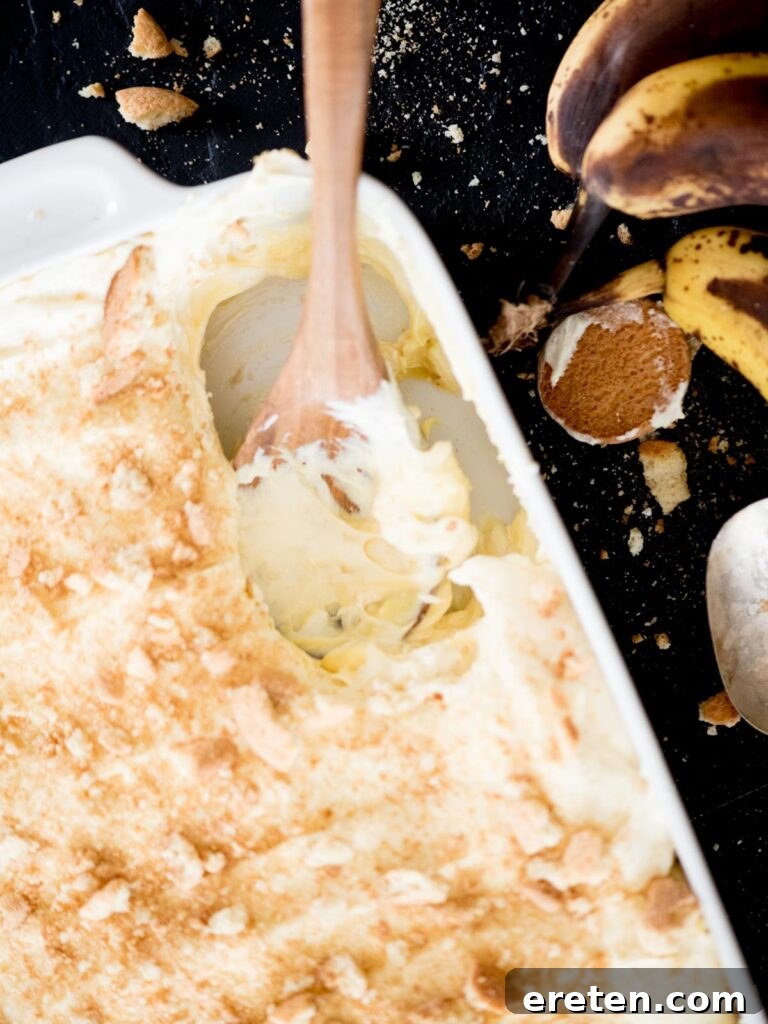
- Top with Remaining Wafers: For the final touch, sprinkle the remaining vanilla wafers over the top of the pudding. I personally love to crush some of them for a textural contrast and a rustic look, but you can also leave them whole for a cleaner aesthetic.
- Chill to Perfection: Cover the casserole dish tightly with plastic wrap or an airtight lid. Refrigerate for a minimum of 4-6 hours. For the absolute best flavor development and ideal silky-smooth texture where the cookies are perfectly softened, chilling it overnight is highly recommended. While you can technically serve it after 2 hours, longer chilling time truly makes a difference in taste and consistency.
Troubleshooting: How to Thicken Banana Pudding
Occasionally, despite best efforts, your banana pudding might turn out a little thinner than desired. Don’t fret! There are several simple and effective ways to achieve that perfectly thick, scoopable consistency. Here are a few reliable methods:
- Chill Longer: This is the most crucial step. Banana pudding naturally thickens significantly as it chills in the refrigerator. The starches in the pudding mix activate, and the fats solidify. For optimal thickness and flavor, allow it to chill for at least 4-6 hours, and ideally, overnight. Patience truly pays off here.
- Adjust Instant Pudding Mix: If you are using instant pudding mix (as this recipe suggests), you can slightly reduce the amount of milk called for in the initial pudding preparation, perhaps by about 1/4 cup. This minor adjustment can lead to a noticeably thicker final consistency without compromising flavor.
- Incorporate More Whipped Cream or Cool Whip: Gently folding in an additional amount of whipped cream or Cool Whip can boost the pudding’s volume and thickness. The air incorporated into the whipped topping and its inherent stability will help create a firmer, creamier texture. Ensure you fold it in very gently to maintain its airiness.
- Cornstarch Slurry (for Scratch Pudding Only): This method is applicable only if you’ve opted to make your pudding from scratch (not using instant mix). If your homemade custard isn’t thickening, whisk together equal parts cornstarch and cold water to form a smooth slurry. Gradually stir this slurry into your simmering pudding mixture over low heat, stirring continuously until it reaches your desired thickness. Remember, this is not for instant pudding.
Can You Make Banana Pudding Ahead of Time?
Absolutely! Banana pudding is actually one of those rare desserts that tastes even better when prepared in advance. Allowing it to sit overnight in the refrigerator gives the flavors ample time to meld together and deepen, and critically, it allows the vanilla wafers to fully soften, transforming them into a delightful cake-like texture. This makes it an ideal dessert for parties, potlucks, or holiday gatherings, as it frees up your time on the day of the event.
To ensure the best possible results when making it ahead:
- Optimal Timing: Prepare your banana pudding a full day (24 hours) in advance of serving. This provides the perfect window for all the elements to harmonize, creating that irresistible texture and profound flavor.
- Proper Storage: Always cover the dish tightly with plastic wrap, ensuring it’s sealed completely against the air. Alternatively, transfer it to an airtight container. This crucial step prevents the bananas from browning due to oxidation and keeps the pudding from drying out or absorbing refrigerator odors.
How Long to Refrigerate Banana Pudding Before Serving?
For the quintessential banana pudding experience, allowing sufficient refrigeration time is non-negotiable. Your banana pudding should chill for at least 4-6 hours before you plan to serve it. However, for truly spectacular results, refrigerating it overnight is highly recommended. This extended chilling period serves several vital purposes:
- Flavor Development: It gives all the distinct flavors—the sweet bananas, creamy pudding, tangy cream cheese, and subtle vanilla—enough time to fully meld and deepen, creating a more cohesive and rich taste profile.
- Texture Perfection: The pudding base will firm up to its ideal consistency, becoming lusciously thick and scoopable. Simultaneously, the vanilla wafers will absorb moisture from the pudding, softening to a delightful cake-like texture that makes every bite heavenly.
If you find yourself short on time, a minimum of 2 hours in the refrigerator will still yield a delicious banana pudding, but be aware that the cookies might retain a slightly firmer texture, and the flavors won’t be as deeply integrated. For the ultimate Southern comfort dessert, planning ahead for an overnight chill is always the best approach.
Creative Cream Cheese Banana Pudding Variations
While the classic cream cheese banana pudding is a masterpiece on its own, it also serves as a fantastic canvas for creative variations. Feel free to experiment with these ideas to tailor the recipe to your personal taste or to surprise your guests with something new and exciting.
- Cookie Choices: As mentioned earlier, beyond traditional vanilla wafers, consider using Chessmen cookies for a firmer, more decorative cookie base, or Golden Oreos for an extra layer of sweetness and crunch. For a subtle spice, graham crackers can be a delightful addition.
- Whipped Topping Options: While Cool Whip offers unmatched convenience and stability, homemade whipped cream is a superb alternative for a fresher, less processed flavor. If opting for homemade, remember to sweeten it lightly with powdered sugar and ensure it’s whipped to firm peaks before gently folding it into the pudding mixture.
- Sweetened Condensed Milk Alternatives (with caution!): For its unique sweetness and thick texture, sweetened condensed milk is paramount. Technically, evaporated milk can substitute for consistency, but it will drastically alter the flavor profile. Evaporated milk lacks the inherent sweetness and caramelized notes, resulting in a much less sweet and less rich pudding. We strongly advise against this substitution for the best result.
- Homemade Pudding Base: If you’re an avid scratch baker, you can certainly substitute homemade vanilla custard for the instant pudding mix. The key is to ensure your homemade pudding achieves a very thick, stable consistency to support the layers. You might need to adjust thickeners like cornstarch or flour accordingly to match the robust texture provided by instant pudding.
- Additions: Consider folding in a handful of mini chocolate chips for a chocolatey twist, or a sprinkle of toasted pecans or walnuts for an extra layer of crunch and nutty flavor. A drizzle of caramel sauce over the top before serving can also elevate this dessert.
Expert Tips for Making Banana Pudding with Condensed Milk
To ensure your homemade banana pudding turns out perfectly every time, here are a few expert tips that will guide you through the process and help you achieve that lusciously creamy, perfectly layered dessert.
- Pudding Consistency Control: When initially whipping your milk and instant pudding mix, you can stop mixing just as it begins to thicken, rather than waiting for it to become completely firm. This slightly looser consistency will make it much easier to spread evenly over the banana and wafer layers in your casserole dish. The pudding will continue to set and firm up significantly as it chills in the refrigerator.
- Gentle Folding of Cool Whip: The key to a light and airy pudding texture is to be exceptionally gentle when folding in the Cool Whip (or homemade whipped cream). Vigorous mixing will deflate the air that’s been incorporated, leading to a denser pudding. Use a spatula and a gentle, upward folding motion to combine it, preserving its fluffy texture.
- Banana Quantity Customization: While the recipe calls for a specific number of bananas, feel free to adjust this to your personal preference. If you’re a true banana lover, don’t hesitate to add an extra banana or two! I find that three large, perfectly ripe bananas strike the ideal balance of fruitiness without overwhelming the pudding’s creamy base.
- Topping Presentation: For the final layer of vanilla wafers, you have artistic freedom. You can meticulously arrange whole wafers across the top for a neat, classic look. However, I personally love the visual appeal and textural contrast of crushing some of the remaining wafers and sprinkling them over the top. This adds a rustic charm and a delightful crunch to each spoonful.
- Temperature Matters: Ensure your cream cheese is softened to room temperature before mixing. This allows it to blend smoothly with the sweetened condensed milk, preventing lumps and ensuring a consistently creamy pudding.
- Use Ripe, But Not Overripe, Bananas: Select bananas that are firm and yellow with just a few small brown spots. Overripe bananas can become mushy quickly and release excess liquid, potentially making your pudding runny.
Storing Your Delicious Cream Cheese Banana Pudding
Proper storage is essential to keep your easy banana pudding fresh, delicious, and safe to eat. This delightful dessert holds up well in the refrigerator, provided it remains properly covered. You can either leave it in the original casserole dish and cover it tightly with cling-style plastic wrap, ensuring no air can get in, or transfer individual servings or the entire remaining pudding to an airtight container. The goal is to minimize exposure to air, which can cause bananas to brown and the pudding to dry out.
It’s crucial not to leave banana pudding at room temperature for an extended period. Dairy-based desserts can quickly spoil if left out. Therefore, ensure it is refrigerated within 2 hours of serving or preparation to maintain its freshness and safety.
How long can Banana Pudding last in the fridge?
When stored correctly in an airtight container or tightly covered with plastic wrap, homemade banana pudding will retain its best quality for up to 3 days in the refrigerator. Beyond this, the bananas may start to become too soft or discolor, and the overall texture might decline.
How Long Can Banana Pudding Safely Sit Out?
Due to its dairy content (milk, cream cheese, Cool Whip/whipped cream), banana pudding can safely remain at room temperature for approximately 2 hours. After this period, it becomes susceptible to bacterial growth, making it unsafe to consume. To ensure your pudding stays fresh and delicious, it’s best to refrigerate it promptly. If you’re serving it at a party or buffet where it might sit out for a while, consider placing the serving dish over a bed of ice to keep it chilled, or serving smaller portions at a time, replenishing as needed directly from the refrigerator.
Frequently Asked Questions About Cream Cheese Banana Pudding
No, banana pudding generally does not freeze well. While you can technically freeze the pudding components, the delicate textures of the bananas, wafers, and creamy filling are significantly compromised upon thawing. Freezing causes the bananas to become mushy and discolored, and the pudding itself can separate or become grainy. For the best taste and texture, we strongly advise against freezing this dessert.
To minimize the browning of sliced bananas, you can lightly coat them in a small amount of lemon juice or a fruit protector solution (like a diluted citric acid solution) before layering them. However, since the bananas are encased in pudding, they tend to brown less rapidly than exposed slices. The tight cover during refrigeration also helps significantly.
The best and most traditional cookie for banana pudding is undoubtedly the vanilla wafer (Nilla Wafers). Their light vanilla flavor and delicate crispness are perfect for soaking up the pudding’s moisture, transforming into a tender, cake-like layer. Chessmen cookies are also a popular and excellent alternative for a richer, more structured base.
Yes, this cream cheese banana pudding recipe is incredibly versatile and can be easily doubled or even tripled to serve a larger crowd. Simply multiply all the ingredient quantities by your desired factor (2x or 3x). You will likely need a larger casserole dish, or multiple dishes, for assembly.
Several factors can contribute to runny banana pudding. The most common reason is insufficient chilling time; the pudding needs several hours (preferably overnight) to fully set in the refrigerator. Another factor could be overly ripe bananas, which release more liquid as they break down. Lastly, substitutions, such as using low-fat or fat-free milk, or non-dairy milk alternatives, can significantly impact the pudding’s consistency, as the fat content in whole dairy milk is crucial for proper thickening and richness.
Adding cream cheese to banana pudding is a game-changer! It imparts an incredibly richer, silkier, and more luxurious texture to the pudding, elevating it beyond a simple dessert. The cream cheese also introduces a subtle tanginess that beautifully complements and balances the sweetness of the bananas and condensed milk, preventing the pudding from being overly sweet. Furthermore, it acts as a stabilizer, contributing to a thicker and more consistent pudding that holds its shape wonderfully.
More Delicious Dessert Recipes Like This Easy Banana Pudding
If you loved this indulgent and easy-to-make cream cheese banana pudding, you’re in for a treat! We have a collection of other comforting and delightful dessert recipes that are perfect for any occasion. Explore these sweet sensations:
- Loaded Apple Pie Squares
- Rich and Creamy Vanilla Fudge
- Irresistible Cherry Crisp
Cream Cheese Banana Pudding
12 people

Equipment
- Hand Mixer
- Mixing Bowls
- Measuring Cups
Ingredients
- 2 boxes French Vanilla Instant Pudding Mix (3.4-ounce boxes)
- 3 cups Milk
- 14 ounces Sweetened Condensed Milk
- 8 ounces Cream Cheese
- 12 ounces Cool Whip
- 1 box Vanilla Wafers
- 3 whole Bananas (sliced)
Instructions
- Add the pudding mix to a mixing bowl with the milk. Using a hand mixer, mix until it begins to thicken and set aside.
- In a separate large mixing bowl add the sweetened condensed milk and cream cheese. Using the hand mixer, mix until they are fully combined.
- Add the pudding mix to the cream cheese and condensed milk mixture and mix completely.
- Gently fold in the cool whip to the pudding mixture. Be gentle so it keeps some of the air in it.
- Line the bottom of a 9×13 casserole dish with vanilla wafers in an even layer.
- Top the vanilla wafers with sliced bananas.
- Pour the pudding mixture over the top of the bananas and spread evenly.
- Top with the remaining vanilla wafers. I like to crush them, but you can also leave them whole.
- Cover tightly and refrigerate for 4-6 hours (or overnight) before serving. You can serve it right away if you’d like but refrigerating for at least 2 hours will give it a much better flavor and texture.
Nutrition
Nutrition information is automatically calculated, so should only be used as an approximation.