
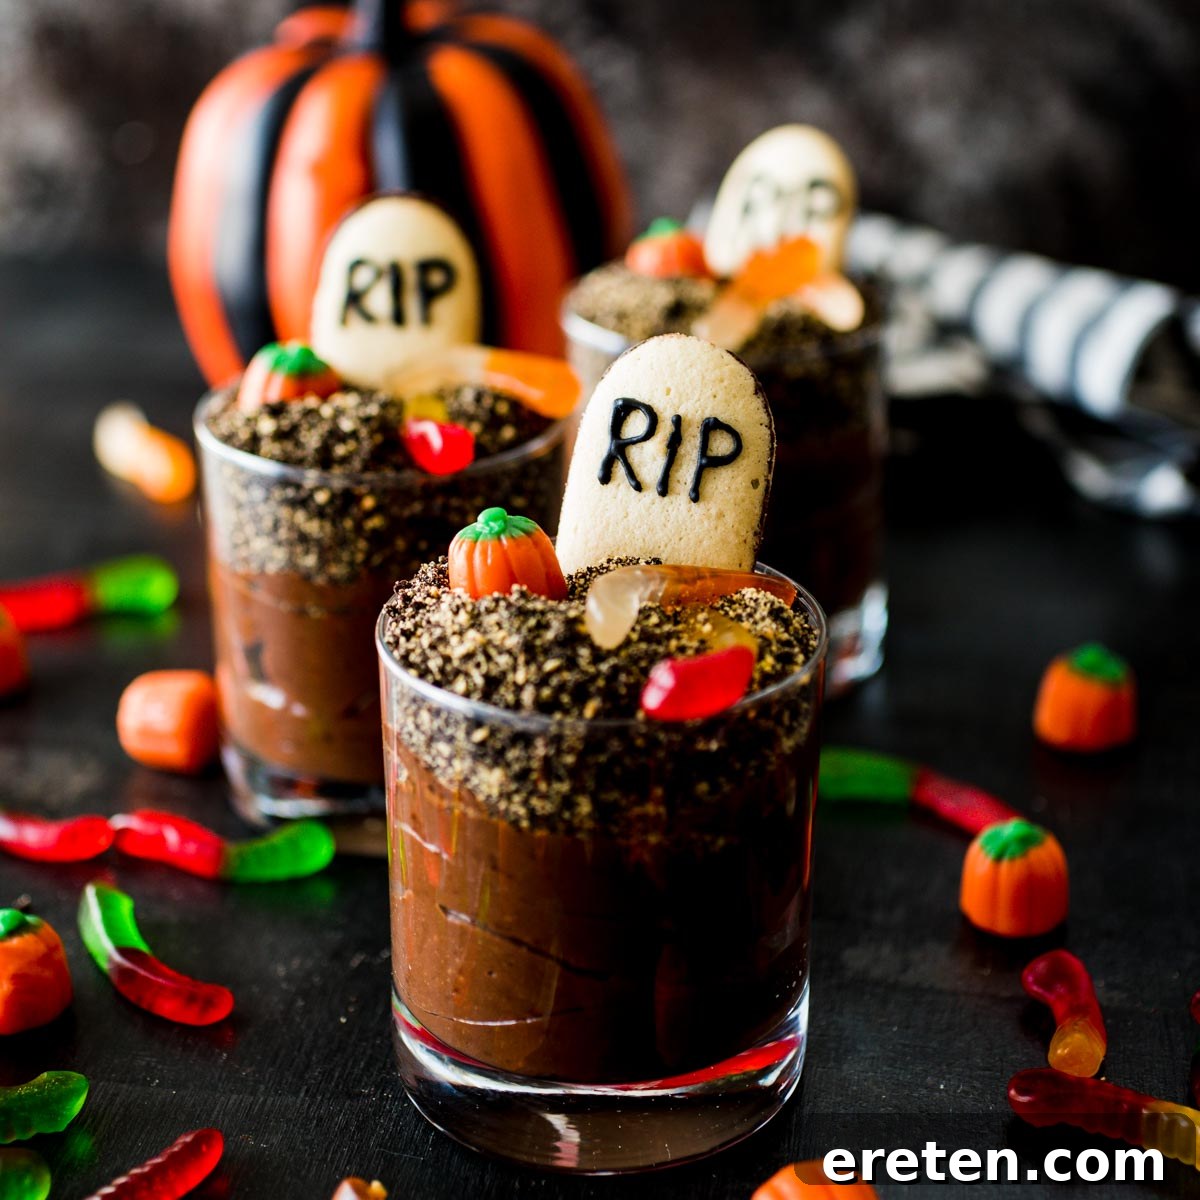
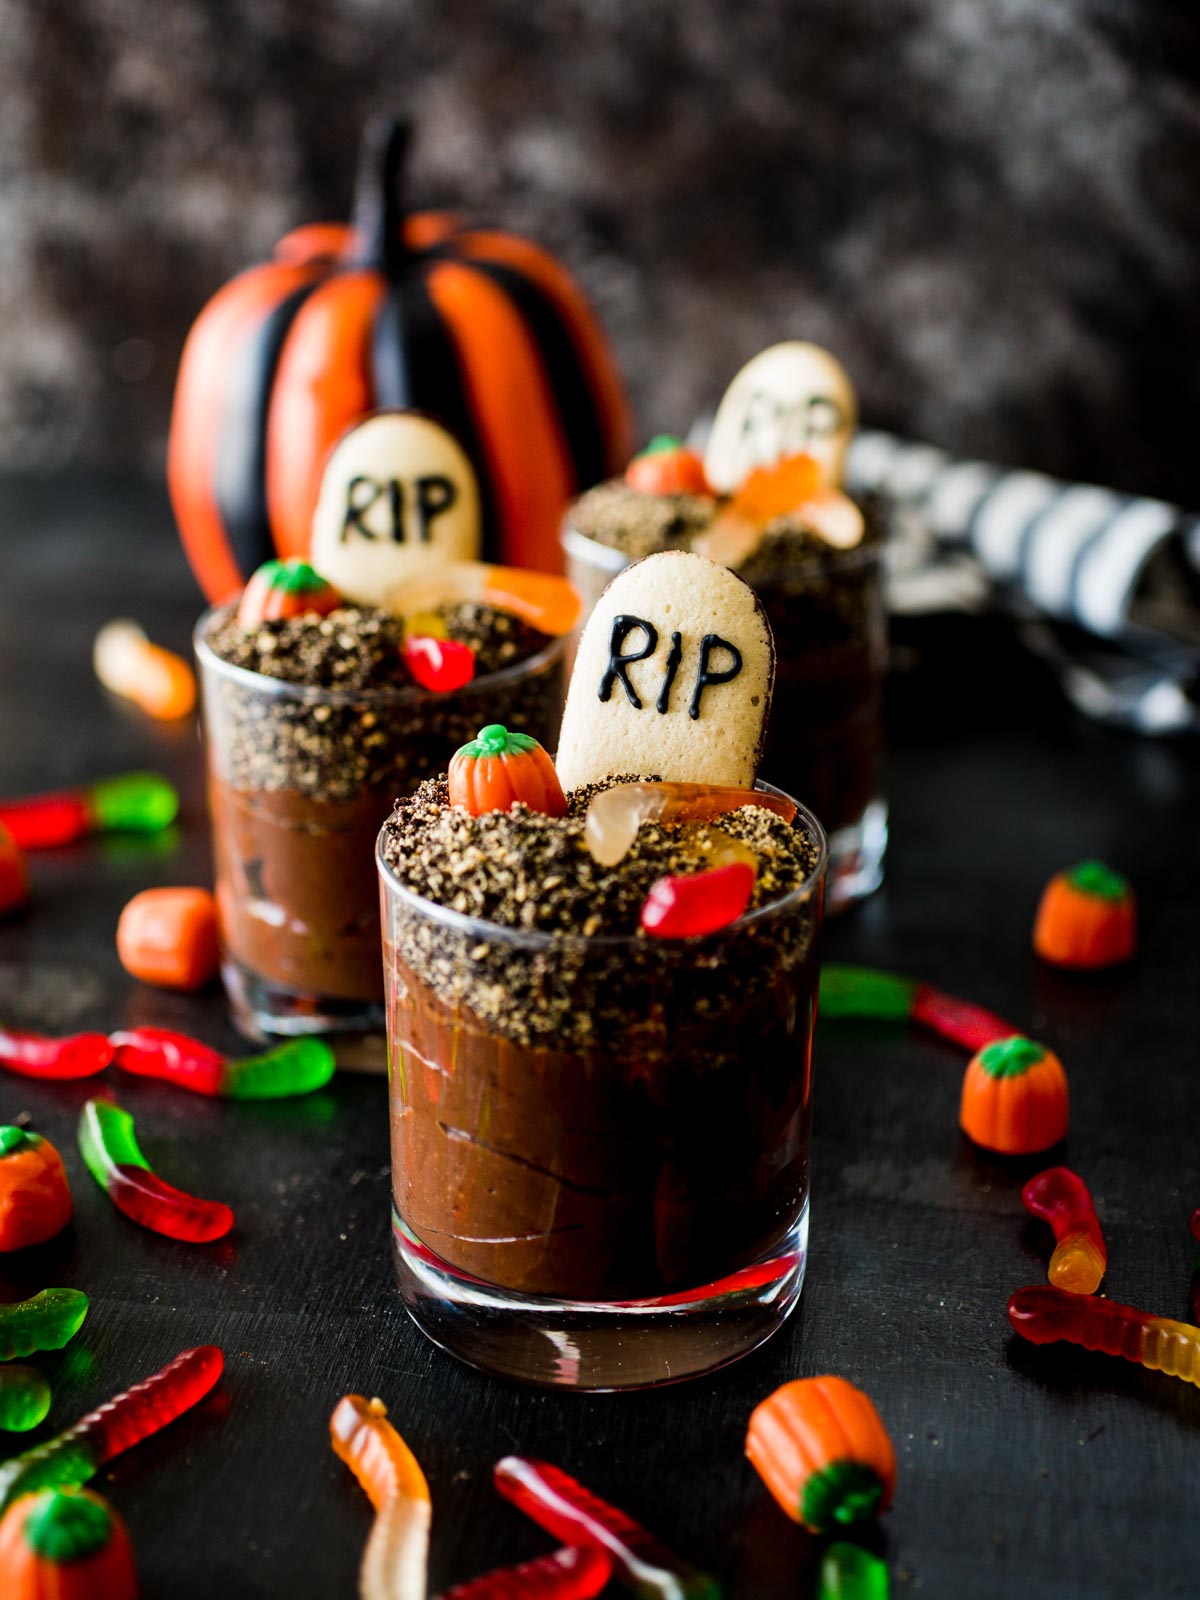
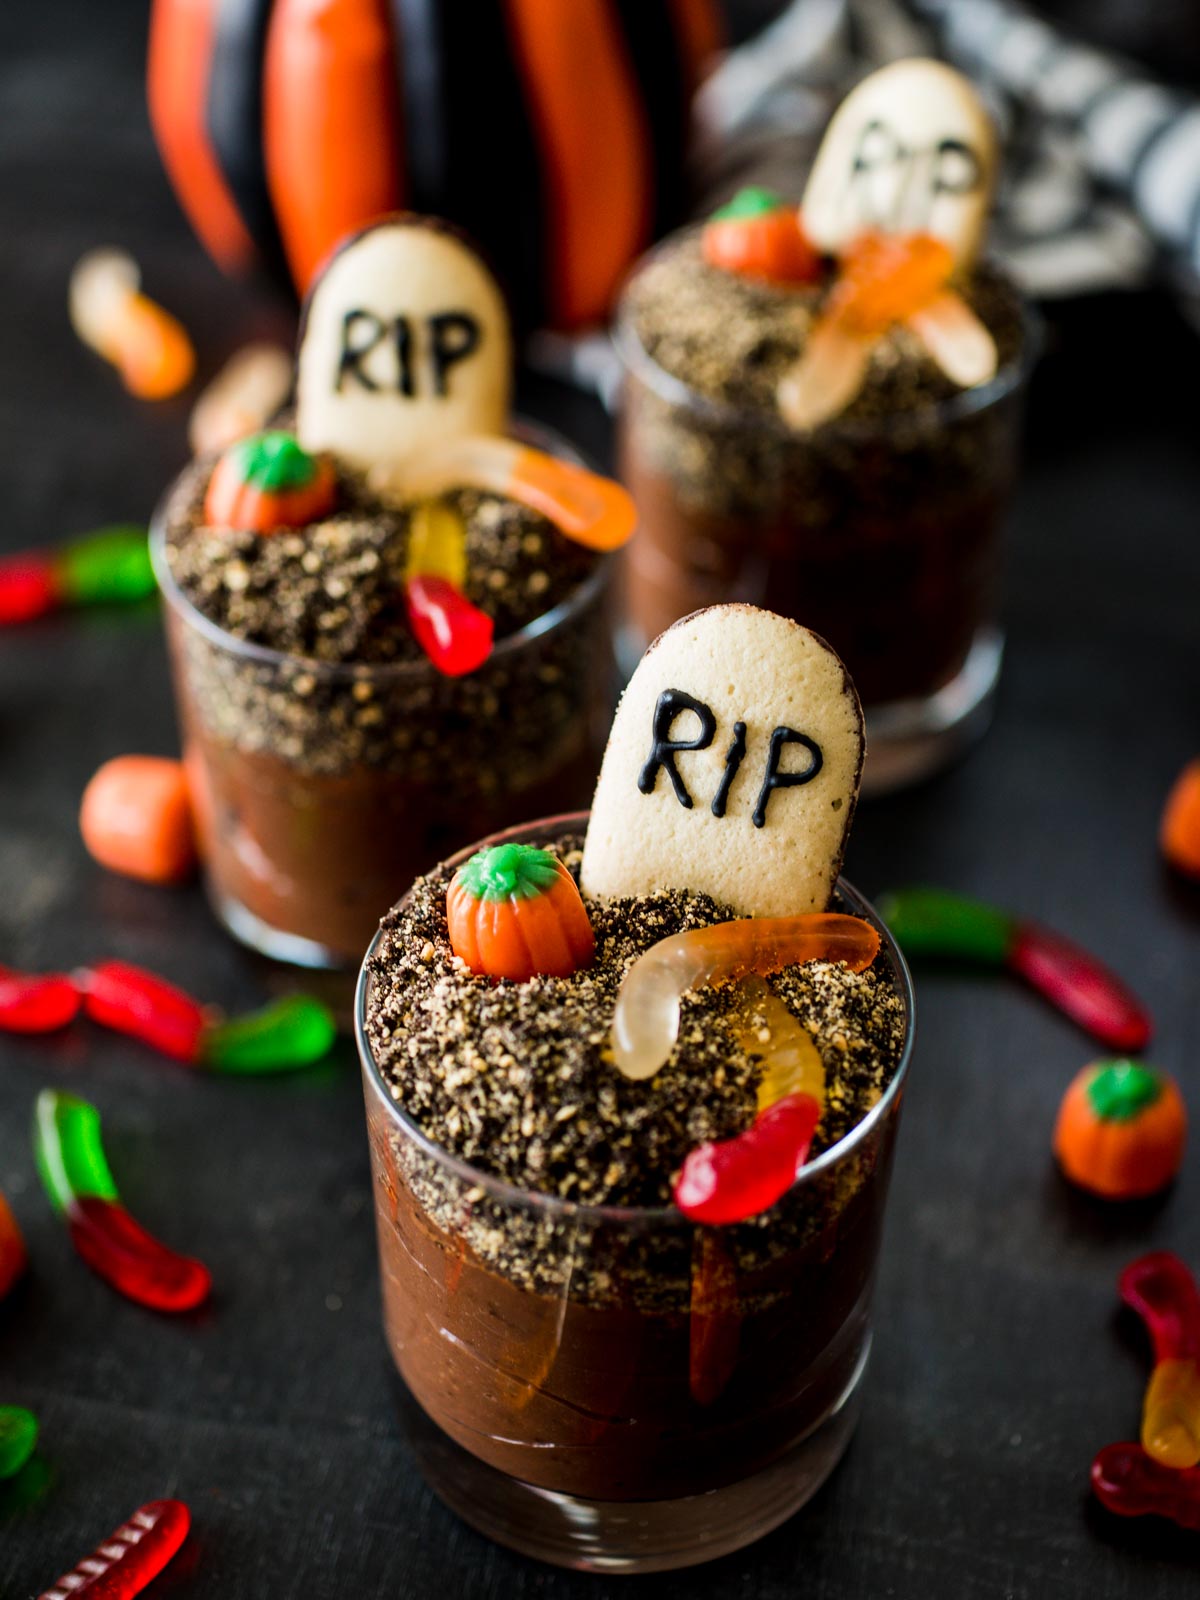
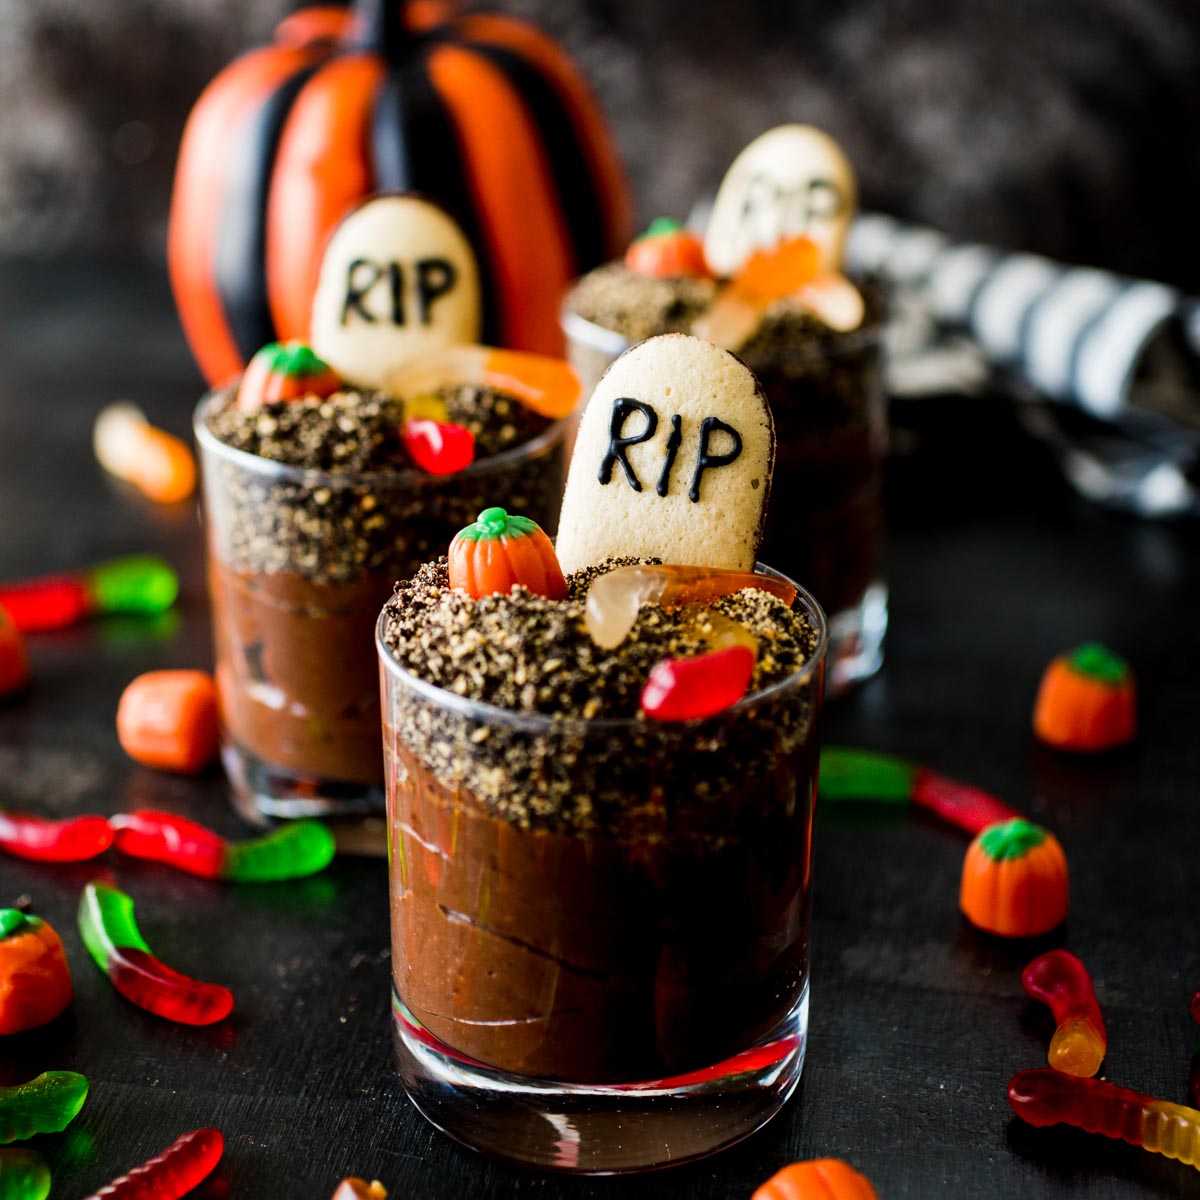
Get ready to unearth some serious Halloween fun with these incredibly easy and deliciously spooky Halloween Graveyard Dirt Cups. Perfect for parties, school events, or just a fun afternoon activity with the kids, these no-bake chocolate pudding treats come together in mere minutes, allowing for maximum enjoyment and minimal stress. Crafted with layers of rich, creamy chocolate pudding and crumbled chocolate sandwich cookies that perfectly mimic fresh earth, each cup becomes a mini edible graveyard just waiting to be adorned with your favorite ghoulish candies. Customize them with wiggly gummy worms, festive mellowcreme pumpkins, or spooky tombstone cookies for a dessert that’s as delightful to look at as it is to eat.
This post may contain affiliate links. This means if you decide to purchase through my link, I may earn a very small commission at no additional cost to you, helping support the creation of more delicious content.
Spooky Halloween Dirt Cups: A Kid-Friendly Classic
Halloween is a magical time for children, and these dirt cups are a fantastic way to immerse them in the spirit of the holiday. Simple to prepare, they utilize instant pudding mix, ensuring a quick assembly that busy parents will truly appreciate. These fun Halloween dirt cups are not just a dessert; they’re an engaging activity that sparks creativity, making them a centerpiece at any Halloween celebration or a delightful after-school treat. The contrasting layers of smooth pudding and crunchy cookie “dirt” create an irresistible texture, while the eerie tombstone cookies and gummy creatures add that quintessential spooky flair.
For the busy mom or dad who still wants to bring homemade charm to Halloween without the fuss of baking, these graveyard pudding cups are the perfect solution. They offer a tasty, visually appealing dessert that can be prepared in advance, freeing you up to enjoy the festivities. The individual serving cups are also incredibly convenient, allowing guests to grab a treat without mess and can sit comfortably at room temperature for a short period, making them ideal for party buffets. They’re a celebrated classic for a reason – easy, customizable, and universally loved.
Essential Ingredients for Your Worms in Dirt Dessert
Crafting these delightful Halloween treats requires just a few readily available ingredients. The beauty of this recipe lies in its simplicity and the ability to find most items at your local grocery store. Here’s a breakdown of what you’ll need to create your spooky edible graveyard:
- Instant Chocolate Pudding Mix: For that signature rich, creamy base. Jell-O Instant Chocolate Pudding Mix is a popular choice, ensuring a smooth texture. While chocolate is traditional for the “dirt” effect, don’t hesitate to experiment with other dark flavors like dark chocolate or even chocolate fudge. For an extra decadent treat, consider beating in a block of softened cream cheese with the milk for a cheesecake-like pudding.
- Milk: The liquid base for your pudding. Whole milk or 2% milk will yield the creamiest and most stable pudding. Skim milk can be used, but the consistency may be slightly thinner.
- Chocolate Sandwich Cookies (like Oreos): These are crushed to create the “dirt” layer. Regular Oreos are perfect, but feel free to explore other chocolate cookie varieties. The key is using chocolate-colored cookies to maintain the authentic “dirt” appearance once crumbled. For easy crumbling, a food processor is your best friend, or a zip-top bag and a rolling pin works wonders.
- Graham Cracker Crumbs: Adding graham cracker crumbs alongside the chocolate cookies provides a slightly different texture and flavor, enhancing the overall “earthy” feel. You can purchase pre-crushed crumbs or crush your own graham crackers. For a different twist, golden Oreos can be substituted here, providing a lighter “sandy” layer.
- Dark Chocolate Milano Cookies: These elegant, elongated cookies are perfect for transforming into spooky tombstones. Their flat surface and sturdy nature make them ideal for decorating.
- Edible Gel Ink / Icing Writer: Essential for adding inscriptions to your tombstone cookies. Brands like Wilton offer easy-to-use gel writers, typically found in the baking aisle near sprinkles and frosting. Black is the most common color for an authentic graveyard look.
- Gummy Worms: The quintessential “worms” for your dirt cups! Any brand or color will work, adding a fun, wiggly element that children adore. You can also mix in other gummy creatures like spiders or bugs for extra fright.
- Mellowcreme Pumpkins: These classic Halloween candies, often found alongside candy corn, add a pop of festive color and a touch of sweetness to your graveyard scene.
Choosing the Best Cookies for Authentic Graveyard Dirt Cups
The foundation of truly convincing graveyard dirt cups lies in the perfect “dirt” topping. The ideal combination is a mix of finely crushed chocolate sandwich cookies and graham cracker crumbs. This blend not only provides a realistic texture but also a balanced flavor profile. To achieve fine crumbs, a food processor is the most efficient tool. Simply pulse the cookies until they resemble loose soil. If you don’t have a food processor, place the cookies in a large, sealable plastic bag, remove excess air, and crush them with a rolling pin until uniformly fine. For the eerie headstones, Pepperidge Farm Milano cookies are highly recommended due to their shape and sturdiness, making them easy to stand upright in the pudding.
Crafting Your Spooky Dirt Pudding Cups with Worms: A Simple Guide
Creating these fun and spooky desserts is an incredibly straightforward process, perfect for little hands to help with. Follow these easy steps to assemble your Halloween Graveyard Dirt Cups:
- Prepare the Pudding: In a large mixing bowl, empty the contents of the instant pudding mix. Gradually add the milk as directed on the pudding box.
- Whip Until Thick: Using an electric mixer (or a whisk and some elbow grease), beat the pudding and milk mixture until it begins to thicken to a creamy consistency, typically 2-3 minutes. Once thick, set the pudding aside. Do not refrigerate yet; it’s easier to spoon into cups when slightly thinner.
- Combine the “Dirt” Crumbs: In a separate small mixing bowl, combine your crushed chocolate sandwich cookies and graham cracker crumbs. Mix thoroughly until they are evenly distributed, creating your perfect “dirt” mixture. Set this aside.
- Decorate the Tombstones: Take your Milano cookies and, using the edible gel ink or icing writer, carefully decorate them to resemble tombstones. Simple “RIP” inscriptions are classic and effective. Allow the ink to dry for a few minutes before handling further.
- Layer the Pudding: Spoon the prepared pudding mixture into clear plastic cups. Fill each cup about two-thirds full, then gently smooth the top surface with the back of a spoon. Using a piping bag can make this step even neater.
- Add the “Dirt” Layer: Evenly distribute the combined Oreo and graham cracker crumb mixture over the top of the pudding in each cup, ensuring the pudding is fully covered to create a rich “dirt” layer.
- Insert the Tombstones: Carefully stand your decorated Milano cookies into the pudding mixture, positioning them to look like headstones rising from the “dirt.”
- Final Spooky Touches: Now for the most fun part – decorating! Arrange your favorite spooky candies, such as mellowcreme pumpkins and gummy worms, on top of the cookie crumbs to complete your graveyard scene. Serve immediately for optimal freshness and enjoyment.
Expert Tips for the Best Dirt and Worms Cups
While these dirt cups are incredibly easy, a few tricks can elevate your creation and make the process even smoother:
- Save Time with Pre-Made Crumbs: To expedite the process, purchase pre-crushed graham cracker crumbs. Many brands offer them in the baking aisle, saving you a crushing step.
- Cookie Combinations: If you don’t have graham crackers, feel free to use a combination of regular chocolate sandwich cookies and golden Oreos for textural variety and visual appeal in your “dirt” layer.
- Quality Icing Writer: Invest in a good quality edible gel ink pen, such as the Wilton Icing Writing Black Pen. It provides precise lines and dries quickly, making tombstone decoration a breeze.
- Pudding Consistency Matters: Avoid chilling your pudding in the fridge for too long before scooping it into cups. It can become very thick and challenging to distribute evenly. It’s best to assemble the cups and then refrigerate them.
- Pre-Made Pudding Option: For the ultimate shortcut, buy pre-made chocolate pudding cups or a large container of prepared pudding. Simply scoop it into your individual serving cups.
- Neatness Tip: For cleaner layers, spoon or pipe the pudding into the bottom of each cup first, then add the cookie crumbs. This prevents crumbs from mixing into the pudding prematurely.
- Chill Time: While delicious immediately, a short chill time (30 minutes to an hour) in the refrigerator allows the pudding to fully set and flavors to meld, creating an even more satisfying treat.
Creative Variations for Your Spooky Dirt Cups
The beauty of dirt cups lies in their versatility. You can easily adapt this recipe to suit different tastes, dietary needs, or party themes. Don’t be afraid to get creative!
- Pudding Flavors: While chocolate is classic, consider vanilla, white chocolate, or even pumpkin spice pudding for a seasonal twist. You could also layer different pudding flavors for a multi-colored effect.
- Cookie “Dirt”: Experiment with different cookie types for your “dirt” layer. Chocolate wafers, gingerbread cookies (for a fall theme), or even gluten-free chocolate cookies are great options.
- Candy Themes: Beyond worms and pumpkins, think about mini chocolate chips for “pebbles,” candy corn, candy eyes, mini marshmallows (for “ghosts”), or even small plastic spiders for a non-edible but spooky touch.
- “Bloody” Effect: Drizzle raspberry or strawberry sauce over the pudding before adding the “dirt” for a gruesome “bloody” effect.
How to Make Dirt Cups with Fewer Calories or WW Points
If you’re looking for a lighter version of this Halloween classic, several modifications can help reduce calories or Weight Watchers points without sacrificing too much fun:
- Sugar-Free Pudding: Opt for sugar-free instant pudding mix.
- Low-Fat Milk: Use fat-free or skim milk instead of whole or 2%.
- Mindful Toppings: Many calories come from the candy. Top with sugar-free candies, or be judicious with the amount of regular candy. Fresh fruit like berries can also add natural sweetness and fewer calories.
- Lighter Cookie Options: Use Oreo Thins and low-fat graham crackers.
Spooky Worms in Dirt Toppings Suggestions
The toppings are where your Halloween dirt cups truly come to life, allowing for endless creativity and personalization. Here are some fantastic ideas to make your graveyard scene extra special:
- Gummy Worms: The classic choice for a reason – they’re fun, colorful, and perfectly represent the “worms” in dirt.
- Candy Pumpkins: Add festive pops of orange to your graveyard.
- SweetTarts or Sour Gummy Candies: For a burst of tangy flavor and bright colors.
- Gummy Bugs/Spiders: Enhance the creepy-crawly factor with various edible insects.
- Whipped Topping: A dollop of cool whip or whipped cream can represent a ghostly cloud or foggy mist over the graveyard.
- Googly Eyes: Edible googly eyes can bring your gummy creatures or even the tombstones to life.
- Melted Chocolate Drizzle: Melt some chocolate chips and drizzle them artfully over the cookie “dirt” for a spiderweb effect or to add more rich chocolate flavor.
- Sprinkles: Halloween-themed sprinkles (bats, ghosts, black and orange mixes) can add extra sparkle.
- Chocolate Rocks/Pebbles: Edible chocolate rocks can create a more realistic stone effect around the tombstones.
Storing Your Delicious Dirt Cups
To keep your dirt cups fresh and delicious, proper storage is key. Once assembled, cover each cup individually with plastic wrap or place them in an airtight container. They will stay fresh in the refrigerator for up to 3 days. For best results, it’s often advisable to store the pudding-filled cups separately from the cookie crumbs and candy toppings. This prevents the cookies from becoming soggy and the candies from hardening or melting, allowing for fresh assembly right before serving.
Halloween Dirt Cups FAQs
Absolutely! You can prepare the pudding and spoon it into the cups, then refrigerate them covered. Prepare your cookie crumbs and have your candies ready. Assemble the “dirt” and toppings just before serving to maintain the best texture and prevent sogginess.
Edible gel ink writers are widely available in the baking aisle of most major grocery stores, craft stores like Michaels or Joann Fabrics, and large retailers like Target or Walmart. They are usually located near baking decorations, sprinkles, and frosting.
Not at all! Milano cookies are ideal due to their shape and sturdiness, but you can certainly use other options. Graham cracker rectangles, shortbread cookies, or even vanilla wafers can work. Just ensure they are firm enough to stand upright and have a flat surface for decorating.
More Spooky Halloween Themed Recipes You’ll Love
- Colorful Candy Corn Bark
- Delightfully Spooky Snack Mix
- Eerily Delicious Poison Popcorn
Halloween Worms in Dirt Dessert
Print Recipe
Ingredients
- 5.9 oz box Jell-O Instant Chocolate Pudding Mix
- 3 cups Milk (whole or 2% recommended)
- 15 Chocolate Sandwich Cookies (like Oreos) (crushed or pulsed in a food processor until fine crumbs)
- 3/4 cup Graham Cracker Crumbs (or substitute with golden Oreos)
- 4 Dark Chocolate Milano Cookies (for tombstones)
- Edible Gel Ink / Icing Writer (e.g., Wilton brand, found in the baking aisle)
- Gummy Worms (or other gummy bugs)
- Mellow Crème Pumpkins (or other spooky candies)
Instructions
-
Prepare the pudding: Add the instant pudding mix to a large mixing bowl, then pour in the milk.
-
Beat the mixture with an electric mixer until it begins to thicken to a creamy consistency. Set aside.
-
In a small mixing bowl, combine your finely crushed chocolate sandwich cookies and graham cracker crumbs. Mix thoroughly until evenly distributed. Set aside.
-
Decorate the Milano cookies: Use your edible gel ink icing writer to draw “RIP” or other spooky designs on the Milano cookies to create tombstones. Allow them to dry completely.
-
Assemble the cups: Spoon or pipe the pudding mixture into clear plastic cups, filling each approximately two-thirds full. Smooth the top surface of the pudding.
-
Add the “dirt”: Evenly distribute the cookie and graham cracker crumb mixture on top of the pudding in each cup, creating a realistic dirt layer.
-
Place the tombstones: Gently stand the decorated Milano cookies into the pudding mixture, making them appear as headstones.
-
Final decorations: Decorate with gummy worms, mellowcreme pumpkins, or any other favorite spooky candies. Serve immediately or chill for a short period before serving.
Nutrition
Nutrition information is automatically calculated, so should only be used as an approximation.