
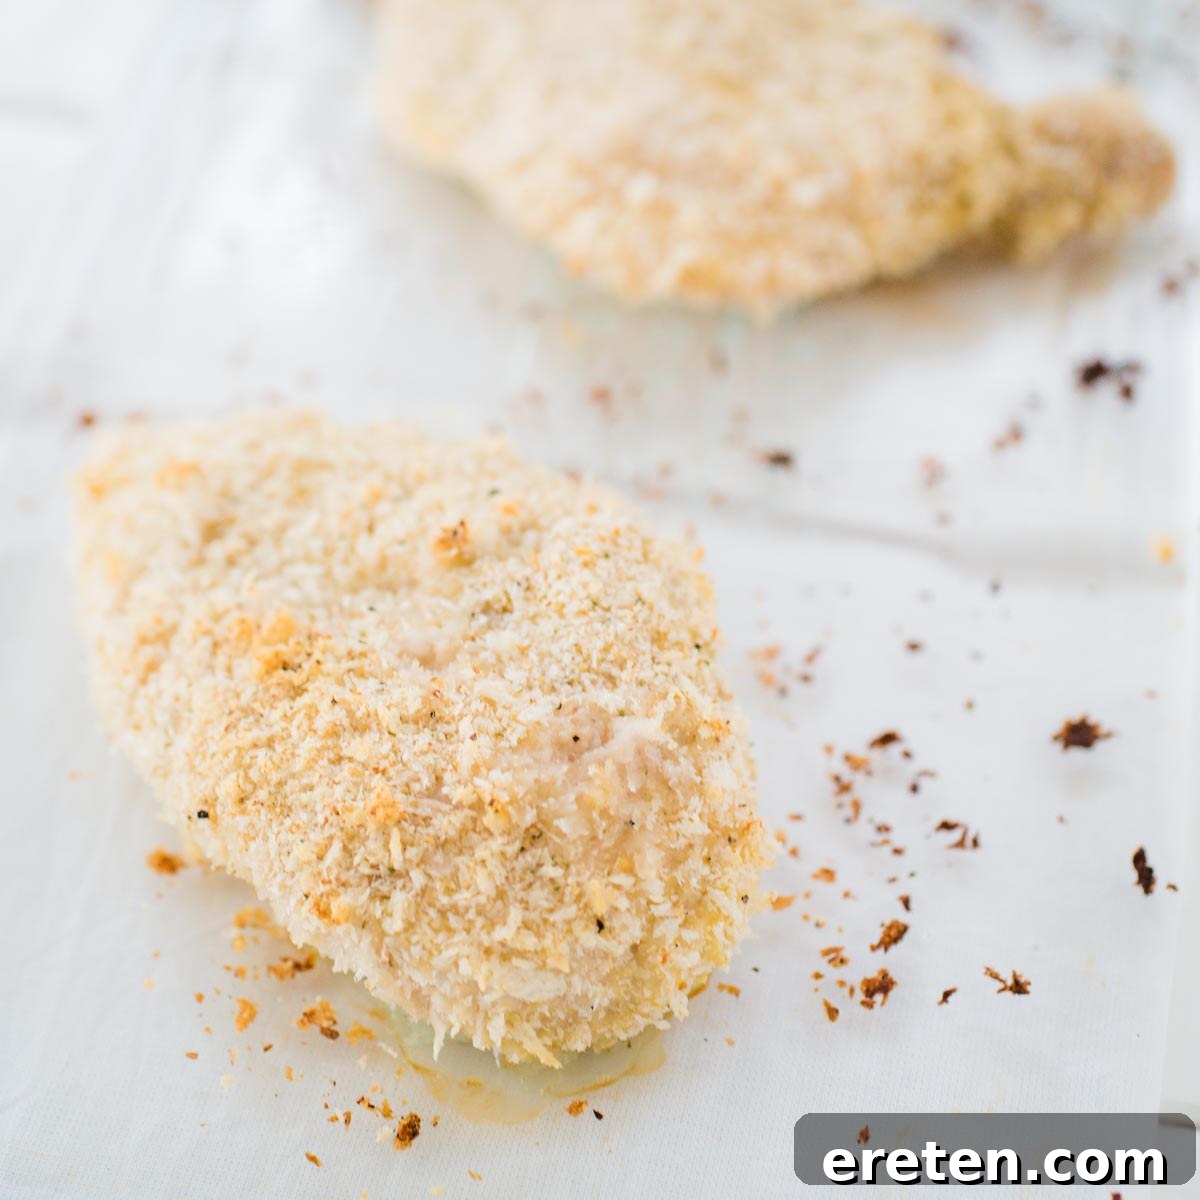
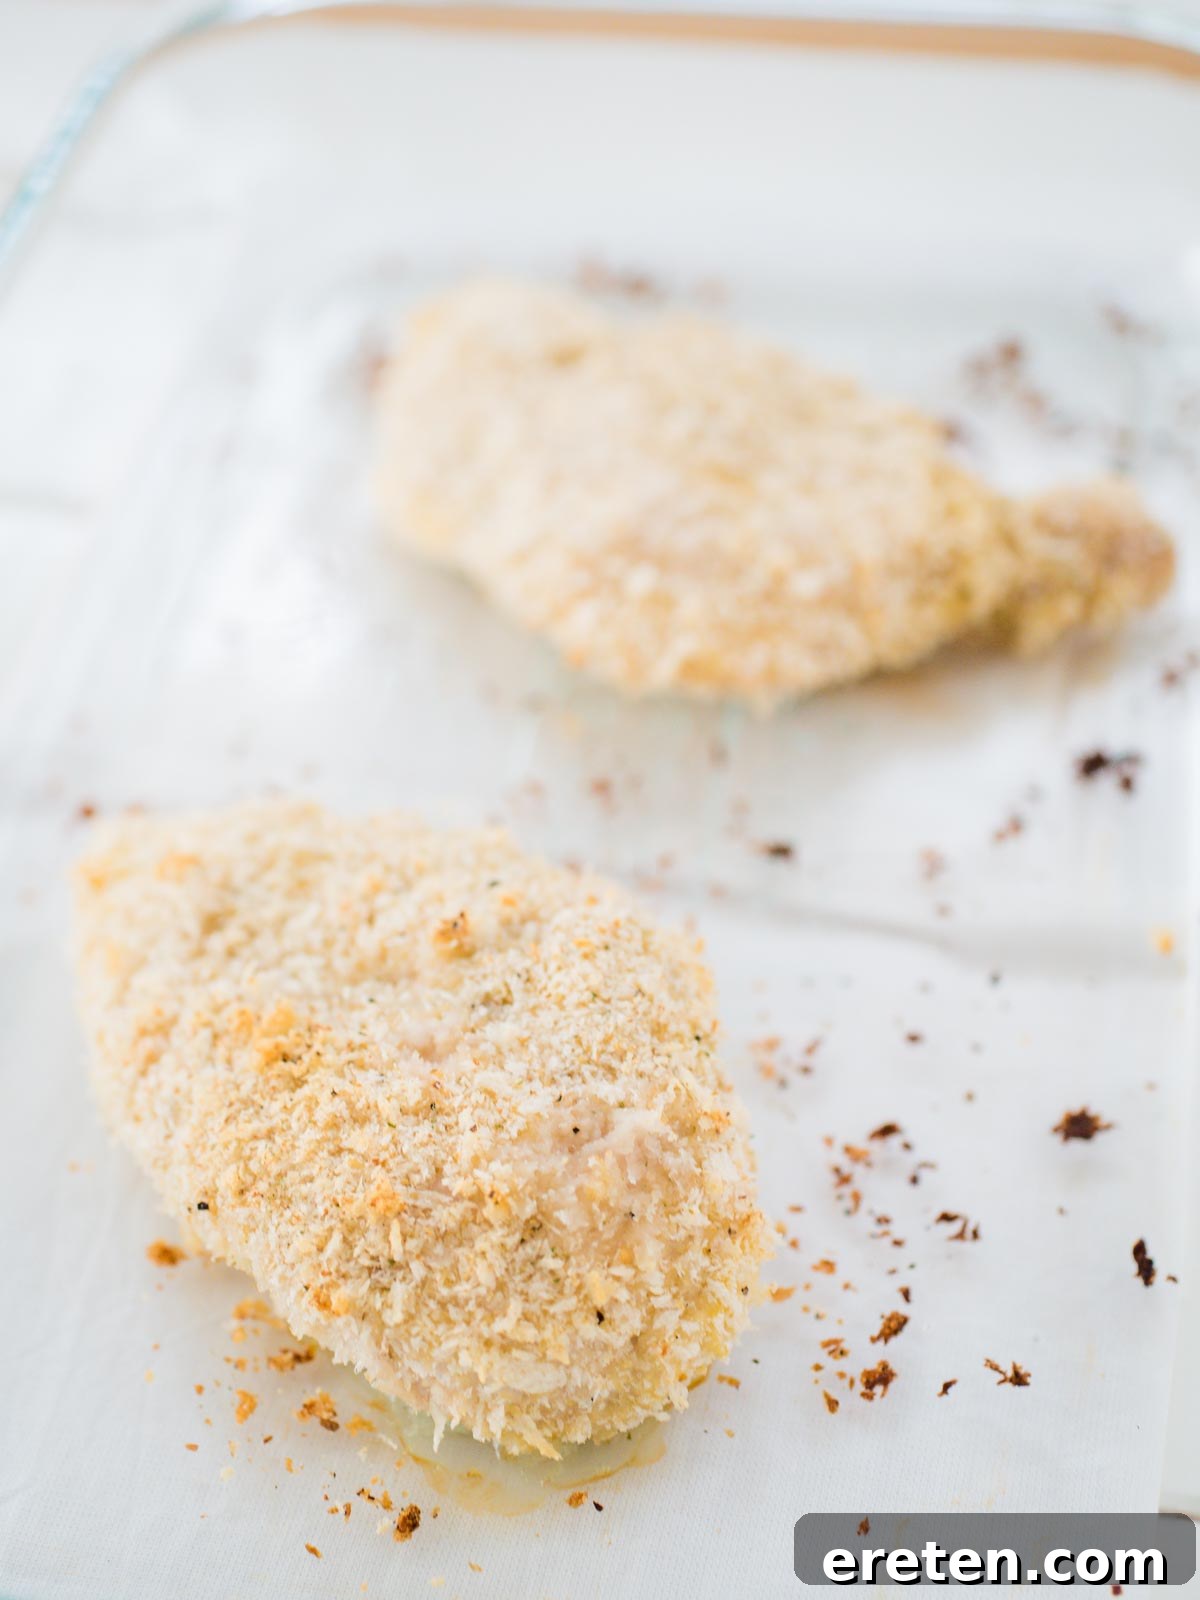
Discover the Secret to Perfectly Crispy Baked Panko Chicken
Are you tired of dry, bland baked chicken breasts? Do you crave a dinner that’s both healthy and incredibly satisfying? You’re in the right place! This recipe for Panko Crusted Chicken is a game-changer, transforming ordinary chicken into a culinary delight with a sensational crispy coating and juicy interior. Forget the plain-jane baked chicken; this method delivers a flavorful crust that will make you rethink your weeknight meal rotation. If your baked chicken doesn’t have that irresistible crunch, you might as well be grilling! But why settle when you can have the best of both worlds – the ease of baking with the delightful texture of a perfectly fried cutlet?
The magic ingredient here is panko breadcrumbs, and their importance cannot be overstated. Unlike standard breadcrumbs, panko creates an incredibly light, airy, and super-crispy crust that elevates this dish from simple to spectacular. We’ve experimented with various binders, from ranch to mayo, but nothing achieves the same flavor and satisfying crunch as a simple egg wash. This recipe has been a staple in our kitchen for years, and for good reason! We’ll share all our tips and tricks, including a crucial detail about nonstick spray to ensure the bottom of your chicken gets just as crispy as the top. One important note: for the best results, always start with thawed chicken breasts. This isn’t one of those recipes where you can go straight from the freezer, as proper thawing ensures even cooking and optimal crispiness.
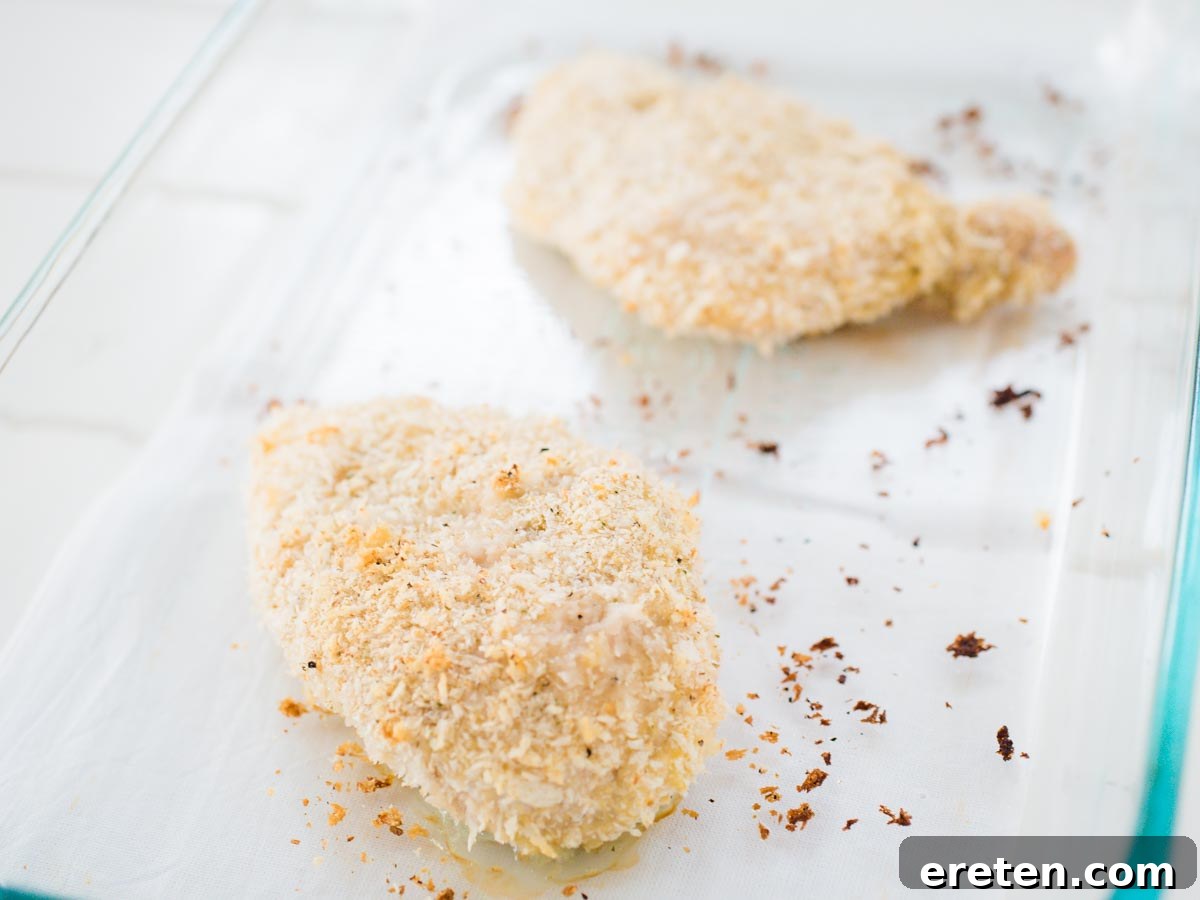
What Exactly is Panko Chicken? A Crispy Delight Explained
Panko chicken is essentially a culinary marvel where boneless, skinless chicken breasts are coated in a seasoned panko breadcrumb mixture and then baked to golden perfection. The result is a chicken dish that boasts an incredibly crunchy exterior, thanks to the unique properties of panko, while retaining a wonderfully juicy and tender interior. Originating from Japan, panko breadcrumbs are coarser and flakier than traditional breadcrumbs, which prevents them from absorbing as much oil or moisture during cooking. This characteristic is what gives our baked chicken its signature light, crispy, and non-greasy texture. It’s a healthier alternative to fried chicken that doesn’t compromise on flavor or crunch, making it a favorite for home cooks seeking both taste and convenience.
The allure of Panko Crusted Chicken lies in its deceptive simplicity. While it might appear to be just another breaded chicken dish, the specific use of panko transforms it into something truly special. Panko crumbs are made from bread without crusts, ground into larger, jagged flakes. This unique structure creates pockets of air within the coating, allowing for a lighter and airier crunch compared to the denser texture of regular breadcrumbs. When baked, these air pockets become incredibly crisp, creating an almost fried-like experience without the added oil and calories. This makes it an ideal option for those who love crispy chicken but prefer a healthier preparation method.
Essential Ingredients for Your Panko Breaded Chicken Masterpiece
Creating this delicious Panko Crusted Chicken requires a few simple yet crucial ingredients. The quality and type of each component play a significant role in achieving that perfect crispy texture and rich flavor profile:
- Boneless, Skinless Chicken Breasts: The foundation of our dish. Opt for medium-sized breasts for consistent cooking. Before breading, always take the time to trim away any excess fat or sinew. For even crispiness and faster cooking, you might also consider lightly pounding thicker parts of the chicken breasts to an even thickness. This ensures uniform cooking, preventing thinner sections from drying out while thicker parts finish cooking.
- Large Eggs: These are your indispensable binding agent. Whisked eggs create a tacky surface that allows the panko breadcrumbs and seasonings to adhere beautifully to the chicken. Without this crucial step, achieving a uniform and lasting crust would be nearly impossible. The egg wash also contributes to the golden-brown color of the final product.
- Panko Breadcrumbs: The undisputed star of this recipe. Panko’s distinct flaky texture is the secret to an extra-crispy, satisfying crunch that traditional breadcrumbs simply cannot replicate. They absorb less oil, resulting in a lighter and crispier coating. You can find panko in most grocery stores in the international or baking aisle, often alongside other breadcrumbs. Do not substitute these; they are fundamental to the recipe’s success.
- Salt and Freshly Ground Black Pepper: These fundamental seasonings are essential for enhancing the natural flavors of the chicken and the breading. We always recommend using coarse kosher salt for better flavor distribution and freshly ground black pepper for a more vibrant aroma and subtle heat. Adjust quantities to your personal preference, remembering you can always add more salt after cooking but cannot remove it.
- Garlic and Herb Seasoning: This blend adds a depth of savory, aromatic flavor to your panko coating. While the original recipe suggests Mrs. Dash (a salt-free option), feel free to use your favorite brand of garlic and herb blend. If your chosen seasoning contains salt, remember to adjust the amount of additional salt you add to prevent over-seasoning and ensure a balanced flavor profile. Consider other spice blends like Italian seasoning or poultry seasoning for a variation.
- Dried Parsley: More than just a garnish, dried parsley contributes a subtle, fresh, and slightly peppery note to the breading, adding an appealing visual element as well. Ensure your dried parsley is fresh and hasn’t expired to guarantee maximum flavor and color; older herbs lose their potency.
- Nonstick Cooking Spray (e.g., Pam): Used to lightly coat your baking dish, preventing the chicken from sticking and aiding in the crisping of the bottom crust. Remember, less is more here – an excessive amount can actually prevent the chicken from crisping properly on the underside, leading to a soggy bottom.
Crafting the Perfect Coating: How to Season Your Panko Breadcrumbs
The flavor of your Panko Crusted Chicken truly comes alive with a well-seasoned breading. This simple step is quick but vital for an irresistibly tasty crust:
To prepare your seasoned panko, begin by pouring the panko breadcrumbs into a wide, shallow dish. A pie plate or a similar shallow bowl works perfectly for this, providing ample space for mixing and later for dredging the chicken. The wider the dish, the easier it will be to coat the chicken without making a mess.
Next, add your chosen seasonings: the garlic and herb blend, salt, freshly ground black pepper, and dried parsley. Using a spoon or your clean hands, gently mix all the ingredients together. Ensure the seasonings are thoroughly and evenly distributed throughout the panko. Every flake should be coated with flavor, guaranteeing a delicious bite every time. Take your time to mix well, as uneven seasoning can lead to inconsistent flavor. This perfectly seasoned mixture is now ready to transform your chicken from ordinary to extraordinary.
Step-by-Step Guide: How to Make Crispy Panko Crusted Chicken
Follow these detailed steps to achieve perfectly crispy and juicy Panko Crusted Chicken, ensuring a successful and delicious meal every time:
- Preheat Your Oven: Begin by preheating your oven to a precise 400°F (200°C). Accurate oven temperature is crucial for ensuring the panko crisps up beautifully and the chicken cooks thoroughly without drying out. Allow the oven to fully reach temperature before placing the chicken inside.
- Prepare the Baking Dish: Lightly coat a 9×13 inch (23×33 cm) glass baking dish with nonstick cooking spray. The key here is to spray just enough to prevent sticking – an even, light mist is ideal. Avoid over-spraying, as pooling oil can prevent the bottom of the chicken from becoming crispy, leading to a less desirable texture. Set the prepared dish aside.
- Set Up the Egg Wash: In a separate shallow dish, such as another pie plate or a wide, flat-bottomed bowl, crack the two large eggs. Whisk them vigorously until the yolks and whites are fully combined and slightly frothy. This egg wash will act as the “glue” for your panko coating, so ensure it’s well mixed.
- Prepare the Seasoned Panko: In a third large shallow dish, combine the panko breadcrumbs with the garlic and herb seasoning, salt, pepper, and parsley. Mix thoroughly until all the seasonings are evenly distributed amongst the breadcrumbs. This ensures every piece of chicken gets an even coating of flavor.
- Bread the Chicken (One by One): Take one boneless, skinless chicken breast at a time. First, dip the chicken breast entirely into the whisked egg mixture, ensuring all sides are completely coated. Lift the chicken and allow any excess egg to drip back into the dish for a few seconds; this prevents a soggy breading.
- Coat with Panko: Immediately transfer the egg-coated chicken breast to the seasoned panko breadcrumb mixture. Gently press the chicken into the panko, ensuring it’s thoroughly coated on all sides. For maximum crispiness and adhesion, pat the panko onto the chicken with your hands to help it stick firmly. Shake off any loose excess breadcrumbs to avoid a thick, clumpy coating.
- Arrange in Baking Dish: Carefully place the breaded chicken breast into your prepared baking dish. Make sure there’s a little space between each piece (at least an inch) to allow for even air circulation. Overcrowding the dish can lead to steaming instead of crisping, resulting in a less desirable crust.
- Repeat: Continue this breading process with the remaining chicken breasts, placing them in the baking dish as you go, maintaining proper spacing.
- Bake to Perfection: Transfer the baking dish to your preheated oven and bake for 25-35 minutes. The exact baking time will depend on the thickness of your chicken breasts; thinner pieces will cook faster. Crucially, the chicken must reach an internal temperature of 165°F (74°C) at its thickest part to be safely cooked. Use a reliable meat thermometer for accuracy. The crust should be beautifully golden brown and crispy when done.
- Rest Before Serving: Once fully cooked, remove the chicken from the oven and allow it to rest in the baking dish for about 5 minutes before slicing or serving. This resting period is essential as it allows the juices within the chicken to redistribute throughout the meat, resulting in a more tender, flavorful, and incredibly moist chicken breast. Skipping this step can lead to dry chicken. Enjoy your perfectly crispy Panko Crusted Chicken!
Optimal Baked Chicken Oven Temperature and Time
For achieving that ideal balance of a crispy exterior and a tender, juicy interior, Panko Crusted Chicken is best baked at 400°F (200°C). The high temperature ensures a quick and effective crisping of the panko coating, promoting a golden-brown finish without overcooking the inside of the chicken. The baking time will typically range from 25 to 35 minutes. This duration can vary based on several factors, primarily the thickness of your chicken breasts and the calibration of your oven. Thinner chicken pieces (around 1 inch thick) will generally cook closer to the 25-minute mark, while thicker cuts (1.5 inches or more) may require up to 35 minutes. Always use a reliable instant-read meat thermometer to confirm that the chicken has reached an internal temperature of 165°F (74°C) in the thickest part. This is crucial for food safety and ensures your chicken is thoroughly cooked and succulent. A perfectly golden-brown crust, indicating optimal crispiness, is also a good visual indicator that your chicken is nearing perfection.
Delightful Pairings: What to Serve with Panko Crusted Chicken
Panko Crusted Chicken is incredibly versatile and pairs wonderfully with a wide array of side dishes. Its crispy texture and savory flavor make it a fantastic centerpiece for a balanced and satisfying meal. Here are some popular and delicious suggestions to complement your chicken:
- Creamy Mashed Potatoes: A classic comfort food, mashed potatoes provide a smooth, rich contrast to the chicken’s crispiness. Their mild flavor allows the seasoned chicken to shine, and they’re perfect for soaking up any pan juices.
- Fresh or Steamed Green Beans: Simple yet elegant, green beans offer a vibrant green color and a tender-crisp texture. A light sauté with garlic, a drizzle of lemon juice, or a sprinkle of toasted almonds can elevate them beautifully. They offer a refreshing counterpoint to the richness of the chicken.
- Garlic Parmesan Roasted Broccoli and Cauliflower: Roasting brings out the natural sweetness and nutty flavors of these cruciferous vegetables. A sprinkle of garlic powder and grated Parmesan cheese before roasting makes them an irresistible and healthy side, adding a savory depth that complements the chicken.
- Savory Parmesan Orzo: This small, rice-shaped pasta cooked with Parmesan offers a creamy, cheesy, and satisfying side that’s lighter than traditional pasta but equally comforting. It’s quick to prepare and adds a delightful textural element to the meal.
- Sweet Brown Sugar Roasted Carrots: Roasted carrots, especially with a hint of brown sugar and garlic, provide a delightful sweetness that balances the savory notes of the chicken. Their tender texture is also a great complement, adding both color and essential nutrients to your plate.
- A Light Garden Salad: For a refreshing option, a crisp mixed green salad with a bright vinaigrette dressing offers a fresh, clean contrast that cuts through the richness of the chicken. It adds lightness and a burst of fresh flavors.
- Quinoa or Rice Pilaf: These grain-based sides are excellent for soaking up any juices and provide a wholesome, fibrous base for your meal. A vegetable-infused pilaf adds even more flavor and nutrition, making the meal more substantial.
- Baked Asparagus: Toss fresh asparagus spears with olive oil, salt, and pepper, then bake them until tender-crisp. They offer a sophisticated and healthy green side that pairs wonderfully.
Frequently Asked Questions About Panko Crusted Chicken
The most effective way to ensure panko breadcrumbs adhere well to chicken is by first thoroughly coating the chicken breast in a whisked egg wash. The egg creates a sticky surface that the panko can cling to. After dipping in egg, firmly press the chicken into the panko mixture, ensuring all sides are well-covered, then shake off any excess for a clean, crisp finish.
Panko breadcrumbs are naturally designed for crispiness due to their unique flaky structure. To maximize this crispiness when baking, ensure your oven is preheated to the recommended 400°F (200°C) and don’t overcrowd the baking dish, allowing hot air to circulate freely around each piece of chicken. A light, even coating of nonstick spray on the baking dish (without overdoing it) also helps the bottom crust develop a golden crisp rather than becoming soggy.
The correct and most effective order for breading chicken is a simple two-step process: first, dredge the chicken thoroughly in a whisked egg wash. This provides the necessary moisture and stickiness for the breadcrumbs to cling. Second, immediately transfer the egg-coated chicken to the seasoned panko breading mixture, pressing gently but firmly to ensure a full and even coating. This sequence ensures a durable and crispy crust.
For the best results with Panko Crusted Chicken, it is highly recommended to use thawed chicken breasts. Breading frozen chicken can lead to an uneven crust as moisture releases during cooking, and it often results in inconsistent cooking, with the outside potentially cooking before the inside thaws. Thawing ensures that the egg wash adheres properly and that the chicken cooks evenly to a safe internal temperature, resulting in a perfectly crispy and juicy outcome.
While it’s best to bread and bake the chicken immediately for maximum crispness, you can prepare the chicken breasts (trimming, pounding) and mix the panko seasoning ahead of time. Store the chicken in the refrigerator and the breadcrumbs in an airtight container. If you bread the chicken too far in advance, the panko can absorb moisture from the chicken, leading to a less crispy result. If you must bread them ahead, do so no more than an hour before baking, storing them loosely covered in the fridge to minimize moisture absorption.
Store any leftover Panko Crusted Chicken in an airtight container in the refrigerator for up to 3-4 days. To reheat and maintain some crispiness, it’s best to avoid the microwave, which can make the crust soggy. Instead, reheat in a preheated oven at 350°F (175°C) for about 10-15 minutes, or until warmed through and the crust has re-crisped slightly. An air fryer also works wonderfully for reheating, delivering excellent crispness in about 5-7 minutes at 350°F (175°C).
Baked Panko Chicken
Kara Myers – sweetlysplendid.com
15
mins
25
mins
40
mins
4 Servings
Pin Recipe
Print Recipe
Ingredients
- 4 medium sized boneless, skinless chicken breasts
- 2 large eggs
- 3 cups panko breadcrumbs
- 1/2 tsp freshly ground black pepper
- 1/2 tsp coarse kosher salt (adjust to taste)
- 1 TBSP Mrs. Dash Garlic & Herb seasoning (or your preferred salt-free blend)
- 1 TBSP dried parsley
- Nonstick cooking spray
Instructions
- Preheat your oven to 400°F (200°C).
- Lightly spray a 9×13 inch glass baking dish with nonstick cooking spray. Ensure a light, even coating to prevent pooling, which can hinder crisping. Set aside.
- In a shallow dish (like a pie plate), whisk the two large eggs until fully combined.
- In a separate shallow dish, combine the panko breadcrumbs, garlic & herb seasoning, salt, pepper, and dried parsley. Mix well until all seasonings are evenly distributed.
- Take one chicken breast at a time. Dip it completely into the whisked egg mixture, ensuring all sides are coated. Let any excess egg drip off.
- Immediately transfer the egg-coated chicken to the seasoned panko mixture. Press the chicken firmly into the breadcrumbs, coating all sides evenly. Shake off any loose excess.
- Place the breaded chicken breast into the prepared baking dish. Leave some space between each piece.
- Repeat the breading process with the remaining chicken breasts.
- Bake in the preheated oven for 25-35 minutes. Cooking time varies depending on the thickness of the chicken. Ensure the internal temperature reaches 165°F (74°C) at the thickest part for food safety.
- Once fully cooked and golden brown, remove the chicken from the oven. Allow it to rest for 3-5 minutes before serving. This allows the juices to redistribute, ensuring a tender and moist chicken. Enjoy!
Notes
WW Freestyle Points: Approximately 9 per chicken breast (please verify with current WW program guidelines).
Nutrition Information (Approximate)
Serving: 1 chicken breast
Calories: 436 kcal
Carbohydrates: 60 g
Protein: 34 g
Fat: 6 g
Saturated Fat: 1 g
Polyunsaturated Fat: 1 g
Trans Fat: 0 g
Cholesterol: 163 mg
Sodium: 742 mg
Fiber: 0 g
Sugar: 4 g
Nutrition information is automatically calculated and should only be used as an approximation. Dietary needs may vary.
Love this recipe? Share your thoughts and leave a comment below!