
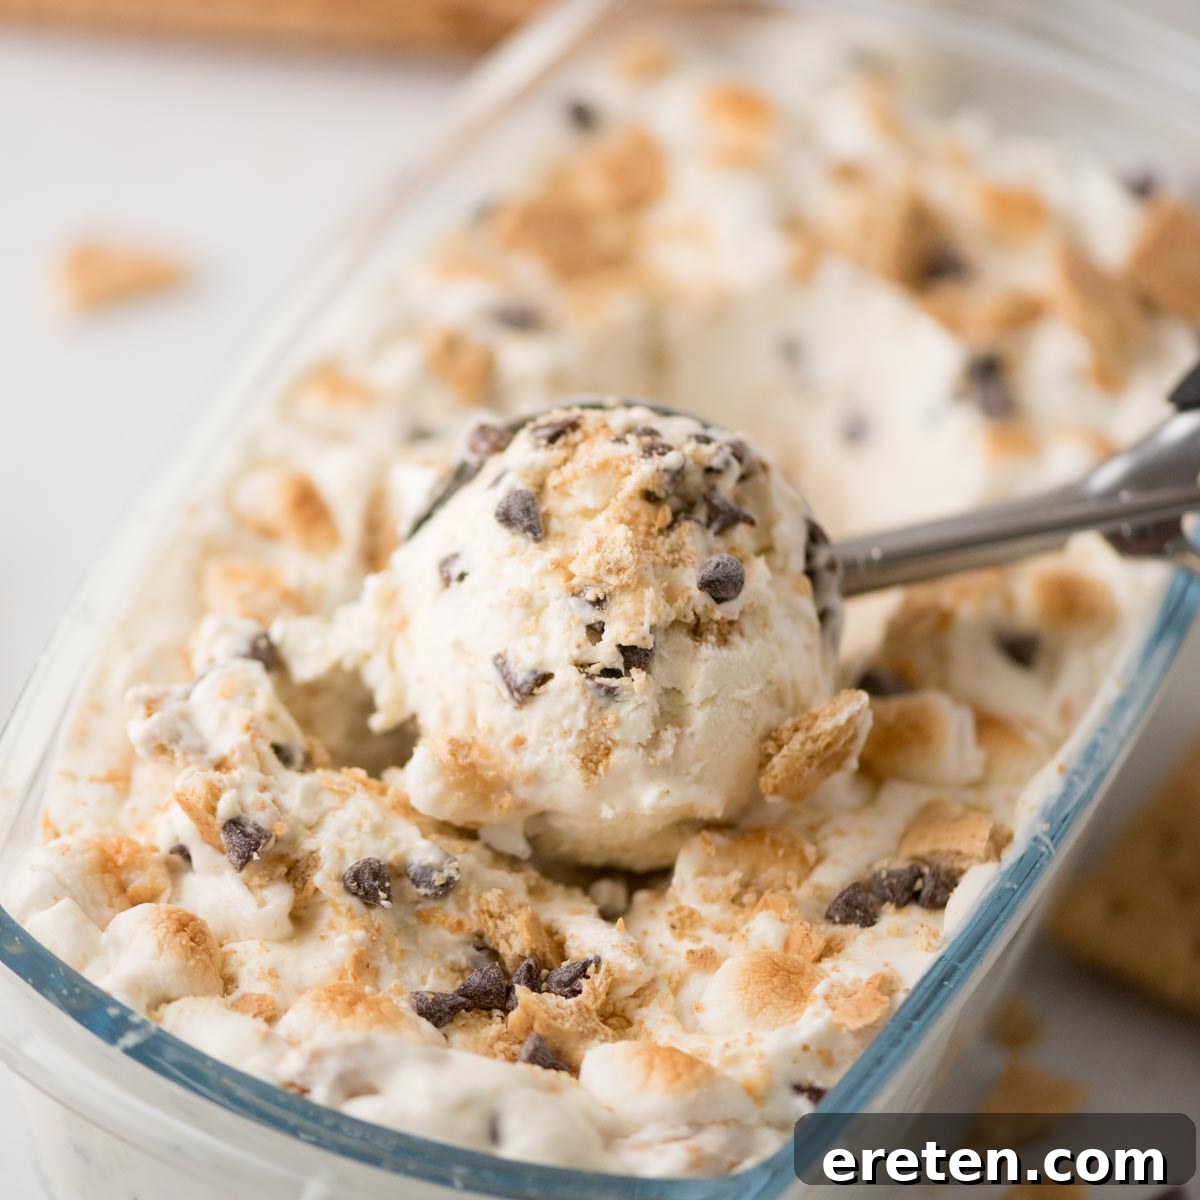
Craving the cozy comfort of s’mores but the scorching summer heat makes a campfire unthinkable? Imagine sinking your spoon into a luscious, cool, and incredibly creamy treat that captures all the nostalgic essence of that beloved outdoor classic. This revolutionary no-churn s’mores ice cream recipe delivers exactly that – a perfect harmony of toasted marshmallows, rich chocolate, and crunchy graham crackers, all without the need for an ice cream maker or enduring a single moment of uncomfortable warmth. Forget the sticky, overly sweet, or icy disappointments often associated with homemade no-churn recipes. This meticulously crafted version promises a velvety texture, balanced sweetness, and an explosion of genuine s’mores flavor in every delightful bite, transforming your summer dessert experience into something truly extraordinary.
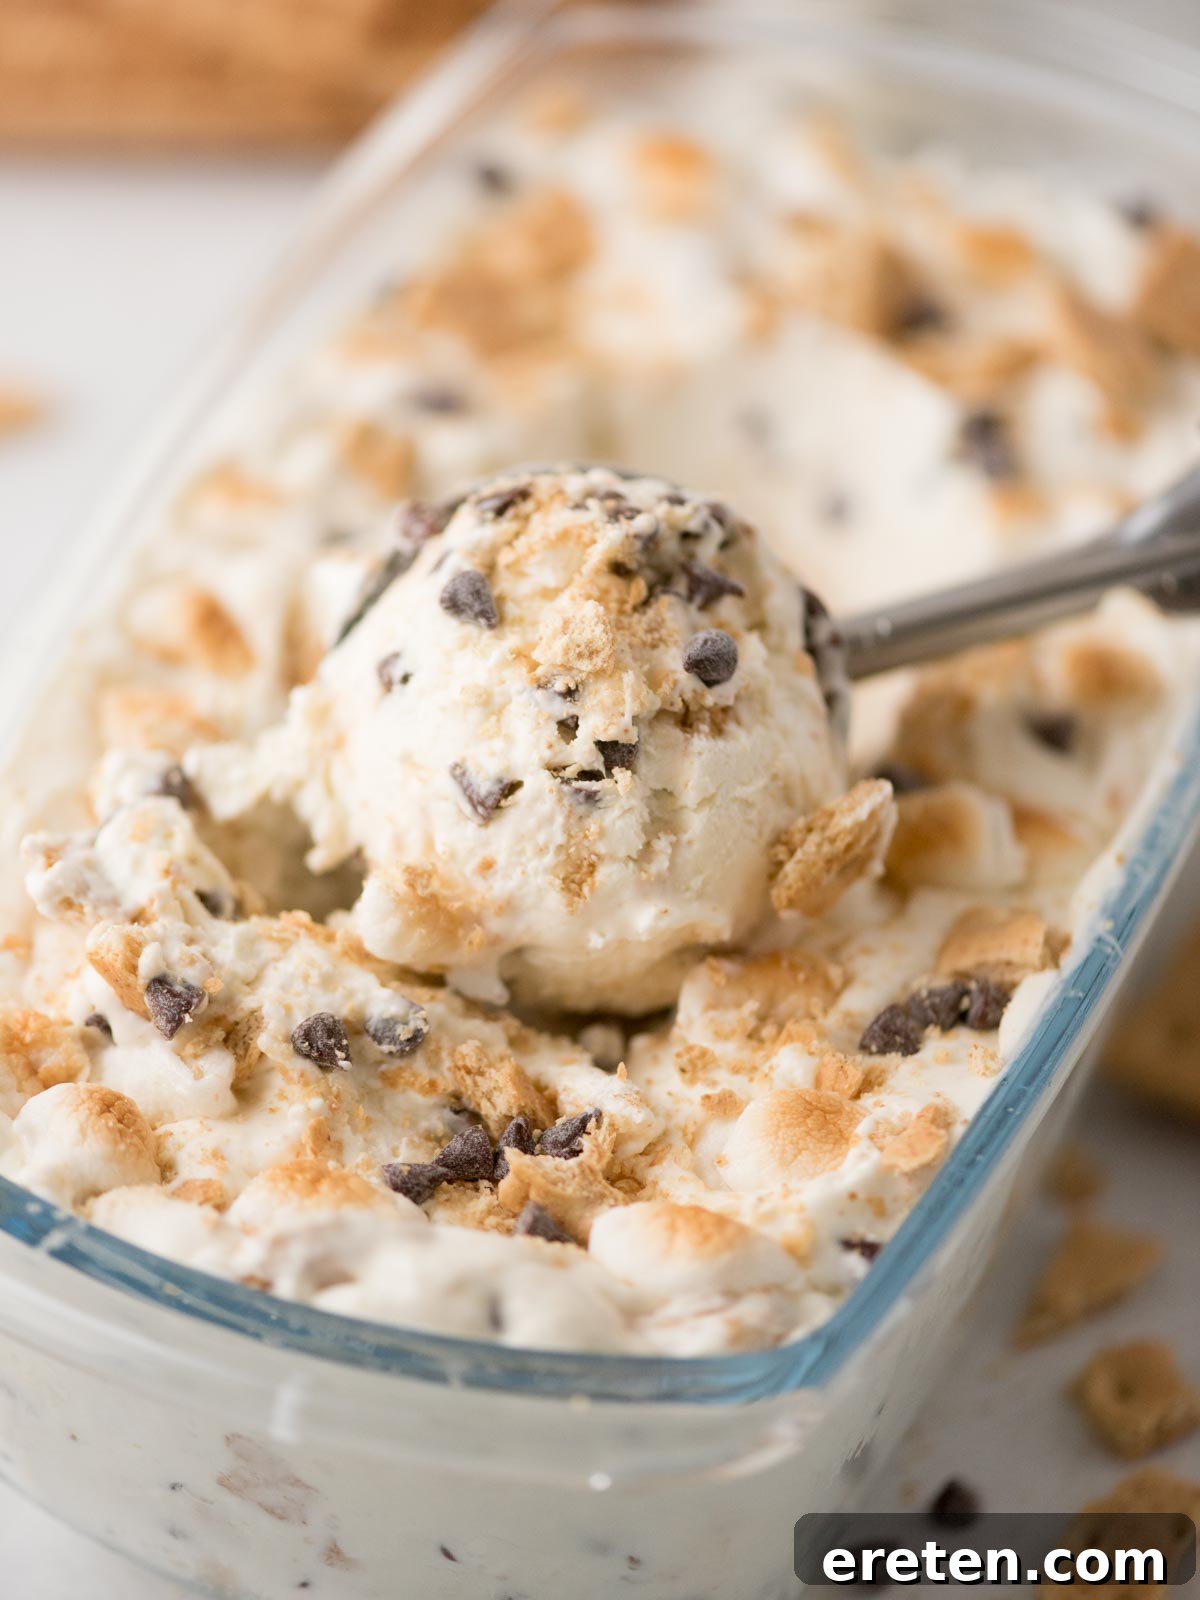
The world of no-churn ice cream can be a minefield of inconsistent results. Many recipes fall short, often yielding a dessert that’s either excessively sweet, freezes into an unappetizingly hard block, or develops an undesirable spongy texture that detracts from the creamy indulgence we all desire. After extensive experimentation and refining the process, I finally perfected a no-churn s’mores ice cream that not only freezes beautifully but also replicates the authentic taste and delightful texture of a freshly made s’more. This isn’t just another no-churn recipe; it’s a solution to all those common pitfalls, ensuring a consistently delicious outcome every time you make it.
The secret lies in a carefully balanced approach. We’ve dialed back the amount of sweetened condensed milk, preventing the base from overpowering the delicate whipped cream and achieving a perfectly balanced sweetness. Furthermore, the precise ratios of mix-ins — chocolate, graham crackers, and marshmallows — are crucial to maintaining that ideal, scoopable texture. An optional but highly recommended step involves toasting the marshmallows; this not only infuses a genuine campfire smokiness into the ice cream but also helps the marshmallows retain their delightful chewiness rather than becoming rock-hard in the freezer. The result is an effortlessly creamy, genuinely scoopable ice cream, packed with just the right amount of decadent chocolate chips, satisfying graham cracker crunch, and irresistibly gooey marshmallow swirls. Say goodbye to strange icy textures or the need for specialized equipment. This is simply a foolproof, cool, and utterly delicious summer treat that truly works, bringing the joy of s’mores to your dessert bowl, no campfire required.
Why You’ll Love This S’mores No-Churn Ice Cream
- Effortless Preparation: No Ice Cream Maker Required. You don’t need any specialized or expensive kitchen appliances to create this divine dessert. All you need are a standard mixing bowl, a hand mixer or stand mixer, and a freezer. This simplicity makes it accessible for anyone to whip up a batch, regardless of their baking experience or equipment availability, transforming a complex-sounding treat into an easy, everyday possibility.
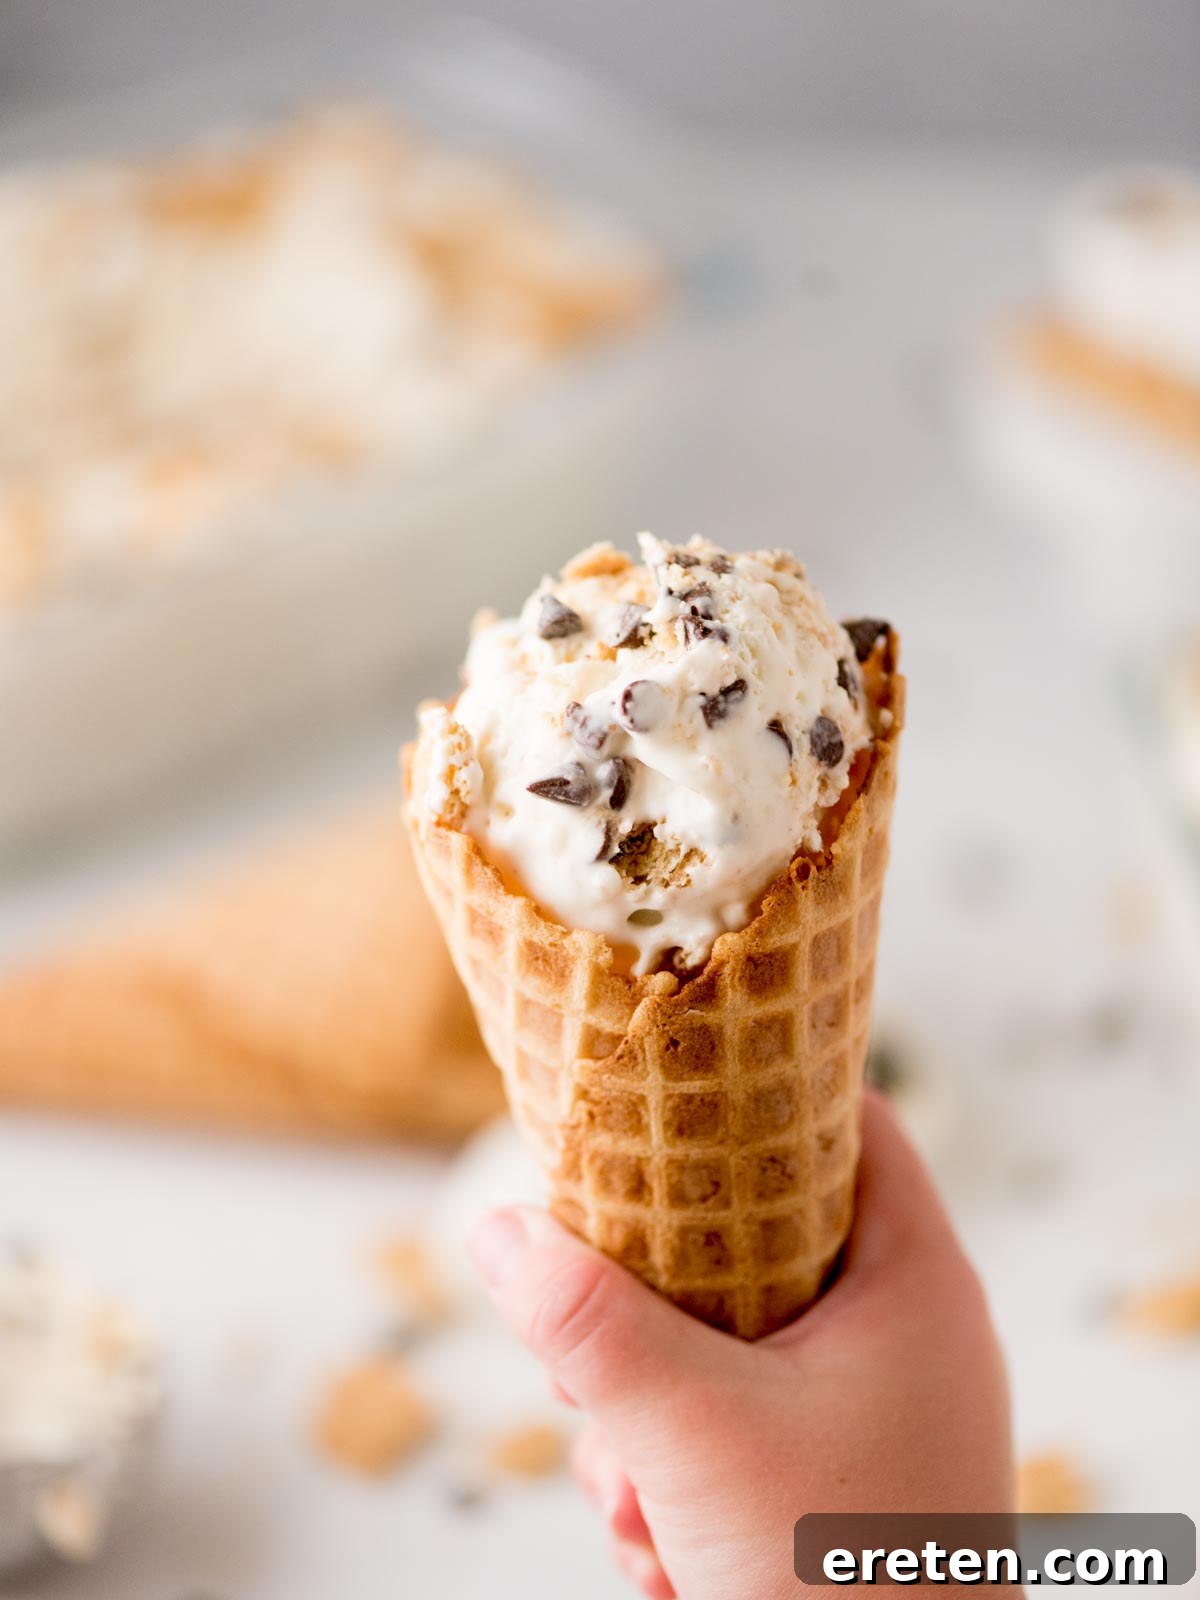
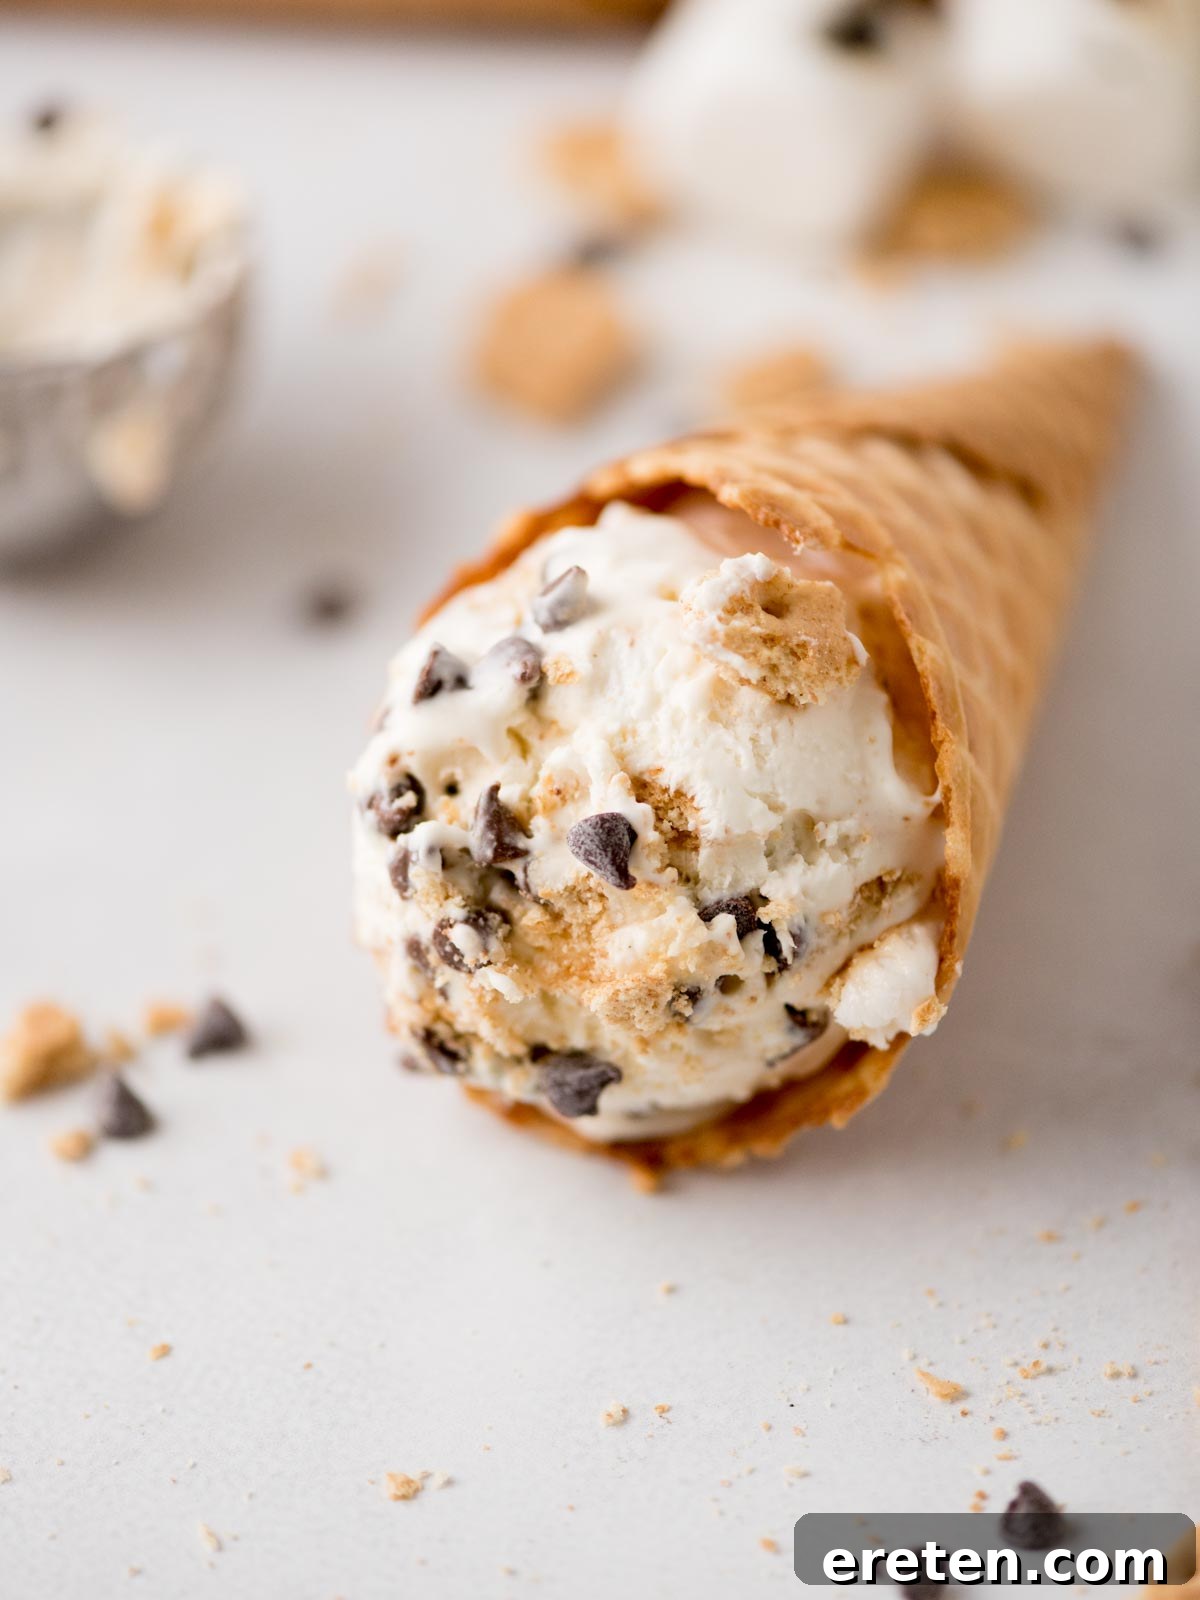
- A Symphony of Textures in Every Scoop. Prepare your taste buds for an exciting journey with each spoonful. This s’mores ice cream isn’t just creamy; it’s generously studded with miniature chocolate chips that offer a delightful snap, substantial pieces of crushed graham crackers that provide a satisfying crunch, and soft, chewy marshmallows that deliver that iconic gooeyness. The interplay of these varying textures creates a dynamic and utterly satisfying dessert experience that keeps you coming back for more.
- The Ultimate Summer Indulgence: Campfire Flavor, Not the Heat. This recipe is your perfect escape on sweltering summer days. It brilliantly captures the beloved, nostalgic flavors of s’mores—the rich chocolate, the sweet graham cracker, and the distinct, smoky hint of toasted marshmallow—without the discomfort of standing over a hot campfire. Enjoy all the cozy, classic taste in a refreshingly cool and creamy format, making it the ideal treat to beat the heat while satisfying your s’mores cravings.
- Convenient and Make-Ahead Friendly. Planning a backyard BBQ, a family gathering, or simply want a sweet treat ready for an impromptu craving? This no-churn s’mores ice cream is incredibly flexible. You can easily prepare it the night before your event, allowing it ample time to freeze perfectly. This make-ahead capability saves you precious time and effort on the day of, ensuring a delicious, homemade dessert is ready to impress whenever you are.
- Reliable Freezing for a Perfect Scoop. Bid farewell to the common frustrations of homemade ice cream that turns icy, rock-hard, or surprisingly spongy. This recipe is designed for optimal freezing, ensuring a consistently creamy, smooth, and easily scoopable texture every time. No more battling with a frozen block; just perfectly soft, velvety ice cream that melts delightfully on your tongue, embodying the ideal homemade dessert experience.
Essential Ingredients You’ll Need
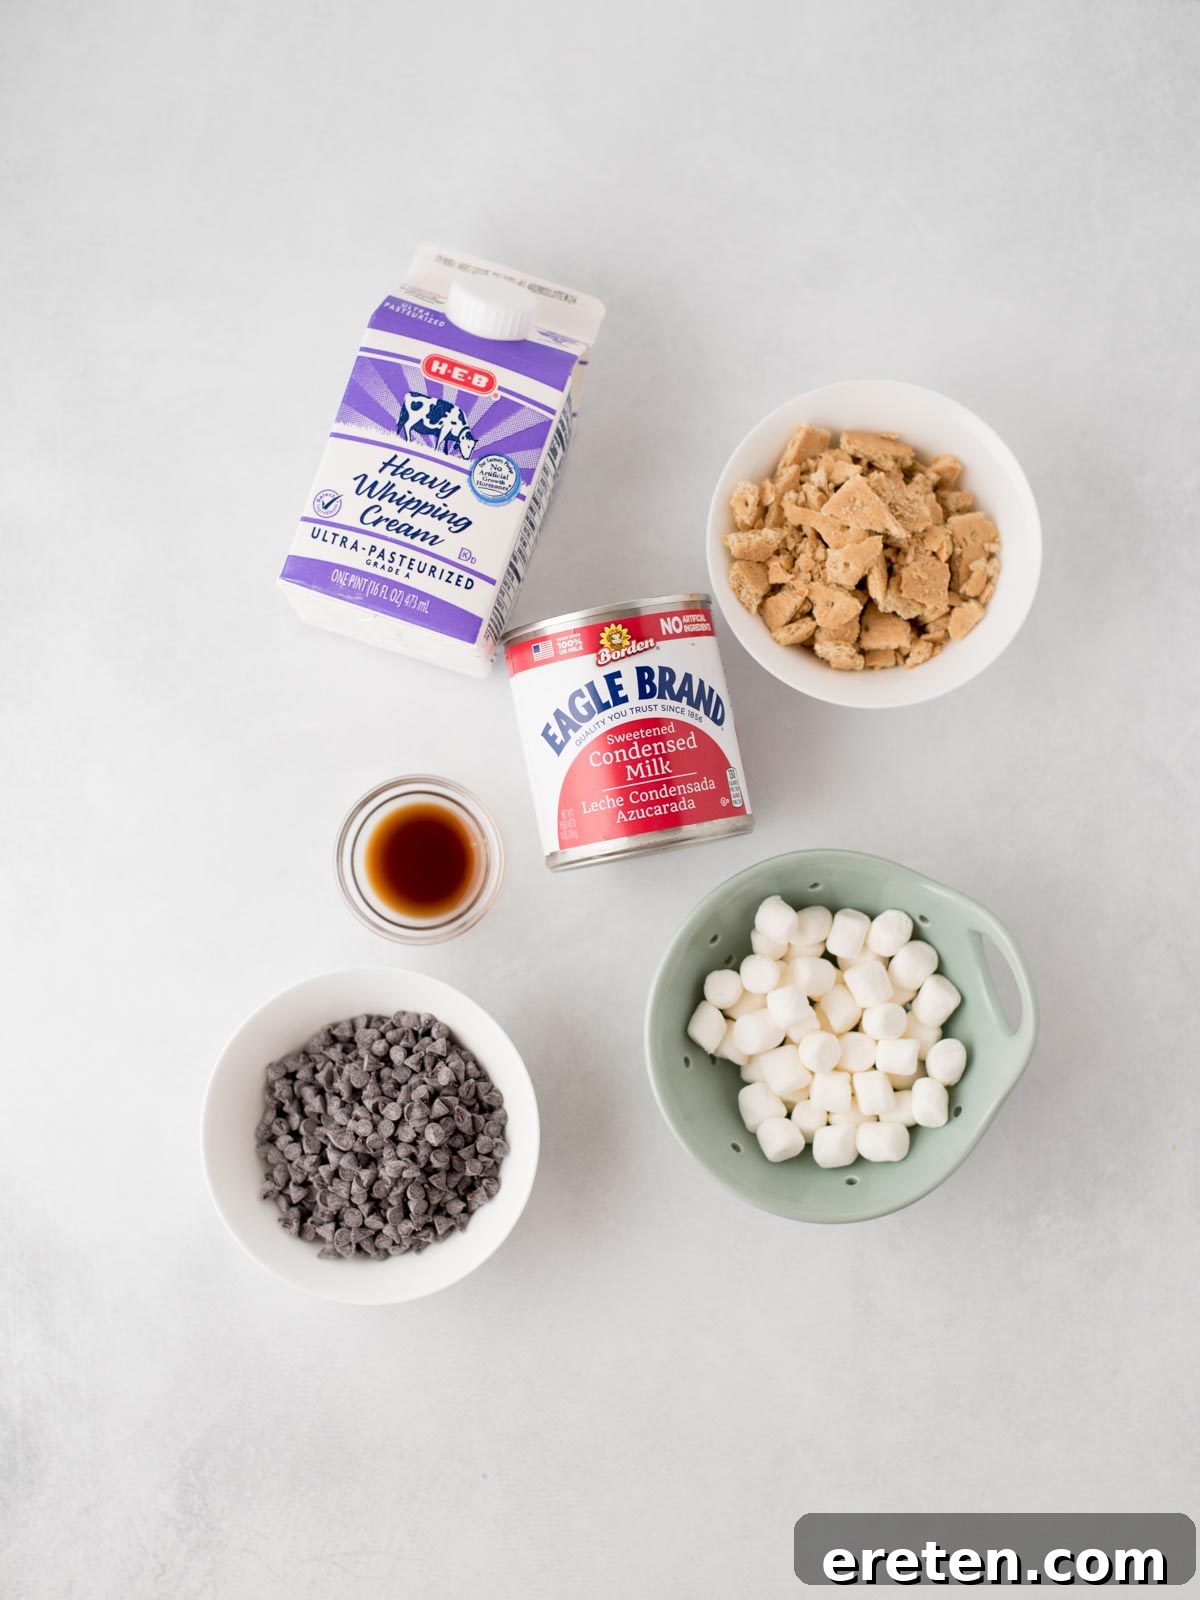
Crafting this irresistible no-churn s’mores ice cream is surprisingly simple, requiring only a handful of everyday ingredients. There’s no need for eggs, no stovetop cooking, and absolutely no fancy equipment. Each ingredient plays a vital role in achieving that perfect creamy texture and classic s’mores flavor, making this recipe accessible and enjoyable for everyone.
- Heavy Whipping Cream – This is the foundational element of your no-churn ice cream. When whipped to stiff peaks, it provides the essential airiness and structure that holds all the other ingredients together, transforming into that dreamy, light, and creamy ice cream base. Ensure it’s very cold for best whipping results.
- Sweetened Condensed Milk – This magical ingredient is key to adding rich sweetness and a luxurious, smooth body to the ice cream without the need for a traditional custard base. We use precisely one can to strike a perfect balance, preventing the ice cream from becoming overly sweet and ensuring it freezes with the ideal scoopable consistency rather than turning into a rock-hard block.
- Vanilla Extract – A splash of real vanilla extract is crucial for rounding out the overall flavor profile. It enhances the sweetness of the base and imparts that classic, comforting ice cream taste that perfectly complements the s’mores elements. Don’t skip this, as it adds depth and warmth to the dessert.
- Mini Marshmallows – These tiny pockets of sweetness are essential for providing that characteristic chewiness and the authentic s’mores experience. Their small size integrates beautifully into the creamy base. For an elevated flavor and improved texture in the freezer, consider lightly toasting them beforehand; this adds a smoky, caramelized note reminiscent of a campfire treat.
- Mini Chocolate Chips – While any chocolate chips work, I highly recommend using mini dark chocolate chips. The dark chocolate provides a wonderful contrast, balancing the sweetness of the other ingredients beautifully. Mini chips ensure even distribution throughout the ice cream, and they retain a slight firmness when frozen, contributing a fantastic textural element that’s not too hard or brittle.
- Graham Crackers – The quintessential s’mores component! It’s important to crush them, but avoid pulverizing them into a fine powder. You want distinct, uneven pieces to maintain that delightful textural crunch and the buttery, slightly nutty flavor that is so integral to s’mores. These pieces will bring an incredible depth and authenticity to your ice cream.
How to Craft S’mores Ice Cream Without an Ice Cream Maker
Creating this delicious no-churn s’mores ice cream is a straightforward process that yields impressive results. Follow these simple steps carefully to ensure a creamy, perfectly textured dessert every time.
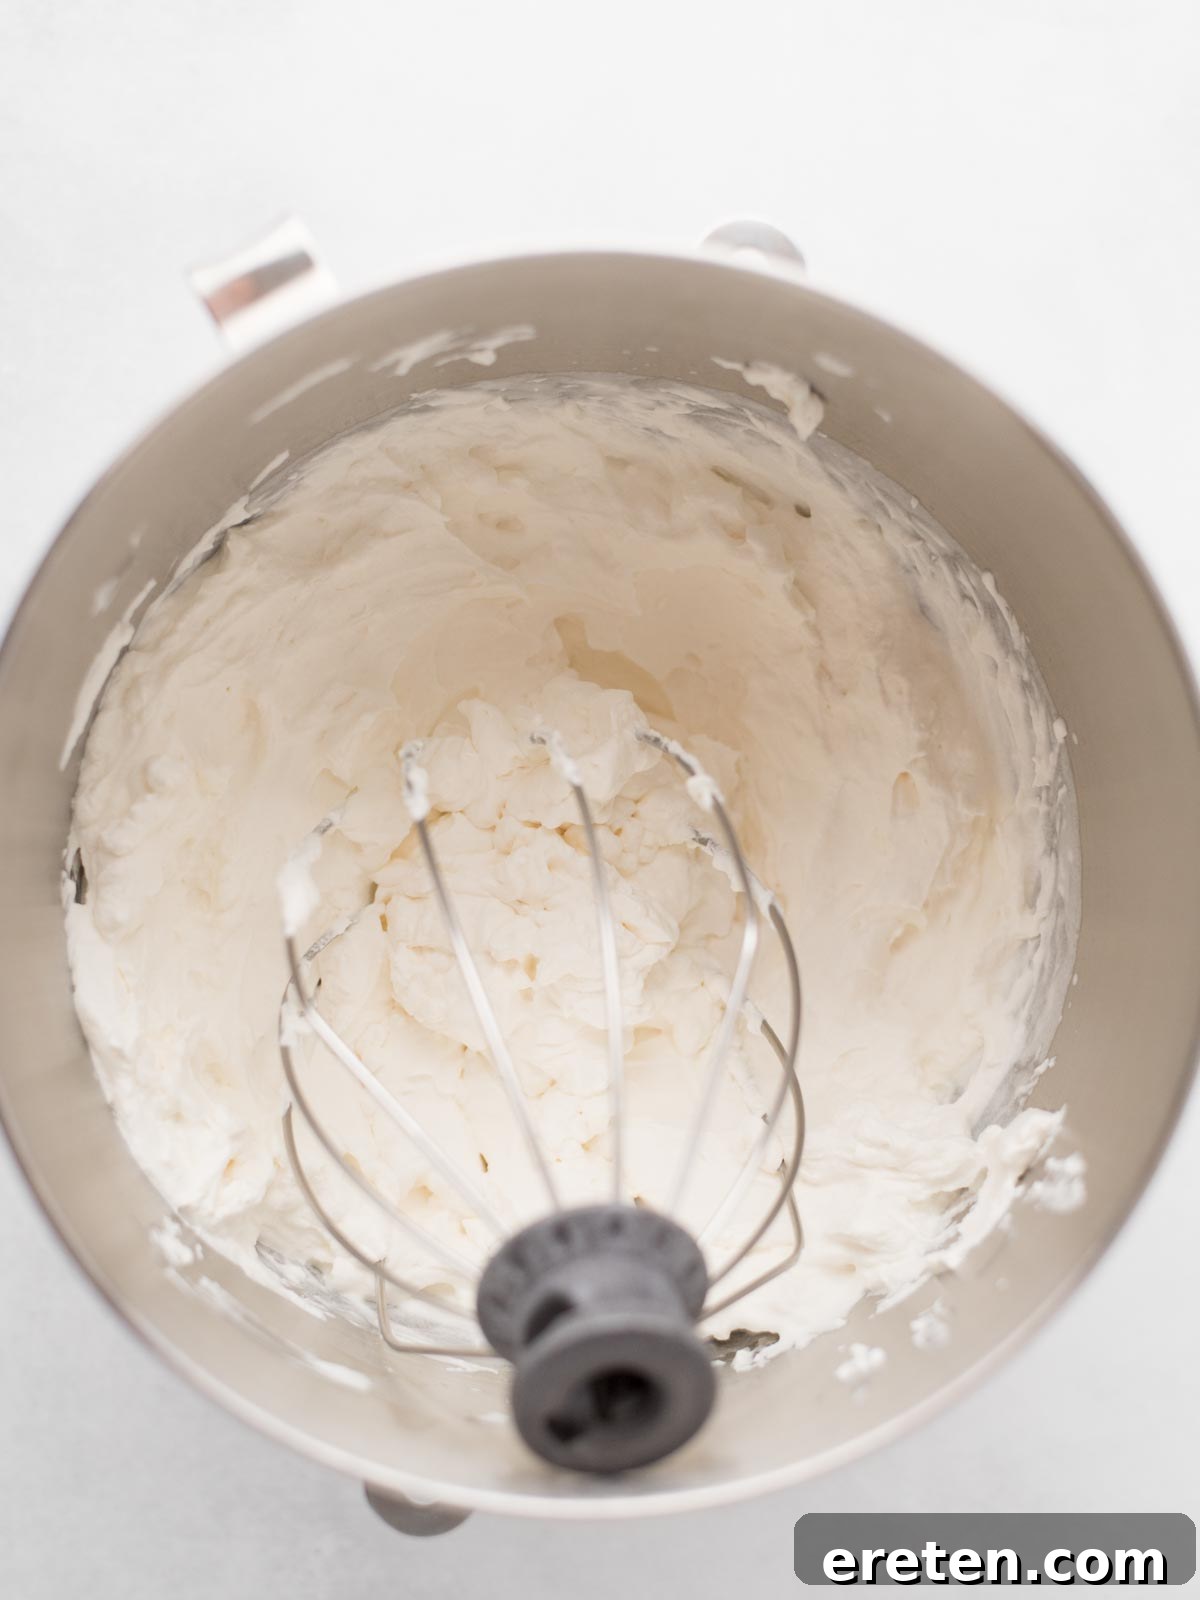
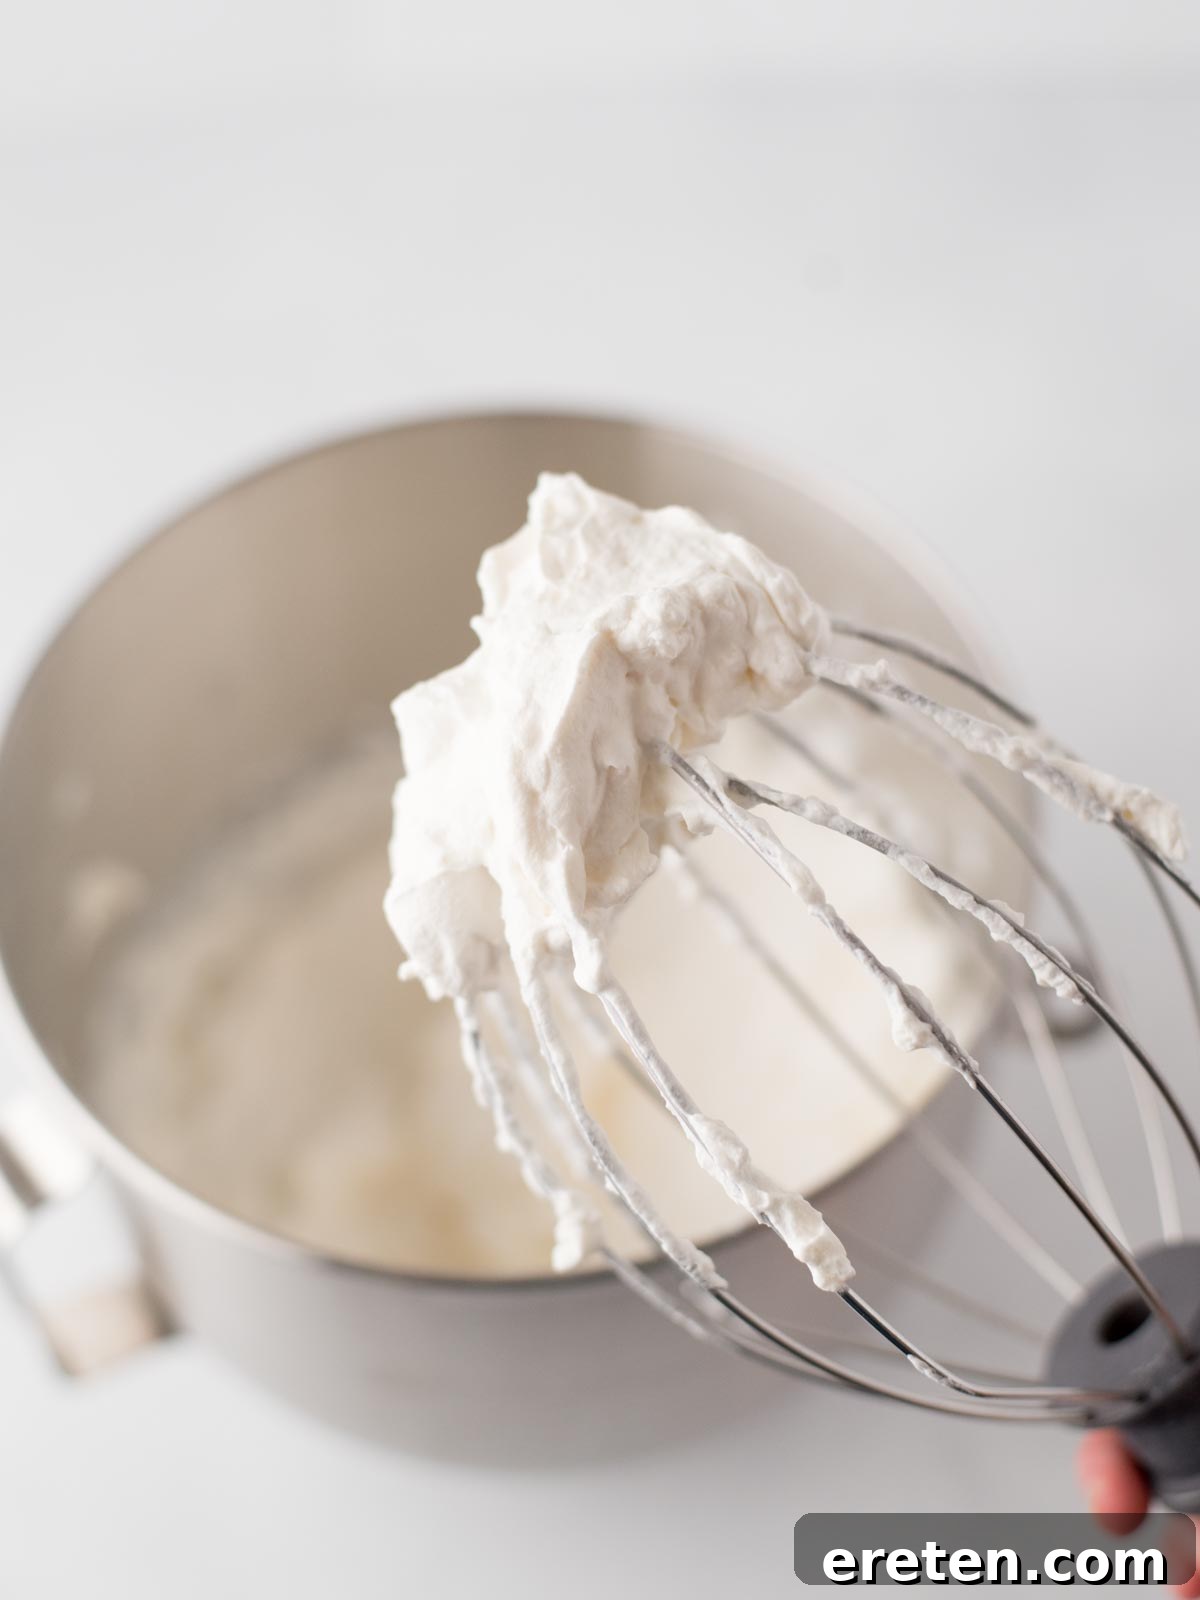
- Begin by pouring your very cold heavy whipping cream into a large, impeccably clean mixing bowl. Using either a hand mixer or a stand mixer fitted with the whisk attachment, start whipping the cream on medium-high speed. Continue to whip steadily until the cream transforms into stiff peaks. This means that when you lift the beaters straight out of the cream, the peaks should stand upright firmly without collapsing or drooping. It’s crucial not to stop at soft peaks; the robust structure of stiff peaks is what gives your ice cream its essential airy, creamy texture and ensures it holds its shape during freezing. Undereating will result in a flat, dense ice cream, so be patient and whip until truly stiff.
- Once your heavy cream has reached stiff peaks, reduce the mixer speed to its lowest setting. Gradually and slowly drizzle in the sweetened condensed milk, followed by the vanilla extract. It’s important to add these ingredients gently to avoid deflating the carefully whipped cream. Mix only until the condensed milk and vanilla are just combined with the whipped cream. The goal here is to maintain as much of that light, fluffy, airy texture as possible. You might notice a few streaks of condensed milk clinging to the sides of the bowl, and that’s perfectly fine; these will be incorporated fully in the subsequent folding steps. The key is to resist the urge to overmix, as vigorous beating at this stage can collapse the delicate air bubbles in the whipped cream, leading to a denser, less desirable ice cream texture.
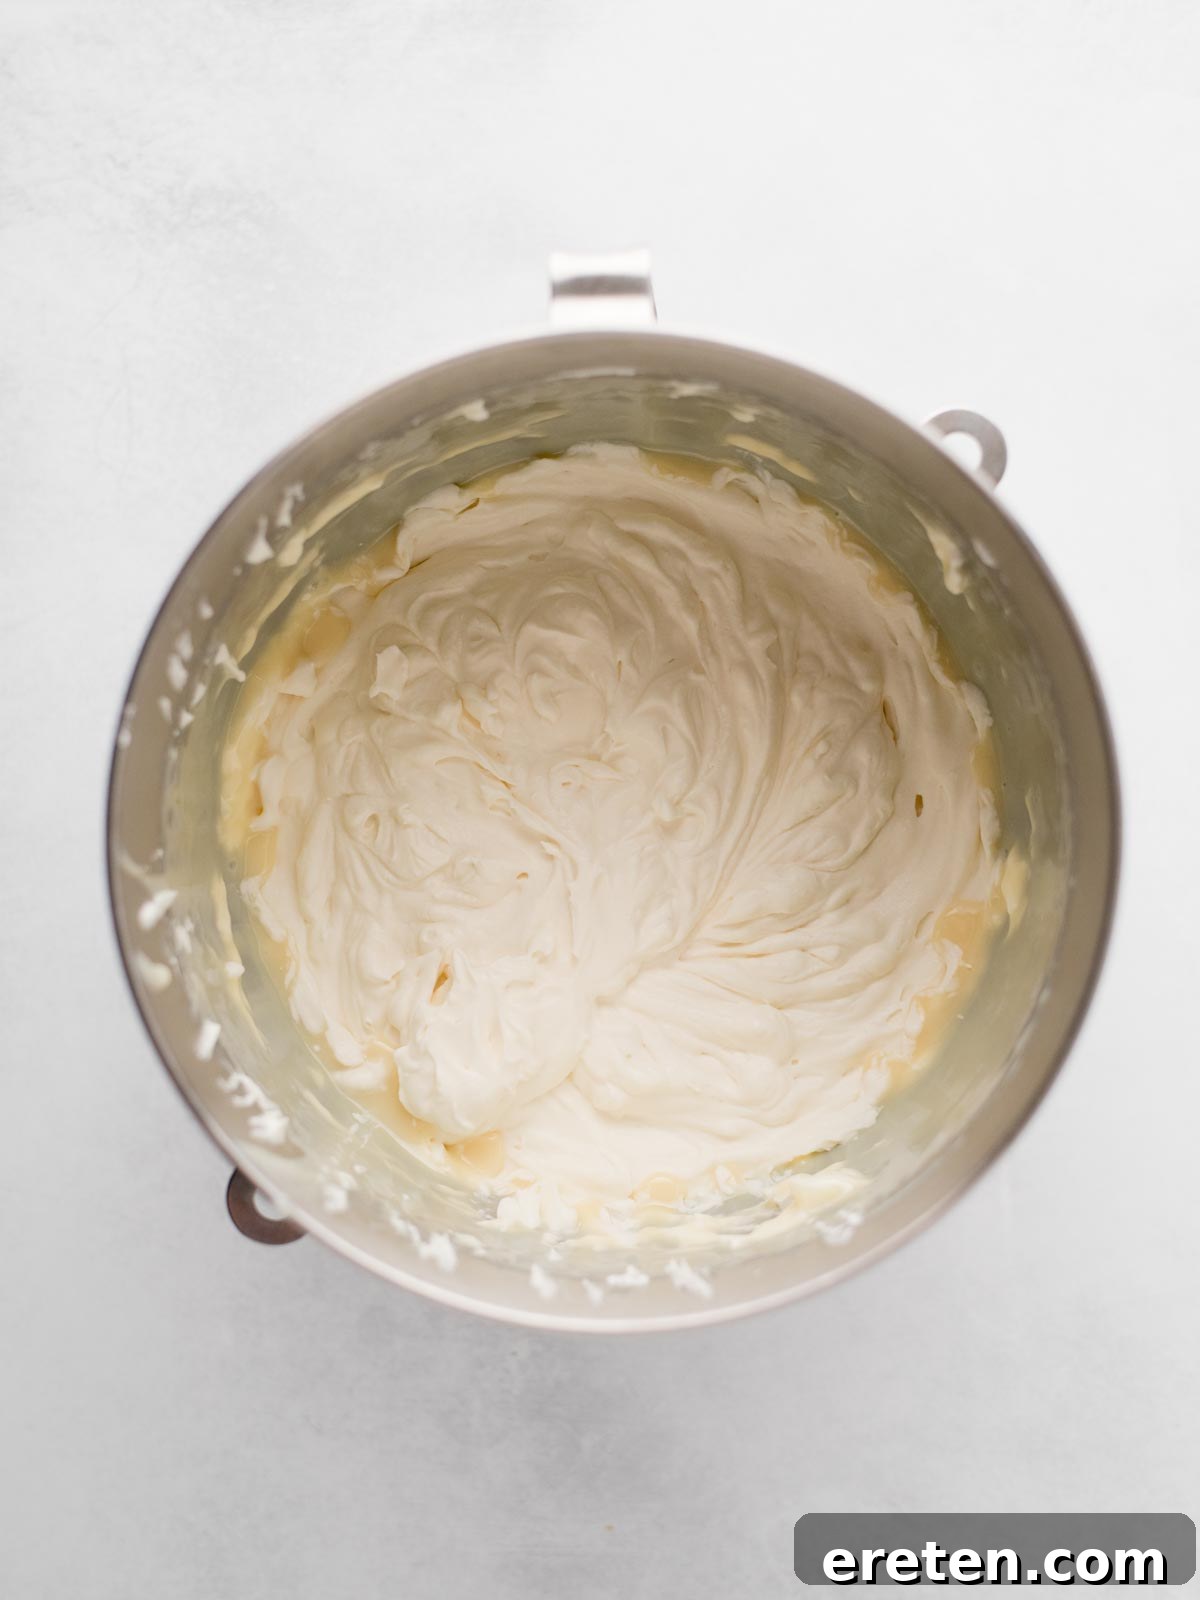
- Now, set your mixer aside. It’s time for the final, crucial step: incorporating the s’mores mix-ins. Using a rubber spatula, gently fold in the mini marshmallows, mini chocolate chips, and crushed graham crackers into the ice cream base. Use a soft, deliberate folding motion, bringing ingredients from the bottom of the bowl up over the top. The objective is to distribute the mix-ins evenly throughout the cream without deflating the whipped texture. Be extremely careful not to overmix at this stage; the air incorporated into the whipped cream is precisely what gives this no-churn ice cream its wonderfully light and creamy consistency. Overmixing will knock out this precious air, resulting in a denser, icier final product.
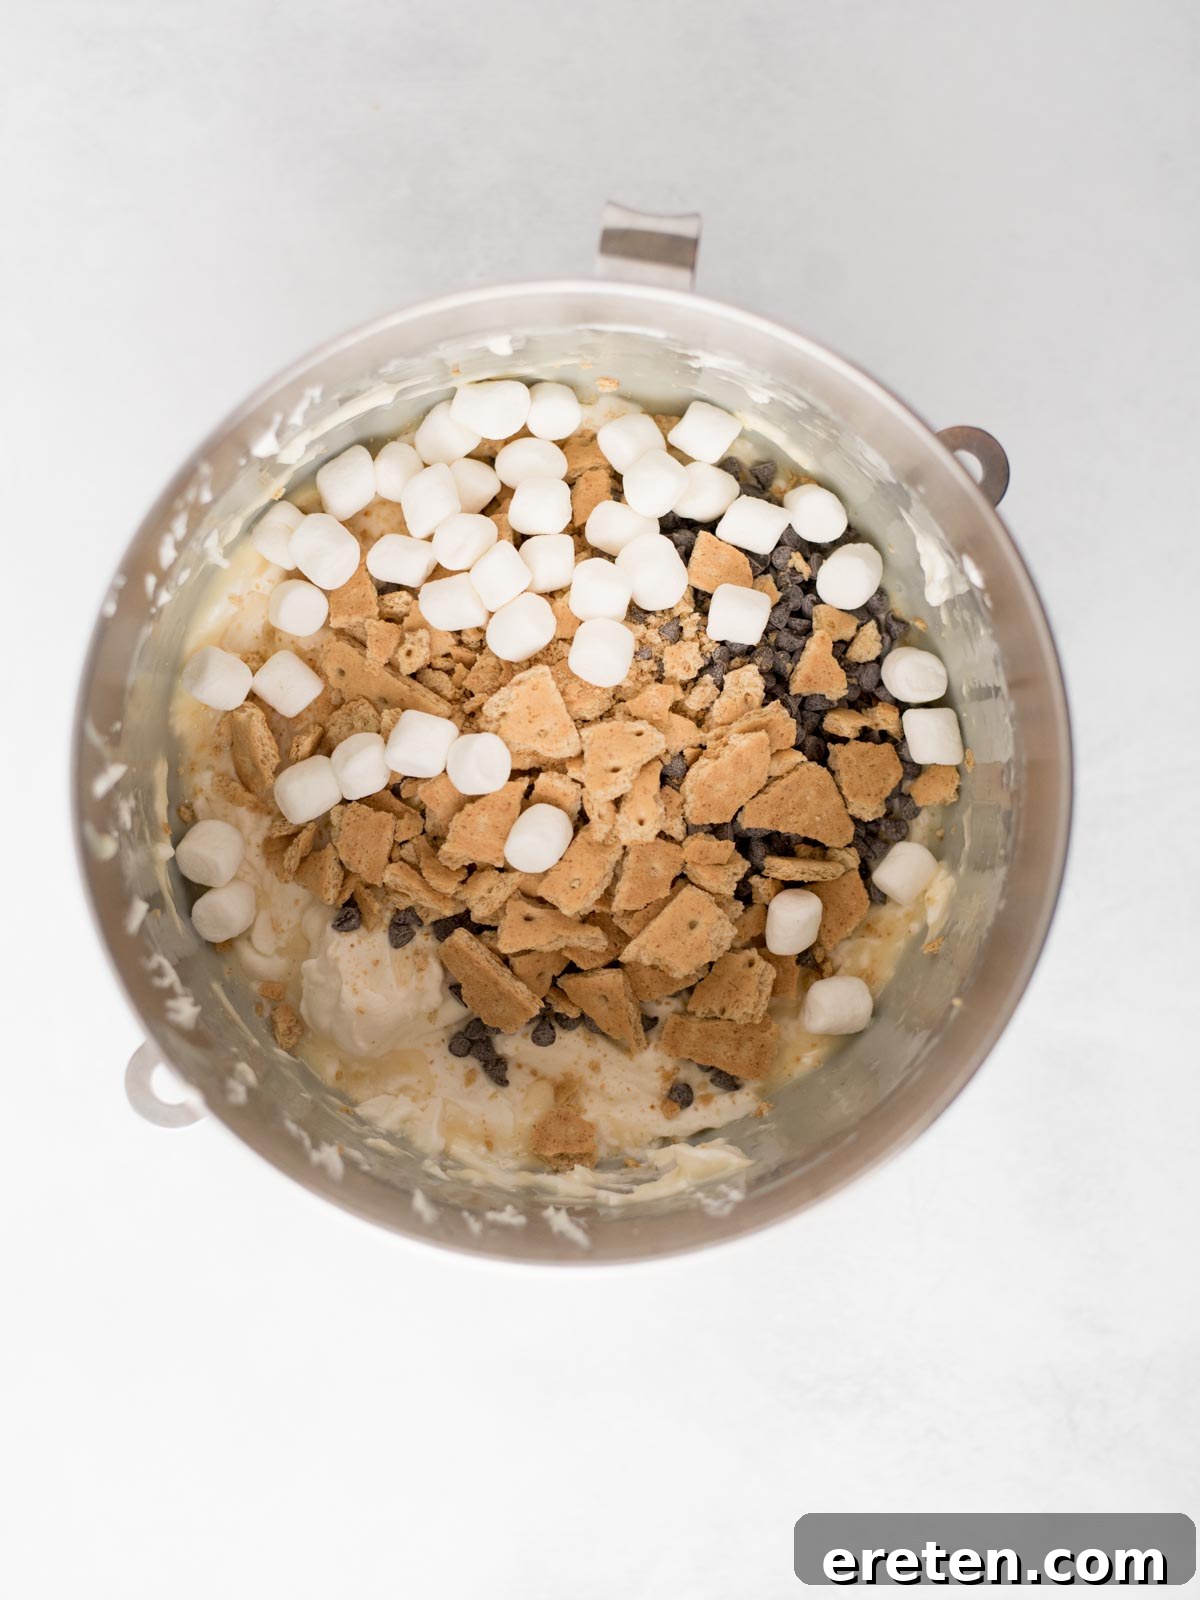
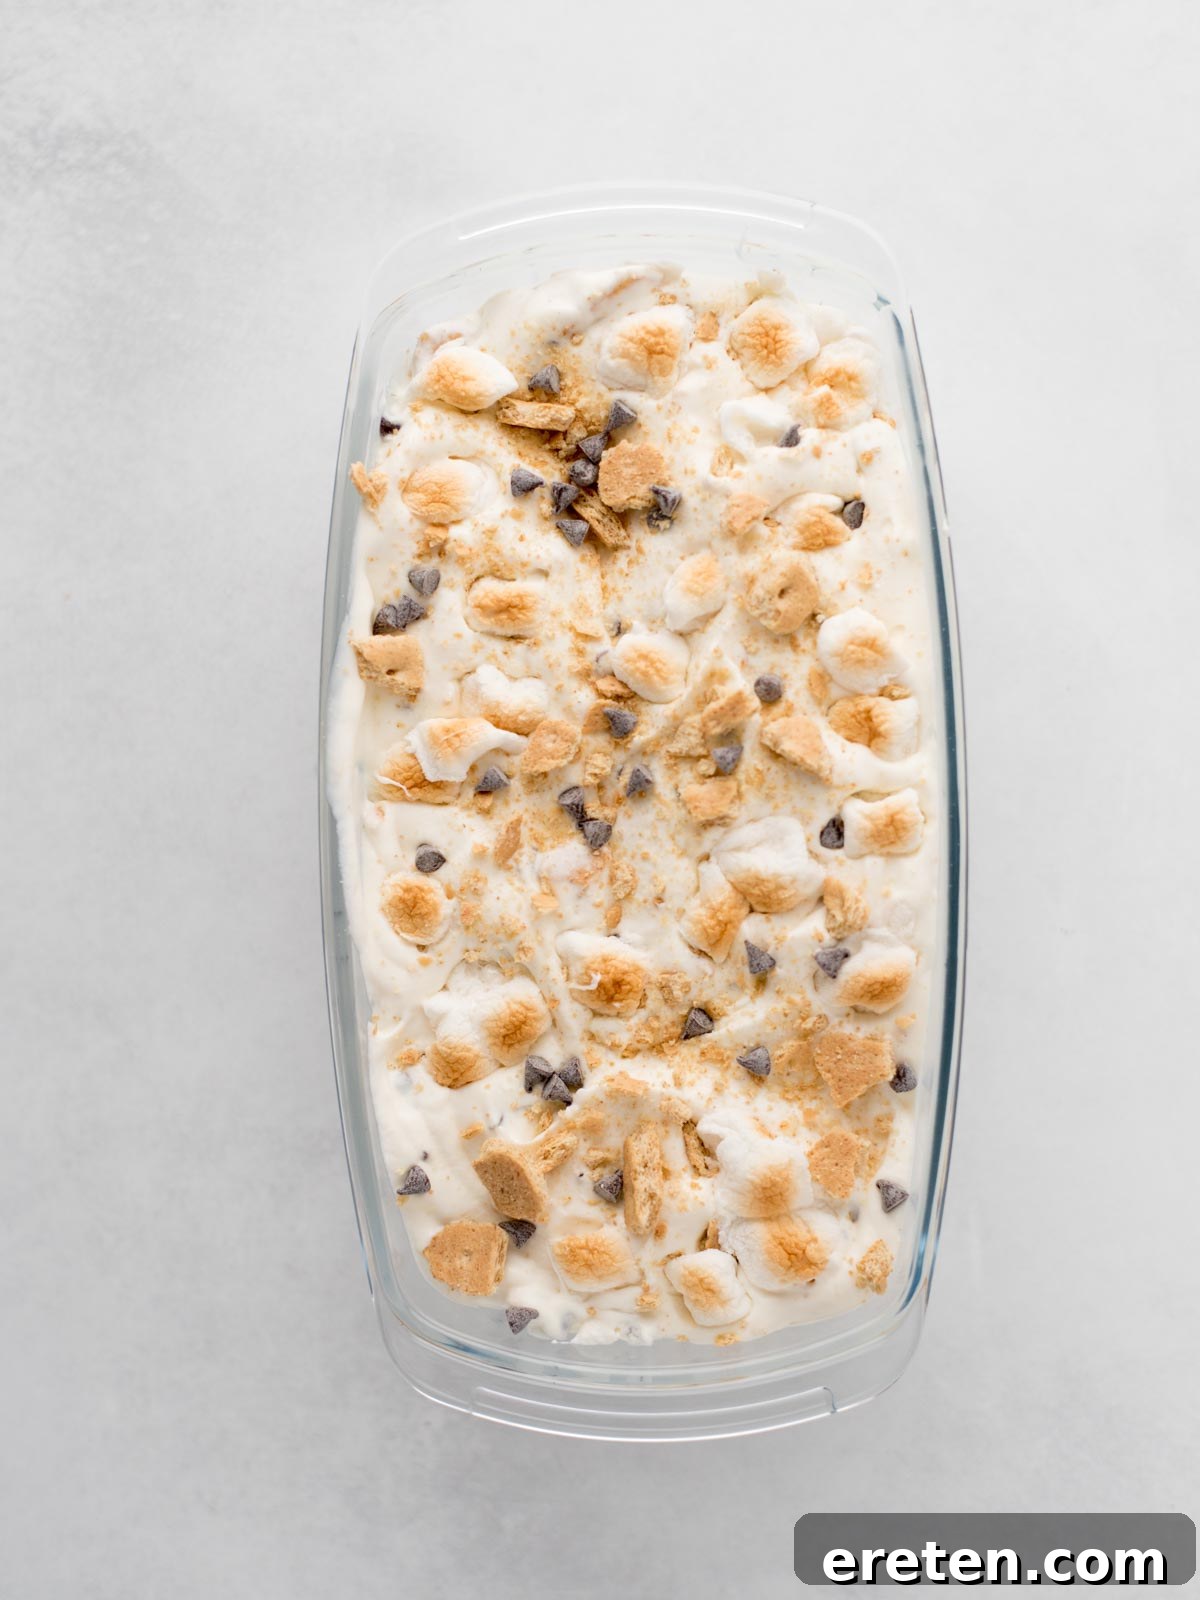
- Once the mix-ins are evenly folded, carefully pour the entire mixture into your chosen freezer-safe container. A standard loaf pan works exceptionally well for this, offering a good surface area for even freezing. Use your spatula to gently smooth out the top of the ice cream mixture. For an extra visual appeal and an additional burst of flavor and texture, sprinkle a few extra mini marshmallows, chocolate chips, and graham cracker crumbs over the surface before freezing. This creates a beautiful, inviting top layer that promises deliciousness beneath.
- The final step is patience! Cover your container tightly with a lid or several layers of plastic wrap, pressing the plastic wrap directly onto the surface of the ice cream to prevent ice crystal formation. Place it into your freezer and allow it to set for a minimum of 4-6 hours, or ideally, until it is completely firm throughout. For the absolute best, most scoopable texture, take the container out of the freezer about 5-10 minutes before you plan to serve it. This brief rest at room temperature will soften the ice cream just enough, making it easier to scoop and revealing its perfect, creamy consistency.
Understanding Stiff Peaks: A Visual Guide
Achieving stiff peaks when whipping heavy cream is a critical step for successful no-churn ice cream. But what exactly do they look like? When your cream is properly whipped to stiff peaks, you’ll observe a significant change in its consistency. If you lift the beaters or whisk straight up from the cream, the cream should form a peak that stands tall and firm, holding its shape without any visible drooping or collapsing at the tip. The texture should appear thick, wonderfully smooth, and glossy, often leaving distinct lines or trails in the bowl as the beaters move. If the peaks are still soft, slump over, or resemble a liquidy dollop, continue whipping for a little longer, monitoring closely to avoid over-whipping into butter. The firmer the peaks, the more air has been incorporated, which is essential for that light, creamy, non-icy texture in your final ice cream.
Expert Tips for Making Perfect No-Churn Ice Cream
While making no-churn ice cream is generally simple, a few expert tips can elevate your results from good to absolutely perfect. Pay attention to these details for the creamiest, most delicious s’mores ice cream.
- Always Start with Super Cold Cream. The temperature of your heavy whipping cream is paramount. Cold cream whips significantly faster and develops a much more stable structure, which is crucial for the airiness of your ice cream. Avoid letting it sit out at room temperature even for a few minutes while you gather other ingredients. Take it directly from the refrigerator and pour it into your mixing bowl to ensure optimal whipping performance.
- Whip to Stiff Peaks – No Exceptions. This step is non-negotiable for a truly successful no-churn ice cream. The structural integrity and volume of your ice cream largely depend on achieving properly stiff peaks. If you underwhip the cream, your base will lack the necessary aeration, resulting in a dense, flat, and often icy final product. Keep whipping until the peaks hold their shape firmly when the beaters are lifted.
- Handle with Care After Adding Condensed Milk. Once you’ve achieved those beautiful stiff peaks and begin to incorporate the sweetened condensed milk, gentle mixing is key. Switch your mixer to its lowest speed or, even better, fold it in by hand using a rubber spatula. Overmixing at this stage is a common pitfall that can easily deflate the whipped cream, leading to a heavy, sometimes spongy, or less creamy texture. Mix just until combined.
- Resist the Urge to Overload with Mix-ins. While it might be tempting to add extra marshmallows or chocolate chips, excessive amounts can actually hinder the freezing process and negatively impact the ice cream’s texture. Too many solids can make the mixture too dense to freeze properly or cause it to become unpleasantly hard. Stick closely to the recommended measurements for the best balance of flavor, texture, and freezing consistency.
- Choose the Right Freezing Container. For optimal results, freeze your ice cream in a shallow, airtight container. A loaf pan is an excellent choice as it provides a good surface area for even freezing. Always cover the container tightly with a lid or a layer of plastic wrap pressed directly onto the surface of the ice cream, followed by foil, to prevent ice crystals from forming and to protect against freezer burn.
- Allow for a Brief Rest Before Scooping. No-churn ice cream tends to freeze quite firmly, which is normal. To achieve that perfect, effortless scoop and enjoy its creamy consistency, remove the container from the freezer and let it sit at room temperature for about 5-10 minutes before serving. This brief softening period will make scooping a breeze and enhance the overall eating experience.
Troubleshooting Common Texture Issues
Even with the best intentions, sometimes things don’t go exactly as planned. Here’s how to troubleshoot common texture problems with no-churn ice cream:
- Spongy or Sticky Texture? This often indicates that you might have overmixed the base after adding the condensed milk, causing the whipped cream to deflate, or you may have added too many marshmallows which can alter the freezing dynamics. To prevent this, ensure you stick to the listed measurements for mix-ins and always fold them in gently by hand, preserving as much air as possible in the whipped cream.
- Didn’t Freeze Properly or Too Soft? If your ice cream isn’t setting up correctly, first verify that your freezer is functioning optimally, ideally set to 0°F (-18°C) or colder. Also, ensure you are using a shallow, airtight container as recommended. A common culprit for overly soft ice cream is using more than the specified amount of sweetened condensed milk, which lowers the freezing point and can prevent it from firming up adequately.
- Too Hard to Scoop? This is a very common characteristic of most no-churn ice creams, as they lack the air incorporation of traditional machine-made ice cream. Don’t worry, it’s easily remedied! Simply remove the container from the freezer and let it sit at room temperature for about 5 to 10 minutes before attempting to scoop. This brief resting period allows it to soften just enough for perfect, creamy scoops.
Optimal Storage for Your No-Churn Ice Cream
To ensure your homemade s’mores no-churn ice cream remains as fresh, creamy, and delicious as the day you made it, proper storage is essential. Following these guidelines will help preserve its quality and prevent unwanted ice crystals from forming.
Always store your s’mores ice cream in a high-quality, freezer-safe, airtight container. A sturdy loaf pan with a tight-fitting lid is an excellent choice, as its shape facilitates even freezing and convenient scooping. If your container doesn’t come with a perfectly sealing lid, don’t fret! Simply press a layer of plastic wrap or parchment paper directly onto the surface of the ice cream. This crucial step creates a barrier that prevents air from reaching the ice cream, which is the primary cause of ice crystal formation and freezer burn. After applying the plastic wrap, cover the entire container tightly with aluminum foil for an extra layer of protection.
For the absolute best texture, flavor, and overall eating experience, it’s recommended to enjoy your no-churn s’mores ice cream within 2 weeks of preparation. While it will remain safe to consume beyond this period, you might notice a gradual decline in its ultra-creamy texture, with a tendency for more icy bits to develop. The fresher, the better when it comes to homemade ice cream!
When that craving strikes and you’re ready to indulge, remember this simple trick: allow the container to sit at room temperature for approximately 5-10 minutes before attempting to scoop. This brief rest allows the ice cream to slightly soften, making it effortlessly scoopable without compromising its rich, creamy consistency. You’ll achieve perfect, smooth scoops every time, ready to be enjoyed.
Frequently Asked Questions About S’mores No-Churn Ice Cream
While you certainly can use regular-sized marshmallows, it’s highly recommended that you chop them into smaller pieces first. Mini marshmallows are generally easier to fold evenly into the ice cream base and tend to freeze more consistently, which contributes to a smoother and more enjoyable texture in the final product. Larger pieces might become too hard when frozen or create pockets that don’t freeze as well.
For the most balanced flavor profile, I strongly recommend using mini dark chocolate chips. Their slightly bitter notes beautifully complement the sweetness of the condensed milk and marshmallows. Mini chips also ensure better distribution throughout the ice cream, so you get chocolate in every bite. However, if your preference leans towards milk chocolate, feel free to use them! You can even roughly chop a high-quality chocolate bar for larger, more intense chocolatey chunks.
Not at all! Toasting the marshmallows is completely optional and purely a matter of preference. While toasting adds a wonderful, authentic campfire flavor and helps prevent the marshmallows from becoming too sticky or hard in the freezer, the recipe works perfectly well without this extra step. If you’re short on time or prefer a simpler approach, feel free to skip the toasting.
Yes, absolutely! This recipe scales up beautifully. If you’re making it for a larger crowd or simply want more to enjoy, feel free to double all the ingredients. Just be sure to use a larger freezer-safe container, or divide the mixture between two standard loaf pans to ensure it freezes evenly. Keep in mind that a larger volume may require a bit more time in the freezer to set completely.
To minimize ice crystal formation, the key is to prevent air from coming into contact with the surface of the ice cream. After pouring the mixture into your freezer-safe container, press a layer of plastic wrap or parchment paper directly onto the surface of the ice cream. Then, cover the container tightly with its lid or a layer of aluminum foil. This dual-layer protection creates an airtight seal that significantly reduces ice crystal development, keeping your ice cream wonderfully creamy.
Absolutely! This recipe is a fantastic base for customization. While the classic s’mores elements are perfect as is, feel free to experiment with additional mix-ins. Consider adding a swirl of chocolate fudge, a drizzle of caramel, or even some chopped nuts for extra crunch. Just be mindful not to overload the mixture, as too many additions can impact the freezing process and texture. Maintain the suggested overall volume of mix-ins for best results.
Explore More Delightful Dessert Recipes You Might Love:
If you enjoyed this easy and delicious no-churn s’mores ice cream, you’re in for a treat! Here are more fantastic dessert recipes that are sure to satisfy your sweet tooth and become new favorites in your kitchen:
- Classic Southern Peach Cobbler: A warm, comforting dessert featuring juicy, ripe peaches baked under a sweet, tender biscuit topping. Perfect for any season!
- Seasonal Pumpkin Spice No-Churn Ice Cream: Embrace autumn flavors with this incredibly easy, creamy pumpkin spice ice cream, made without an ice cream maker.
- Irresistible Apple Pie Pull-Apart Bread: Imagine warm, gooey cinnamon-spiced apple filling nestled between soft, buttery bread pieces. This delightful treat is perfect for breakfast or dessert.
- Decadent S’mores Cookie Bars: All the magic of s’mores baked into convenient, shareable cookie bars. Chewy, chocolatey, and topped with toasted marshmallows.
- Easy S’mores Pie: A simplified take on the classic campfire treat, this pie features a graham cracker crust, a rich chocolate filling, and a fluffy toasted marshmallow topping.
Loved this recipe? Pin it now to save it for later and share with friends!
Pin This Recipe
S’mores No-Churn Ice Cream
Pin
Ingredients
- 2 cups heavy whipping cream
- 14 ounces Sweetened Condensed Milk
- 2 teaspoons real vanilla extract
- ½ cup mini marshmallows see notes about optional toasting
- ¾ cup mini chocolate chips dark chocolate recommended
- ¾ cup crumbled graham crackers
Instructions
-
In a large mixing bowl, use a hand mixer or stand mixer to whip the very cold heavy cream until stiff peaks form. The peaks should stand firmly upright when the beaters are lifted.
-
Reduce the mixer speed to low and slowly drizzle in the sweetened condensed milk and vanilla extract. Mix just until combined, being careful not to overmix and deflate the whipped cream.
-
Set the mixer aside. Using a rubber spatula, gently fold in the mini marshmallows, chocolate chips, and crushed graham crackers until evenly distributed. Avoid overmixing to maintain the light texture.
-
Pour the mixture into a freezer-safe container (such as a loaf pan). Smooth the top surface, and optionally sprinkle with a few extra mix-ins for garnish.
-
Cover the container tightly with a lid or plastic wrap pressed directly onto the surface, then freeze for at least 4-6 hours, or until completely firm. For optimal scooping, let it sit at room temperature for 5-10 minutes before serving.
Notes
- Optional Toasted Marshmallows: For an authentic campfire flavor, spread mini marshmallows on a parchment-lined baking sheet and broil for 30–60 seconds until they turn golden brown. Allow them to cool completely before folding them into the ice cream base to prevent melting.
- Freezing Container: Utilize a shallow, airtight container (like a loaf pan with a tight lid) to promote even freezing and effectively prevent the formation of ice crystals, ensuring a smoother texture.
- Mini Chocolate Chips: Opt for mini chocolate chips as they distribute more uniformly throughout the ice cream, preventing clumping and ensuring a balanced chocolatey bite in every scoop.
- Best Enjoyment: For the freshest taste and optimal creamy texture, it is recommended to enjoy your homemade s’mores no-churn ice cream within 2 weeks of preparation.
- Mix-in Proportions: It’s crucial to adhere to the specified measurements for the marshmallows and chocolate chips. Deviating from these amounts can significantly impact the ice cream’s ability to freeze correctly and maintain its desired creamy consistency.
Nutrition
Nutrition information is automatically calculated, so should only be used as an approximation.