
The Irresistible Allure of Green Chiles: A Guide to Home Roasting
For those who truly know me, life without green chiles is simply unimaginable. My childhood in New Mexico was defined by a freezer perpetually stocked with this vibrant pepper, and the ubiquitous question, “Red or green?”, echoed at nearly every meal. While Texas has been my cherished home for over eight years now, and will continue to be, my profound love for green chiles remains an unshakeable constant. There’s a particular ritual I adore: a few perfectly roasted chiles, delicately laid out on a plate, sprinkled with a touch of salt and a hint of Monterey Jack cheese. Twenty seconds in the microwave transforms them into a molten, aromatic delight that I devour with pure bliss. Just thinking about it makes my mouth water!
A Love Story with a Spicy Twist
My passion for green chiles is deeply rooted and undeniably authentic. It’s a legacy inherited from my mother, an equally devoted green chile enthusiast. And I’m incredibly proud to say I’ve successfully converted my North Carolina-raised husband. He grew up believing Taco Bell represented authentic Mexican cuisine, but over the past eight years, I’ve broadened his culinary horizons. While his devotion doesn’t quite match my mother’s or mine, he frequently suggests, “You should put green chile in that.” Moments like those fill me with immense pride – a true culinary triumph!
If you’ve never experienced the magic of green chiles, I wholeheartedly encourage you to try them. Even if you start with the convenience of canned varieties, you’ll discover a flavor profile unlike any other pepper. Green chiles possess a unique earthy, smoky, and subtly spicy character that elevates countless dishes, imparting a depth and vibrancy that’s simply unparalleled. They are truly the soul of Southwestern cuisine, and their versatility ensures they can brighten everything from breakfast to dinner.
Understanding the World of Green Chiles: Hatch and Beyond
Before we delve into the art of roasting, a quick, essential lesson on green chiles themselves. When you see “Hatch Green Chile” advertised at your local grocery store, it’s important to understand a key distinction. Often, these chiles are a specific *breed* originating from Hatch, New Mexico, but they might be cultivated elsewhere. While still delicious, the true magic of a Hatch chile lies not just in its genetics, but in its birthplace.
The Hatch Valley in New Mexico boasts a unique combination of high altitude, intense sunshine, cool nights, and nutrient-rich volcanic soil, all of which contribute to the distinctive flavor and robust texture of chiles grown directly in Hatch. These environmental factors create a pepper with an unparalleled aroma, flavor, and heat that enthusiasts eagerly anticipate each harvest season. A good way to ascertain their origin is to check if they were harvested in Hatch, NM, by the time they reach your local market. For instance, the ones sold in my local HEB are frequently available before the official harvest even begins in Hatch. Now, let me be clear: I love all green chiles. But there’s an undeniable superiority to those directly from Hatch – they are truly a culinary marvel.
Chile vs. Chili: A Crucial Spelling Distinction
Another important point, particularly for those new to the world of these amazing peppers: it is spelled C-H-I-L-E, not C-H-I-L-I. “Chili” refers to a hearty stew, often made with ground beef, beans, tomato sauce, and various spices, commonly enjoyed during football season. “Chile” unequivocally refers to the pepper itself. Understanding this distinction is fundamental to appreciating the culinary heritage and traditions surrounding this beloved ingredient.
Why Roast Green Chiles at Home? The Unforgettable Experience
While canned green chiles offer convenience, roasting fresh green chiles at home is an entirely different experience, offering a depth of flavor, aroma, and texture that simply cannot be replicated. The process itself is a sensory delight, filling your kitchen and backyard with an incredibly delicious, smoky fragrance that announces the impending culinary treat. Beyond the aroma, home roasting allows you to control the char, ensuring the perfect balance of smoky sweetness and heat. It’s a cost-effective way to enjoy fresh, seasonal chiles year-round by freezing them, and it connects you to a cherished tradition that has been enjoyed in the Southwest for generations. Get ready for the most delicious smell ever!
The Art of Grill Roasting Green Chiles: A Step-by-Step Guide
Roasting green chiles on a grill is a straightforward process that yields incredibly flavorful results. Here’s how to master it:
Pre-Roasting Preparation: Setting the Stage for Success
Before you even think about lighting the grill, a little preparation goes a long way:
- Select Your Chiles: Look for firm, unblemished green chiles. While all sizes can be roasted, try to choose ones of similar size for even cooking.
- Gather Your Equipment: You’ll need a robust outdoor grill, sturdy tongs, a large pot with a lid (preferably non-reactive like stainless steel), and two clean dish towels.
- Safety First: When handling a large quantity of chiles, especially hotter varieties, it’s highly recommended to wear gloves. The capsaicin can cause significant skin irritation, and accidentally touching your eyes can be incredibly painful.
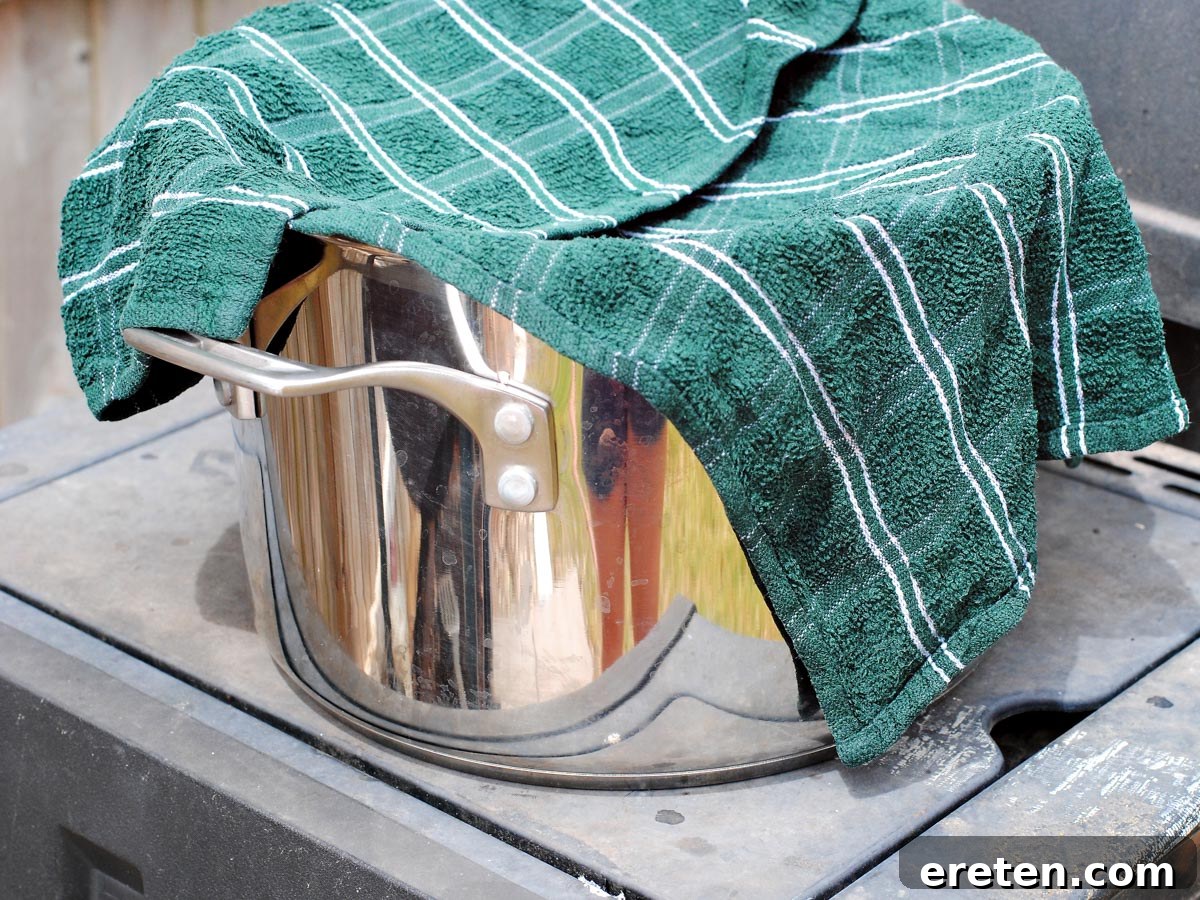
- Prepare Your Steaming Pot: Take both dish towels and thoroughly soak them in water, then wring them out so they are damp, not dripping wet. Fold one towel and place it at the bottom of your large pot. Drape the second wet towel over the top of the pot, ensuring it’s ready to cover the chiles immediately after roasting. Position this pot conveniently next to your grill. This steaming setup is crucial for loosening the chile skins, making them incredibly easy to peel later.
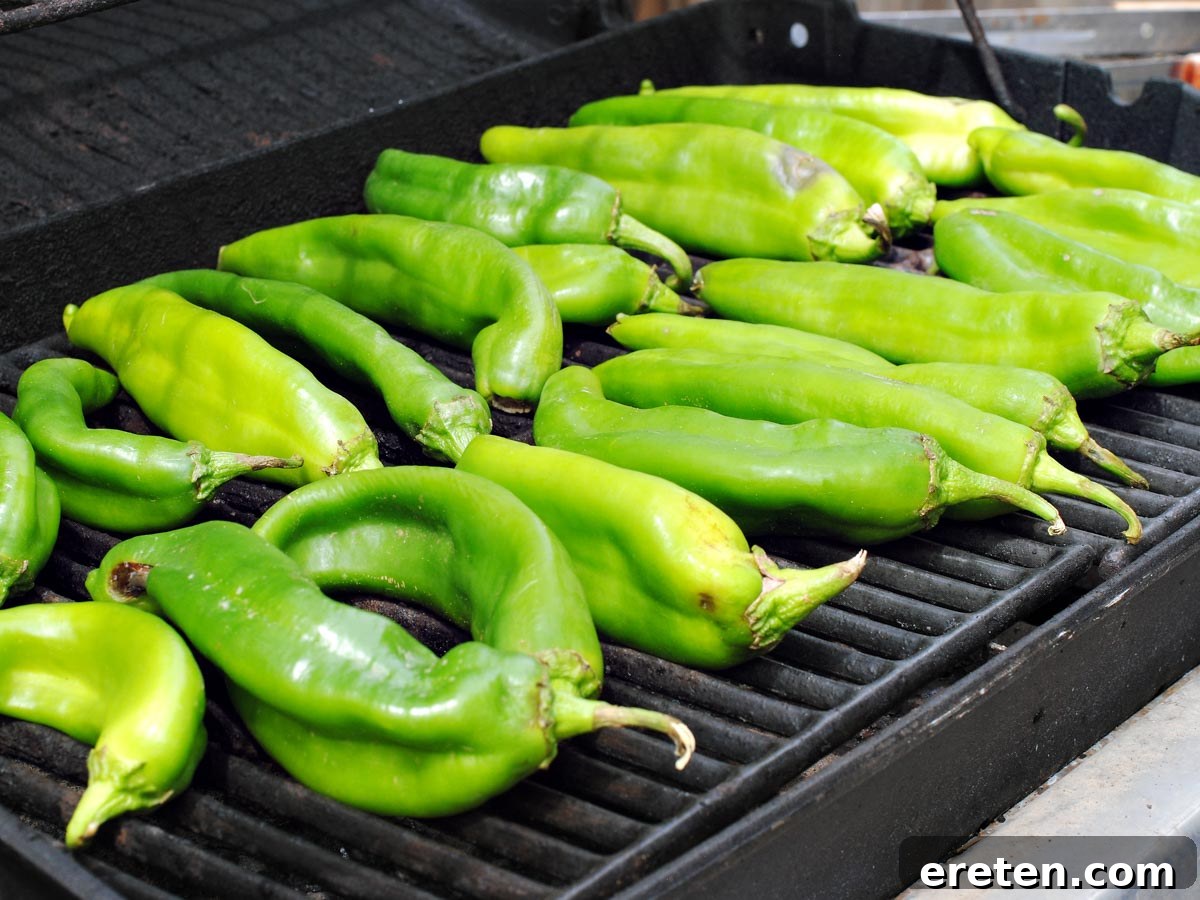
- Preheat Your Grill: This is arguably the most critical step. You’ll want to preheat your grill to the highest possible heat setting. Ideally, aim for at least 500 degrees Fahrenheit (260 degrees Celsius), or even higher. If your grill allows, removing the heat guards can facilitate direct flame exposure, which helps achieve that perfect blistered skin quickly without overcooking the chile flesh. The goal is to char the skin rapidly, not to slowly cook the chile through.
The Roasting Process: Achieving the Perfect Char
Once your grill is intensely hot, you’re ready to begin the transformation:
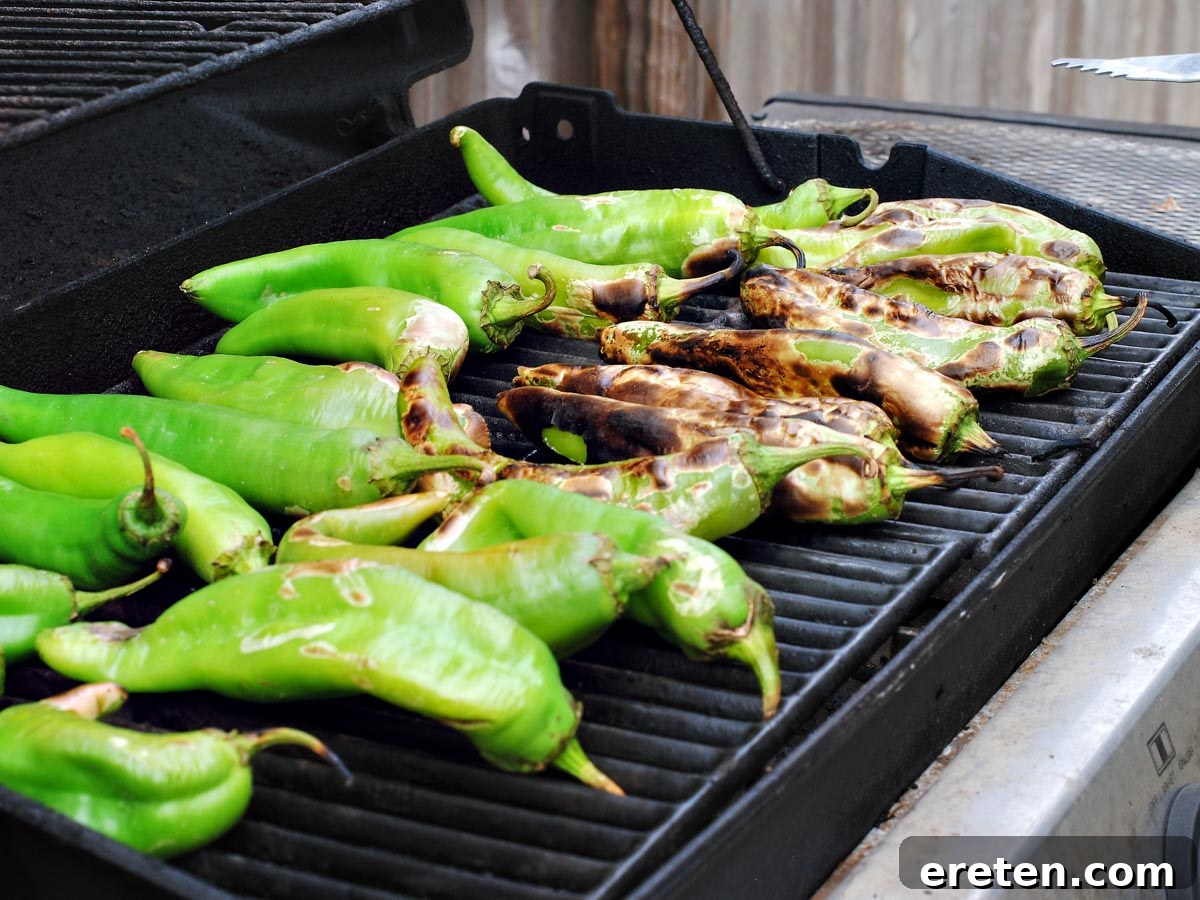
- Place the Chiles: Carefully arrange the green chiles across the grill grates in a single, even layer. Avoid stacking them, as this prevents uniform roasting. Leave enough space between each chile to easily maneuver your tongs for flipping.
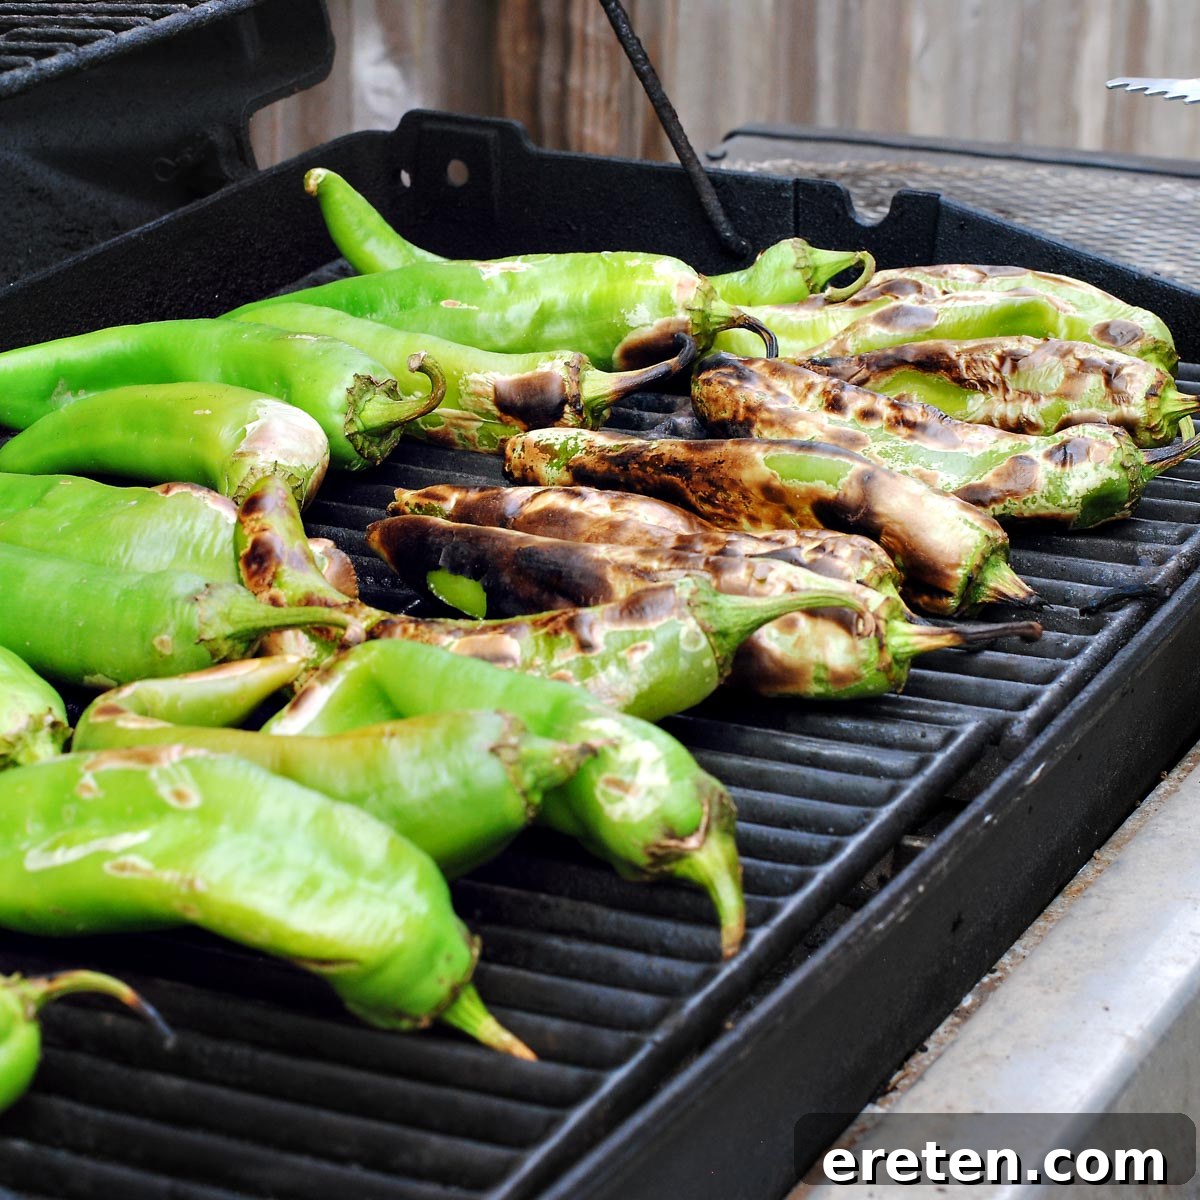
- Blister and Turn: Allow the chiles to sit undisturbed until their skins begin to blister and char. If your grill is hot enough, this should only take a few minutes per side. You’ll see the skin puff up and turn black in spots. This charring is essential, as it creates the smoky flavor and makes the skin easy to remove.
- Warning: They Will Pop! As the chiles heat up, steam builds pressure inside, causing them to “pop” or crackle. This is completely normal and a sign that they are roasting beautifully. Don’t be alarmed!
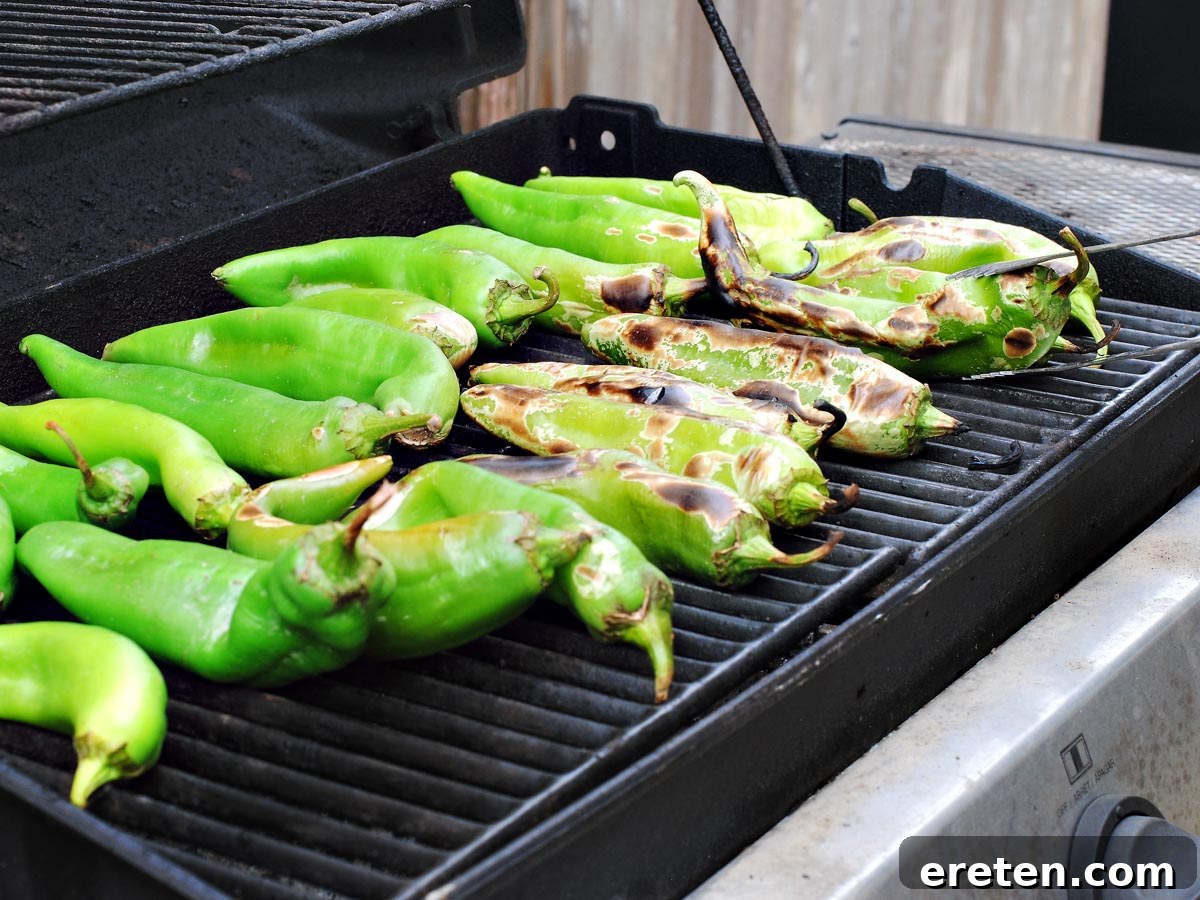
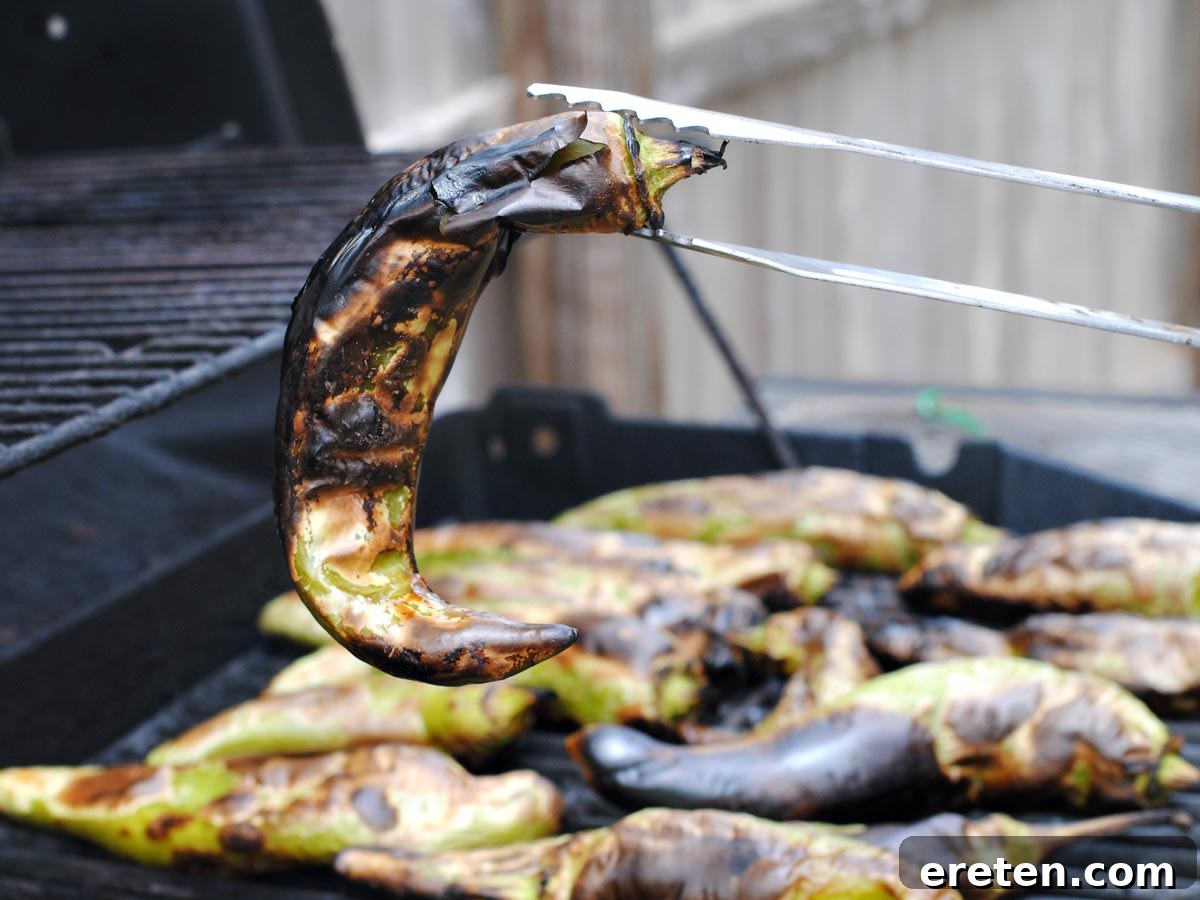
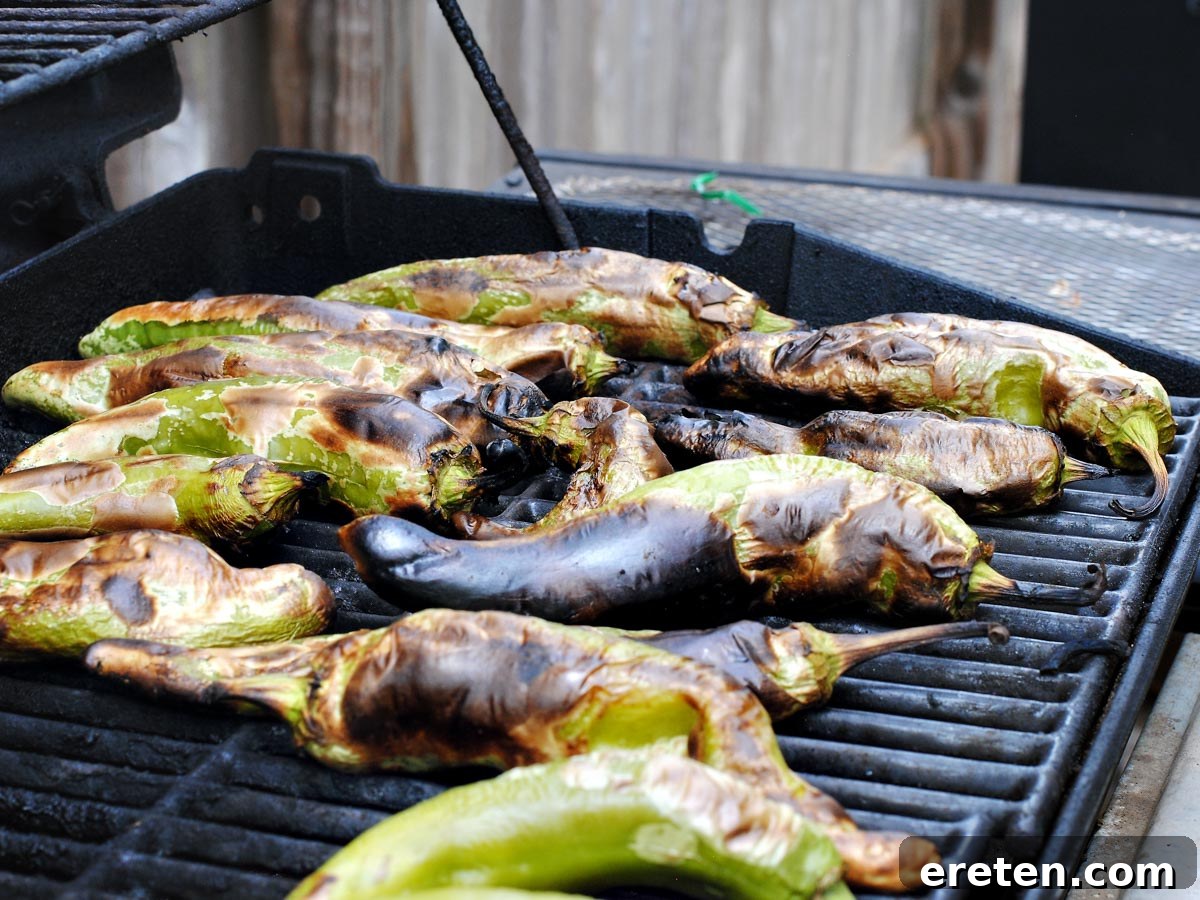
You’re aiming for a blistered, almost “burned marshmallow” appearance on the skin. The key is to achieve a complete char on the skin without overcooking or burning the actual flesh of the chile. Continue to rotate the chiles with your tongs as they roast, ensuring all sides are evenly blistered and blackened. This even charring is what develops that deep, smoky flavor we crave.
Post-Roasting and the Magic of Steaming
Once your chiles are thoroughly roasted and blistered on all sides, swiftly remove them from the grill and immediately place them into your prepared pot. As you add each batch of roasted chiles, cover them promptly with the second wet dish towel. The residual heat from the chiles, combined with the moisture from the towels, creates a steaming environment. This “sweating” process is vital; it causes the blistered skin to separate from the chile’s flesh, making it incredibly easy to peel later.
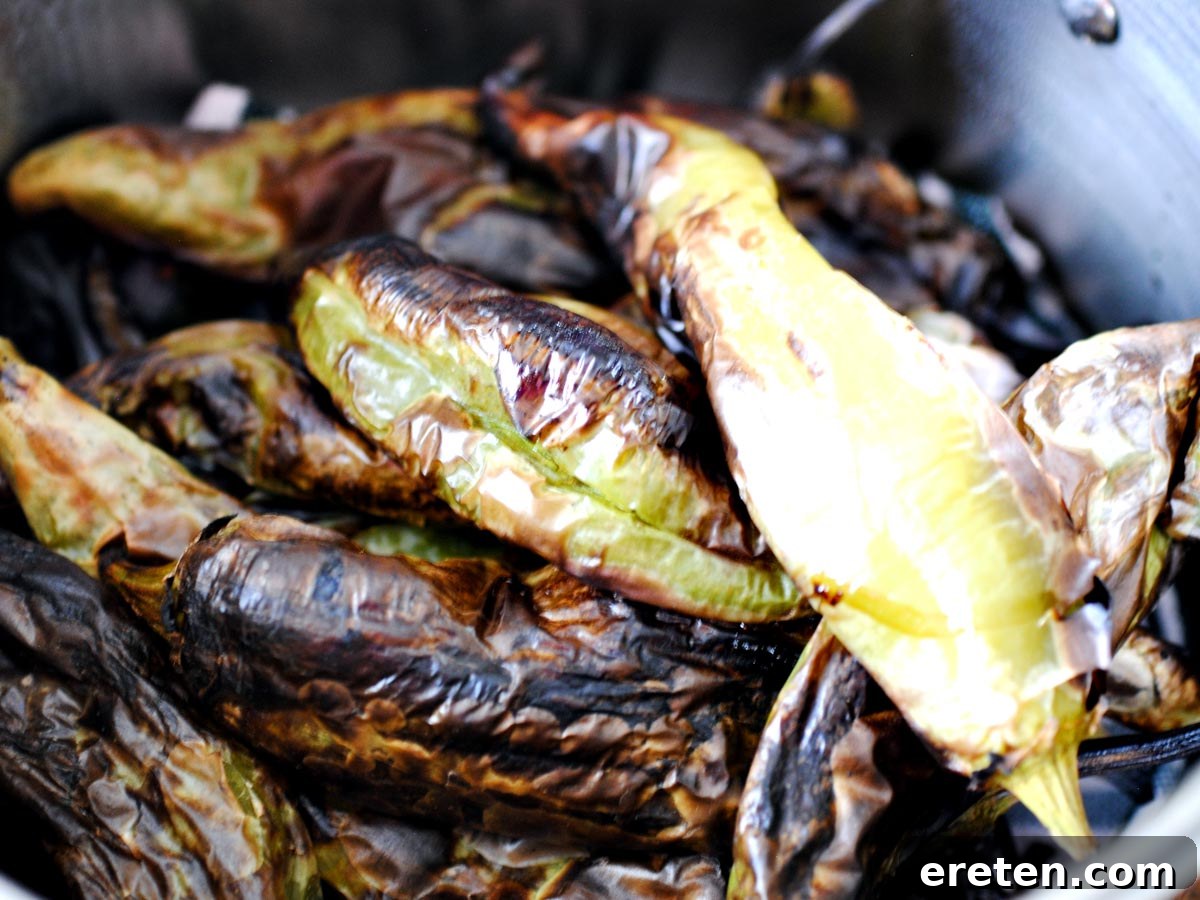
After all your chiles are roasted and collected in the pot, ensure the lid is tightly sealed. Let them sit and steam for at least 15 minutes. For even easier peeling, you can let them steam for up to 30 minutes. This waiting period is crucial; don’t rush it!
Storing Your Roasted Green Chile for Year-Round Enjoyment
Once the chiles have steamed, they are ready for storage. While peeling is optional (some prefer to leave the skin on for a rustic texture), it’s generally recommended for most recipes. With gloves still on, gently rub or pull the loosened skin off each chile. You can also carefully remove the stems and seeds at this stage, depending on your preference and intended use. Be cautious with the seeds, as they contain most of the chile’s heat.
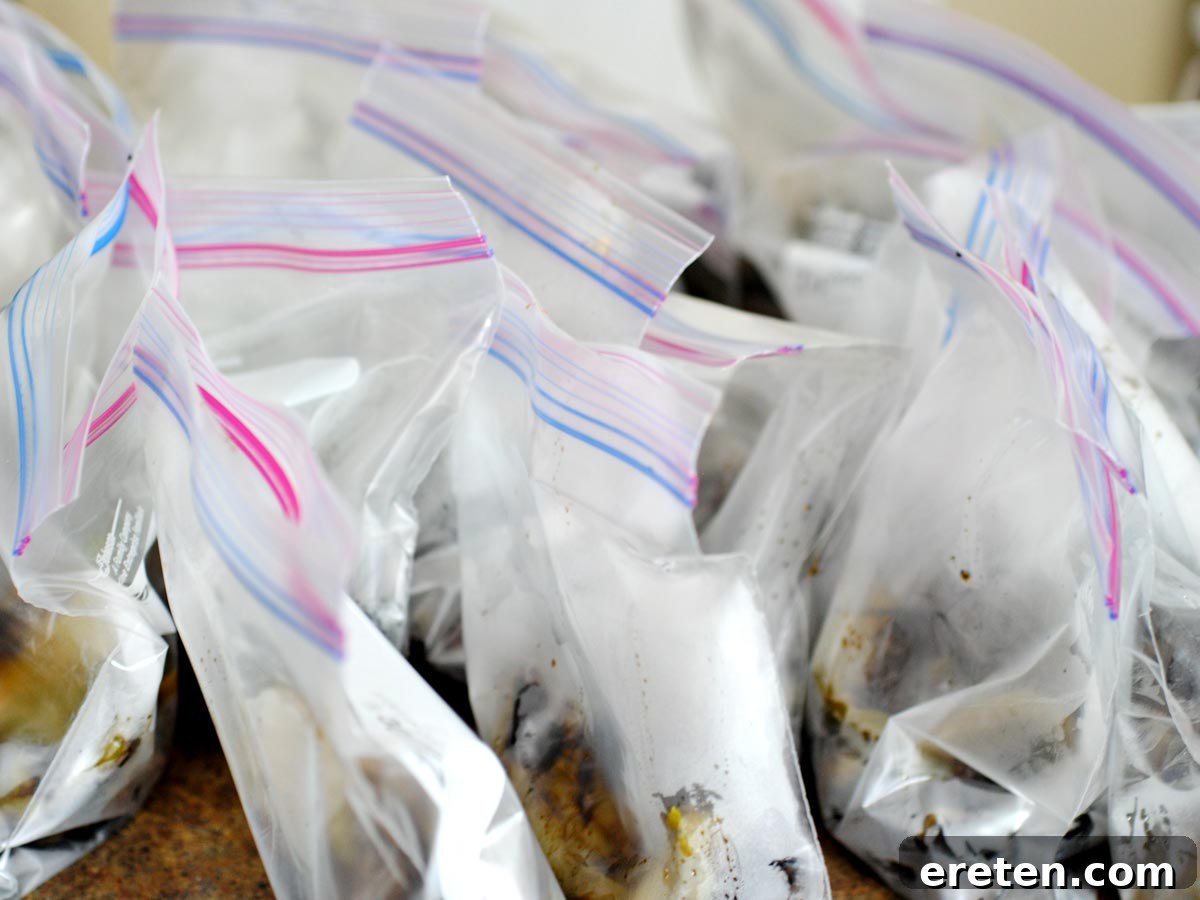
I personally love to store mine in the freezer. After allowing them to steam for the recommended time, I remove them from the pot, let them cool slightly, and then portion them into freezer-safe bags, typically 4-5 chiles per bag. Remove as much air as possible from the bags (a vacuum sealer works wonders here) to prevent freezer burn. Label each bag with the date and contents. Ensure they are completely cooled before transferring them to the freezer. Properly stored, roasted green chiles can last in the freezer for up to a year or even longer, allowing you to savor their incredible flavor long after the harvest season has passed.
Culinary Inspirations: How to Enjoy Your Roasted Green Chiles
Now that you’ve mastered the art of roasting, the culinary possibilities are endless! Roasted green chiles can elevate almost any dish. Beyond my personal favorite microwave snack, here are just a few ideas:
- Classic Southwestern Staples: Essential for Chiles Rellenos, enchiladas, burritos, and tamales.
- Breakfast Boost: Dice them into scrambled eggs, omelets, breakfast burritos, or frittatas for a vibrant start to your day.
- Soups and Stews: The star ingredient in a hearty Green Chile Stew, or added to posole, tortilla soup, or any savory broth.
- Sandwiches and Burgers: A fantastic topping that adds a smoky kick to burgers, grilled cheese, or deli sandwiches.
- Dips and Sauces: Blend into green chile salsa, queso, or creamy dips.
- Baked Goods: Incorporate into savory cornbread, muffins, or even a unique focaccia.
- Side Dishes: Sauté with potatoes, rice, or other vegetables.
The versatility of roasted green chiles truly knows no bounds. Their unique flavor profile can transform an ordinary meal into something extraordinary. So, go forth, roast with confidence, and enjoy the unparalleled taste of homemade green chile goodness!
Enjoy!!