
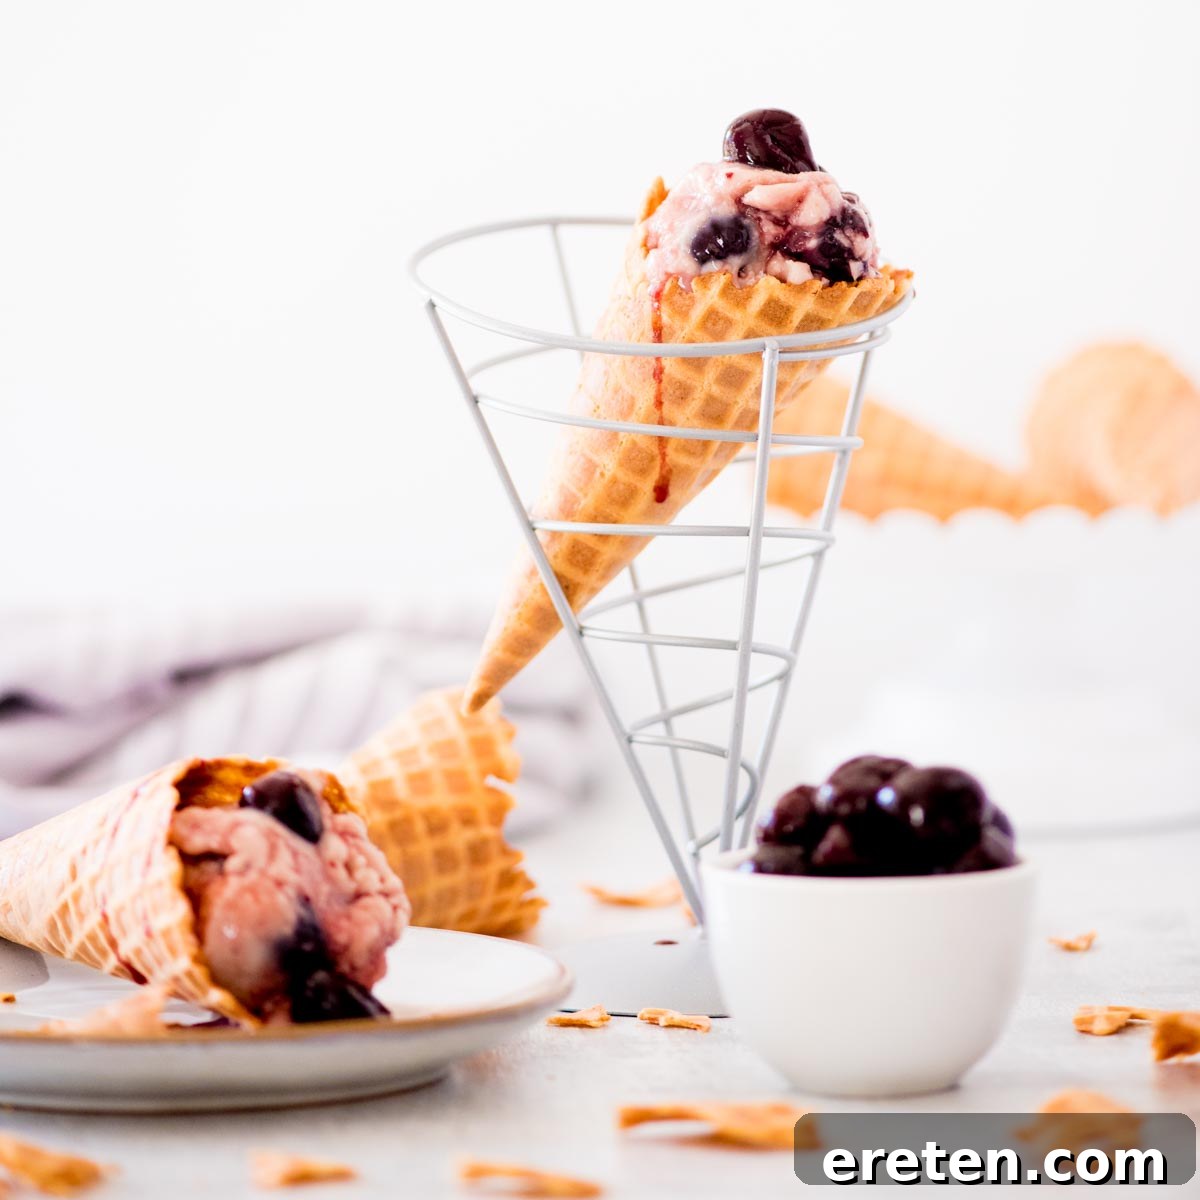
There’s nothing quite like a scoop of creamy, fruit-filled ice cream to beat the summer heat. While classic vanilla holds its charm, our homemade Black Cherry Ice Cream recipe offers a vibrant and irresistible alternative that promises to become your new seasonal favorite. This recipe isn’t just about making ice cream; it’s about crafting a delightful experience, brimming with the intense, sweet-tart flavor of dark cherries swirled into a luscious, smooth base. Forget complicated processes; this remarkably easy recipe leverages simple ingredients and the magic of an ice cream maker to deliver unparalleled indulgence right to your kitchen.
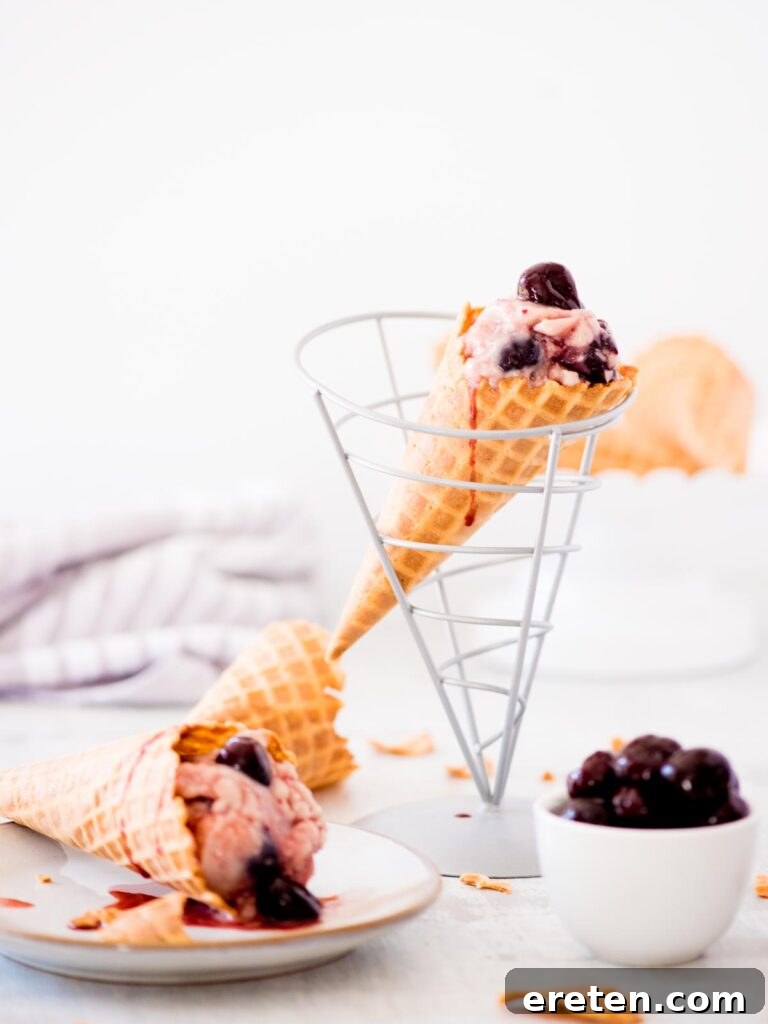
Discover the Perfect Summer Solution: Homemade Black Cherry Ice Cream
Summer days call for refreshing treats, and this Black Cherry Ice Cream recipe is the ultimate solution. Many people find the idea of making homemade ice cream daunting, but this recipe is designed for simplicity without compromising on quality or flavor. It’s a straightforward process that yields a superior product to anything you can buy at the store. The resulting ice cream is incredibly silky, rich, and bursting with genuine cherry goodness, making it an ideal dessert for any occasion, from casual backyard barbecues to elegant dinner parties.
What sets this recipe apart is its dedication to showcasing the deep, complex flavor of dark sweet cherries. Unlike standard ice cream recipes where fruit might be an afterthought, here, the cherries are a star, generously mixed and elegantly swirled throughout every scoop. This ensures that each bite delivers a balanced symphony of creamy sweetness and fruity tang.
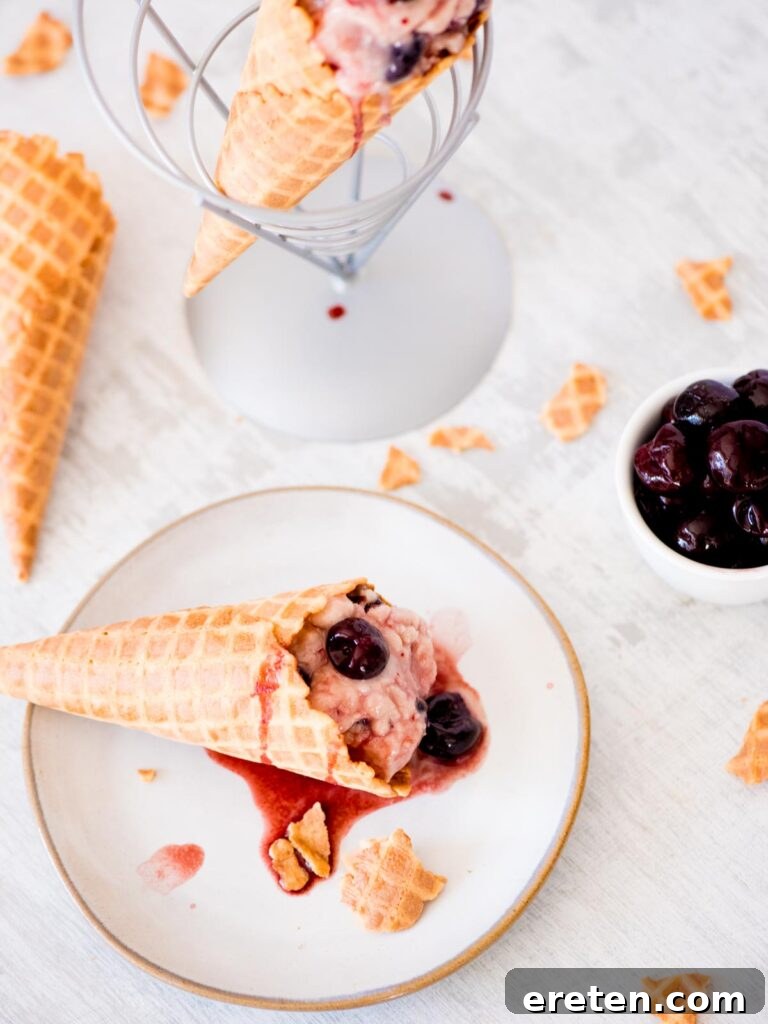
With just a handful of readily available ingredients and the help of an ice cream maker, you can whip up this exquisite dessert in no time. It’s perfect for enjoying on its own, perhaps in a crisp waffle cone, or as an accompaniment to your favorite cakes and pastries. Get ready to impress your family and friends with a dessert that tastes gourmet but is surprisingly easy to create.
Why You’ll Fall in Love with This Homemade Cherry Ice Cream Recipe
If you’re looking for a dessert that’s easy to make, incredibly delicious, and universally loved, you’ve found it. This isn’t just a basic cherry ice cream; it’s practically a cherry chocolate chip ice cream waiting to happen, offering a delightful twist on a classic. Here are just a few reasons why this recipe will quickly become a cherished part of your culinary repertoire:
- Versatility with Cherries: Whether you prefer the vibrant taste of fresh cherries or the convenience of frozen ones, this recipe accommodates both. This flexibility means you can enjoy this delightful ice cream all year round, regardless of cherry season. Just ensure your cherries are pitted for a smooth, enjoyable texture.
- Effortless Preparation: Making gourmet ice cream at home has never been easier. With minimal prep time, you simply combine the ingredients, and your ice cream maker does all the hard work. It’s a truly hands-off process that yields professional-quality results with minimal effort.
- A Family Favorite: This rich and fruity ice cream appeals to all ages. The sweet creaminess combined with the juicy burst of cherries makes it an irresistible treat that the entire family will request again and again. It’s perfect for creating lasting summer memories.
- Unforgettable Texture: Thanks to a carefully selected blend of ingredients, including an unexpected secret, this ice cream boasts an unparalleled creamy and smooth texture that simply melts in your mouth. Say goodbye to icy, grainy homemade ice cream and hello to velvety perfection.
Understanding the Difference: Churn vs. No-Churn Ice Cream
While no-churn ice cream recipes have gained popularity for their simplicity, utilizing an ice cream maker for this recipe makes a significant difference in achieving that incredibly smooth and luxurious texture. Many no-churn varieties rely heavily on sweetened condensed milk and whipped cream to create a creamy consistency, often omitting eggs and granulated sugar entirely. While delicious in their own right, they often result in a denser, slightly icier texture compared to their churned counterparts.
This recipe, often referred to as American-style or Philadelphia-style ice cream, benefits from the churning process which incorporates air, preventing the formation of large ice crystals. The inclusion of eggs contributes to a richer, more emulsified base, while the granulated sugar ensures a perfectly sweet profile. The continuous movement in an ice cream maker creates countless tiny air pockets and breaks down nascent ice crystals, resulting in the super-smooth, silky texture that is the hallmark of truly exceptional ice cream.
Moreover, our recipe incorporates vanilla pudding mix, which acts as a brilliant natural thickener. Instead of relying on various gums like xanthan gum, cellulose gum, tara gum, or carob bean gum, the pudding mix not only helps achieve a thicker, more stable texture but also infuses a delightful, subtle vanilla flavor that complements the cherries beautifully. This clever addition eliminates the need for extra thickeners and enhances the overall taste profile, delivering a creamy consistency you are absolutely going to adore. Any standard ice cream maker will work wonderfully for this recipe. For those curious, this model is a reliable choice that I personally use and recommend for consistent results.
Essential Ingredients for Your Homemade Cherry Vanilla Ice Cream
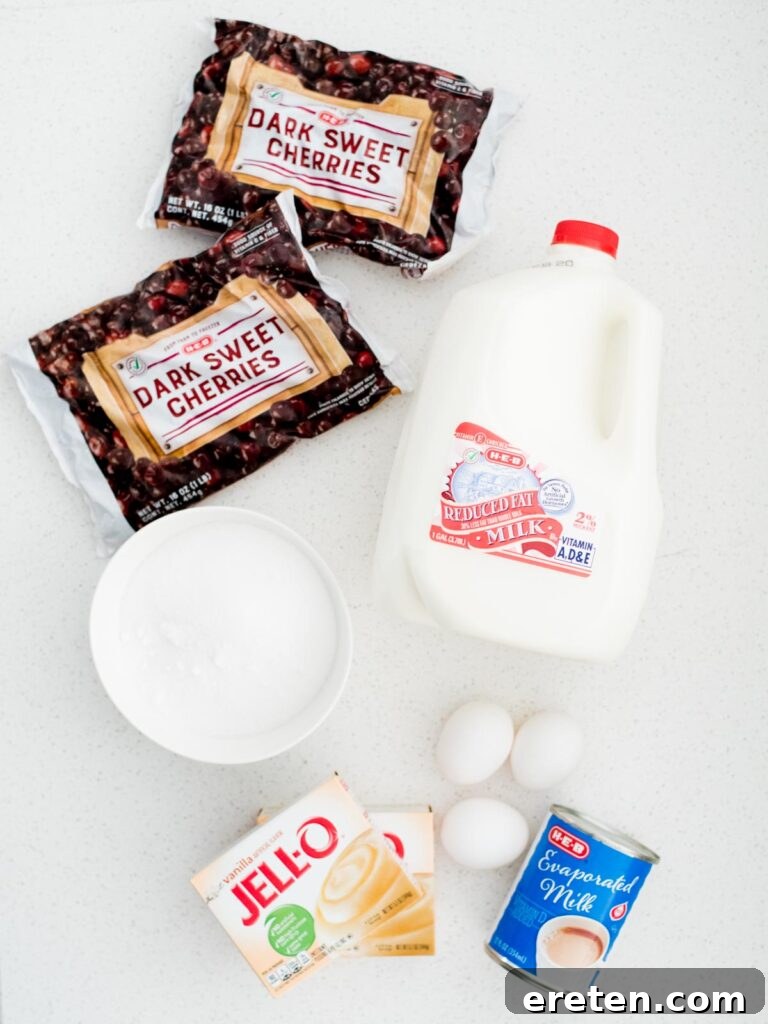
Crafting this incredible Black Cherry Ice Cream requires just a few simple, high-quality ingredients, most of which you likely already have in your pantry or can easily pick up at the grocery store. Each component plays a crucial role in achieving the perfect balance of flavor and texture:
- Frozen Sweet Black Cherries: These are the undisputed stars of our show! While I often opt for frozen dark cherries for their convenience and consistent availability, feel free to use any variety of cherries you love. Fresh sweet cherries, tart pie cherries, or even Rainier cherries would all be fantastic. The most important thing is that they are pitted. If using fresh, a good cherry pitter makes the task quick and easy. Don’t discard any natural juices from the frozen cherries; they add an extra layer of robust cherry flavor.
- Milk: The foundation of our creamy base. I highly recommend using whole milk or 2% milk. The fat content in the milk is vital for a rich, smooth ice cream texture. Skim, 1%, or fat-free milk varieties will result in a much icier and less satisfying consistency. Remember, you’re making ice cream – embrace the richness! For an even more decadent treat, you can add a splash of heavy cream, though it’s not strictly necessary for a fantastic result.
- Granulated Sugar: This provides the essential sweetness that balances the tartness of the cherries and enhances the overall flavor profile. Standard granulated white sugar or cane sugar works perfectly.
- Vanilla Pudding Mix: This is our secret weapon! Instant vanilla pudding mix serves a dual purpose: it acts as an excellent thickener, contributing to the ice cream’s luxurious, creamy texture, and it infuses a delicate vanilla flavor that perfectly complements the cherries. While vanilla is my go-to, French vanilla pudding mix would be even more aromatic. For chocolate lovers, a chocolate pudding mix can transform this into an even more intensely cherry-chocolate experience.
- Eggs: You’ll need two large eggs for this recipe. Eggs are crucial in many churned ice creams as they add richness, help emulsify the mixture, and contribute to a wonderfully smooth texture. While this isn’t a cooked custard base in the traditional sense, the eggs are thoroughly whisked into the mixture before churning, providing a delightful depth. Always ensure your eggs are fresh; you can test their freshness if you’re unsure.
- Evaporated Milk: This pantry staple is milk that has been heated to remove about 60% of its water content, resulting in a thicker, creamier liquid with a slightly caramelized flavor. It significantly enhances the richness and creaminess of the ice cream. I always keep a few cans on hand for moments of inspiration (or emergency ice cream cravings!). If you find yourself without it, you can easily make your own at home from regular milk.
Step-by-Step Guide: How to Make Cherry Vanilla Ice Cream
Making homemade ice cream is a rewarding experience, and with this straightforward recipe, it’s much simpler than you might imagine. Follow these easy steps to create your own batch of luscious cherry vanilla ice cream:
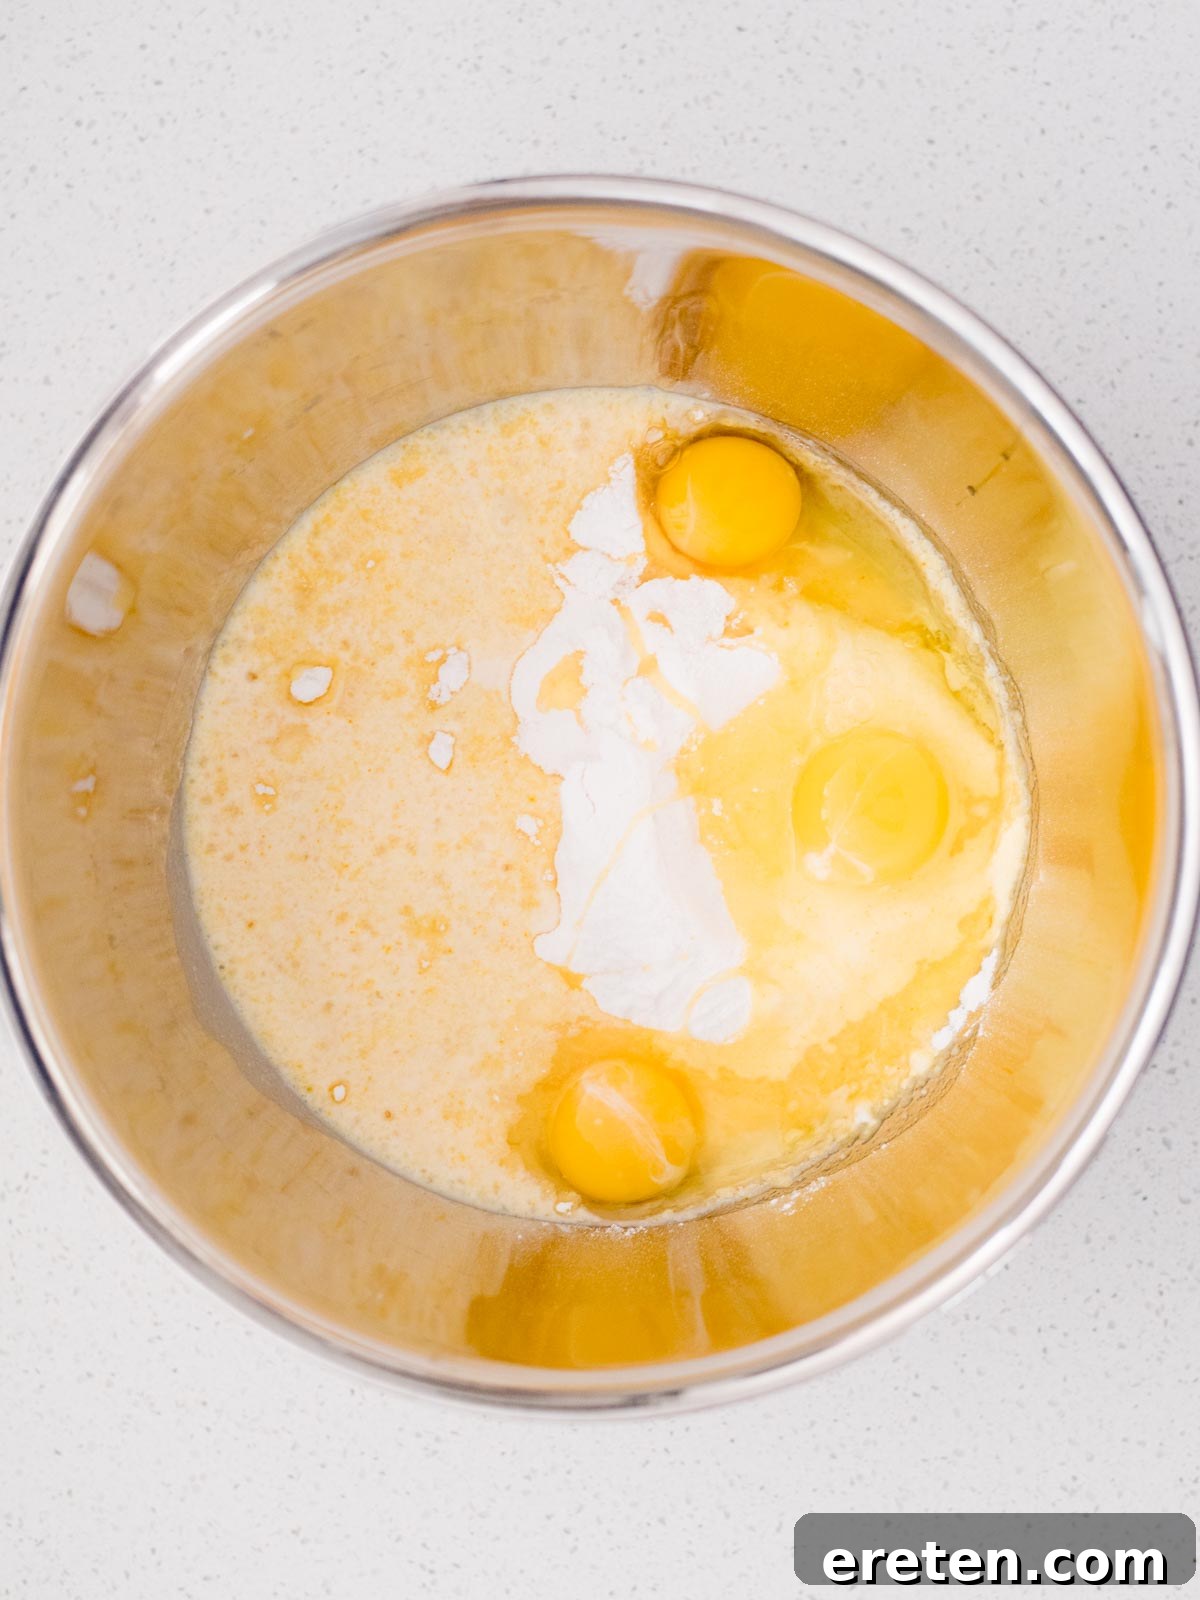
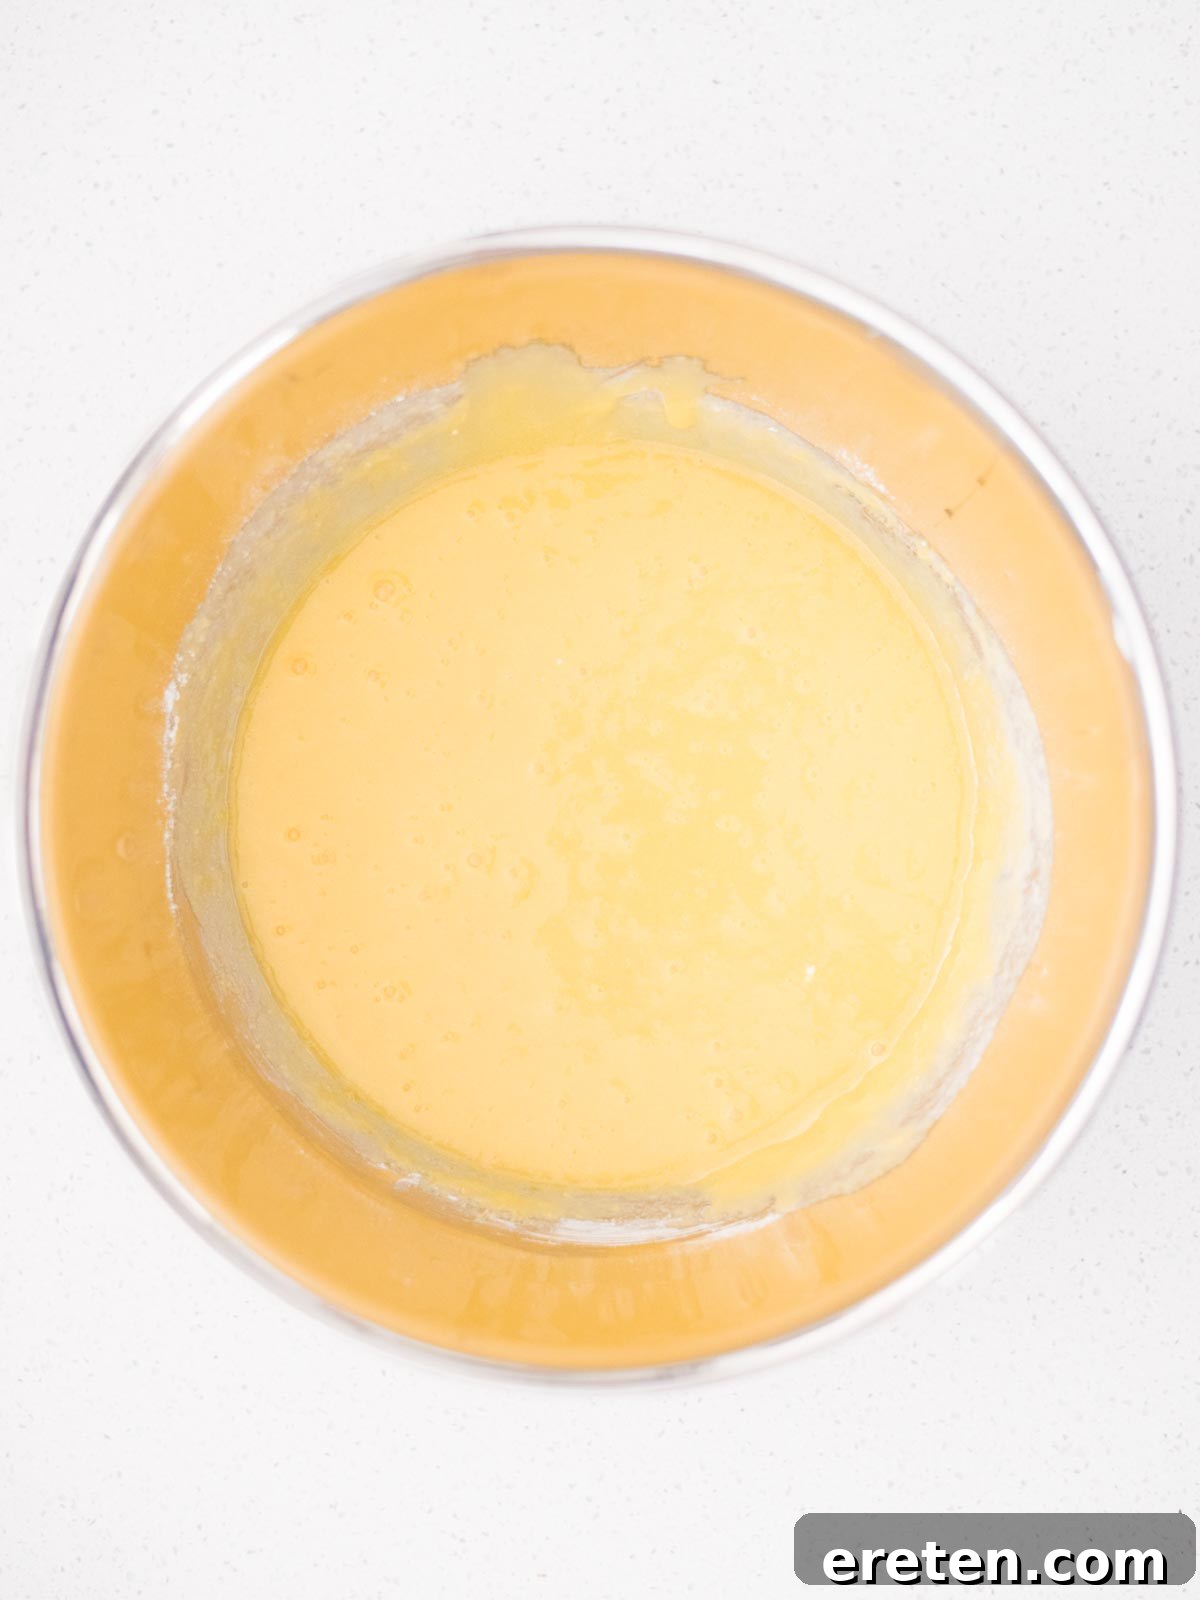
- Prepare the Base: In a large mixing bowl, combine the milk, granulated sugar, vanilla pudding mix, eggs, and evaporated milk. Ensure your bowl is large enough to comfortably whisk all ingredients without spillage.
- Whisk Until Smooth: Using a whisk, thoroughly combine all the ingredients until the mixture is completely smooth and the sugar and pudding mix are fully dissolved. There should be no lumps or gritty texture remaining. This step is crucial for an ultra-creamy finished product.
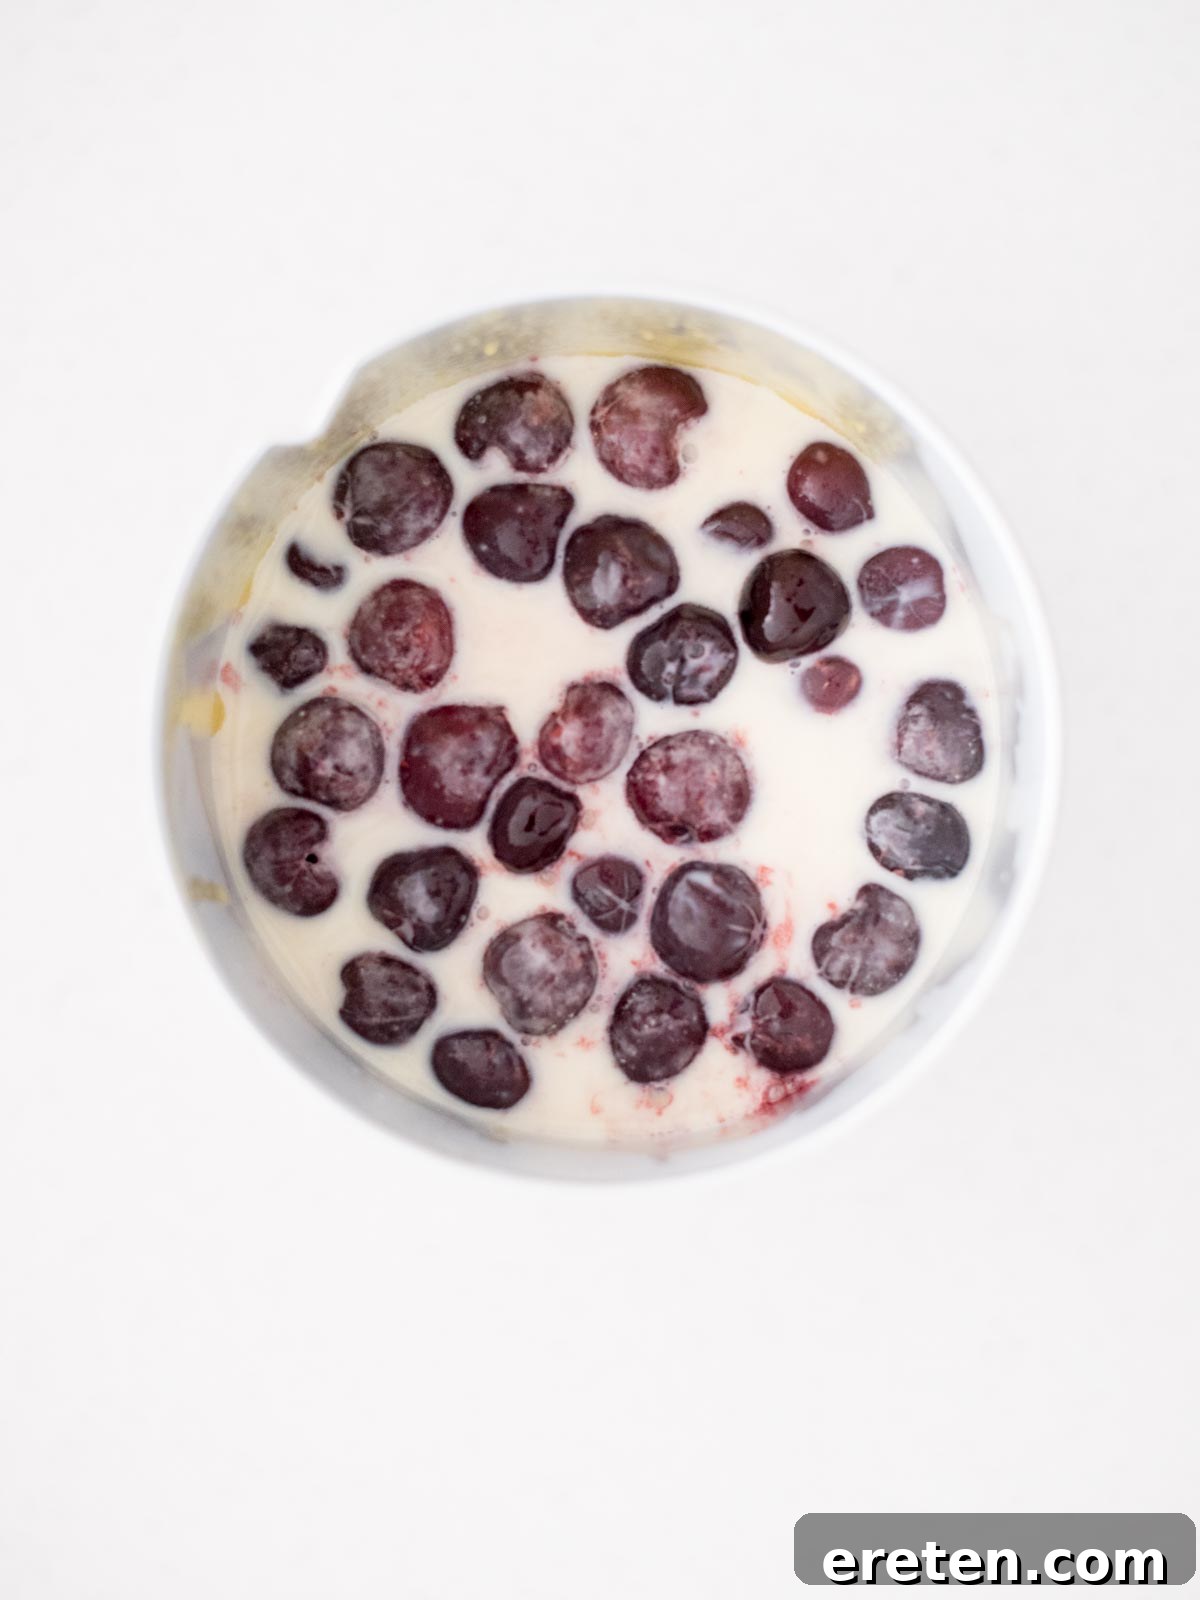
- Add to Ice Cream Maker & Introduce Cherries: Pour the prepared ice cream base into the frozen bowl of your ice cream machine. Now, add your frozen cherries directly into the mixture. It’s important to include all the natural juice from the bag of frozen cherries, as this intensifies the overall cherry flavor. If you’re using fresh cherries, make sure they are pitted before adding them to the machine.
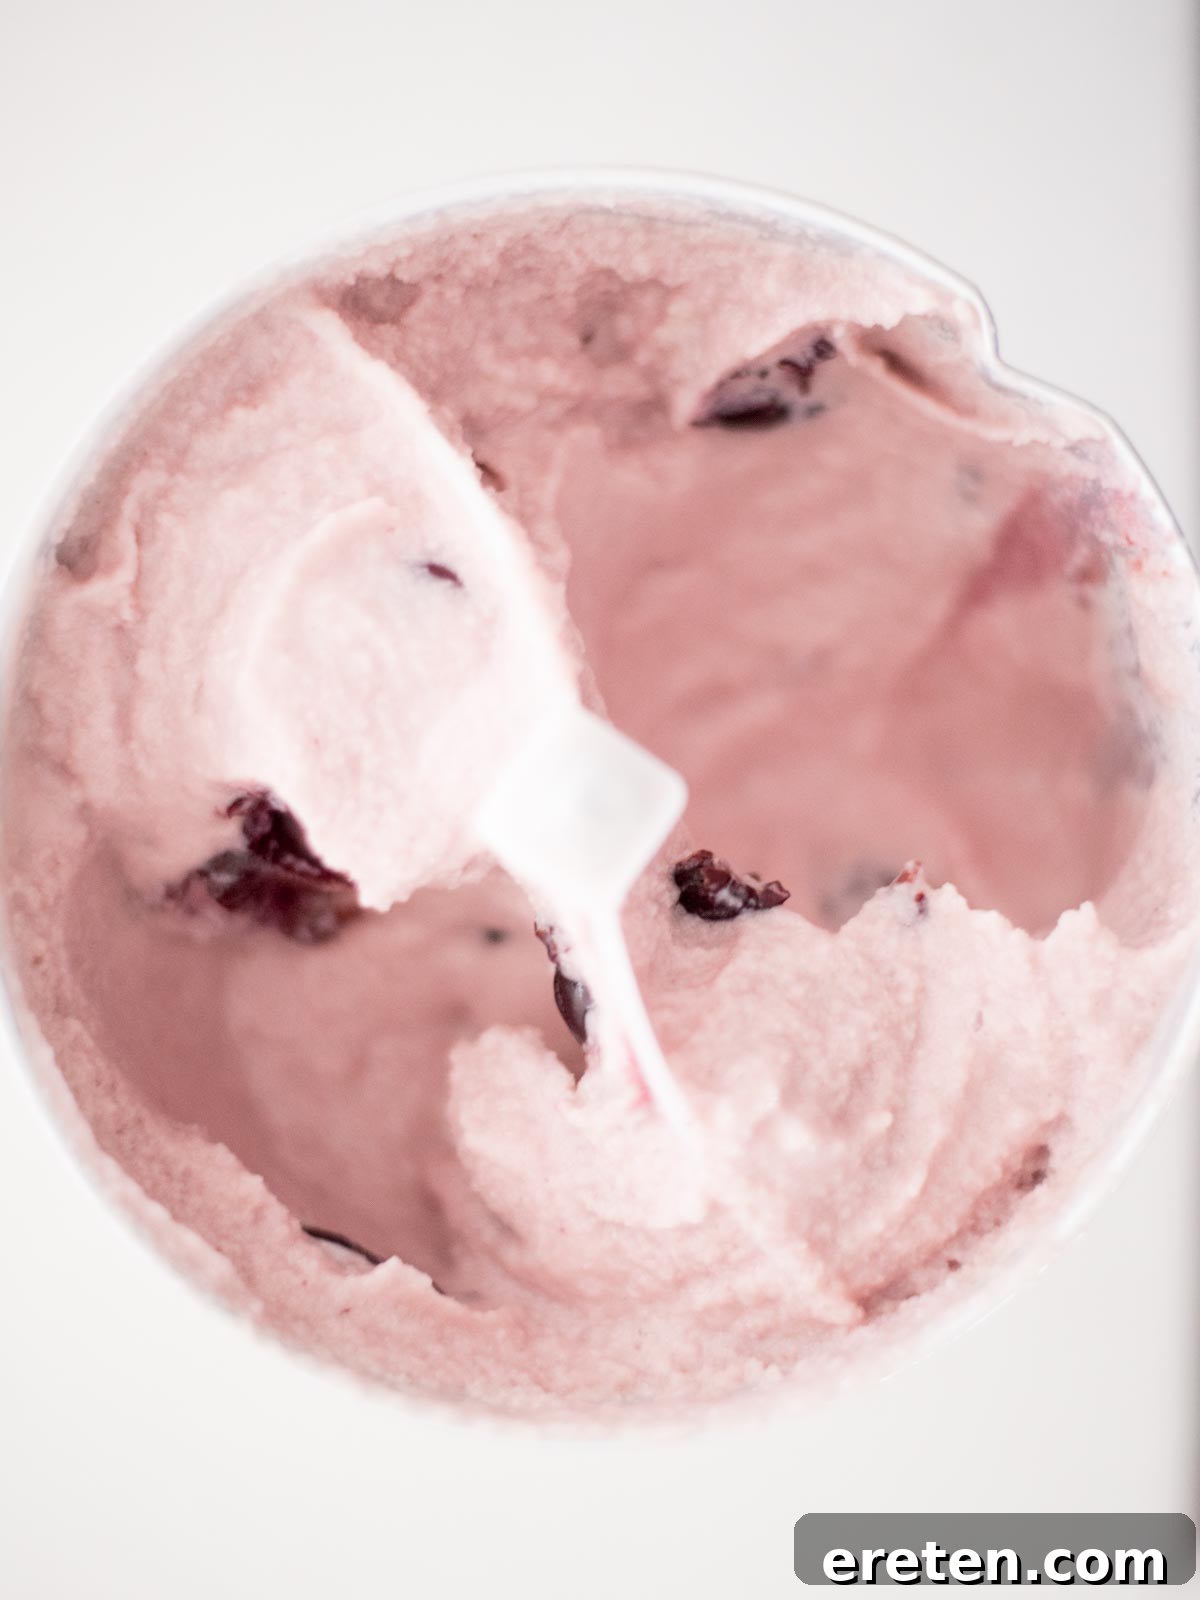
- Churn to Perfection: Secure the paddle and lid onto your ice cream maker. Allow the machine to churn for approximately 30 minutes, or until the ice cream reaches a soft-serve consistency. Churning time can vary slightly depending on your specific ice cream maker model and ambient temperature.
- Serve or Store: Your homemade black cherry ice cream is now ready to enjoy! Serve it immediately for a soft, creamy treat. For a firmer consistency, transfer the ice cream to an airtight container and freeze for at least 2-4 hours before serving.
Enhance Your Ice Cream Experience with Fun Accessories
Serving homemade ice cream is an event in itself! Elevate the experience with some delightful accessories:
- Invest in quality ice cream scoops that glide effortlessly through firm ice cream, making serving a breeze, especially at parties.
- For the younger crowd, a vibrant ice cream bowl set with fun colors can make dessert even more exciting. They’ll love both the bowl and the delicious treat inside.
Creative Variations and Serving Suggestions for Cherry Vanilla Ice Cream
One of the joys of homemade ice cream is the endless possibilities for customization and serving. Our Black Cherry Ice Cream is fantastic on its own, but it also serves as a superb base for a myriad of delicious variations. Get creative and make it truly your own!
- Cherry Chocolate Chip Delight: For an absolutely divine experience, stir in chocolate chips or chopped chocolate during the last few minutes of churning, or just before the ice cream finishes. If you’re a fan of Ben & Jerry’s Cherry Garcia, you simply cannot skip the chocolate chips – it transforms this into a black cherry chip ice cream that truly hits the spot! Feel free to experiment with dark, milk, or even white chocolate.
- Almond Liqueur Infusion: Add a sophisticated twist by stirring 1/2 cup of amaretto (almond liqueur) into your ice cream base before churning. The almond notes beautifully complement the cherries. Be mindful not to add too much alcohol, as it can prevent the ice cream from freezing properly.
- Seasonal Fruit Swaps: While cherries are wonderful, this recipe base is incredibly versatile. Consider swapping the cherries for other seasonal fruits like ripe peaches to create a delectable peach ice cream. The creamy vanilla base pairs well with almost any fruit.
- Decadent Drizzles and Toppings: Elevate your scoop with a generous drizzle of homemade hot fudge sauce, rich chocolate syrup, or even a tart cherry syrup. No one will say no to a sprinkle of chocolate jimmies or colorful sprinkles, topped with a bright maraschino cherry, to create the perfect ice cream sundae. You could even make it the star of an ice cream sundae bar for a party!
- Ice Cream Sandwiches and Beyond: Take your dessert game to the next level by using this ice cream to create gourmet ice cream sandwiches. Sandwich a scoop between your favorite oatmeal cookies or classic sugar cookies. For a truly unique flavor combination, try it with oatmeal raisin cookies, perhaps substituting dried cherries for raisins.
- Pair with Baked Goods: This ice cream is also divine when served alongside other cherry desserts, such as a warm cherry crisp or a comforting fruit cobbler. It also makes an excellent complement to chocolate desserts, like a warm brownie sundae or a quick chocolate mug cake, where the fruity notes cut through the richness.
Expert Tips and Tricks for Perfect Cherry Vanilla Ice Cream
Achieving perfectly creamy, delicious homemade ice cream is easy with a few insider tips. Keep these in mind to ensure your Black Cherry Ice Cream turns out flawlessly every time:
- Pre-freeze Your Churner Bowl: This is perhaps the most critical step. Ensure your ice cream maker bowl is completely and thoroughly frozen before you begin. Ideally, place it in the freezer at least 24 hours in advance, or as your manufacturer recommends. I often keep mine in the freezer all summer long, ready for any ice cream craving (it also doubles as a great bucket for frozen veggies when not in use!). A well-frozen bowl ensures the ice cream base chills quickly and churns efficiently, preventing large ice crystals.
- Don’t Drain the Cherry Juice: When adding your frozen cherries, make sure to include all the delicious juice that accumulates in the bag. This liquid is packed with concentrated cherry flavor and natural sweetness, which will significantly amp up the overall taste of your ice cream. Trust me, you won’t regret this added boost of fruitiness!
- Soften Before Scooping: Homemade ice cream tends to freeze harder than commercial varieties due to the lack of stabilizers and preservatives. If your ice cream is too firm to scoop straight from the freezer, simply let it sit out on the counter for about 10-15 minutes before serving. This brief softening period will make it much easier to scoop. Using a quality ice cream scoop also makes a big difference.
- Optimal Storage for Freshness: For the best results and to prevent ice crystal formation, store your homemade ice cream in an airtight container. Specialty ice cream containers are designed to minimize air exposure and maintain texture. Homemade ice cream is best enjoyed within two weeks. Beyond this, it may start to develop ice crystals and a slightly grainy texture.
- Smooth Cherry Flavor, No Chunks: If you love the taste of cherries but prefer a perfectly smooth ice cream without chunks of fruit, you can pulse the cherries in a food processor until they reach your desired consistency (smooth puree or finely chopped) before adding them to the ice cream base. You would still follow the recipe as written, simply incorporating the cherry mixture at the same point you would add the whole frozen cherries.
- Boost Cherry Intensity: For an even more robust cherry flavor, consider drizzling in a tablespoon or two of cherry juice concentrate (found in health food stores or specialty juice aisles) along with your other ingredients. This will deepen the fruit notes without adding excessive liquid.
Frequently Asked Questions About Cherry Ice Cream
Yes, this recipe is specifically designed for a churned ice cream and requires an ice cream maker. It is not a no-churn recipe. Using an ice cream maker is key to achieving the wonderfully smooth, creamy texture that sets this recipe apart from simpler no-churn versions. An electric ice cream maker is easy to use and makes a significant difference in the final quality.
Absolutely! There are no strict rules when it comes to adding chocolate. You can incorporate chocolate chips, chopped chocolate, or even white chocolate chips before, during, or just after the churning process. Many find adding them during the last few minutes of churning ensures they are evenly distributed throughout the ice cream without sinking to the bottom. This creates a delightful cherry chocolate chip ice cream, akin to popular gourmet flavors.
Yes, you can certainly use fresh cherries! Just be sure to pit them thoroughly before adding them to the ice cream mixture. Fresh cherries will provide a bright, vibrant flavor that is truly seasonal. If using fresh, you might want to gently mash some to release their juices for an even stronger cherry presence.
For the best quality, homemade ice cream should be enjoyed within two weeks when stored in an airtight container. After this period, ice crystals may begin to form, and the texture can become less creamy. Always ensure your container is sealed tightly to prevent freezer burn and maintain freshness.
Several factors can lead to icy ice cream. The most common reasons include not chilling your ice cream maker bowl sufficiently (it needs to be completely frozen solid), using low-fat dairy products (fat contributes to creaminess), or churning for too short a time, which doesn’t incorporate enough air. Ensuring all ingredients are very cold before churning also helps. Follow the tips for pre-freezing the bowl and using full-fat milk for the best results.
Explore More Irresistible Ice Cream Recipes
If you’ve enjoyed making and tasting this delightful Black Cherry Ice Cream, you might be ready to explore other fantastic frozen treats. Expand your dessert repertoire with these equally delicious ice cream recipes:
- Pumpkin Spice Ice Cream: A seasonal favorite perfect for autumn, brimming with warm spices.
- Apple Cinnamon Ice Cream: A comforting blend of sweet apples and fragrant cinnamon, reminiscent of apple pie.
- Salted Caramel Ice Cream: A rich and indulgent classic featuring the perfect balance of sweet and salty.
Cherry Vanilla Ice Cream Recipe
sweetlysplendid.com

Print Recipe
5
30
35
16 cups
Equipment
-
Ice Cream Maker
Ingredients
- 2 boxes instant vanilla pudding mix
- 1½ cups granulated sugar
- 3 whole large eggs
- 12 ounces evaporated milk
- ½ gallon whole milk (or 2% milk)
- 32 ounces frozen dark sweet cherries (with juice)
Instructions
-
To a large mixing bowl, add the vanilla pudding mix, sugar, eggs, evaporated milk, and milk. Whisk until completely smooth, ensuring no lumps remain.
-
Pour the whisked mixture into the frozen bowl of your ice cream maker. Then, add the frozen dark cherries, making sure to include all the juice from the bag for enhanced flavor.
-
Attach the paddle and lid to your ice cream maker. Allow it to churn for approximately 30 minutes, or until the ice cream reaches your desired soft-serve consistency.
-
Serve your delicious homemade black cherry ice cream immediately for a softer texture, or transfer it to an airtight container and freeze for 2-4 hours for a firmer consistency.
Nutrition
Nutrition information is automatically calculated, so should only be used as an approximation.
Additional Info
Dessert
American