
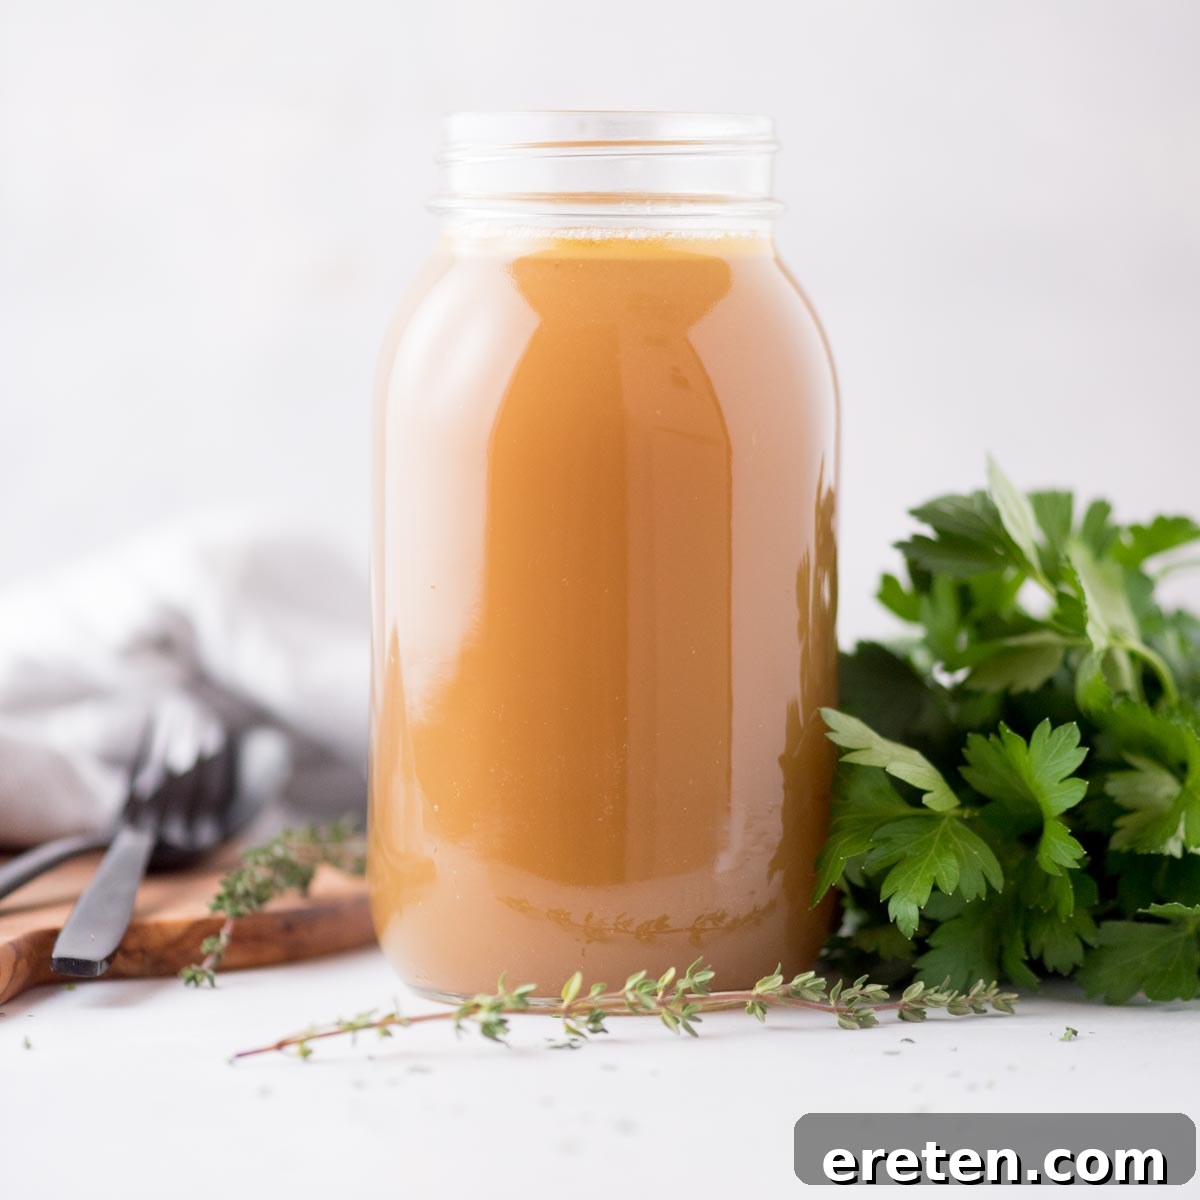
Welcome to the ultimate guide for crafting your own **homemade chicken broth**. This recipe transcends mere culinary instruction; it’s an invitation to elevate your cooking, save money, and harness the full potential of your kitchen scraps. Forget the bland, store-bought cartons – this easy, flavorful, and incredibly versatile chicken broth will become a staple in your pantry. Perfect for enriching everything from hearty stews to delicate sauces, a big batch of this liquid gold will be your secret ingredient, ready whenever inspiration strikes.
Making your own chicken broth or stock is more than just a recipe; it’s a foundational skill for any home cook. Imagine a rich, aromatic broth that not only warms you during the winter months in a comforting chicken noodle soup but also enhances every dish throughout the year. The depth of flavor achieved through slow simmering with fresh ingredients is simply unparalleled, offering a superior base for countless culinary creations.
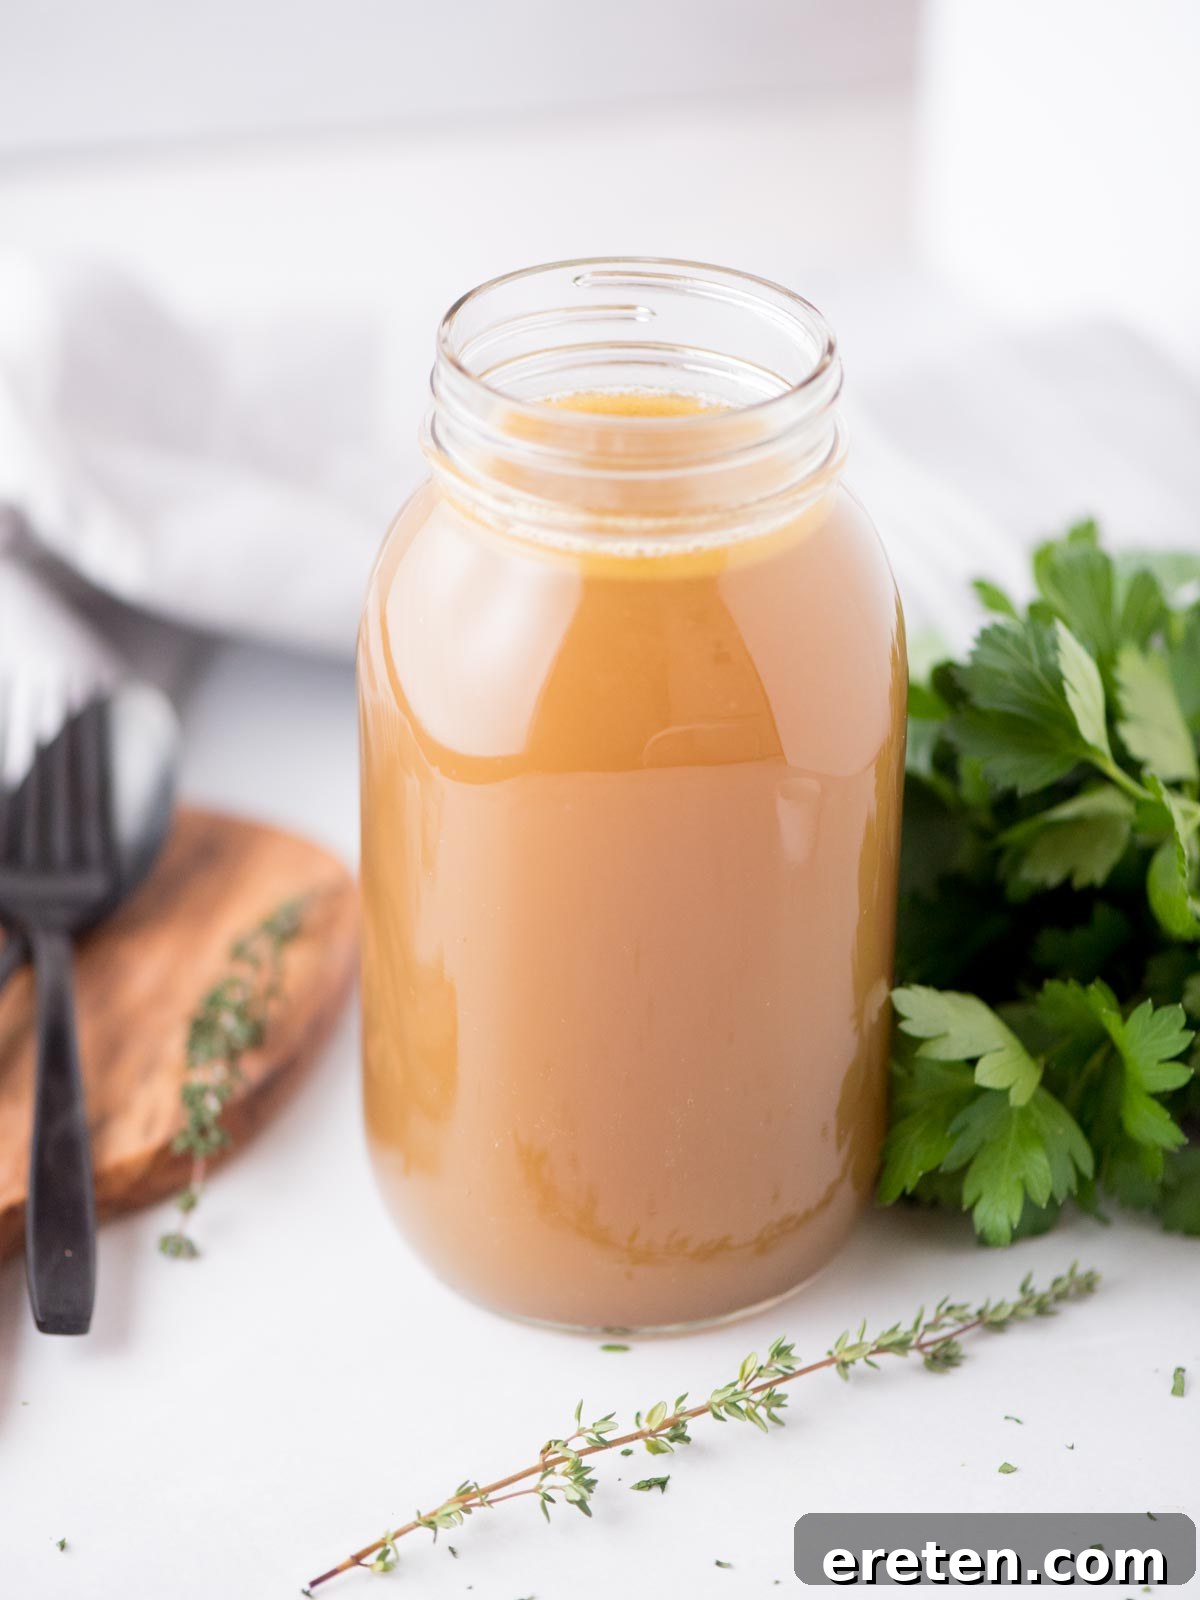
Why You’ll Love Crafting Your Own Chicken Broth
Embarking on the journey of making your own chicken broth is a decision your taste buds and wallet will thank you for. This isn’t just a recipe; it’s a culinary game-changer. Here’s why you’ll quickly fall in love with homemade chicken broth:
- Unmatched Flavor: The most compelling reason is the incredible depth and richness that homemade broth offers. Unlike many commercial varieties, which can be overly salty or lack authentic character, your homemade version will be bursting with the pure, savory essence of chicken and fresh vegetables. This makes every dish you use it in sing with flavor.
- Cost-Effective: Homemade broth is a fantastic way to stretch your food budget. It transforms otherwise discarded chicken bones, vegetable scraps, and herb stems into a valuable culinary asset. Instead of buying expensive cartons of broth, you can create a superior product for pennies on the dollar using ingredients you already have.
- Ingredient Control: When you make broth from scratch, you’re in complete control of what goes into it. This means you can easily adjust salt levels for low-sodium diets, choose organic ingredients, and avoid artificial flavors, preservatives, or other additives often found in store-bought options. It’s real food, made simply.
- Simple & Rewarding: While it might seem intimidating, making chicken broth is an incredibly straightforward process. It mostly involves passive cooking time, allowing the ingredients to gently simmer and meld. The process is meditative, and the aromatic reward that fills your kitchen is deeply satisfying.
- Nutritional Benefits: Especially when using bones, homemade broth provides beneficial collagen, gelatin, and minerals that support gut health, joint function, and even skin elasticity. It’s often considered a comforting tonic for colds and flu.
- Eco-Friendly: By utilizing leftover chicken carcasses and vegetable trimmings, you reduce food waste, contributing to a more sustainable kitchen. It’s a small step that makes a big difference.
The keys to a truly successful and profoundly delicious broth lie in a few fundamental elements:
- Utilizing bone-in chicken parts or a complete carcass, ensuring ample water to extract maximum flavor and nutrients.
- Aromatic vegetables like carrots, celery, and onions, forming the classic mirepoix base.
- Thoughtfully selected seasonings, including whole peppercorns and bay leaves, to enhance the savory profile.
- A patient and prolonged simmering period, allowing all the ingredients to fully contribute to a rich, complex flavor.
While the idea of making homemade chicken broth might initially feel like a complex or daunting task, it’s genuinely one of the simplest and most rewarding culinary projects you can undertake. It’s a wonderful opportunity to repurpose vegetable scraps and chicken leftovers, transforming them into a valuable kitchen staple.
What Exactly is Chicken Broth?
At its core, chicken broth is a savory liquid crafted by simmering chicken parts, often including bones and meat, alongside a medley of herbs, spices, and aromatic vegetables in water. This gentle cooking process extracts the flavors, aromas, and some nutrients from the ingredients, resulting in a versatile liquid foundation.
Chicken broth is a celebrated component in a vast array of savory recipes, primarily serving to introduce moisture and an undeniable depth of flavor. It frequently forms the indispensable base for comforting soups, robust stews, silky sauces, and rich gravies. Its ability to elevate simple ingredients makes it an essential item in any well-stocked kitchen.
Decoding the Differences: Chicken Stock vs. Broth vs. Bone Broth
While often used interchangeably, chicken broth, chicken stock, and bone broth possess distinct characteristics that set them apart. Understanding these differences can help you choose the best option for your culinary needs.
Chicken Broth:
- Primary Ingredients: Typically made with meat (sometimes with bones), vegetables, and seasonings.
- Cooking Time: Generally simmered for a shorter period, usually 1-3 hours.
- Texture & Flavor: Tends to be lighter in body and flavor, often seasoned to be palatable on its own. It’s a good choice for lighter soups or as a liquid for cooking grains.
Chicken Stock:
- Primary Ingredients: Emphasizes bones (often roasted for deeper flavor), with some meat attached, along with vegetables and seasonings.
- Cooking Time: Simmered longer than broth, typically 4-6 hours, to extract more collagen and gelatin from the bones.
- Texture & Flavor: Has a richer mouthfeel and more body due to the gelatin extracted from the bones, which can make it slightly thicker when chilled. Its flavor is usually more intense and less seasoned, making it an excellent base for sauces and gravies where its inherent richness can shine.
Chicken Bone Broth:
- Primary Ingredients: Uses a much higher ratio of bones (often with marrow) to liquid, plus vegetables and seasonings. Apple cider vinegar is sometimes added to help draw minerals from the bones.
- Cooking Time: Simmered for a significantly longer duration, ranging from 12 to 48 hours. This extended cooking time is crucial for extracting maximum minerals, collagen, and amino acids.
- Texture & Flavor: The longest simmer results in the thickest, most gelatinous product, often solidifying when chilled. It boasts the most concentrated flavor and is prized for its purported health benefits, making it popular for sipping or as a foundational ingredient in nutrient-dense recipes.
You can easily adapt this chicken broth recipe to create a homemade chicken stock by simply adding a greater quantity of bones and allowing it to simmer for an extended period, approximately 4-6 hours, instead of the standard 2-3 hours for broth. To produce a true bone broth, further increase the bone content and aim for a simmer lasting 12-24 hours, or even up to 48 hours for maximum extraction of nutrients.
Essential Kitchen Tools for Homemade Chicken Broth
Gathering the right tools will make your broth-making process smooth and efficient. While not an exhaustive list, these are the key items you’ll want on hand:
A good quality Dutch Oven or large stockpot is indispensable. Its heavy bottom ensures even heat distribution, which is crucial for a consistent, gentle simmer. This prevents scorching and helps maintain a steady temperature over several hours.
Buy Now →
A reliable fine-mesh strainer is essential for separating the liquid gold from the solids. This ensures a clear, sediment-free broth, enhancing both its appearance and texture. A colander lined with cheesecloth can also work for extra clarity.
Buy Now →
Additional helpful items include a large mixing bowl for straining, a ladle, and various airtight containers (like mason jars or freezer-safe plastic containers) for storage.
Health and Culinary Benefits of Homemade Chicken Broth
Beyond its incredible flavor, homemade chicken broth offers a wealth of benefits that make it a truly valuable addition to your diet and kitchen repertoire.
- Enhanced Flavor Profile: The primary culinary advantage is its ability to dramatically improve the taste of almost any dish. Swapping plain water for flavorful chicken broth when cooking grains like rice or quinoa instantly transforms them into richer, more savory sides. It deepens the complexity of sauces, gravies, and stews, providing a robust foundation that can’t be replicated by water alone.
- Nutrient Density: When made with bones, homemade broth becomes a natural source of collagen, gelatin, and a variety of minerals like calcium, magnesium, phosphorus, and potassium. These elements are easily absorbed by the body, offering benefits that range from supporting bone health to improving joint flexibility.
- Gut Health Support: The gelatin present in bone-rich broths is particularly beneficial for digestive health. It helps to seal and heal the gut lining, which can aid in digestion and nutrient absorption. Many find it soothing for an upset stomach or during periods of illness.
- Immune System Boost: Often referred to as “Jewish penicillin,” chicken broth has long been a go-to remedy for colds and flu. While not a cure, its warmth, hydrating properties, and easily digestible nutrients can help alleviate symptoms and support the body’s natural healing process.
- Sustainable Cooking: Homemade broth is the epitome of “nose-to-tail” and “root-to-stem” cooking. It provides an excellent and satisfying way to utilize leftover chicken carcasses, bones, and vegetable scraps (like onion skins, carrot peels, and celery ends) that might otherwise be discarded. This reduces food waste and maximizes the value of your ingredients.
- Versatile Culinary Base: Broth isn’t just for soup. It’s an incredibly versatile liquid that can be used to deglaze pans, create flavorful risotto, poach chicken or fish, steam vegetables, or even thin out pureed sauces. Its adaptability makes it an invaluable ingredient for creative cooking.
Crafting the Best Homemade Chicken Broth: Essential Ingredients
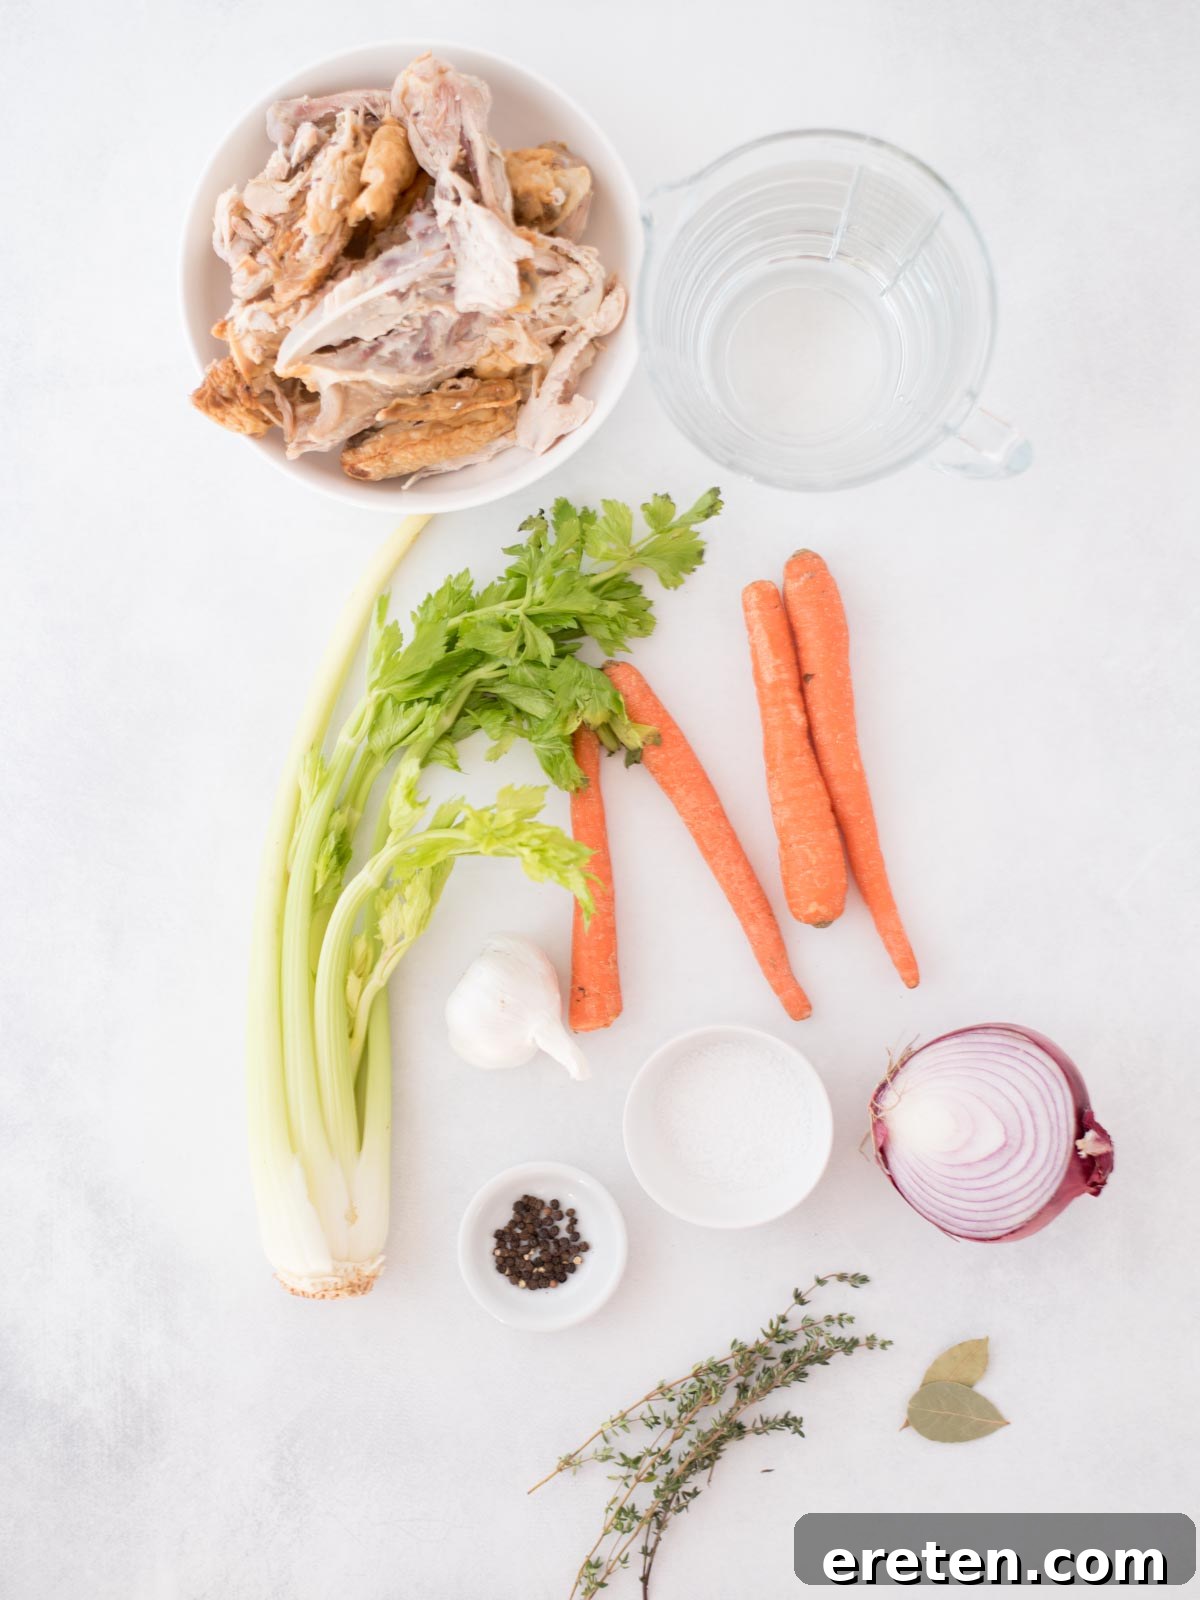
Achieving a deeply flavorful broth requires only a handful of simple, high-quality ingredients. The beauty of this recipe lies in its flexibility, allowing you to use what you have on hand and even repurpose kitchen waste.
- Chicken Bones/Leftovers: This is the heart of your broth. Excellent sources include the carcass and scraps from a roasted chicken or rotisserie chicken. For an even richer broth, consider adding raw chicken parts like backs, necks, wings, or even chicken feet, which are rich in collagen. If you have leftover roast chicken, this is the perfect opportunity to make the most of every morsel. You can also use bone-in chicken pieces or even chicken breasts, but bones are key for depth.
- Celery Stalks (and Scraps): Celery provides a subtle, earthy undertone. Don’t waste those leafy ends or the base of the stalks; they’re packed with flavor and perfect for broth.
- Carrots (and Scraps): Carrots add a touch of sweetness and a beautiful golden hue to the broth. Feel free to use carrot peels and carrot tops for maximum utilization.
- Onion: Even if you’re not an onion enthusiast, I strongly recommend including it. Onions are crucial for a well-rounded, savory flavor in your broth. You don’t need to peel them; the skins add color and depth.
- Garlic: For convenience and maximum flavor, you’ll use a whole head of garlic, simply cut in half horizontally (no need to peel individual cloves!). This infuses the broth with a mellow, aromatic sweetness.
- Bay Leaves: These dried leaves contribute a subtle, herbal, and slightly floral note that is characteristic of classic broths. Ensure your bay leaves are fresh and fragrant, not expired.
- Whole Black Peppercorns: Whole peppercorns add a gentle, warm spice without overpowering the other flavors. They can be found in the spice aisle of any grocery store.
- Coarse Kosher Salt: This is entirely optional. For a genuinely low-sodium chicken broth, you can omit the salt entirely and season your dishes later. If you do add salt, kosher salt provides a clean, pure flavor.
- Water: Simple filtered or tap water works perfectly. Ensure you have enough to cover all your ingredients generously.
- Fresh Thyme: Fresh herbs consistently deliver the best flavor. Sprigs of fresh thyme infuse a vibrant, herbaceous aroma that is easier to strain out compared to dried, loose leaves. Other fresh herbs like parsley stems can also be excellent additions.
Optional Add-ins for Enhanced Flavor:
- Parsley Stems: Don’t throw them away! Parsley stems are full of fresh, green flavor.
- Leek Greens: If you use leeks, the dark green parts are excellent for broth.
- Mushrooms: A few dried or fresh mushrooms can add an umami depth.
- Apple Cider Vinegar: A small splash (1-2 tablespoons) at the beginning can help draw more minerals from the bones, especially if making stock or bone broth.
How to Master Homemade Chicken Broth: A Step-by-Step Guide
Making your own chicken broth is a surprisingly straightforward process that yields incredibly rewarding results. Follow these simple steps to create a rich and flavorful broth.
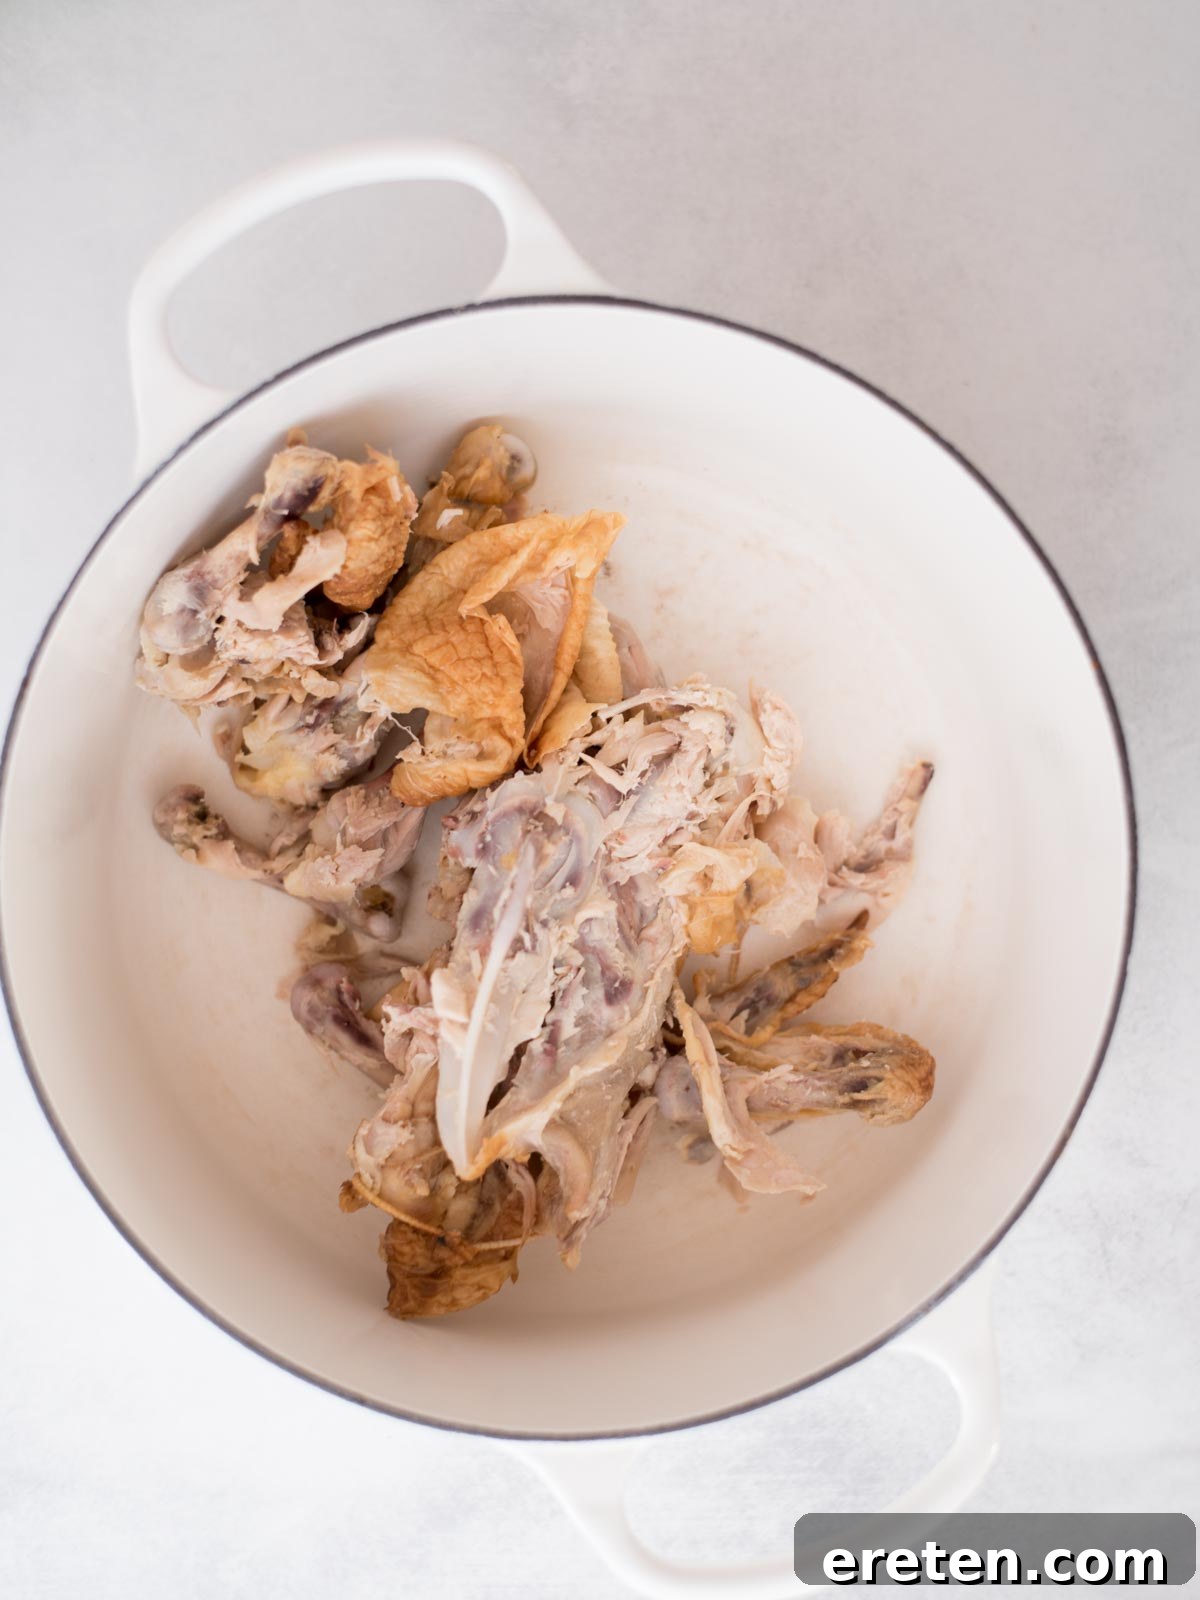
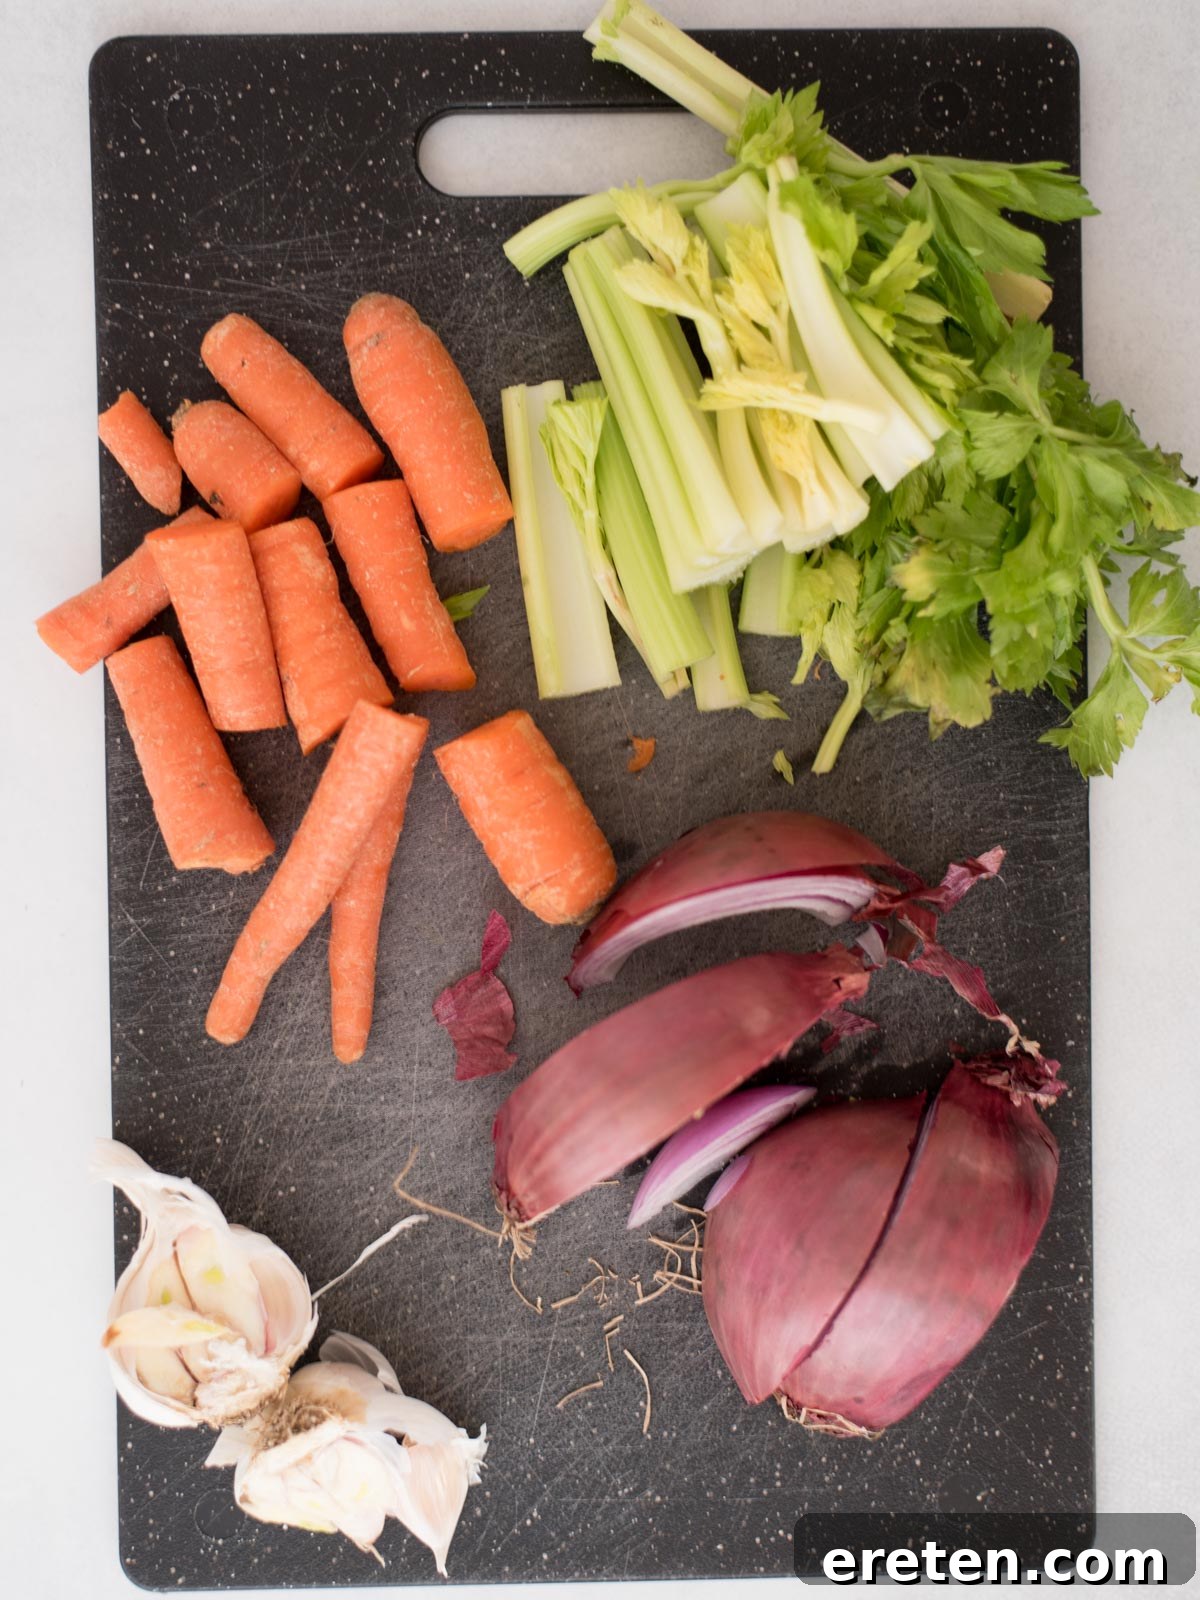
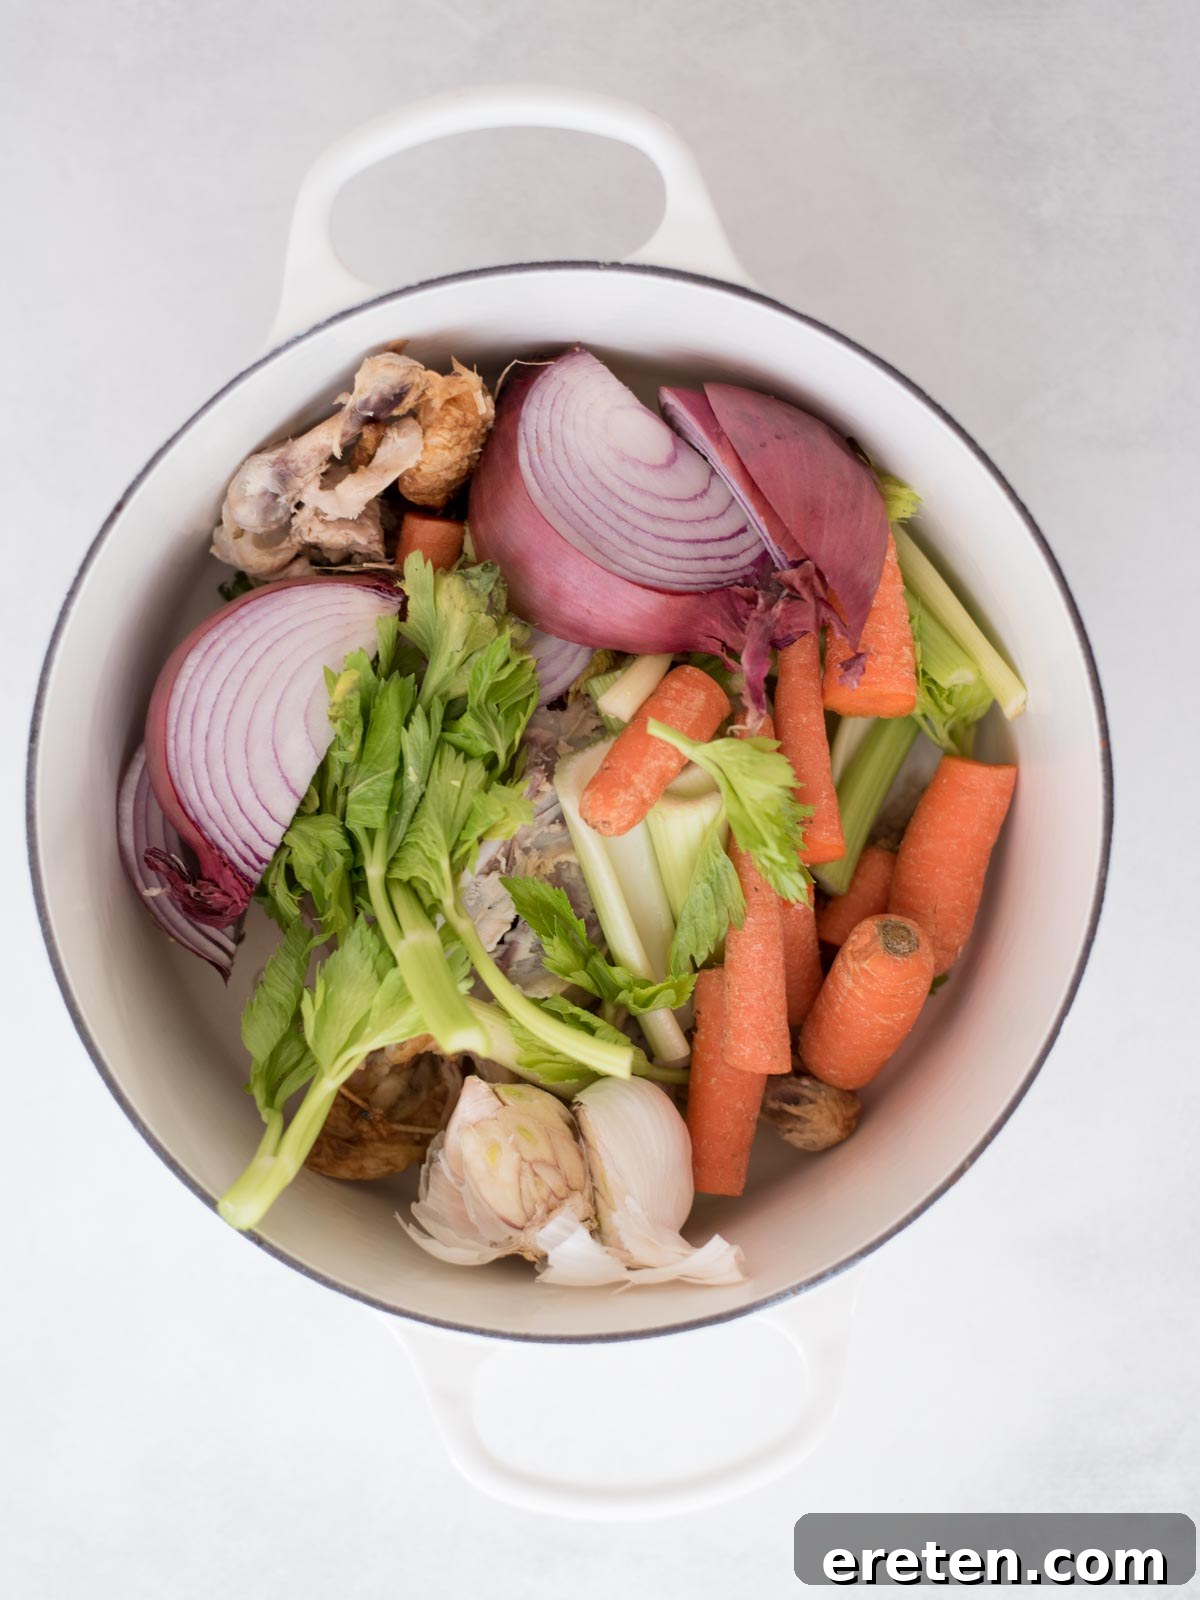
- Combine Ingredients: Place all the ingredients except the water and fresh thyme into a large stockpot or Dutch oven. Ensure your pot is large enough to accommodate all components comfortably, allowing for proper simmering.
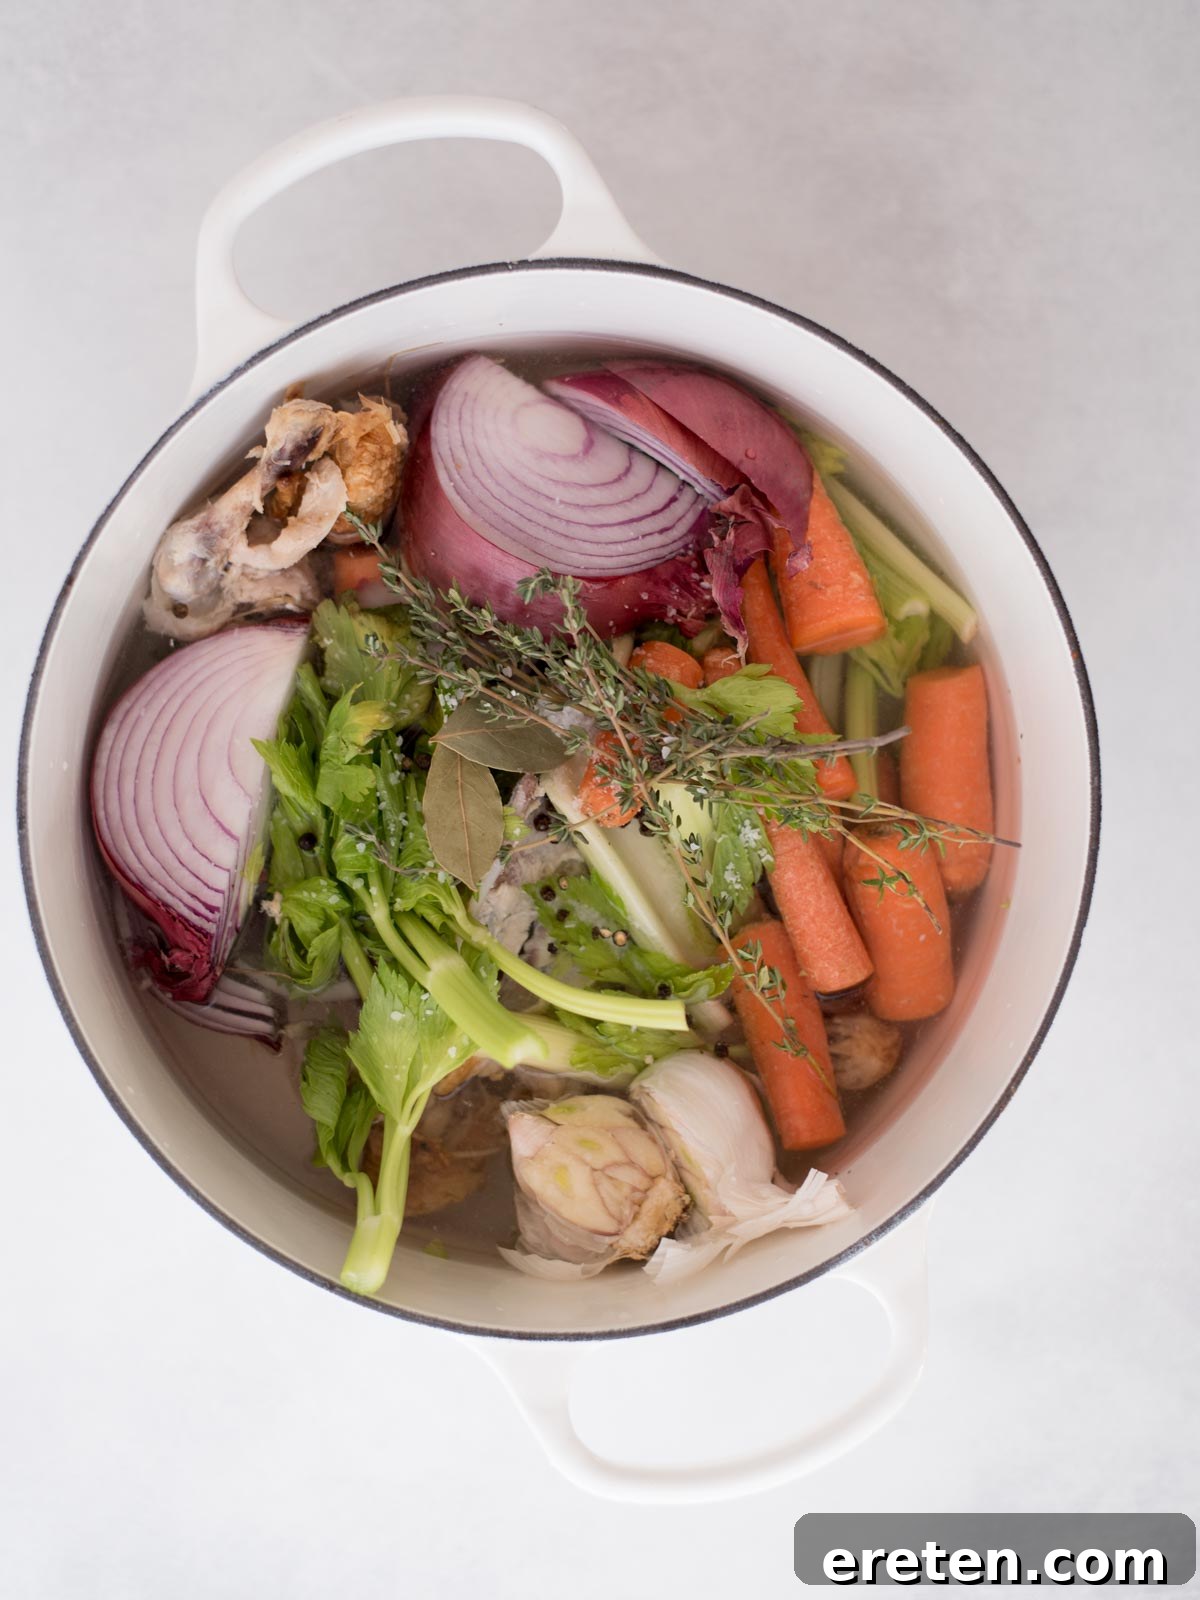
- Add Water and Herbs: Pour cold water over all the ingredients in the pot. Arrange the sprigs of fresh thyme on top, allowing their aroma to gently infuse the liquid as it heats.
- Bring to a Boil, Then Simmer: Place the pot over high heat and bring the mixture to a rolling boil. Once boiling, immediately reduce the heat to low and adjust it so the broth maintains a very gentle simmer. You should see small, occasional bubbles, not a vigorous boil.
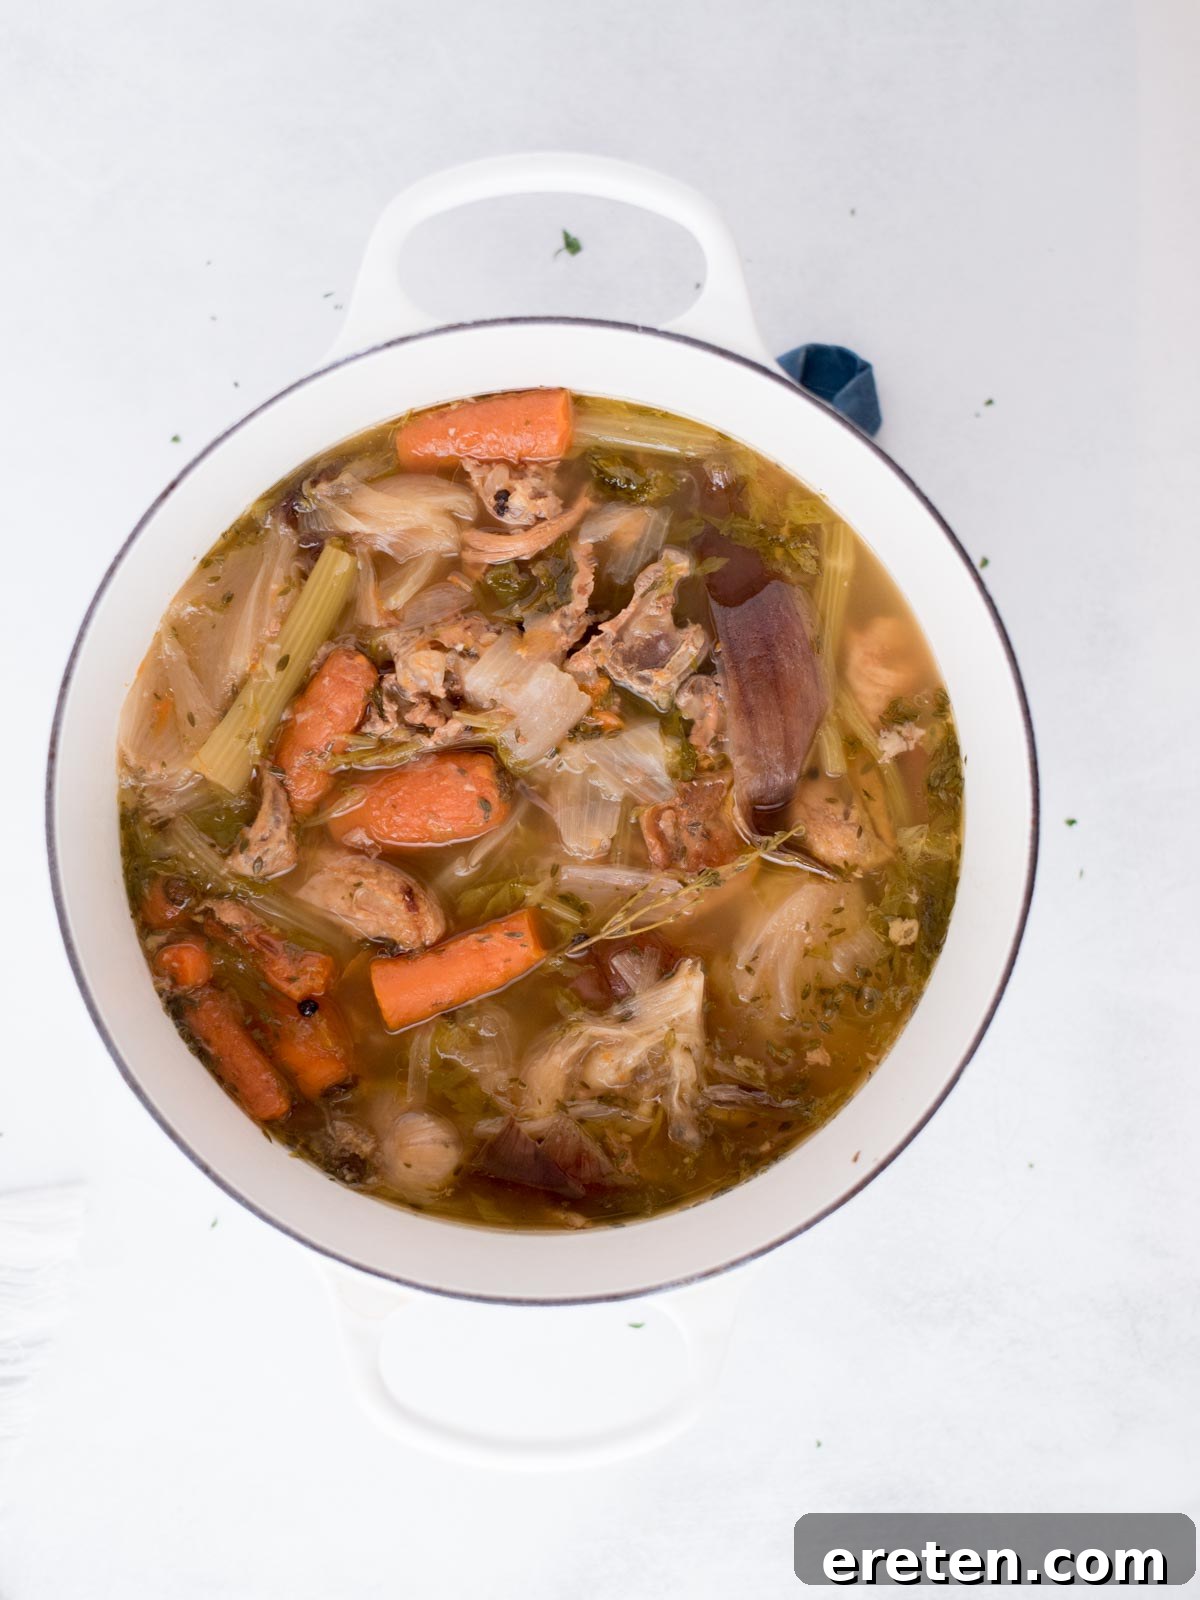
- Simmer for Flavor: Allow the broth to simmer gently for 2-3 hours. The longer the simmering time (within this range), the more profound and concentrated the flavor of your broth will become. For stock, simmer 4-6 hours; for bone broth, 12-24 hours.
- Strain the Broth: Once the simmering is complete, remove the pot from the heat. Carefully strain the entire mixture into a large, heat-proof bowl using a fine-mesh strainer. Press lightly on the solids to extract any remaining liquid, but avoid mashing them vigorously, as this can make your broth cloudy.
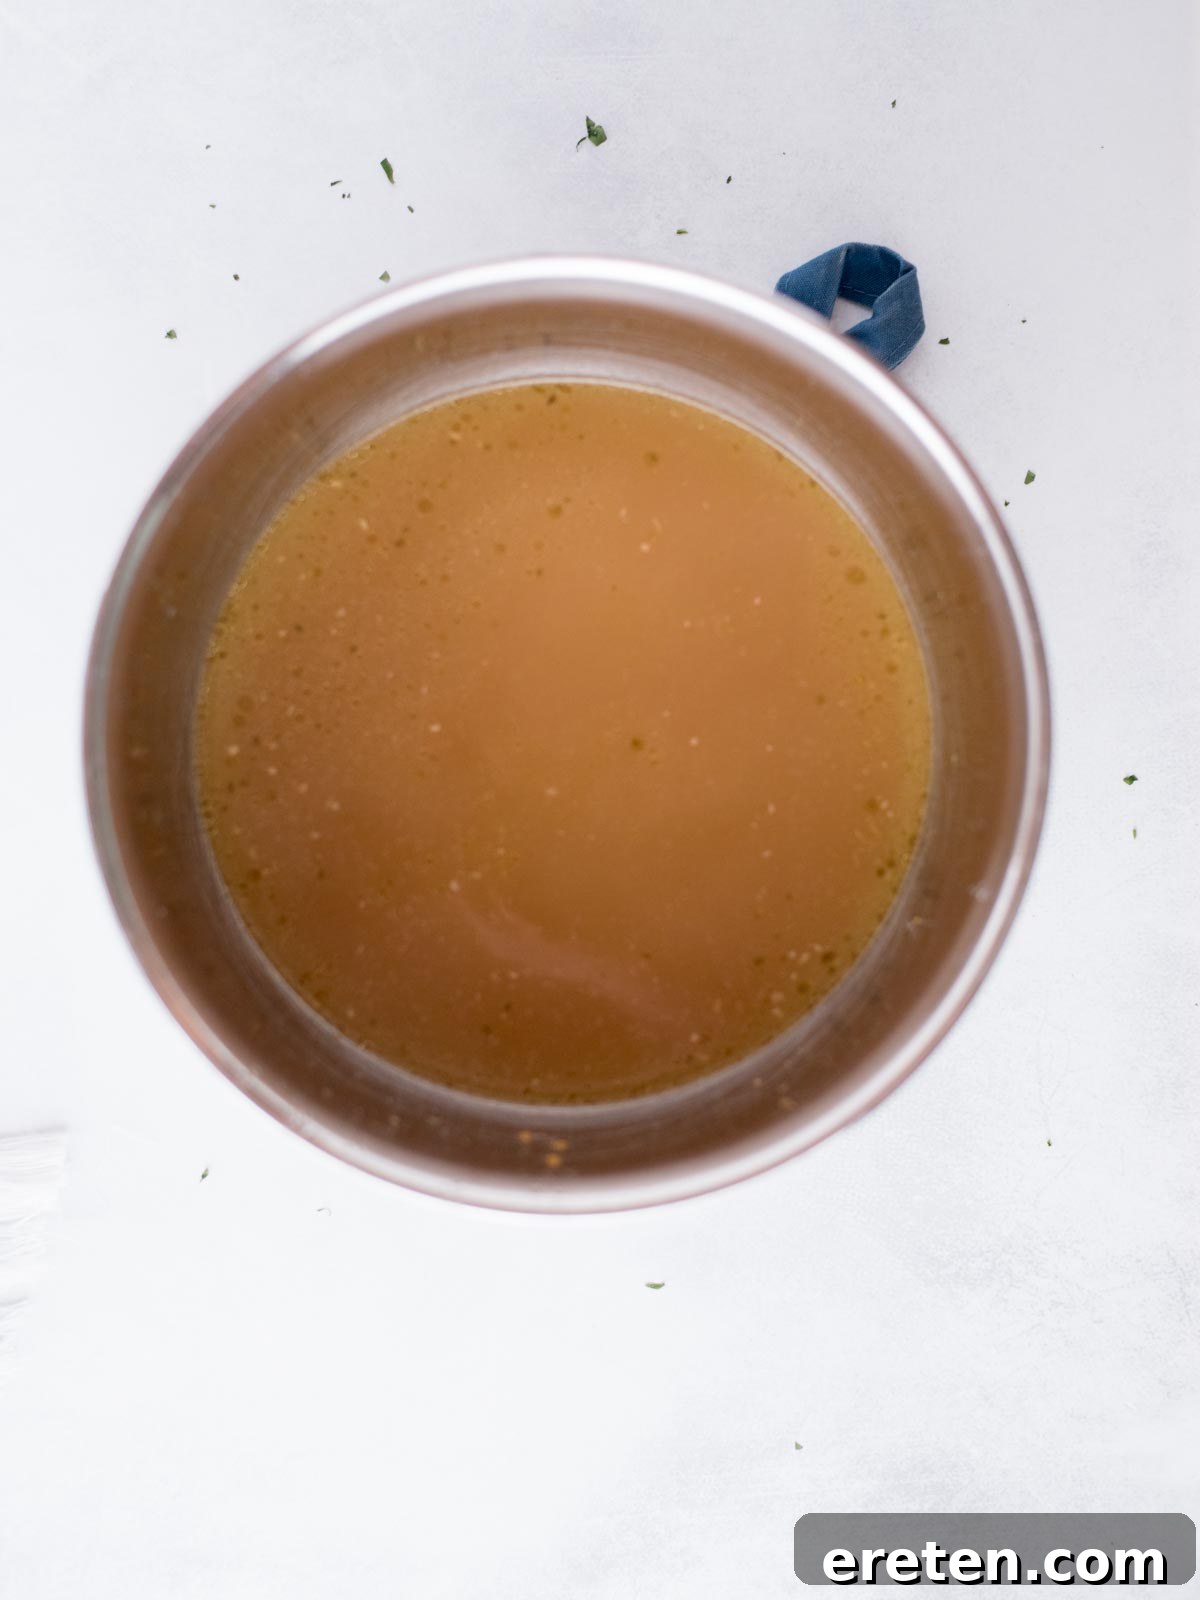
- Cool the Broth: Set the bowl of strained broth aside at room temperature to cool completely. This step is crucial for food safety and makes skimming the fat much easier.
- Skim the Fat: Once the broth has cooled (and ideally, been refrigerated for several hours), a layer of fat will solidify on the surface. Use a spoon or a fat separator to skim off this solidified fat. You can discard it, or save it for cooking if desired.
- Store for Later: Transfer your cooled, skimmed broth into airtight containers. It’s now ready to be stored in the refrigerator or frozen for extended use.
Simplified Broth: Instant Pot Chicken Stock
For a faster approach to a deeply flavored stock, your Instant Pot or any pressure cooker is an excellent tool. Follow the initial preparation steps as outlined above, placing all ingredients directly into the liner of your pressure cooker.
Secure the lid on the pressure cooker and ensure the valve is set to the sealing position. Cook on high pressure for 1 hour. After the cooking cycle, allow the pressure to release naturally for about 15-20 minutes, then manually release any remaining pressure. Once safe to open, continue with the straining, cooling, and storing steps as written in the main recipe.
If your goal is to produce an Instant Pot bone broth, which requires a more significant extraction of nutrients and gelatin, you will need to use a higher proportion of bones. Cook on high pressure for 120 minutes (2 hours), allow for a natural release, and then cook again on low pressure for another 120 minutes (2 hours) to maximize extraction. This longer cooking time under pressure mimics the extended simmer of traditional bone broth.
Hands-Off Method: Homemade Chicken Broth in the Crockpot
The slow cooker or Crockpot provides a wonderfully convenient, hands-off method for making homemade chicken broth, allowing for a long, gentle simmer with minimal effort. Simply follow the recipe as written, but instead of using a stockpot, add all the ingredients to your slow cooker. Set it to cook on low for 8-10 hours, or even overnight. The long, slow cook in the Crockpot develops a rich flavor with very little tending, perfect for busy schedules.
Versatile Uses: What to Make with Your Homemade Chicken Broth
Having a stash of homemade chicken broth opens up a world of culinary possibilities. Its rich flavor and nourishing qualities make it an invaluable ingredient for countless dishes. Here are just a few ideas to get you started:
- Instant Pot White Chicken Chili
- Cheesy Chicken Broccoli Rice Casserole
- Creamy Chicken and Rice Soup
- One Pot Chicken Alfredo
- Slow Cooker Cilantro Lime Chicken
- No Peek Chicken Casserole
- Crockpot Ranch Chicken
- Cajun Shrimp and Sausage Skillet
- Instant Pot Basmati Rice
- One Pot Pasta with Ricotta and Lemon
- Chicken and Mushroom Stroganoff
- Creamy Parmesan Orzo
- As a base for homemade ramen or pho.
- For deglazing pans to make quick sauces.
- To steam vegetables or poach chicken/fish for added flavor.
- To enrich mashed potatoes or risotto.
Storage Solutions for Your Homemade Chicken Broth
Proper storage is key to enjoying your homemade chicken broth for as long as possible. Once you’ve gone to the effort of making it, you’ll want to preserve its quality and flavor.
After straining, it is imperative to allow the broth to cool completely to room temperature before transferring it to storage containers. This prevents bacterial growth and ensures safety. Once cool, place it in an airtight container.
How long does chicken broth last in the fridge?
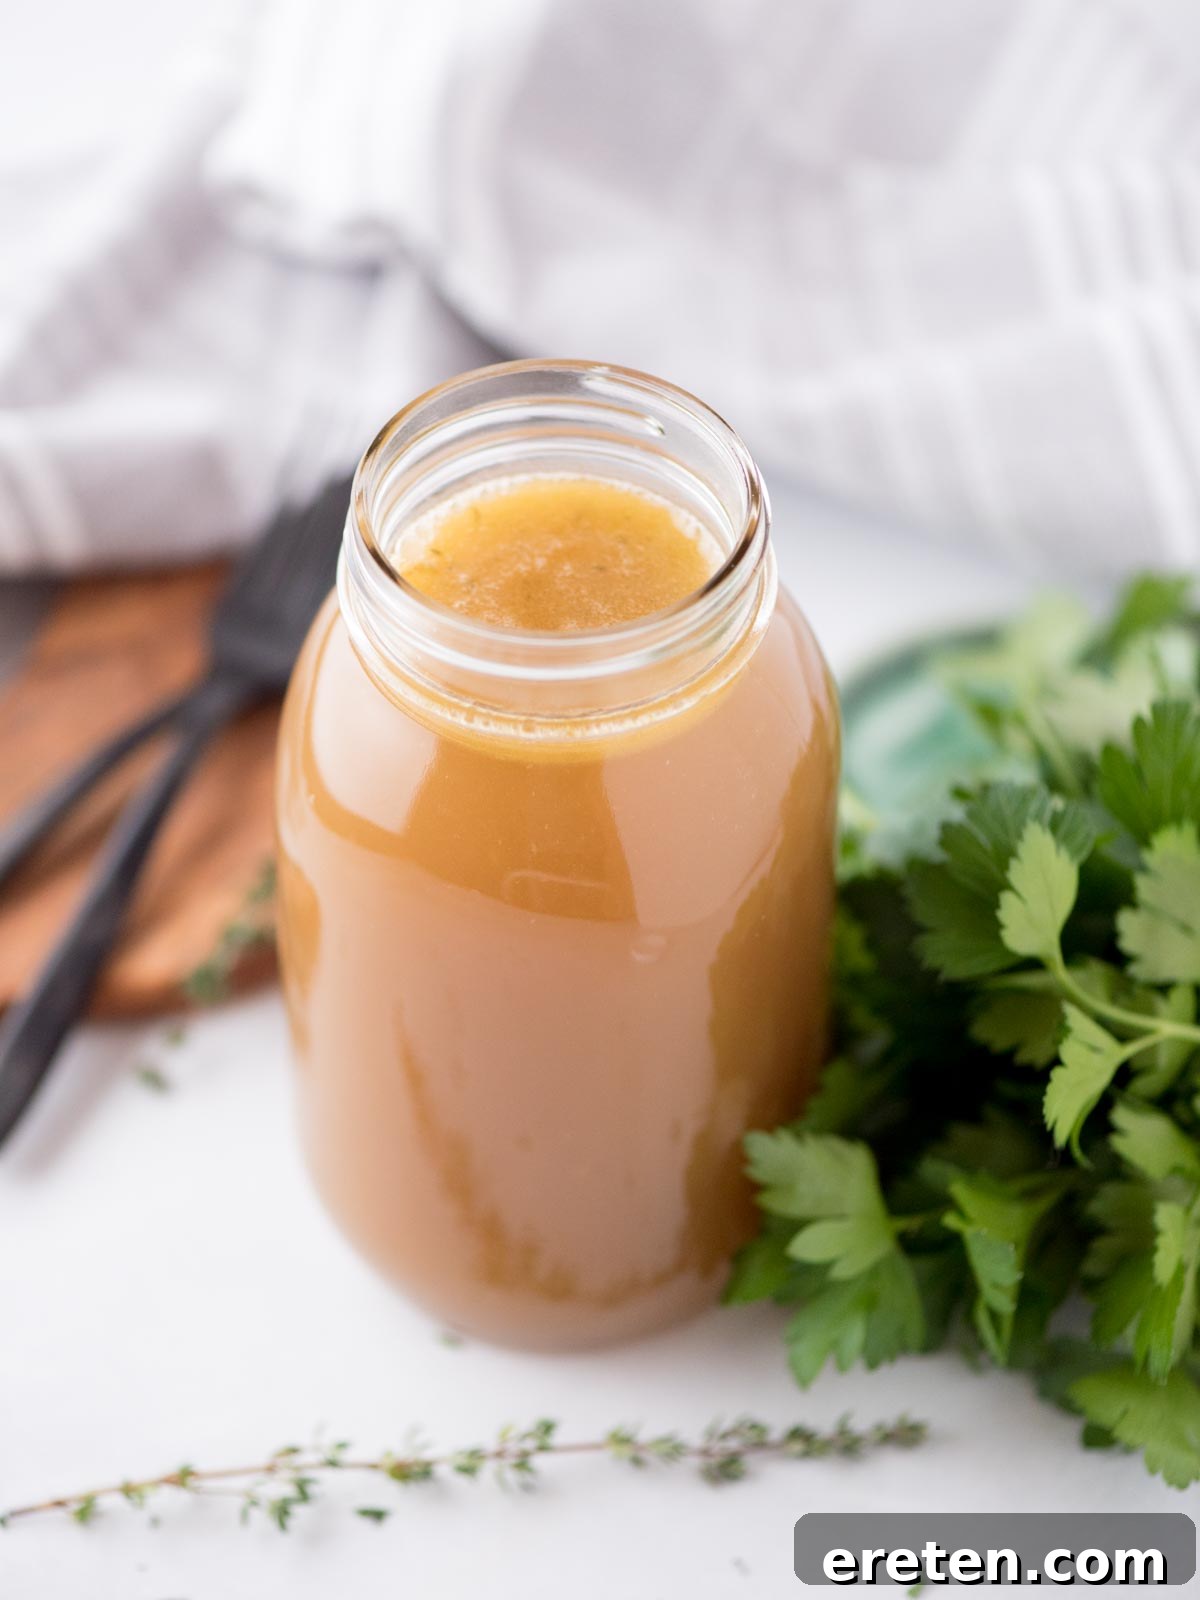
When properly stored in an airtight container and kept in the refrigerator, homemade chicken broth will remain fresh and safe to use for up to 3-4 days. Always label your containers with the date it was made for easy tracking.
How to Heat Up Chicken Broth
Reheating your homemade chicken broth is quick and easy, with options to suit the amount you need and how you plan to use it:
- Stovetop (Best for Larger Amounts or Cooking): Pour the desired quantity of broth into a saucepan or a pot. Warm it over medium heat, stirring occasionally, until it reaches a gentle simmer. Avoid a rolling boil unless you are intentionally reducing it for a more concentrated flavor or using it in a recipe that requires it to be very hot.
- Microwave (Best for Smaller Portions or Sipping): Pour the broth into a microwave-safe bowl or mug. Cover it loosely with a paper towel to prevent any splatters. Heat in 30-second intervals, stirring thoroughly between each interval, until the broth reaches your preferred temperature.
How to Freeze Chicken Broth for Long-Term Storage
Freezing is the best method to extend the life of your homemade chicken broth significantly. It freezes exceptionally well, allowing you to have a ready supply whenever needed. Make sure the broth is completely cool before freezing.
I highly recommend storing your chicken broth in freezer-safe containers. Straight-sided mason jars are excellent for freezing; just be sure to leave at least an inch of headspace at the top to allow for expansion. Specialized freezer containers like Souper Cubes are also fantastic, as they freeze broth into measured portions (e.g., 1-cup blocks) that are easy to pop out once solid. Once frozen in Souper Cubes, you can transfer the blocks to freezer bags, which saves space and makes it simple to grab just the right amount for any recipe.
For smaller portions, such as for deglazing a pan or adding a boost of flavor to a sauce, ice cube trays work wonderfully. Once frozen, transfer the broth cubes to a freezer bag for convenient, individual servings. Always label your frozen broth with the date it was made.
Expert Tips for Making the Best Chicken Broth
Achieving a truly exceptional homemade chicken broth involves a few key practices that can elevate your results from good to outstanding:
- Use a Fine-Mesh Strainer: For the clearest, most refined broth, a fine-mesh strainer is your best friend. It effectively removes even the smallest particles and disintegrated vegetable bits that may have broken down during the simmering process, ensuring a pristine final product. For even greater clarity, line your fine-mesh strainer with cheesecloth.
- Roast Your Bones First (Optional but Recommended): If using raw chicken bones or parts, roasting them in the oven until lightly browned before simmering can significantly deepen the flavor profile of your broth, adding rich, caramelized notes.
- Cold Water Start: Always begin with cold water. This allows the impurities to rise to the surface as the water slowly heats, making them easier to skim off for a clearer broth.
- Gentle Simmer is Key: A rolling boil agitates the ingredients, leading to a cloudy broth and potentially causing impurities to emulsify into the liquid. A gentle simmer is crucial for clear, flavorful broth.
- Skim Impurities: During the initial stages of simmering, a foamy scum will rise to the surface. Regularly skim this off with a ladle or fine-mesh spoon to ensure a clean, clear broth.
- Resist Over-Stirring: Excessive stirring can also contribute to a cloudy broth by breaking down the ingredients too much. Let the broth do its work undisturbed.
- Cool Completely Before Storing: This tip is twofold. First, rapid cooling is a food safety best practice to prevent bacterial growth. Second, cooling the broth thoroughly (and ideally chilling it in the refrigerator) allows the fat to solidify on top, making it much easier to skim off for a less greasy broth.
- Don’t Throw Away Vegetable Scraps: Keep a large resealable bag in your freezer specifically for vegetable scraps. Carrot peels, onion ends, celery leaves, and herb stems are all excellent candidates for broth. When you’re ready to make broth, simply empty the bag into the pot – it’s a zero-waste win!
Homemade Chicken Broth Recipe FAQs
People often drink chicken broth for its comforting warmth, excellent hydration, and perceived nutritional benefits. It’s a popular traditional remedy for colds and flu, providing easily digestible nutrients and electrolytes. Many also consume bone-rich broths for their collagen and gelatin content, which are believed to support gut health and joint function.
To enhance the flavor of your chicken broth, consider adding a wider variety of aromatic vegetables and fresh herbs, such as parsley stems, leek greens, or even a few dried mushrooms for umami. Significantly, simmering the broth for a longer duration will allow the flavors to deepen and concentrate, resulting in a much richer and more intense chicken flavor. You can also lightly roast your chicken bones before simmering for added depth.
To achieve a thicker consistency similar to chicken stock, the key is to increase the amount of bones relative to the liquid and extend the simmering time. Bones, especially those with cartilage and connective tissue (like backs, necks, and feet), are rich in collagen, which transforms into gelatin during a longer simmer, giving stock its characteristic body and slight thickness when chilled. Aim for a simmering time of 4-6 hours, rather than 2-3 hours for standard broth.
Absolutely! Using raw chicken parts like backs, necks, wings, or a whole carcass is an excellent way to make broth. You can even roast the raw bones and meat first for a deeper, more caramelized flavor before simmering them.
A cloudy broth is usually a result of one of two things: either the broth was brought to a rolling boil rather than a gentle simmer, which agitates the ingredients and emulsifies impurities, or you mashed the solids too vigorously when straining. To get a clear broth, maintain a gentle simmer and avoid pressing the solids too hard during straining. Skimming the initial foam also helps.
If you make this recipe and love it, we would love a 5 ⭐️⭐️⭐️⭐️⭐️ rating! It helps us continue to provide free recipes.
Homemade Chicken Broth
Equipment
-
dutch oven
-
measuring cups
Ingredients
- 1 lb bones/leftovers from rotisserie chicken or whole cooked chicken scraps
- 4 stalks celery
- 4 whole carrots
- 1 head garlic unpeeled and halved
- 2 whole bay leaves
- 1 teaspoon whole peppercorns
- 2 teaspoons coarse kosher salt
- 1 whole onion
- 6 cups water
- 5 sprigs fresh thyme
Instructions
-
Add all of the ingredients to a large pot.
-
Bring it to a boil and then turn it down to a simmer.
-
Let it simmer for 2-3 hours. The longer it simmers, the better the flavor.
-
Remove from the heat and strain the mixture into a large bowl using a fine mesh strainer.
-
Set the bowl with the broth aside to cool.
-
Once it has cooled, skim the fat from the top.
-
Store in an airtight container in the fridge or freeze it for later.
Notes
- Keep your leftover vegetable scraps in a ziplock bag in the freezer. You can throw them into the pot whenever you get ready to make broth and they won’t go to waste.
- You can also add all of the ingredients to a slow cooker and let it cook for 8-10 hours.
- It’s best to use a fine mesh strainer for the best results.
- Cooling the broth before storing is important to skim the fat and to also have the best results for storing.
Nutrition
Nutrition information is automatically calculated, so should only be used as an approximation.