From-scratch Apple Hand Pies
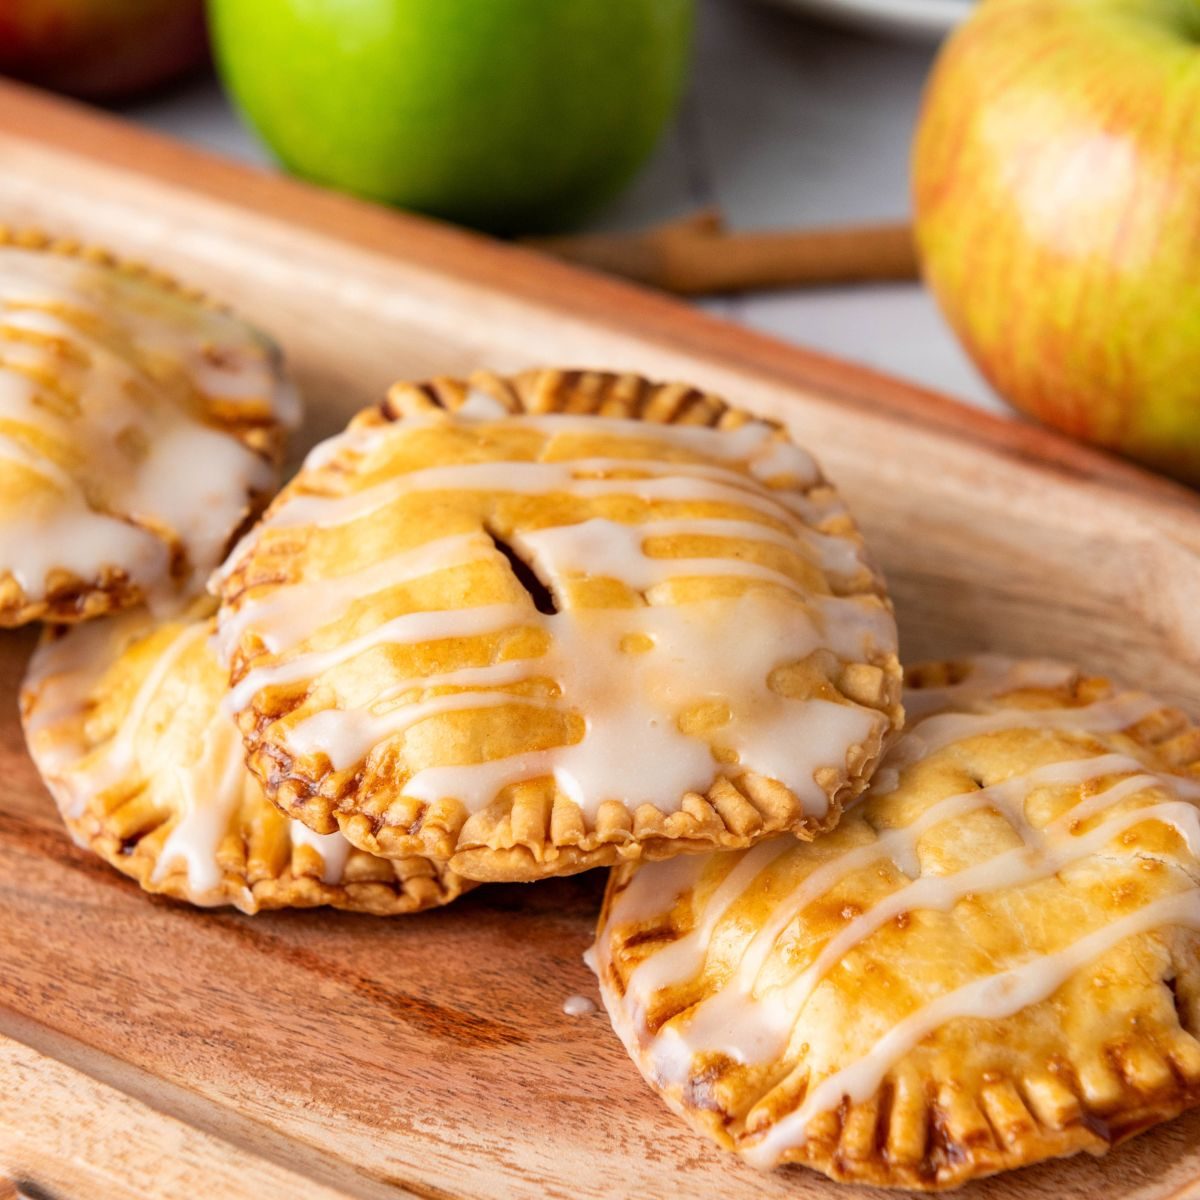
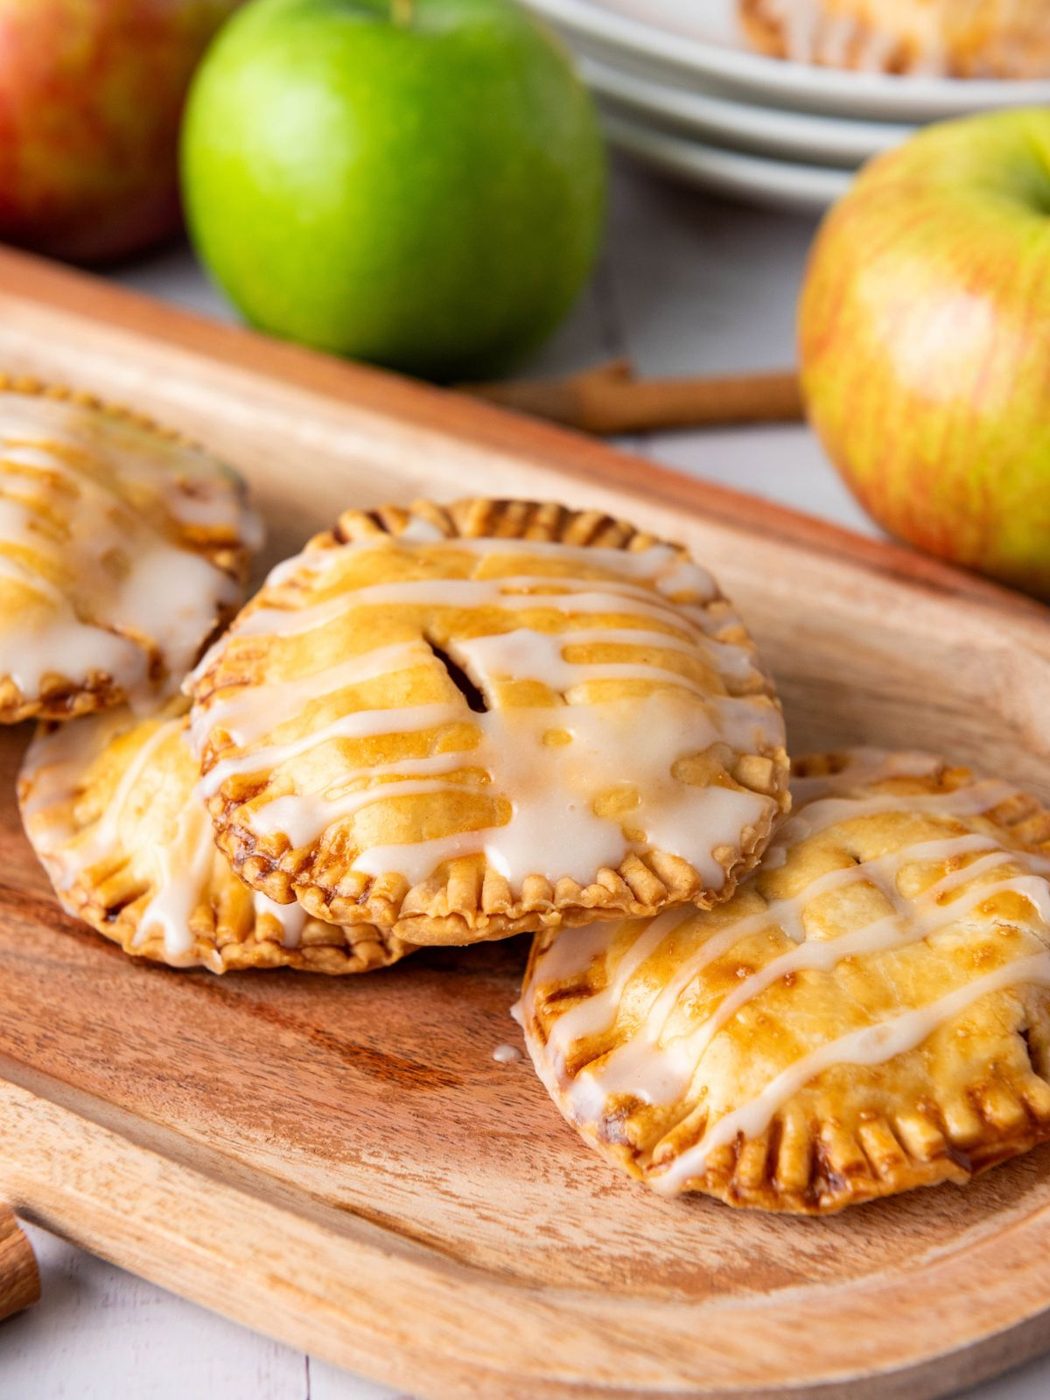
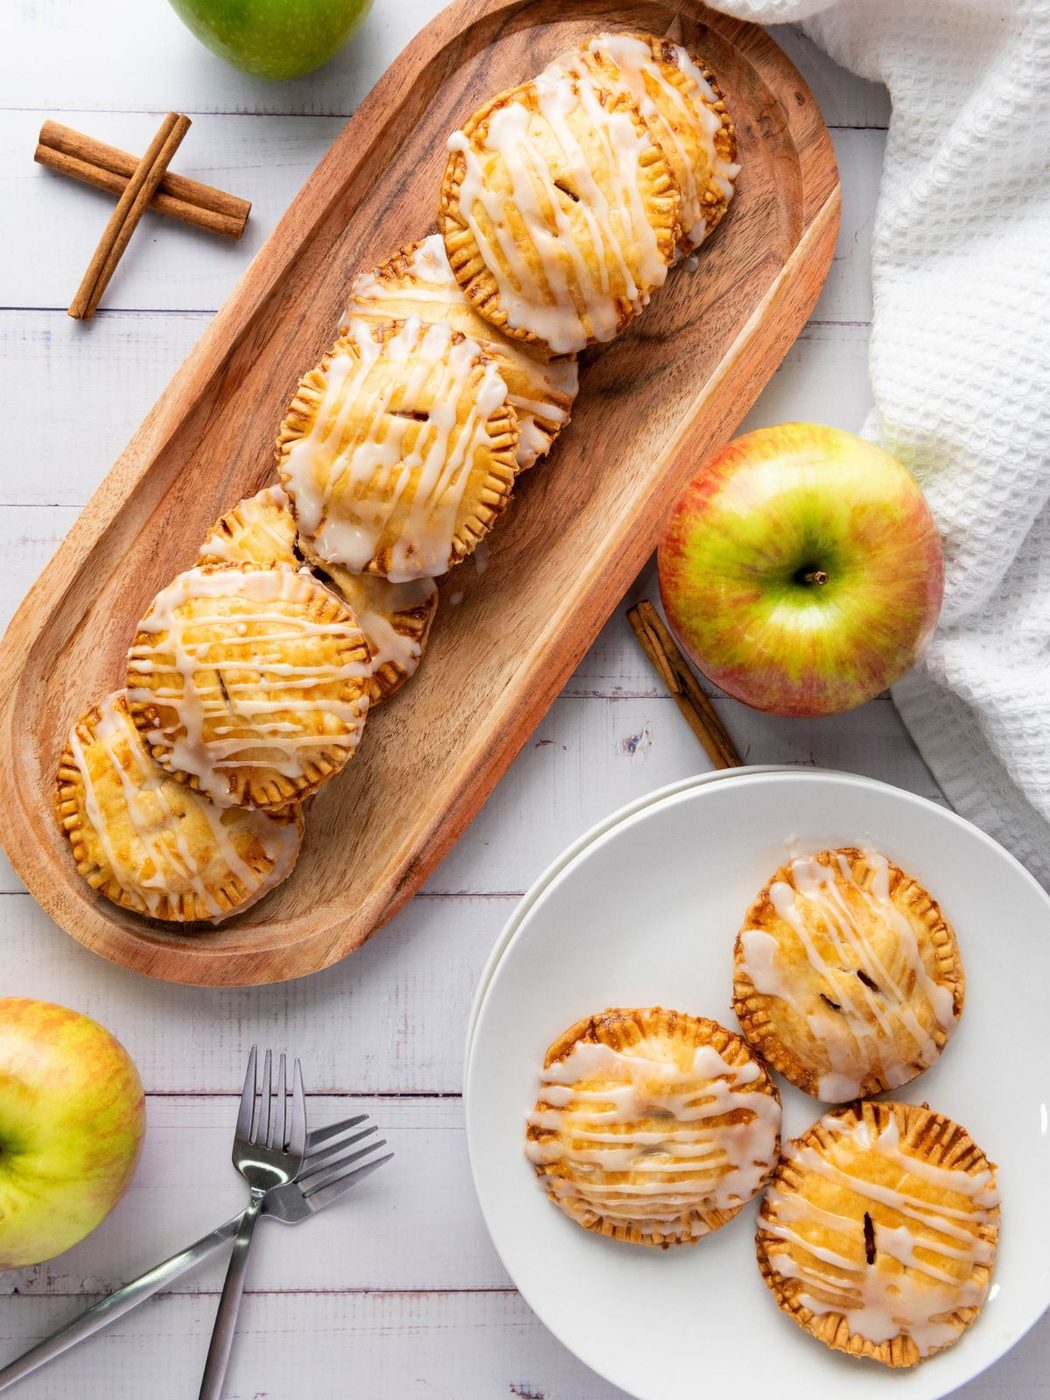
These apple hand pies have layered pie crust folded around soft cinnamon apples with a plain vanilla glaze across the top. Cooking the apples before they go into the crust leaves you with a thicker filling with soft apples rather than hoping everything cooks in the same window in the oven. They’re a strong fit for fall weekends when you want apple pie, but something you can pick up and eat is the better choice.
Straightforward Apple Hand Pies with Pie Crust
Apple desserts are one of those things that make it feel like fall even when Texas weather hasn’t quite gotten the message yet. Hand pies give you all of those familiar cinnamon-apple flavors without needing to slice and serve a whole pie.
We're completely fine with using a refrigerated pie crust shortcut when it still leaves you with a dessert that tastes good. Here, the part that matters most is the apple filling. Cooking it on the stove first softens the apples, melts the butter and sugar together, and gets rid of some of the excess moisture.
Using Granny Smith and Honeycrisp also keeps the filling from becoming too sweet. You get some tartness from the Granny Smith, sweetness from the Honeycrisp, cinnamon throughout, and a bit of lemon.
Why Apple Hand Pies stay in the rotation
- The apples are already soft before baking. You don’t end up with beautifully browned crust folded around crunchy apple pieces.
- The filling isn’t too sweet. Granny Smith apples and lemon juice keep the sugar in check.
- You get plenty of layered crust. Each hand pie is enclosed with a top and bottom crust rather than folded over.
- They’re straightforward to serve. No slicing, pie server, or plates required if everyone is grabbing one from the counter.
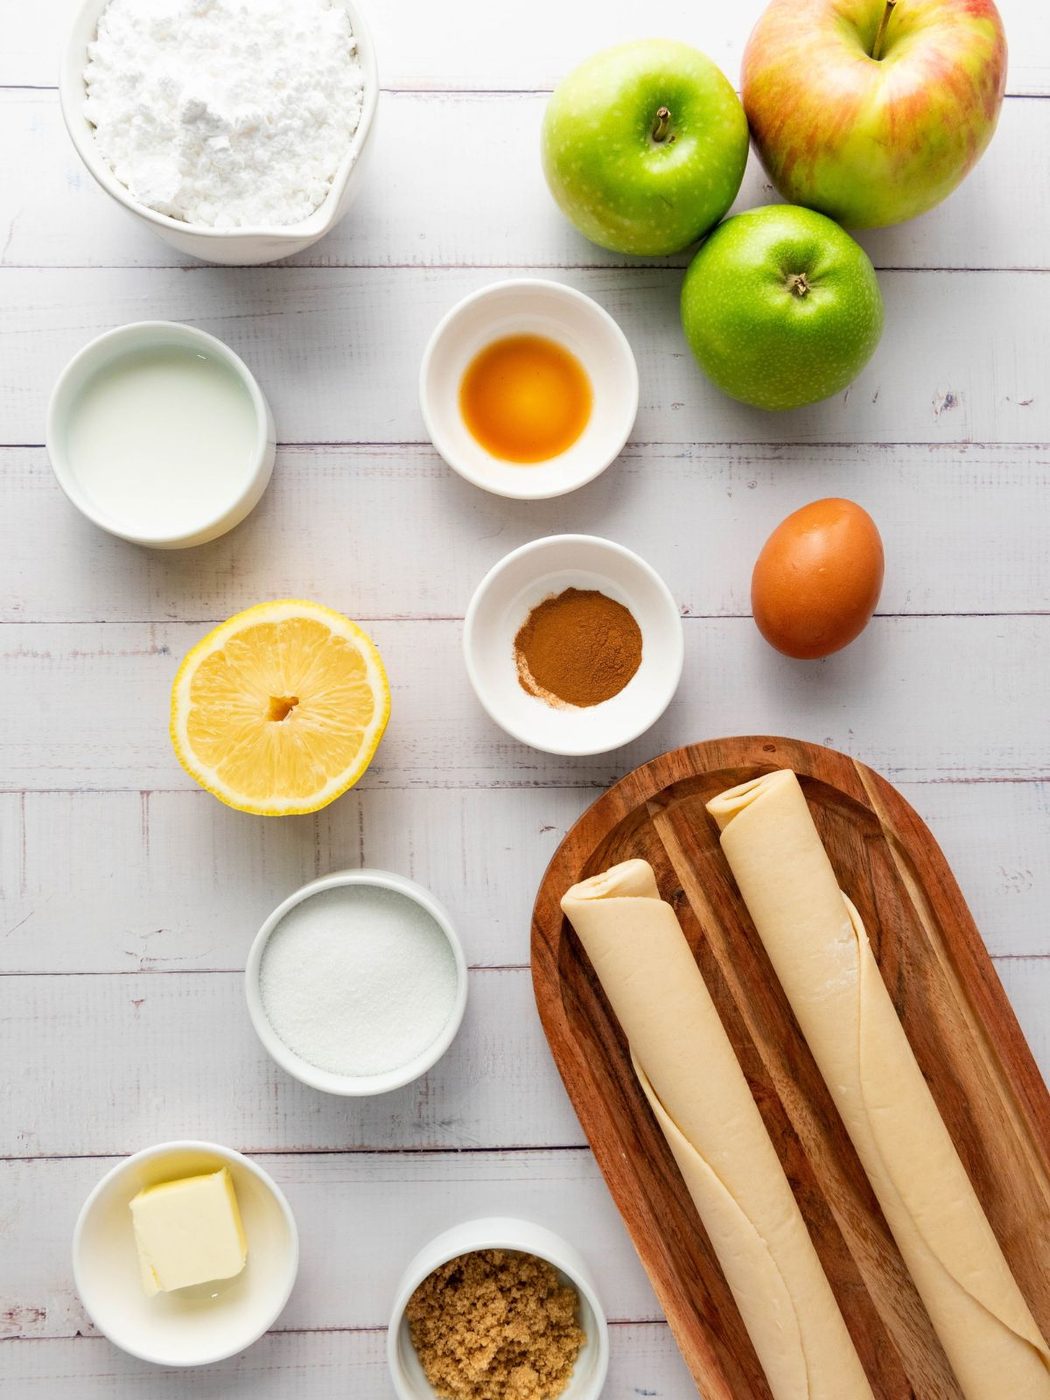
Ingredients for Apple Hand Pies
Apple Filling
Granny Smith apples: Their tart flavor fits well here because the filling also has granulated sugar, brown sugar, and glaze.
Honeycrisp apple: Sweeter than the Granny Smith with a good apple flavor that still stays firm once cooked.
Granulated sugar: Sweetens the apples and builds the syrupy mixture around them.
Brown sugar: Adds a little more richness to the filling than using white sugar alone.
Ground cinnamon: Keeps the filling classic and plain.
Lemon juice: Gives the apples a little acidity so the filling doesn’t taste too sweet.
Butter: Makes the cooked apple mixture richer and helps the sugar and cinnamon coat the fruit.
Kosher salt: A small pinch keeps all of the sugar from making the filling taste flat.
For the Hand Pies
Refrigerated pie crust: You’ll need four standard pie crust rounds, usually two packages containing two crusts each, for 12 double-crust hand pies.
Egg: Beaten egg brushed over the crust gives the tops a golden, slightly shiny finish.
Vanilla Glaze
Powdered sugar: The base of the glaze.
Milk: Thins the powdered sugar into a drizzle. Start with less because it’s much easier to thin glaze than fix one that has gotten too runny.
Vanilla extract: Gives the glaze a little more flavor than plain powdered sugar and milk.
How to cook Apple Hand Pies
Make the Apple Filling
Melt the butter in a medium saucepan over medium heat.
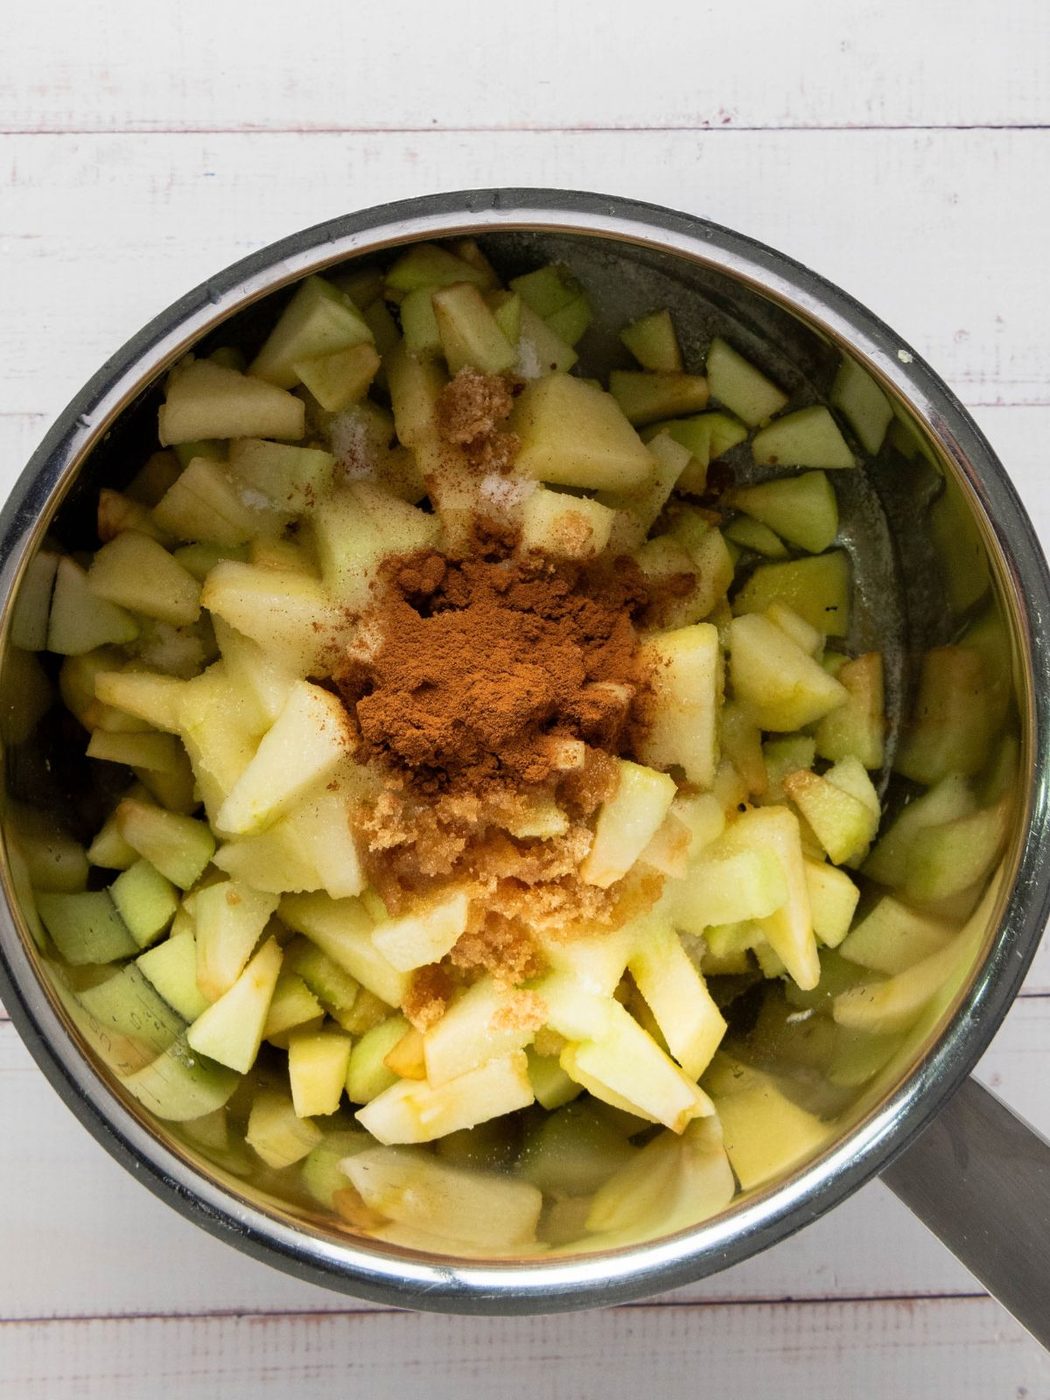
Add the diced Granny Smith and Honeycrisp apples, granulated sugar, brown sugar, cinnamon, lemon juice, and a small pinch of kosher salt.
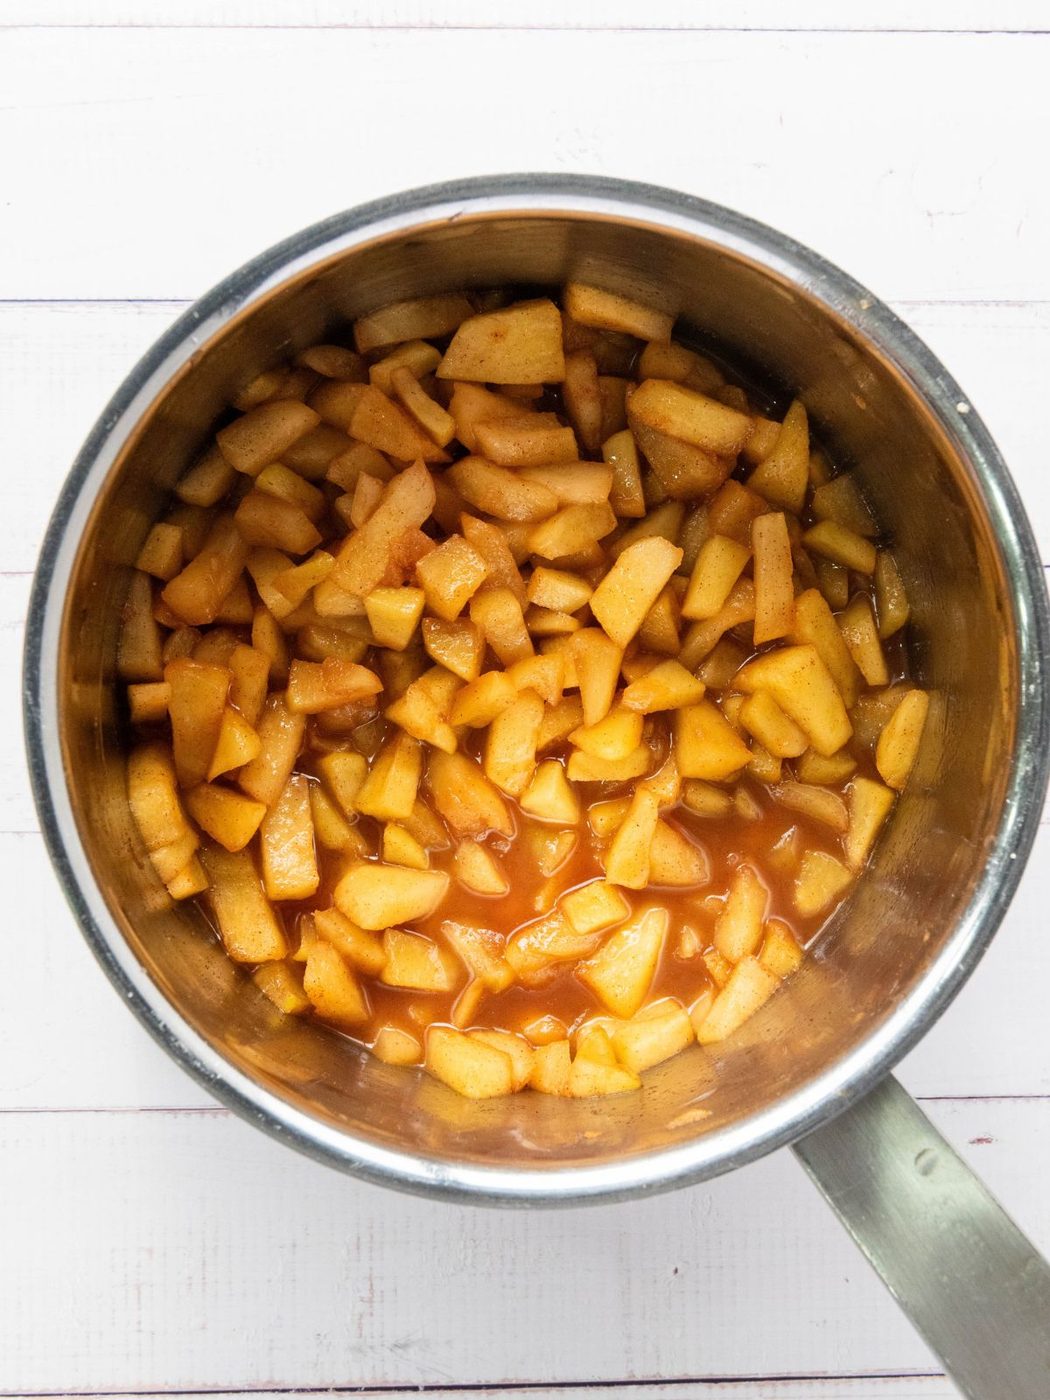
Cook the apples for 5–7 minutes, stirring occasionally. They should soften but still hold their shape.
Remove the filling from the heat and let it cool before assembling the hand pies.
Cut the Pie Crust
Preheat the oven to 400°F and line a baking sheet with parchment paper.
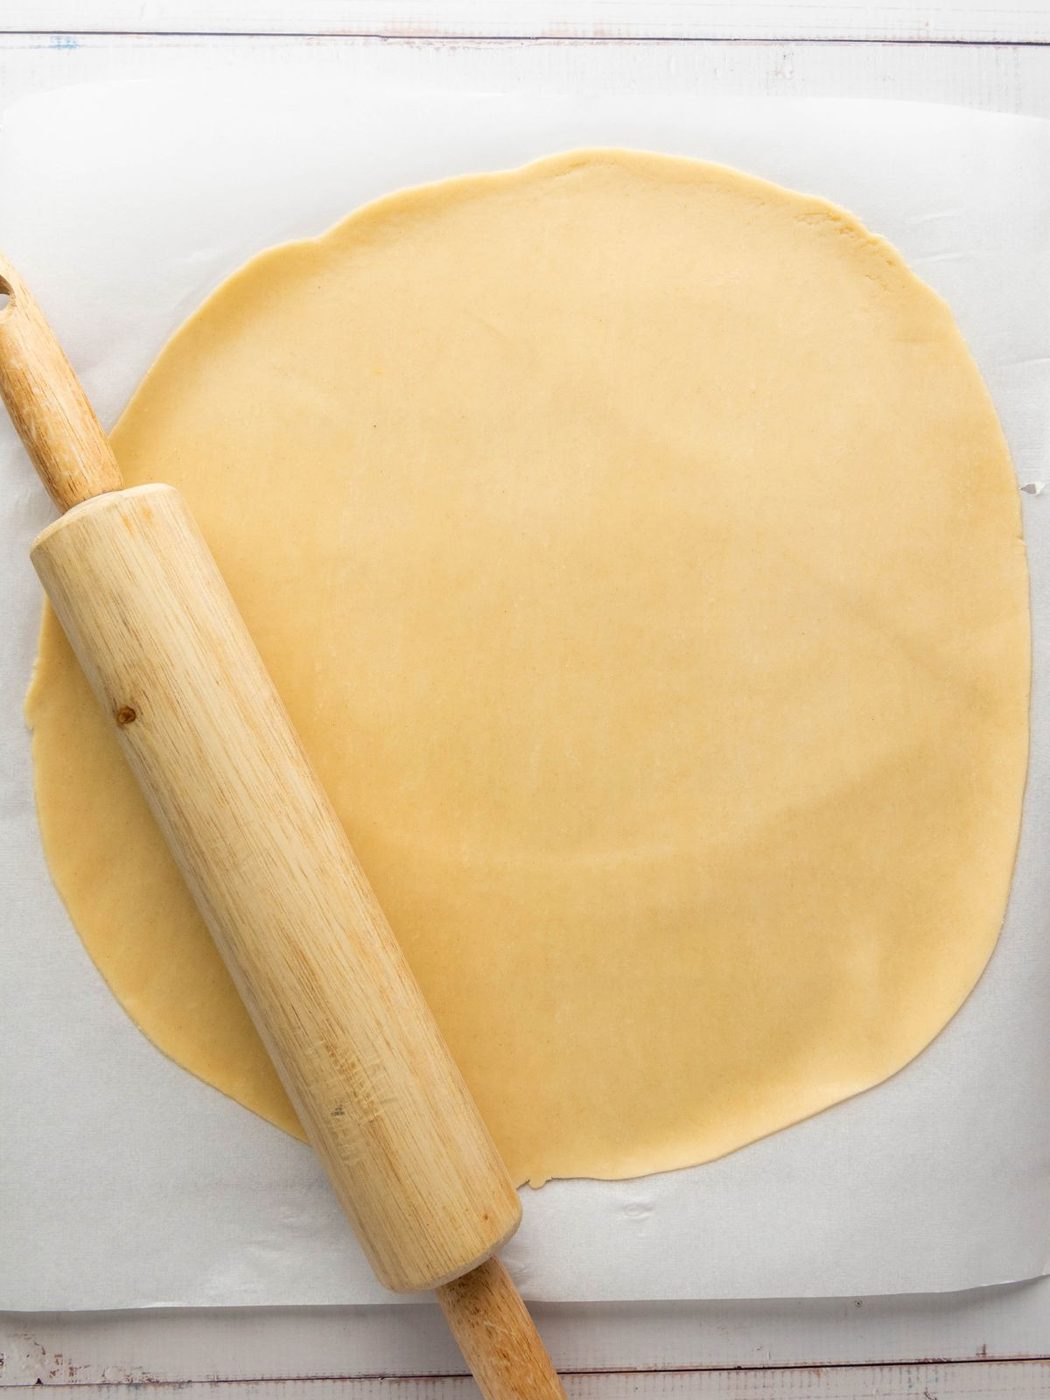
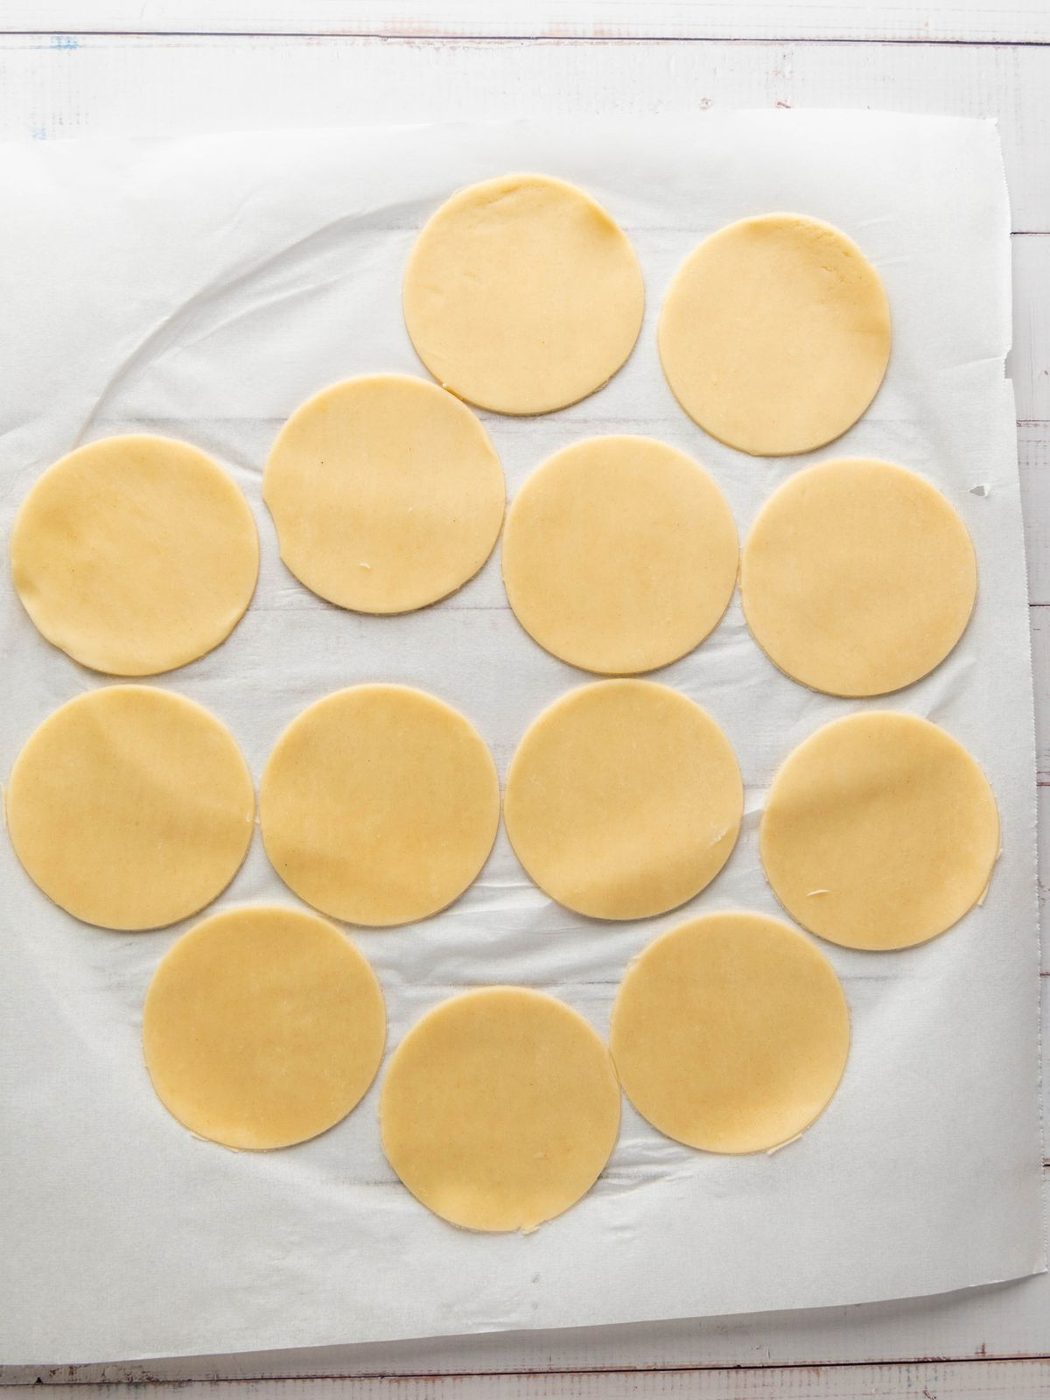
Unroll the refrigerated pie crusts and cut out circles about 4–5 inches in diameter using a round cutter or the rim of a glass.
You’ll need two circles for each hand pie.
Fill the Hand Pies
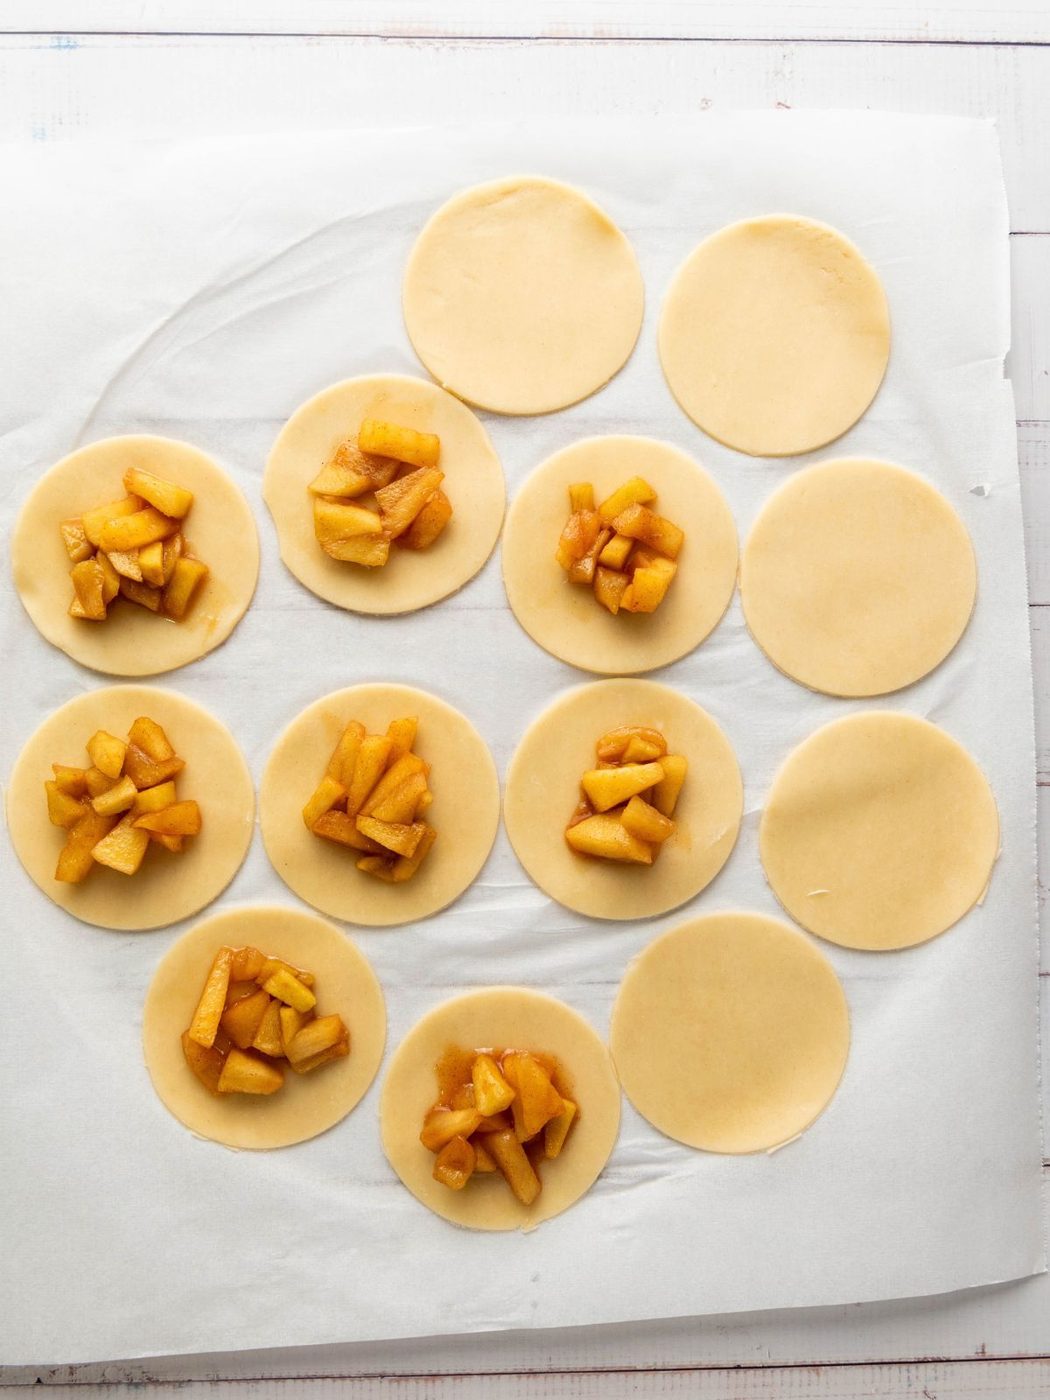
Place a spoonful of cooled apple filling in the center of half of the dough circles.
Leave a border around the outside so you have enough dough to seal the pies.
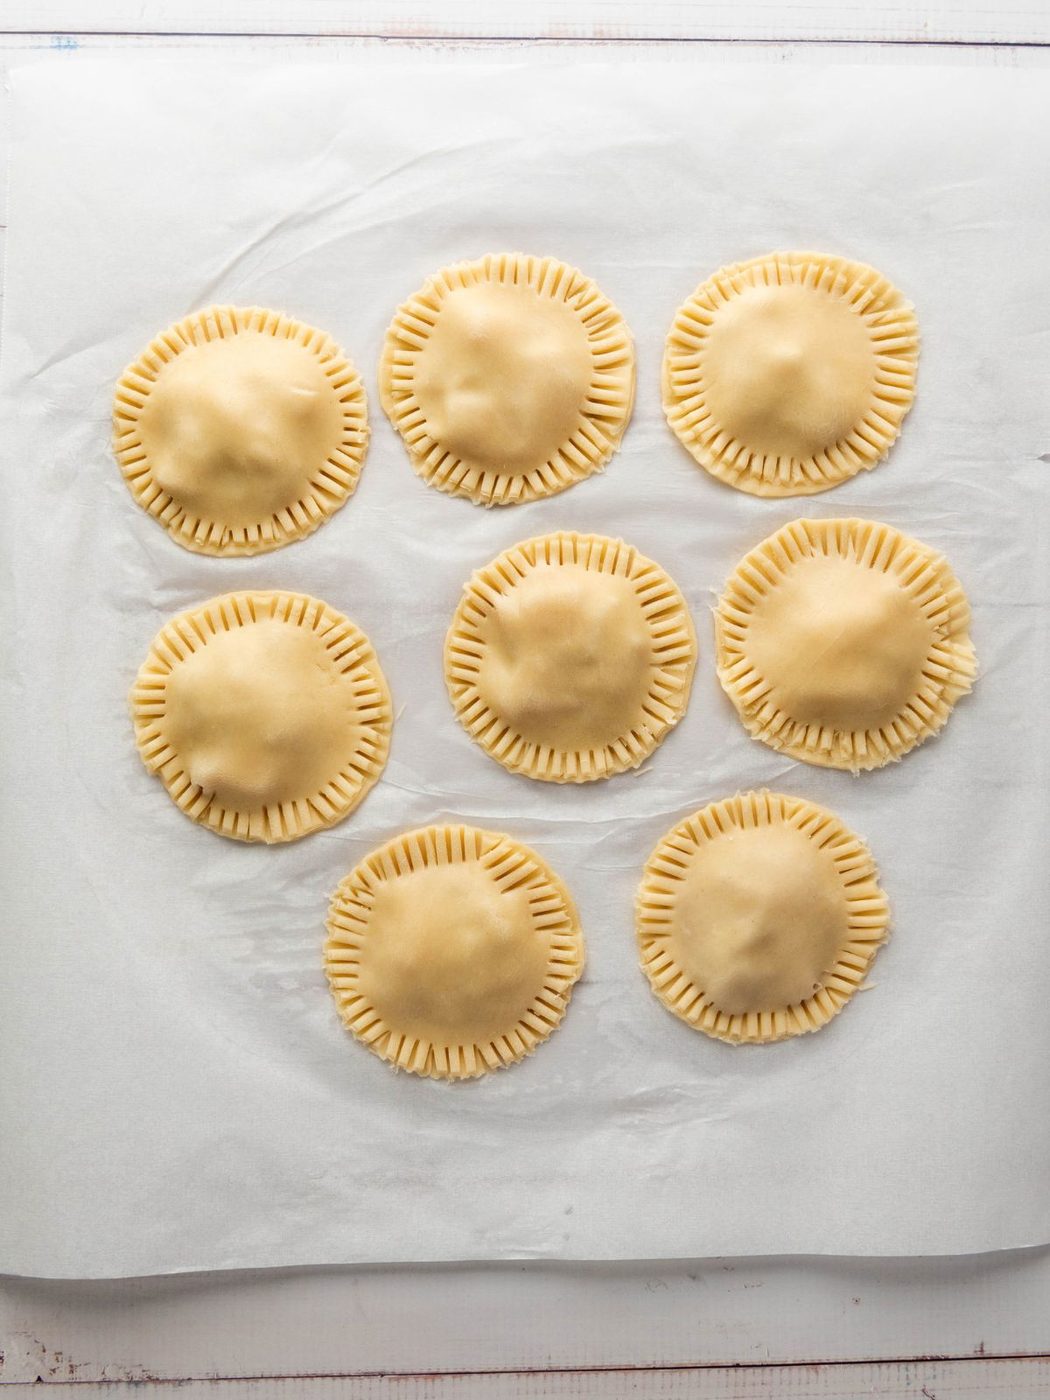
Top each one with another dough circle. Press gently around the filling, then use a fork to crimp the edges closed.
Add the Egg Wash
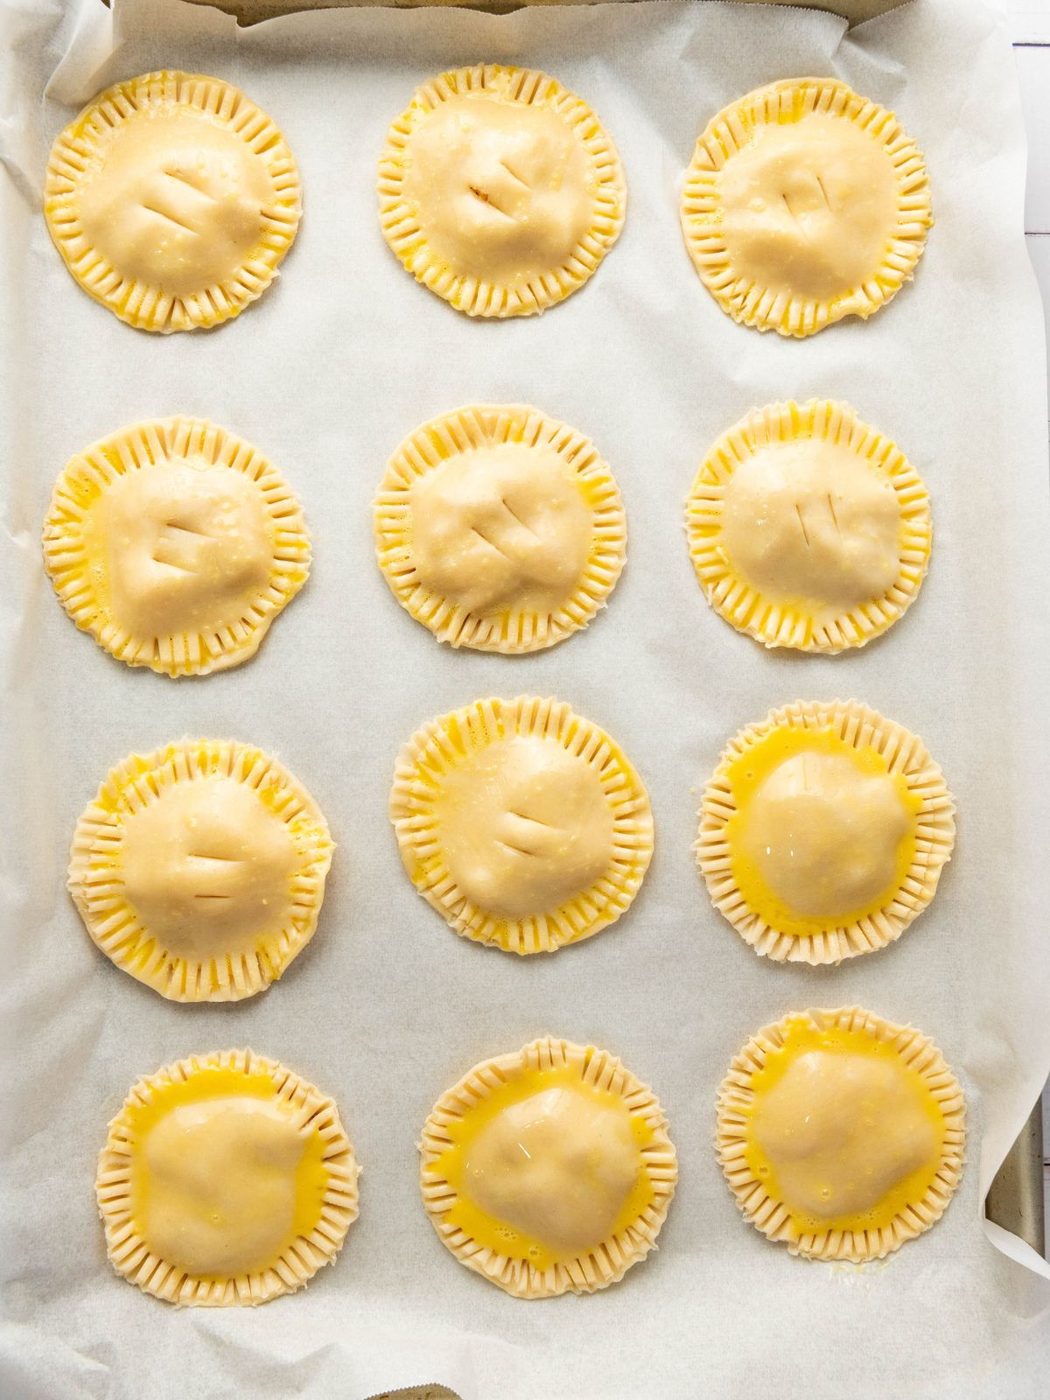
Brush the tops of the hand pies with beaten egg.
Cut two small slits in the top of each pie with a sharp knife so steam can escape during baking.
Bake
Arrange the hand pies on the prepared baking sheet.
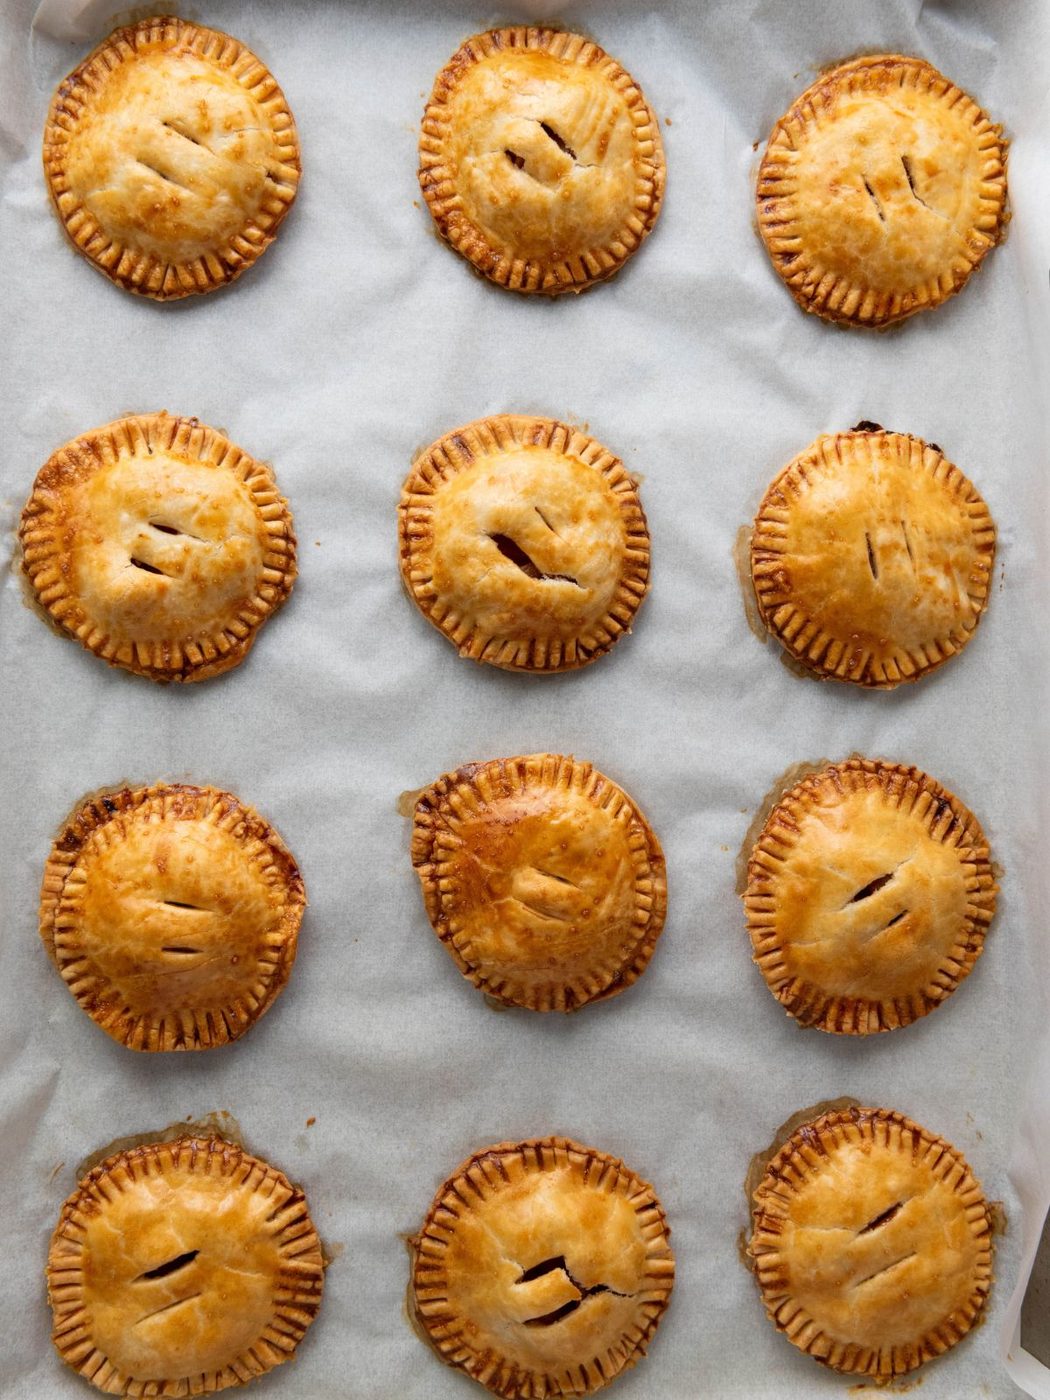
Bake for 20–25 minutes, or until the crust is golden brown.
Remove them from the oven and let them cool for about 10 minutes.
Make the Vanilla Glaze
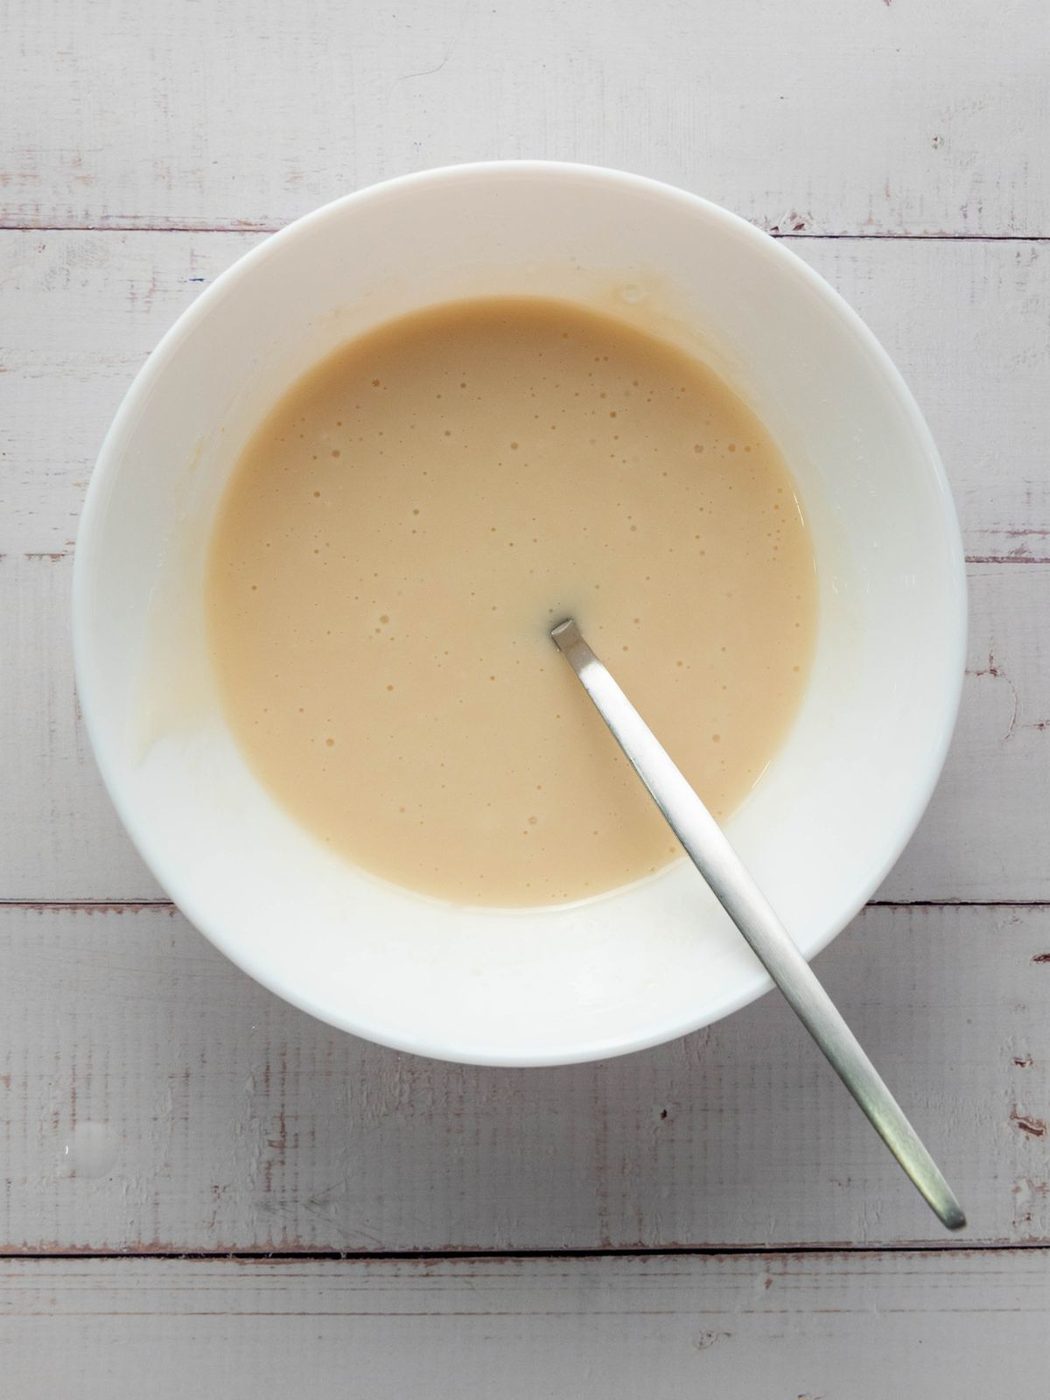
Whisk together the powdered sugar, vanilla extract, and 1 tablespoon of milk.
Add a little more milk as needed until the glaze is smooth and thick enough to drizzle.
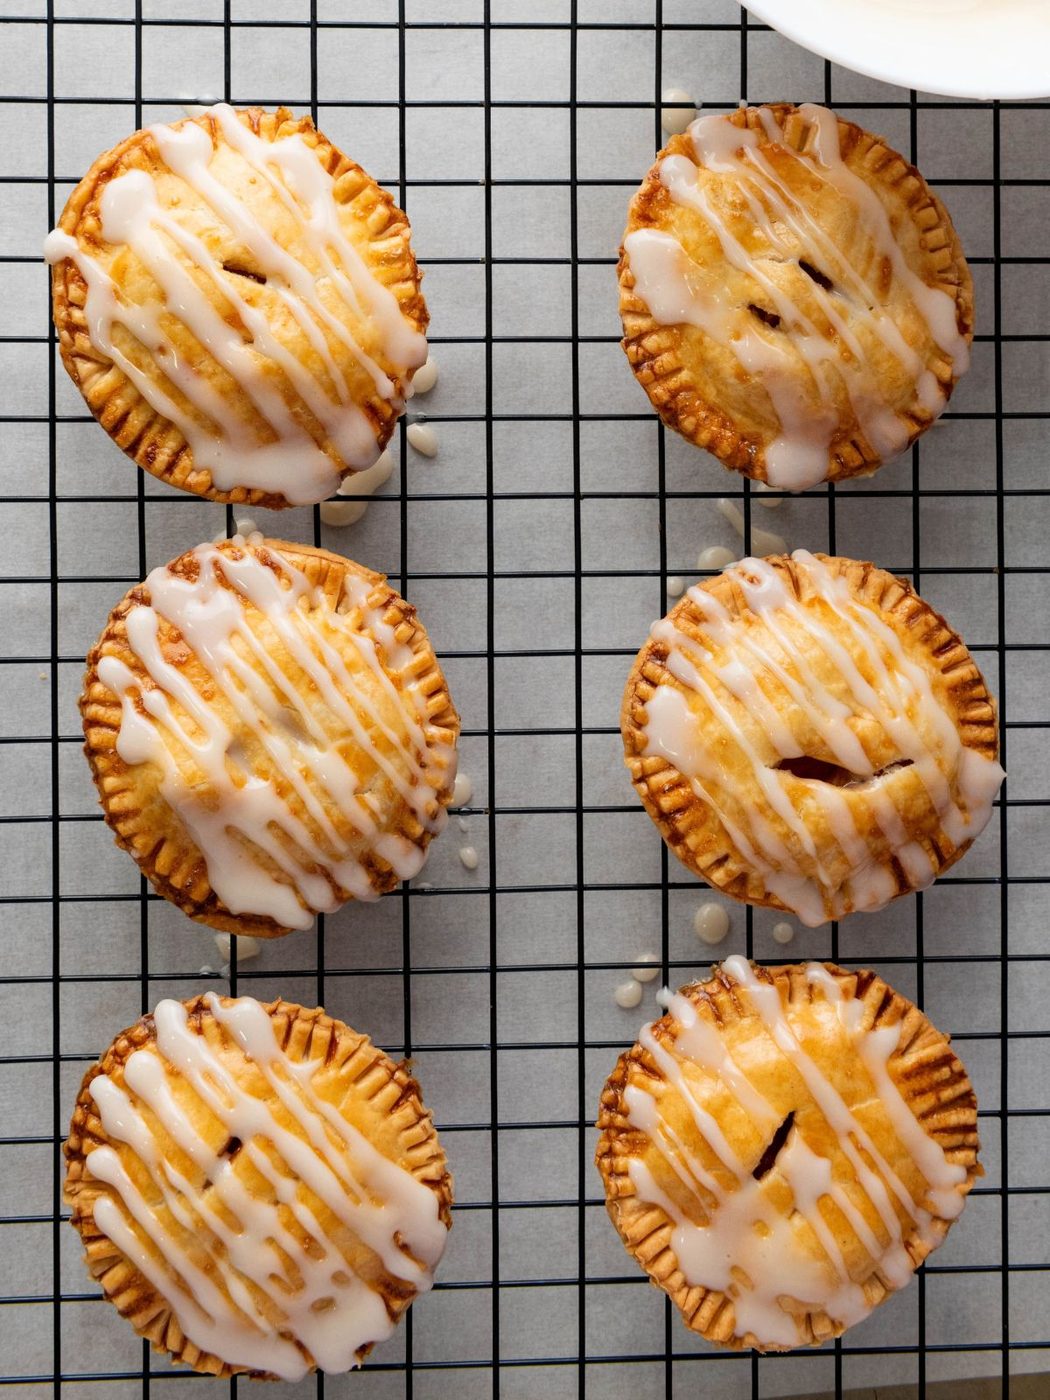
Drizzle it over the cooled hand pies and let the glaze set for a few minutes before serving.
Our Tips
- Keep the apple pieces small. Hand pies don’t have much room inside, so small dice are easier to fill and give you apple in every bite rather than one or two big chunks.
- Let the filling cool. Warm apple filling can soften the pie dough and make the hand pies harder to seal.
- Don’t overfill them. Too much filling sounds like a good idea until it pushes its way through the edge while baking. Leave yourself enough clean dough around the outside to get a good seal.
- Press first, crimp second. Press the two layers of dough together with your fingers before going around the edge with a fork. The fork makes them look finished, but the first press helps actually seal them.
- Start with less milk in the glaze. A glaze that is slightly too thick is straightforward to fix. Once it gets watery, you’re stuck adding more powdered sugar.
Serving Apple Hand Pies
These work especially well when you want dessert sitting out where everyone can help themselves.
They fit right in for:
- Football Saturdays
- Fall potlucks
- Halloween night
- After-school treats
- Fall bake sales
- Casual Thanksgiving dessert tables
They’re good slightly warm, but once the glaze has set, they’re also straightforward to serve at room temperature.
Cook ahead
The apple filling can be made ahead of time and refrigerated in an airtight container until you’re ready to assemble the pies.
We would wait to assemble the hand pies until you’re fairly close to baking them. Letting wet filling sit against raw pie crust for too long can soften the dough.
How to keep Apple Hand Pies
Refrigerator
Let the hand pies cool completely and allow the glaze to set before storing.
Keep them in an airtight container in the refrigerator for up to 3 days.
The crust will soften somewhat after refrigeration, so they’re best the day they’re baked.
Reheating
If you want to warm one back up, use the oven or air fryer rather than the microwave when possible. The microwave will warm the filling, but it also makes the pie crust softer.
If the pies are already glazed, keep the heat fairly gentle so the glaze doesn’t completely melt off.
Apple Hand Pie FAQs
Prep 15 minutesCook 25 minutesTotal 50 minutesMakes 12 hand pies
Ingredients
For the Apple Filling
- 2 small Granny Smith apples peeled, cored, and diced
- 1 medium Honeycrisp apple peeled, cored, and diced
- 3 tablespoons granulated sugar
- 1 tablespoon brown sugar
- 1 teaspoon ground cinnamon
- 1 tablespoon lemon juice
- 1 tablespoon butter
- 1 Pinch kosher salt
For the Hand Pies
- 4 refrigerated pie crust rounds
- 1 large egg beaten
For the Glaze
- 1 cup powdered sugar
- 1-2 tablespoons milk
- ¼ teaspoon vanilla extract
Method
- Melt the butter in a medium saucepan over medium heat.
- Add the diced Granny Smith apples, Honeycrisp apple, granulated sugar, brown sugar, cinnamon, lemon juice, and kosher salt. Cook for 5-7 minutes, stirring occasionally, until the apples have softened slightly but still hold their shape.
- Remove the apple filling from the heat and let it cool.
- Preheat the oven to 400°F. Line a baking sheet with parchment paper .
- Unroll the pie crusts and cut out circles about 4-5 inches in diameter using a round cutter or the rim of a glass.
- Place a spoonful of cooled apple filling in the center of half of the dough circles, leaving a clean border around the edges.
- Top each filled circle with a second dough circle. Press the edges together, then crimp firmly with a fork to seal.
- Brush the tops of the hand pies with the beaten egg. Cut two small slits in the top of each pie to allow steam to escape.
- Place the hand pies on the prepared baking sheet and bake for 20-25 minutes, or until golden brown.
- Remove from the oven and let cool for about 10 minutes.
- In a small bowl, whisk together the powdered sugar, 1 tablespoon of milk, and vanilla extract. Add more milk as needed until the glaze reaches a thick drizzling consistency.
- Drizzle the glaze over the cooled hand pies and let it set for a few minutes before serving.
Notes
- Dice the apples fairly small, about ¼ inch, so they fit easily inside the hand pies and soften evenly.
- Let the apple filling cool before assembling the pies. Warm filling can soften the pie dough and make it harder to seal.
- Do not overfill the pies. Leave enough clean dough around the edges to press and crimp them closed.
- Start the glaze with 1 tablespoon of milk, then add more only as needed until it reaches a thick drizzling consistency.
- Store cooled hand pies in an airtight container in the refrigerator for up to 3 days.