Home-style Panko Covered Chicken
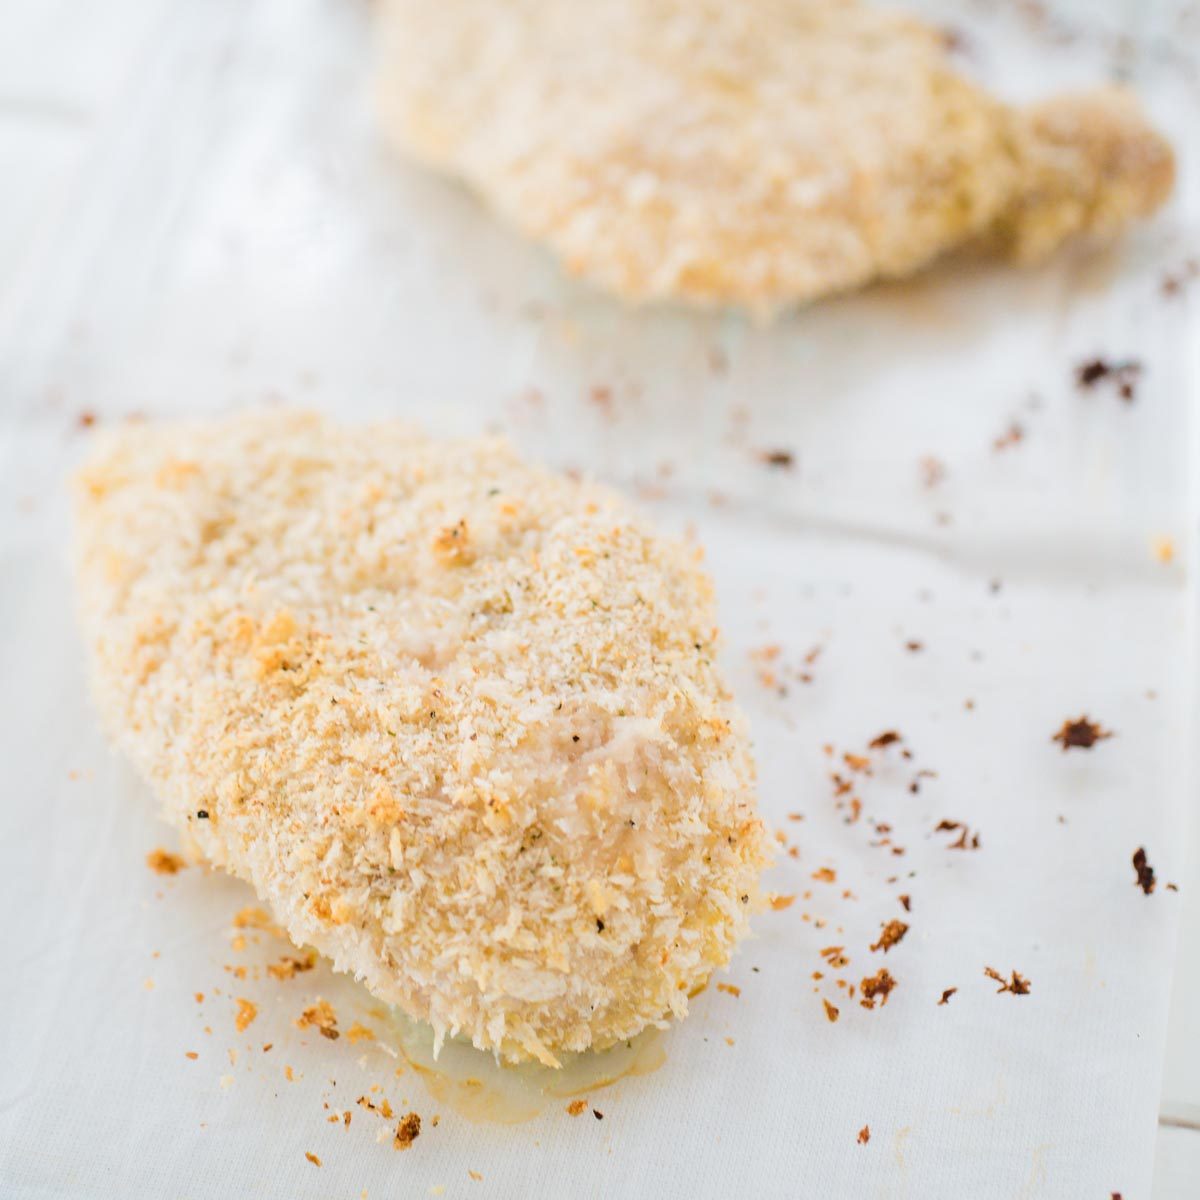
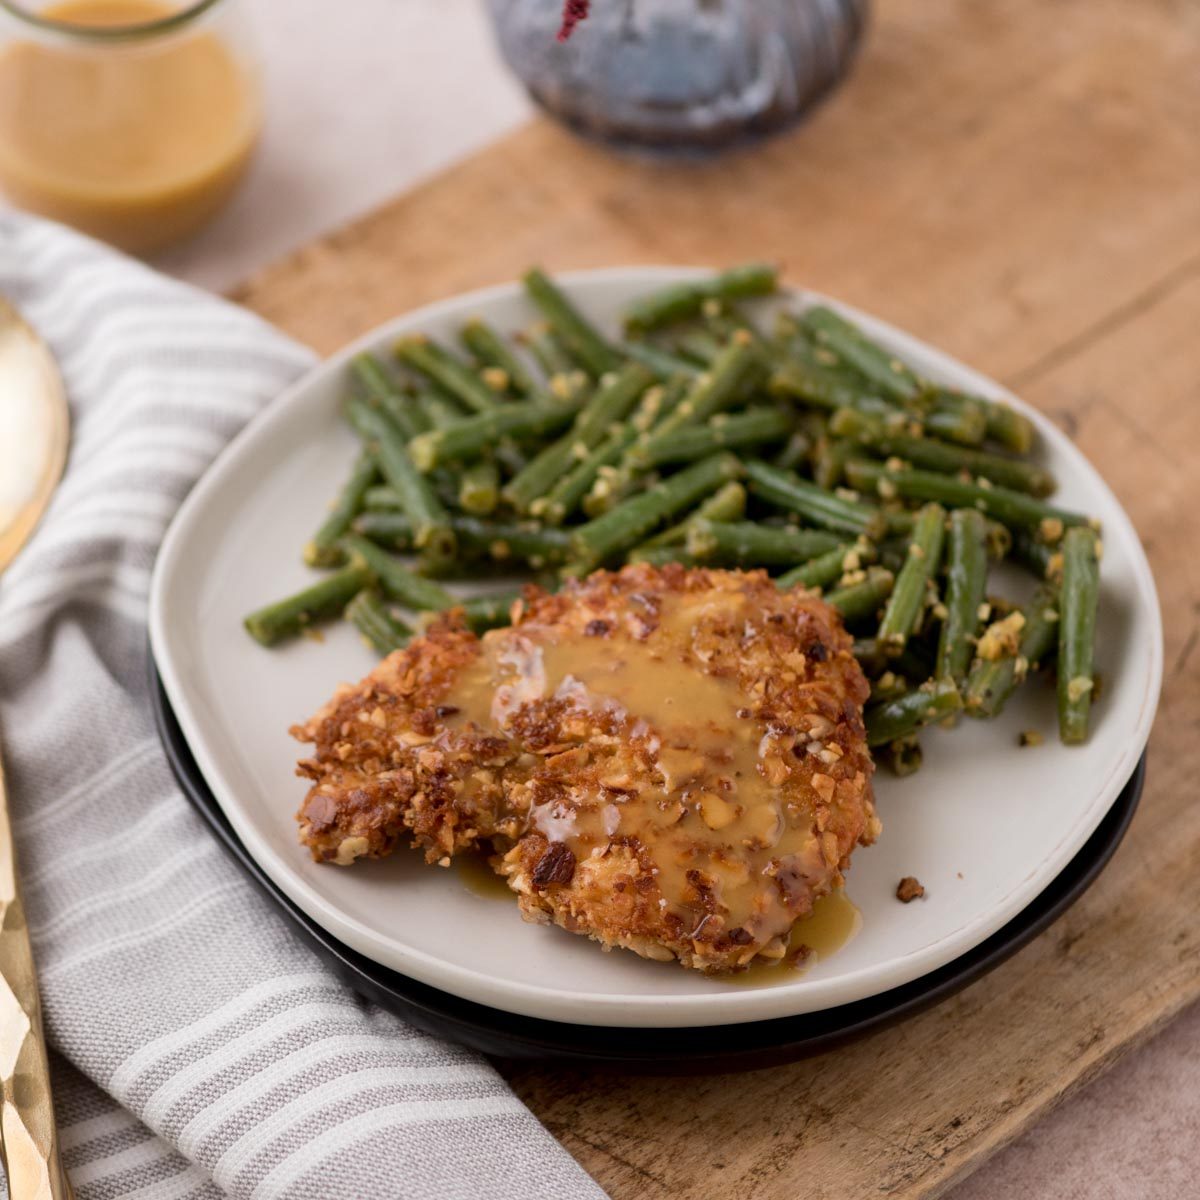
Listen, we’ve both probably stood over a pan of sad, pale baked chicken dinner and wished we’d made something else. That is not what will be happening here. This one has a Parmesan panko crust that stays put and comes out of the oven actually golden. Two small moves in how the breading is built are what separate it from every version you’ve tried before, all in one plain weeknight supper.
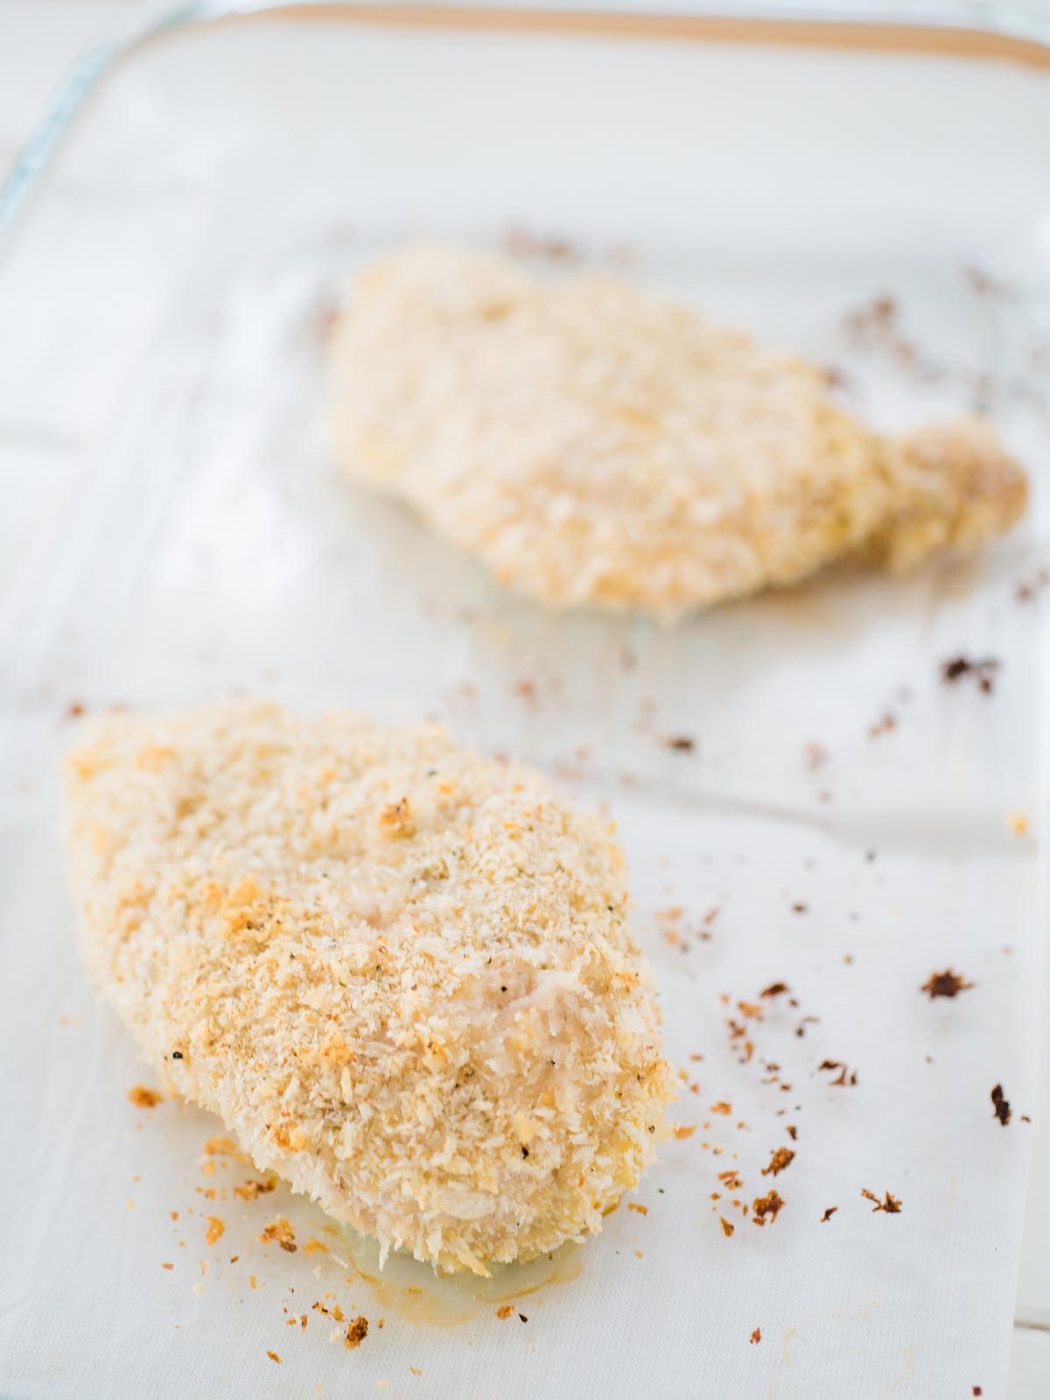
We've been making Crispy Baked Chicken for our own family for almost twenty years. Not the same recipe every time. We've tweaked it constantly. Switched from regular breadcrumbs to panko when we realized the texture was never quite right. Adjust the seasoning more times than we can count. Tested every breading method we could think of until we landed on the version that finally did what we needed it to do every single time.
The biggest problem with baked, breaded chicken is that the oven steams it rather than crisping it. You pull it out looking golden and promising, and by the time it’s on the table, the coating has gone soft, and half of it is stuck to the pan. The fix is in how the breadcrumbs are prepped before the chicken ever touches them. Drizzling olive oil directly into the panko and tossing it through means the coating toasts in the oven rather than steaming. That’s what leaves you with a crust that actually holds.
The other thing we swear by is adding a spoonful of mayo to the egg. We know that sounds odd, but we promise it works. The mayo adds enough fat to help the coating bond to the chicken and stay there (on the chicken, not the pan). It also keeps the meat itself from drying out, which is the other thing baked chicken is notorious for. Neither of these moves is complicated. Both of them matter.
Why You’ll Love Panko Chicken
- The crust is the real deal. It’s golden, crispy, and it stays that way from oven to table.
- The parmesan adds enough saltiness and flavor without overpowering the rest of it.
- No frying, no splatter, no standing over a hot stove, and no old oil smell lingering in your house.
- The breading actually stays on the chicken rather than ending up in the pan.
- Leftovers slice evenly for sandwiches, wraps, or on top of a salad the next day.
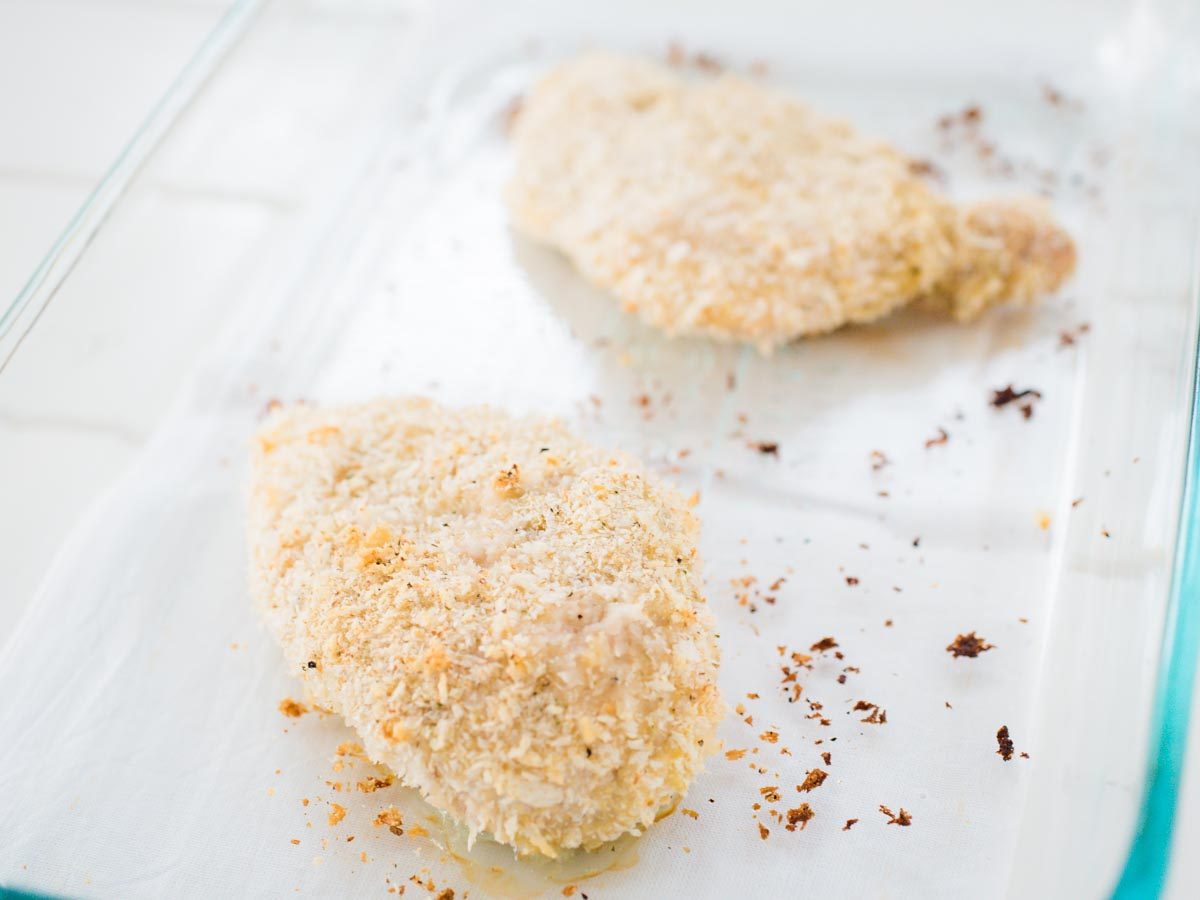
Panko Breaded Chicken ingredients
- Chicken Breasts – Boneless skinless chicken breasts keep this dinner straightforward and weeknight-friendly. If your chicken breasts are especially thick on one end, lightly pouding them to an even thickness helps them cook more evenly and prevents the thinner portions from drying out.
- Eggs + Mayo – The eggs help the breadcrumb coating stick to the chicken while the mayonnaise adds a little extra richness and helps the coating brown better in the oven. Don’t worry, you won’t taste the mayo in the finished chicken.
- Panko Breadcrumbs – Panko breadcrumbs give the chicken the signature crispy texture. Unlike traditional breadcrumbs, panko stays lighter and crunchier as it bakes.
- Parmesan Cheese – Freshly grated parmesan adds savory flavor, but it also helps it crisp up even more in the oven. For a house favorite results, use freshly grated and skip the canned kind.
- Olive Oil – A small amount of olive oil helps the breadcrumb coating turn golden brown and crispy while baking. It’s a plain step that makes a big difference in the final texture.
- Garlic Powder, Onion Powder, Paprika, Salt, and Black Pepper – This plain seasoning blend gives the chicken plenty of flavor without overpowering it. The paprika also helps add color to the crispy breadcrumb coating as it bakes.
- Dried Parsley – Parsley adds a little touch of freshness and color to the breadcrumb mix while still keeping it family friendly.
How to cook Chicken with Panko Breading
Get the chicken ready
Start by patting the chicken breasts dry with paper towels. If one side of the chicken breast is noticeably thicker than the other, lightly pound the thicker end so the chicken is an even thickness throughout. This helps the chicken bake more evenly and keeps the thinner portions from drying out before the center finishes cooking.
While you prep the chicken, preheat the oven to 425°F and line a baking sheet with parchment paper or lightly grease it with cooking spray.
Make the crispy breadcrumb coating
In a shallow bowl, whisk together the eggs and mayonnaise until completely smooth.
In a separate shallow bowl, combine the panko breadcrumbs, parmesan cheese, garlic powder, onion powder, paprika, salt, black pepper, and parsley. Drizzle the olive oil over the breadcrumb mixture and toss until the breadcrumbs are evenly coated.
The olive oil helps the panko turn golden brown and crispy in the oven without needing to fry the chicken.
Coat the chicken
Dip each chicken breast into the egg mixture first, allowing any excess to drip off. Then press the chicken firmly into the breadcrumb mixture, making sure all sides are evenly coated.
Don’t lightly sprinkle the breadcrumbs over the chicken. Pressing the coating onto the chicken helps it stick better and creates that crunchy crust once baked.
Place the coated chicken breasts onto the prepared baking sheet, leaving a little space between each one so the coating crisps rather than steaming.
Bake until golden brown and crispy
Bake the chicken for 22-28 minutes, depending on the thickness of the chicken breasts. The coating should be golden brown and crispy, and the chicken should register 165°F in the thickest portion with a meat thermometer.
If your chicken breasts are on the smaller side, start checking them a little earlier to avoid overcooking.
Let the chicken rest before serving
Once the chicken comes out of the oven, let it rest for about 5 minutes before slicing into it. This gives the juices time to redistribute throughout the chicken so it stays juicy rather than drying out.
Baked chicken oven temp
Panko chicken is baked at 400°F for 25-35 minutes depending on the thickness of the chicken breast.
What to serve with Baked Panko Chicken Breast
Panko chicken goes well so many side dishes. Some of these include:
- Mashed Potatoes
- Green Beans
- Roasted Broccoli and Cauliflower
- Parmesan Orzo
- Brown Sugar Roasted Carrots
Storage & Reheating
Storing – Allow the chicken to cool completely before storing. Place any leftovers in an airtight container and refrigerate for up to 4 days. If possible, store the chicken in a single layer to help reserve the crispy coating.
Freezing – Once the chicken has cooled completely, place it in a freezer-safe container or freezer bag and freeze for up to 2 months. For best results, thaw overnight in the refrigerator before reheating in the oven or air fryer to help crisp the coating back up.
Reheating Panko Crusted Chicken
For a house favorite texture, reheat the chicken in the oven or air fryer rather than the microwave. This helps bring the crispy breadcrumb coating back to life rather than making it soft.
Oven
Place the chicken on a baking sheet and reheat at 375°F for about 10-15 minutes or until heated through.
Air Fryer
Reheat at 350°F for 4-6 minutes until it’s hot and crispy again.
Microwave
The microwave works fine for a quick lunch or busy weekday leftovers, but keep in mind the coating will soften as it reheats. We don’t recommend this if you can avoid it.
Frequently Asked Questions
Prep 15 minutesCook 22 minutesTotal 37 minutesMakes 4 people
Ingredients
- 4 boneless skinless chicken breasts about 6-8 ounces each
- 2 large eggs
- 1 tablespoon mayonnaise
- 2 cups panko breadcrumbs
- ½ cup freshly grated parmesan cheese
- 1 tablespoon olive oil
- 1 teaspoon kosher salt
- 1 teaspoon garlic powder
- 1 teaspoon onion powder
- 1 teaspoon paprika
- ½ teaspoon black pepper
- 1 tablespoon dried parsley
Method
- Preheat the oven to 425°F. Line a large baking sheet with parchment paper or lightly grease with cooking spray.
- Pat the chicken breasts dry with paper towels. If needed, lightly pound the thicker end of the chicken breasts so they are an even thickness throughout. This helps them cook more evenly and prevents the thinner ends from drying out.
- In a shallow bowl, whisk together the eggs and mayonnaise until smooth.
- In a separate shallow bowl, combine the panko breadcrumbs, parmesan cheese, salt, garlic powder, onion powder, paprika, black pepper, and parsley. Drizzle in the olive oil and toss until the breadcrumbs are evenly coated.
- Dip each chicken breast into the egg mixture, allowing any excess to drip off. Press the chicken firmly into the breadcrumb mixture, coating all sides evenly.
- Place the chicken breasts onto the prepared baking sheet, leaving space between each piece.
- Bake for 22-28 minutes, depending on thickness, or until the chicken reaches an internal temperature of 165°F and the coating is golden brown and crispy.
- Allow the chicken to rest for 5 minutes before serving.
Notes
- Freshly grated parmesan melts into the breadcrumb coating better than shelf-stable grated parmesan and gives the chicken a house favorite flavor and texture.
- Don’t overcrowd the pan. Leaving space between the chicken breasts helps the coating crisp rather than steam.
- Cooking time may vary depending on the size and thickness of your chicken breasts. Always use a meat thermometer for the most accurate results.